Best 3 Cheese Mac and Cheese Recipe
Ingredients
Method
- Bring 4 quarts of salted water to a rolling boil in a large Dutch oven or saucepan. Cook the macaroni until al dente, then drain in a colander and rinse briefly to prevent sticking.
- Rinse and dry the saucepan, then return it to the burner over low heat and add the butter. If the pan is still hot, remove it from the heat while the butter melts to prevent browning.
- Whisk the flour into the melted butter to form a paste. Whisk constantly over low heat for 1 to 2 minutes until the roux turns slightly yellow and fragrant. Slowly whisk in the milk, increase the heat to high, and whisk in the mustard, cayenne pepper, and garlic if using.
- Cook for 7 to 10 minutes, whisking constantly, until the sauce bubbles and reaches the consistency of cream soup.
- Remove the pan from the heat and slowly whisk in the cheeses one handful at a time. Stir in the macaroni once the sauce is smooth.
- Divide the mixture into individual portions and serve.
- Store leftovers in an airtight container in the refrigerator for up to 5 days.
Nutrition
Notes
Why Most Homemade Mac and Cheese Disappoints
I remember sitting at the zinc bar at my uncle Marc’s bistro after service one night. I was maybe twelve. He put a bowl of pasta in front of me that looked simple enough, but the flavor had this depth that I couldn’t wrap my head around. It wasn’t just “cheesy” in that one-note way. It was nutty, sharp, and incredibly smooth. That memory stuck with me.
Fast forward to my early twenties, trying to make 3 cheese baked macaroni and cheese in my own apartment in Philly. It was a disaster. The sauce was grainy, the oil had separated into a greasy pool on top, and the flavor was somehow both heavy and bland. I know I’m not the only one who has been there. You spend decent money on ingredients, dirty every pot in the kitchen, and end up with something that makes you wish you’d just bought the blue box.
Here’s the thing about that. It usually comes down to two specific failures: using the wrong cheese combination and breaking the sauce with too much heat. That’s it. Once you fix those, you move from “it’s okay” to “can you make this for Christmas every year?” territory. This recipe is designed to fix those texture issues specifically. We are going to build a sauce that stays velvety even after baking, using a specific trio of cheeses that balance meltability with actual flavor.
The Golden Trio: Curating Your Cheese Blend
Let me show you what I mean by “curating” your cheese. You can’t just grab three random bags of shredded cheese and hope for the best. Well, you can, but the result will be oily and flavorless. For a proper 3 cheese baked macaroni and cheese, we need a specific job from each player on the roster.
First, you need Sharp Cheddar. This is your flavor anchor. I prefer a white cheddar aged at least a year. It provides that tang and the classic profile we expect. If you use mild cheddar, the white sauce (béchamel) will dilute the flavor too much, and it’ll taste like milky pasta. Go sharp.
Second is Gruyère cheese. This is the melting king. It brings a nutty, alpine sweetness that cuts through the saltiness of the cheddar. It also melts incredibly well without separating. If you can’t find Gruyère, a good Fontina or even Comté works, but Gruyère is the gold standard here.
Third, and this might be controversial to some food snobs, is American cheese or a high-quality Monterey Jack. Hear me out. I’m not talking about the plastic-wrapped singles that taste like chemicals. I mean getting a block of deli American or a good Jack cheese. Why? Sodium citrate. These cheeses contain emulsifiers that help the other two cheeses melt smoothly. It’s your insurance policy against a grainy sauce. It stabilizes the emulsion. Trust the process on this one.
Crucial Rule: You must grate these yourself. Pre-shredded cheese is coated in cellulose (wood pulp, basically) to keep it from clumping in the bag. That cellulose prevents the cheese from melting together, giving you that gritty texture we are trying to avoid. It takes five minutes to grate a block. It’s worth it.
The Science of the Roux (No More Lumps)
The base of this entire operation is a Béchamel sauce, which starts with a roux. A roux is just equal parts fat (butter) and flour cooked together. It sounds fancy, but it’s just thickened milk. The key step here is cooking the flour long enough.
When you melt your butter and whisk in the flour, don’t just dump the milk in immediately. Let the flour and butter bubble together for at least two minutes. You want to cook out the raw flour taste. It should smell a little bit nutty, like shortbread cookies baking. If you skip this, your sauce will taste like paste.
Then, add your milk slowly. I like to warm my milk slightly in the microwave first cold milk hitting hot roux can seize up. Pour in a splash, whisk like crazy until it’s smooth, then add more. Repeat until all the milk is incorporated. This patience is what guarantees a lump-free sauce.
Troubleshooting: The “Broken Sauce” Nightmare
This is where most people run into trouble. You’ve made your beautiful white sauce, you dump in all your expensive cheese, and suddenly it turns into a clumpy, oily mess. That’s a broken sauce. It happens because the heat was too high. Proteins in the cheese tightened up and squeezed out the fat.
To prevent this, you need to be gentle. Once your milk mixture has thickened enough to coat the back of a spoon (chefs call this nappe), turn off the heat. Completely off. Move the pot to a cool burner if you have an electric stove. Let it sit for thirty seconds. Then, and only then, fold in your grated cheese a handful at a time. The residual heat is enough to melt it. You want a smooth, cohesive emulsion, not a separation of oil and solids.
Seasoning matters here too. Cheese is salty, but it’s also fatty. To cut through that fat, you need acid and heat. I always add a teaspoon of dry mustard powder and a pinch of cayenne. You won’t taste “spicy mustard,” but it wakes up the cheddar flavor. It’s the difference between “good” and “wow.”
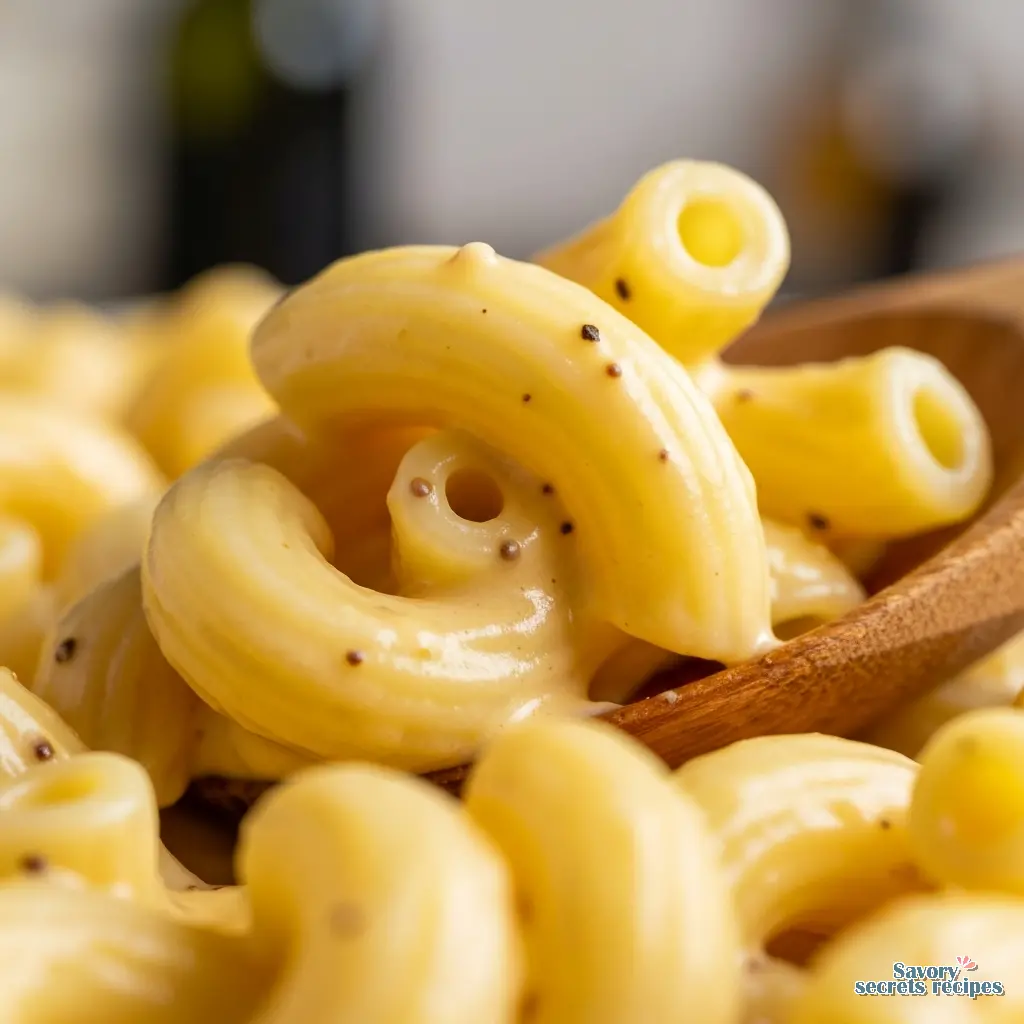
Pasta Selection and The Al Dente Rule
For a baked dish, you cannot cook the pasta all the way through in the boiling water. It’s going to spend another 25 minutes in the oven swimming in hot sauce. If you boil it until it’s soft, it will turn to mush in the casserole dish. Mushy pasta is a tragedy.
Boil your Elbow macaroni or Cavatappi (my personal favorite because the ridges hold more sauce) for about two minutes less than the package instructions say. It should have a firm bite in the center. When you drain it, don’t rinse it! The starch on the outside helps the sauce cling. Just drain it and toss it immediately into your cheese sauce.
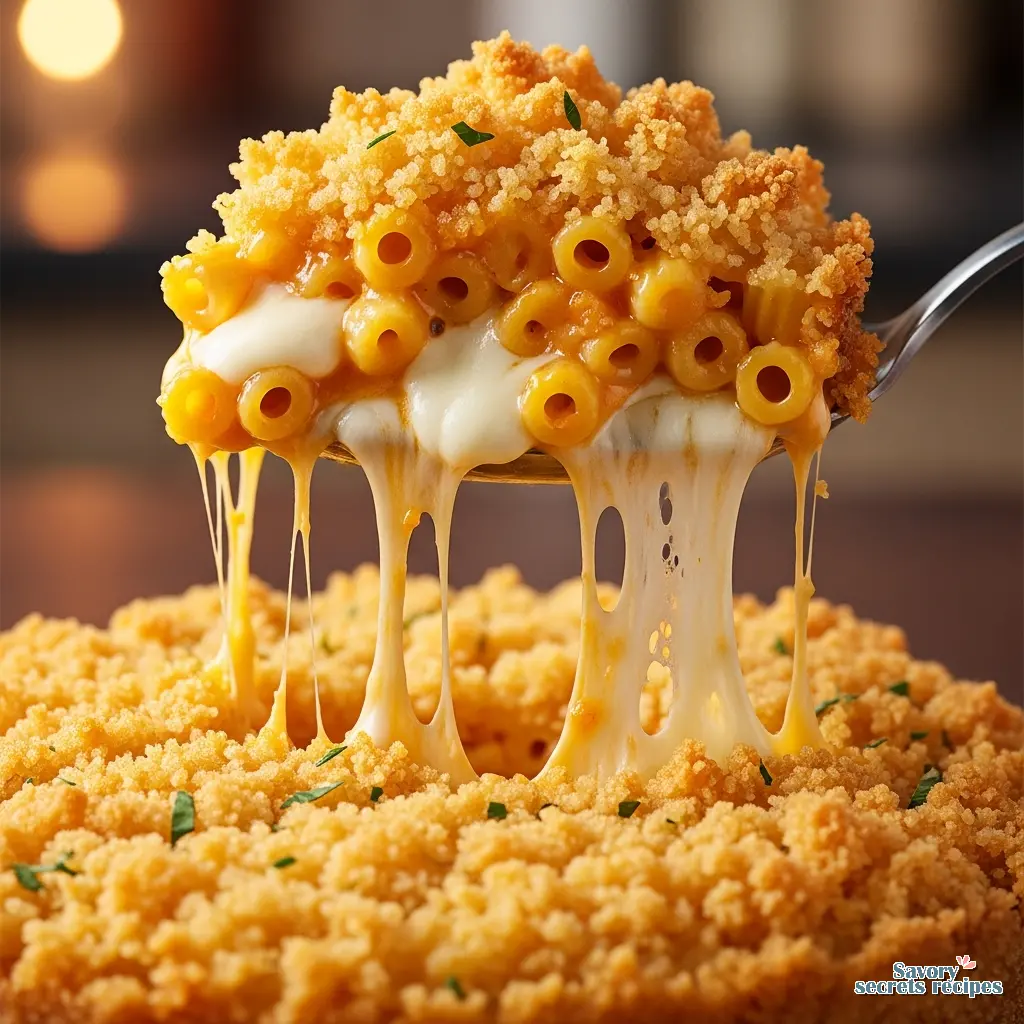
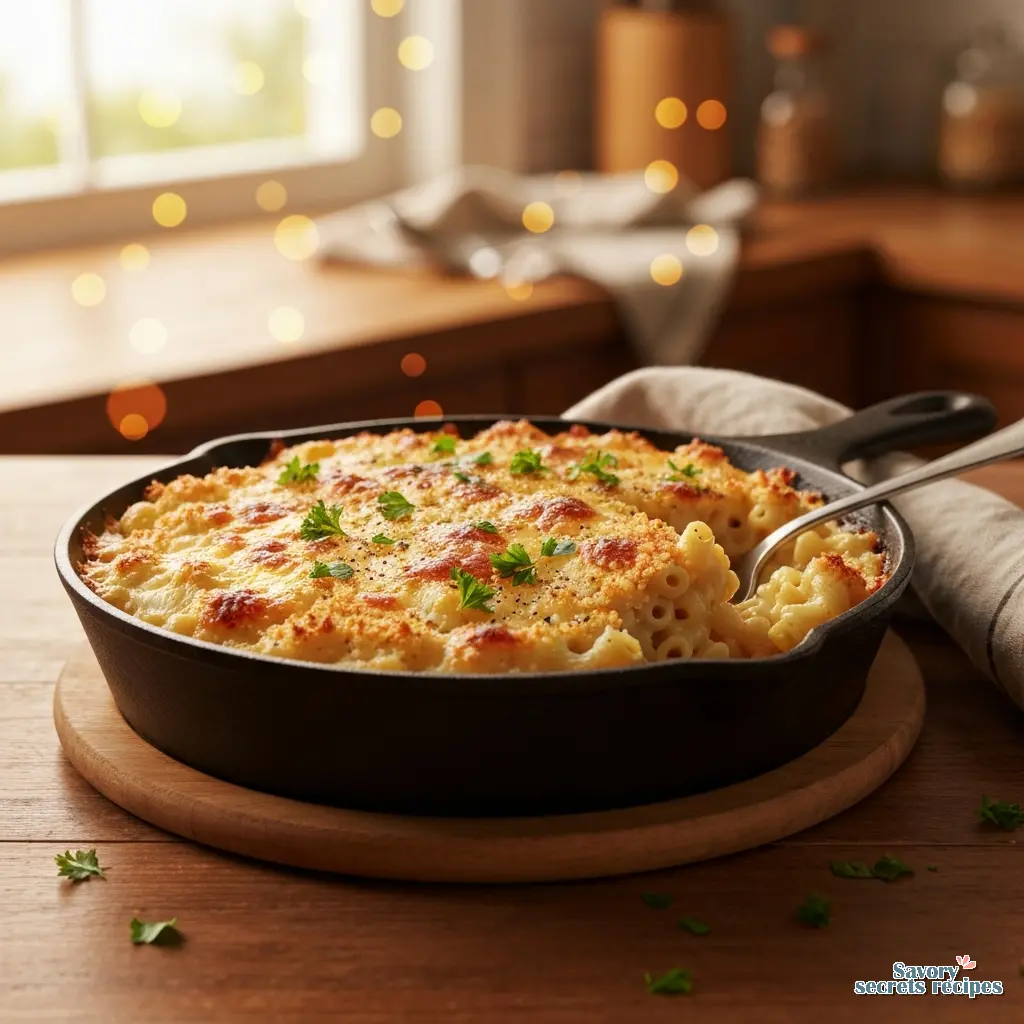
Baking & The Visual Cues
I’m not totally sure, but I think the debate between “creamy stovetop” and “baked with a crust” is the biggest divide in the mac and cheese world. Personally, I think you can have both if you do it right. The goal is a bubbling, golden top with a creamy interior that hasn’t dried out.
Pour your mixture into a cast iron skillet or a 9×13 baking dish. Now, for the topping. Some people use extra cheese. I prefer texture. Panko breadcrumbs mixed with a little melted butter and parmesan create this incredible crunch that contrasts with the soft pasta. It’s a texture thing.
Bake it at 350°F. You’ll know it’s ready when the edges are bubbling aggressively and the center does a slow, lazy bubble. If you shake the pan, the center should still have a little jiggle to it. If it’s stiff as a board, you’ve overcooked it. Pull it out and let it rest. I know, you want to dig in, but giving it 10 minutes allows the sauce to set slightly so it doesn’t run all over the plate.
Frequently Asked Questions
Storage & Reheating: Keeping the Dream Alive
If you have leftovers (and that’s a big “if” in my house), you need to store them right. Air is the enemy. Put the leftovers in an airtight container in the fridge; they’ll last about 3 to 5 days. The sauce will thicken up significantly as it cools because of the starch in the pasta and the flour in the roux.
When you go to reheat this 3 cheese baked macaroni and cheese, don’t just blast it. You need to reintroduce moisture. I like to put a portion in a small saucepan with a splash of milk over low heat, breaking it up gently as it warms. It brings that creamy texture back to life better than the microwave ever could. If you are reheating the whole tray, cover it with foil and bake at 300°F until it’s warmed through. It takes a little longer, but it prevents the top from burning while the center is still cold.
This recipe is one of those things that feels like a hug on a cold day. It’s rich, it’s comforting, and once you master that sauce technique, you’ll never look at the boxed stuff the same way again. Give it a shot this weekend.
For more inspiration on comfort food classics, check out my Pinterest boards where I collect all my favorite winter recipes.
When you take that first bite of crispy panko and creamy pasta, you’ll get exactly what I mean about the effort being worth it. Let me know how it turns out.
Reference: Original Source