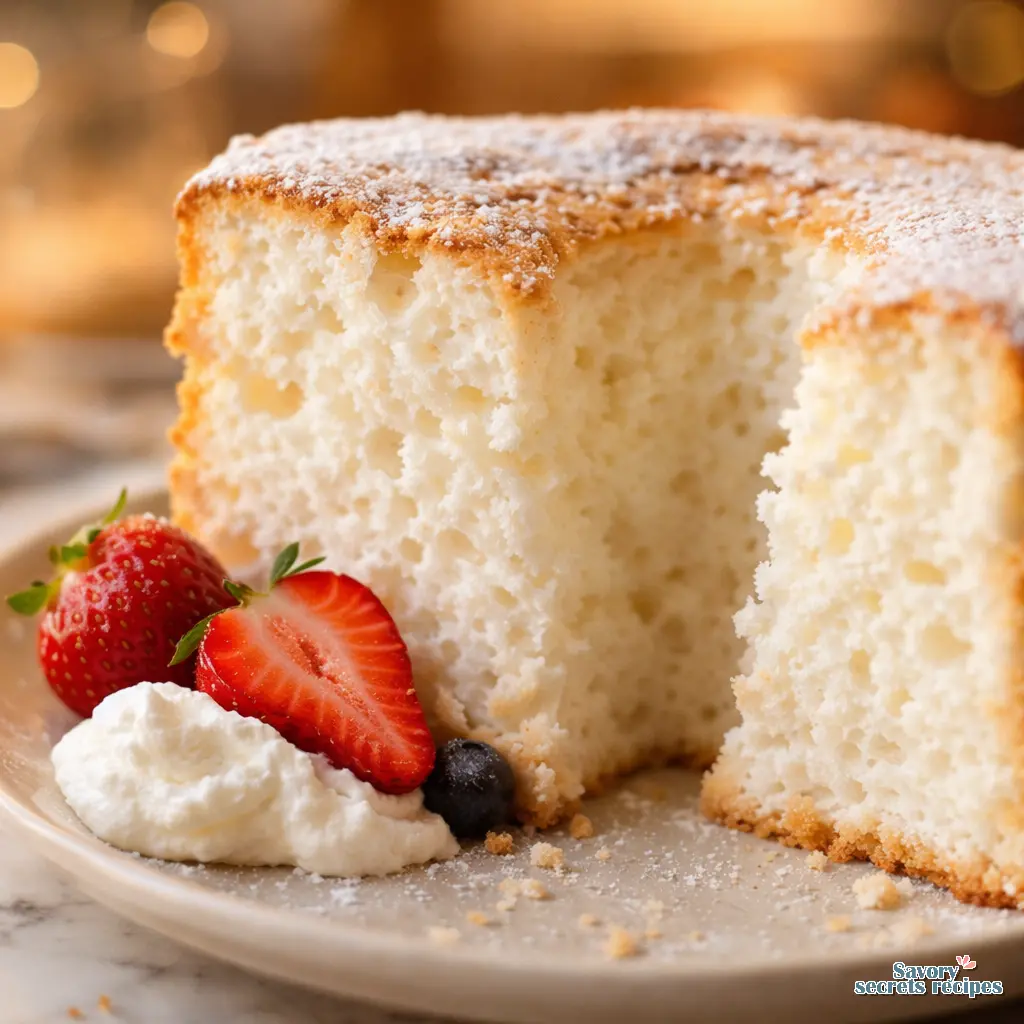
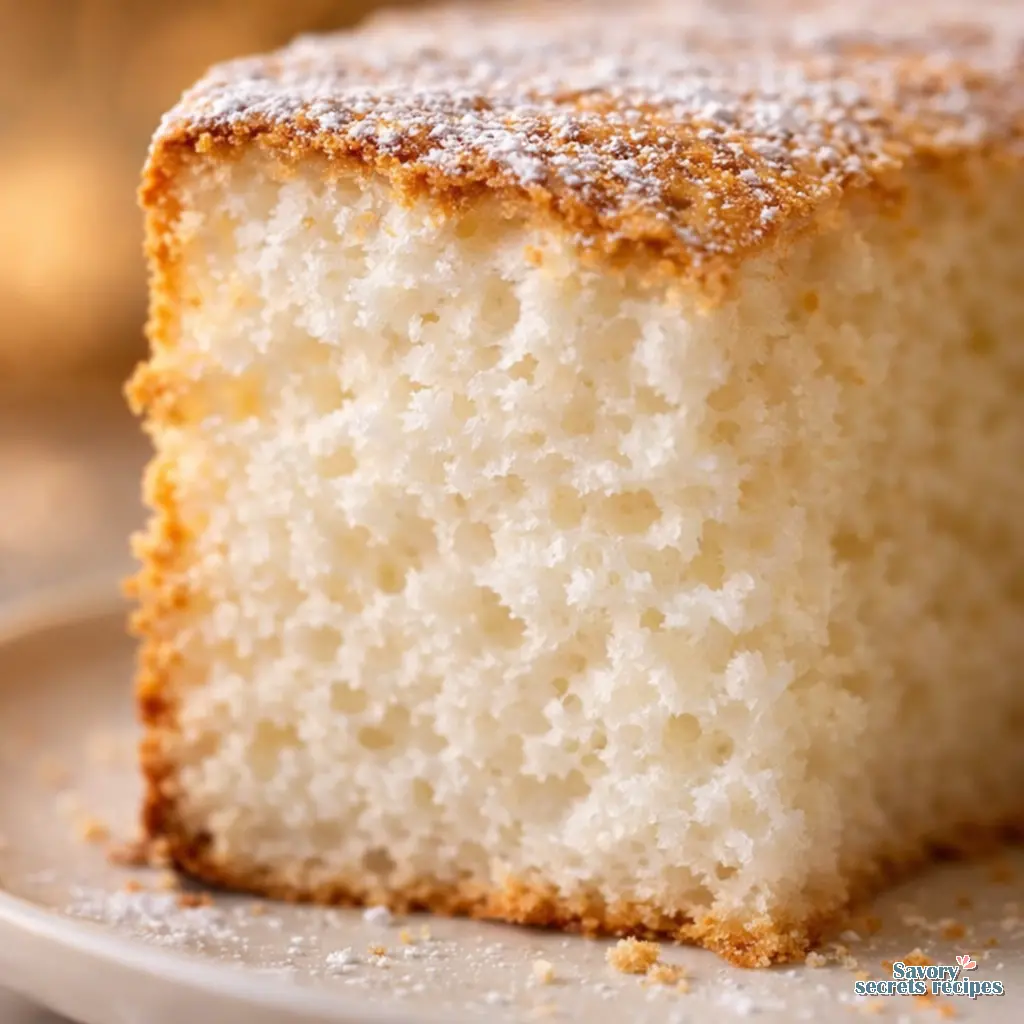
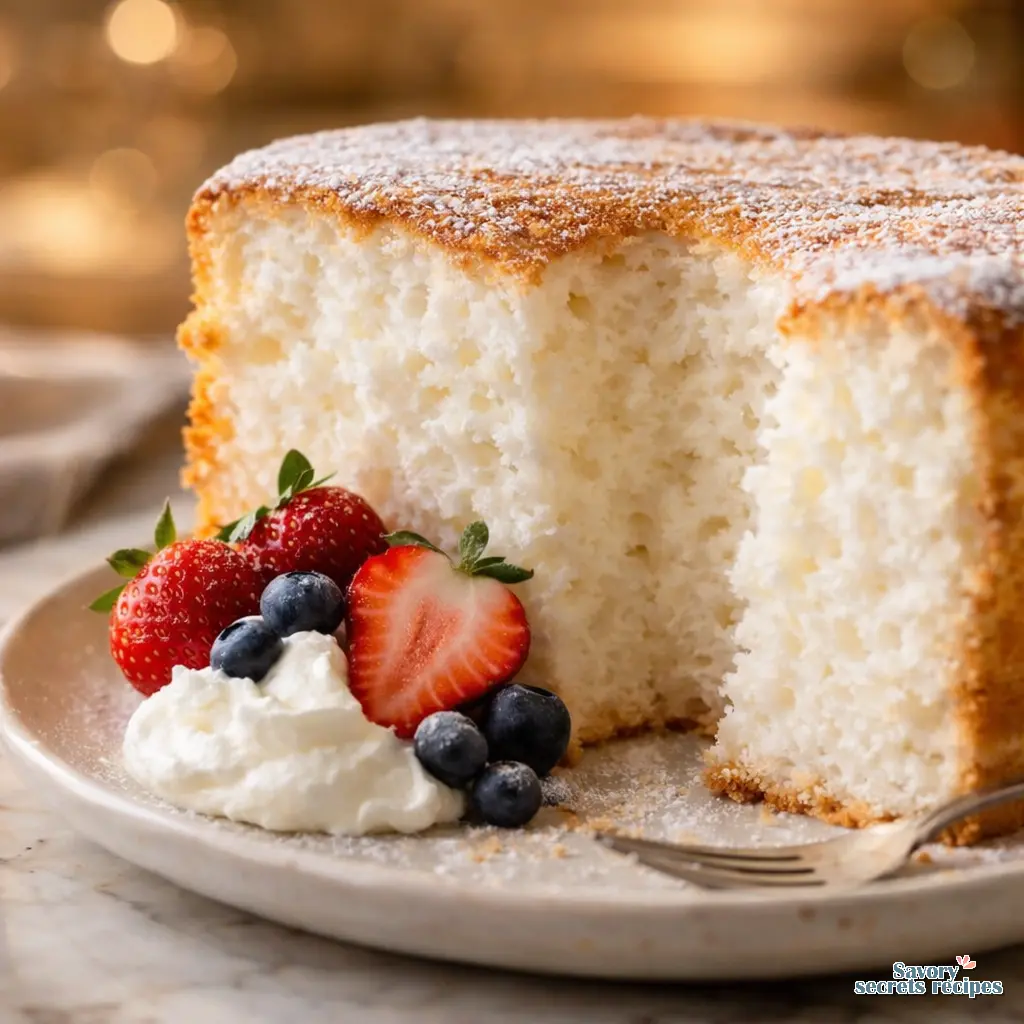
How to Make Angel Food Cake From Scratch for Beginners
Ingredients
Method
- Adjust the oven rack to the lower-middle position and preheat the oven to 325°F (163°C).
- Pulse the sugar in a food processor or blender until fine and powdery. Set aside 1 cup of the sugar for later use. Add the cake flour and salt to the remaining sugar in the processor and pulse 5 to 10 times until the mixture is light and aerated.
- Whip the egg whites and cream of tartar in a large bowl on medium-low speed until foamy, about 1 minute. Increase the speed to medium-high, gradually add the reserved cup of sugar, and whip for 5 to 6 minutes until soft peaks form. Beat in the vanilla extract until just incorporated.
- Sift the flour mixture into the egg whites in three additions using a fine-mesh strainer, gently folding with a rubber spatula after each addition. Pour the batter into an ungreased 9- or 10-inch tube pan and shimmy the pan on the counter to level the surface.
- Bake the cake for 40 to 45 minutes, rotating the pan halfway through, until a toothpick inserted comes out clean. Cool the cake completely upside-down on a wire rack for about 3 hours. Run a thin knife around the edges and tap the pan on the counter to release the cake.
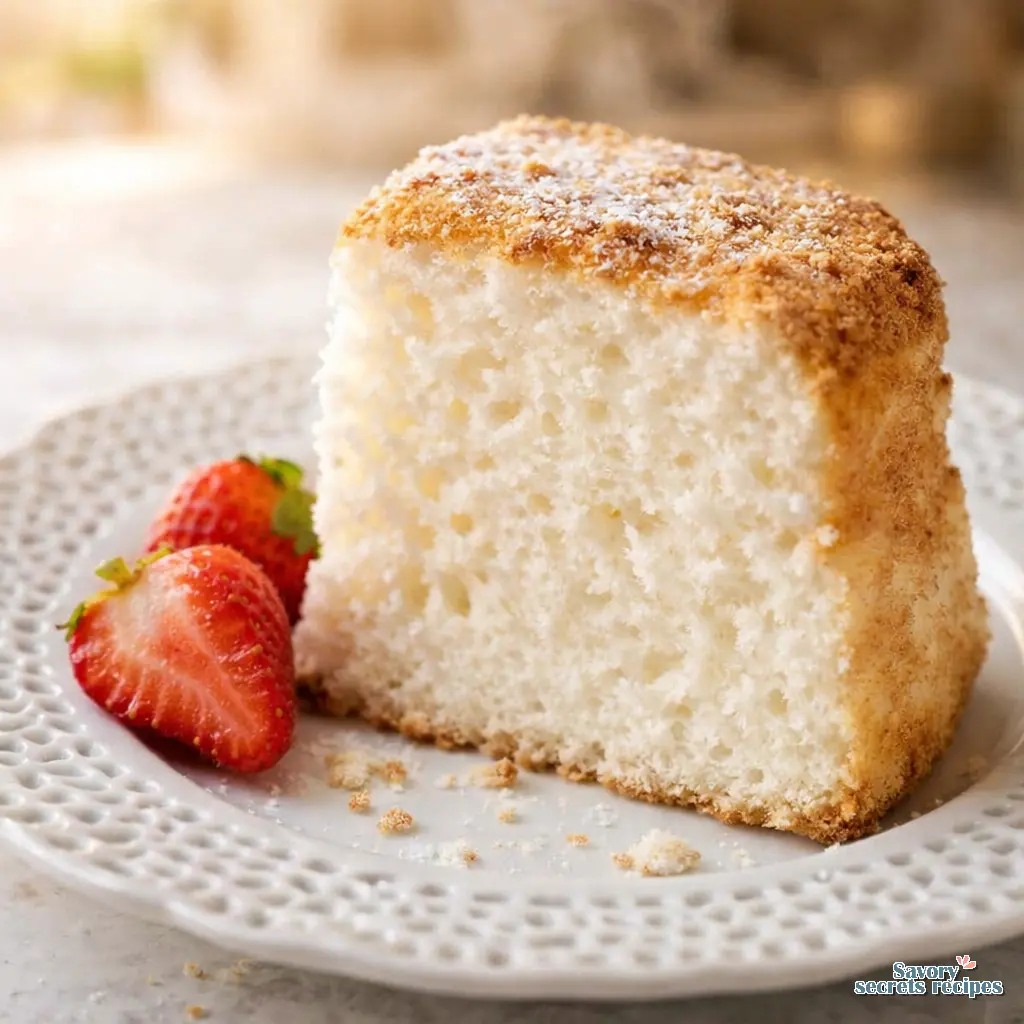
- Dust with confectioners' sugar if desired. Slice the cake with a sharp serrated knife and serve with whipped cream and fresh berries.
- Store leftovers in the refrigerator for up to 5 days.
Notes
The Foolproof Secret to a Towering Classic
My grandmother Zoya taught me that baking isn’t magic. It’s math you can eat. I learned baker’s percentages before I learned fractions. She’d stand there with her arms crossed in her tiny kitchen, watching my dough temperature like a hawk. When I first tried making a classic angel food cake recipe from scratch, I thought I knew better. I rushed the meringue. The result? A rubbery, dense disk that literally fell out of the pan onto the counter while it was cooling. I was completely mortified.
Let’s be clear about this. You need a reliable method. Whether you are planning the perfect cloud cake for your spring Easter table, or you just want a light dessert during a rare 50-degree LA winter evening, precision matters. I know this sounds intimidating. Most people are terrified of the dreaded deflate. But it’s actually quite forgiving once you understand the basic rules.
Maya wanted to help bake last month, so I set her up with a scale and a printed recipe. She got frustrated when the meringue wasn’t whipping up. I had to stop myself from fixing it. Instead, I asked her what she thought went wrong. She had used cold eggs straight from the fridge. Temperature matters here. We made a chart together showing why room temperature egg whites whip better. Now she gets it. I promise these tips will make your classic angel food cake recipe from scratch absolutely foolproof.
The 6-Ingredient Miracle for Your classic angel food cake recipe from scratch
You only need six ingredients to build this masterpiece. Egg whites, cream of tartar, salt, superfine sugar, cake flour, and pure vanilla extract. That’s it. But the quality and treatment of these ingredients dictate your success.
Superfine sugar is non-negotiable. I need you to show me your process here. Granulated sugar is too heavy and will weigh down your delicate meringue. I mean, who is actually buying specialty superfine sugar? Just pulse regular granulated sugar in your food processor for about two minutes until it looks like fine sand. It dissolves instantly into the egg whites, creating a stable, glossy structure.
Then there is the cake flour. Sifting the cake flour and a portion of the sugar together prevents lumps and ensures easy folding. Do it three times. Yes, three. We’re not guessing on this one. If you absolutely cannot find real cake flour, you can make a DIY substitute. Measure one cup of all-purpose flour, remove two tablespoons, and replace them with two tablespoons of cornstarch. Sift it well. It works in a pinch, though I always prefer the real thing.
Equipment Check: Why the Tube Pan is Non-Negotiable
I see this question all the time. Can I bake this in a standard cake round? Can I use that beautiful, intricate Bundt pan I got for my birthday? No. That’s not how this works.
You must use a traditional tube pan with a removable bottom. The center tube conducts heat straight into the middle of the heavy, wet batter. Without it, the outside of your cake would burn long before the inside ever baked. Plus, the straight sides give the egg whites the necessary traction to climb and expand.
And here is the most critical rule of all. Do not grease the pan. Never grease the pan. The fat-free batter needs to grip the bare metal walls to pull itself upward. If you grease it with butter or oil, the cake will slide right back down and collapse into a dense puddle. The pan must be bone dry and completely grease-free.
The Science of Egg Whites: Separating & Whipping
We need twelve large egg whites. Use freshly separated eggs, please. The carton egg whites from the grocery store are pasteurized in a way that destroys their ability to aerate properly. They simply won’t hold the volume we need for a classic angel food cake recipe from scratch.
Separate your eggs one by one into a small bowl first. If even a microscopic drop of egg yolk gets into your whites, the fat will prevent the meringue from whipping. If a yolk breaks, save that egg for scrambled eggs and start fresh. Your mixing bowl and whisk attachment must be impeccably clean. I usually wipe mine down with a paper towel dampened with lemon juice or white vinegar just to be safe.
Let the egg whites sit on the counter until they reach room temperature. Cold whites are stiff and won’t expand properly. Once they are at room temperature, add your cream of tartar and salt. The cream of tartar is an acid that stabilizes the protein structure of the egg whites. It is the insurance policy that keeps your cake from weeping in the oven.
Visual Peak Guide: Soft vs. Stiff vs. Overbeaten
This is where most people panic. You need to whip the egg whites to soft peaks, not stiff peaks. The meringue is forgiving. Until it’s not.
When you lift the whisk out of the bowl, the peak should form and then gently wilt or flop over at the tip. That is a soft peak. It means the protein structure is strong but still has enough elasticity to expand in the oven. That’s exactly the texture we want.
If the peak stands straight up like a sharp little mountain, you have reached stiff peaks. This is great for macarons, but bad for angel food cake. Stiff peaks have lost their elasticity. When the heat hits them in the oven, they will snap instead of stretching, causing your cake to collapse. If the mixture looks dry, clumpy, or resembles cottage cheese, you have overbeaten it. You have to start over. Trust me on this.
Step-by-Step Folding Technique
Folding takes patience. You cannot just stir the flour into the meringue. If you do, you will punch out all the air you just spent ten minutes whipping into the eggs. Add the sifted flour mixture in four separate additions.
Use a large flexible spatula. Cut straight down through the center of the bowl, scrape along the bottom, and gently fold the mixture over itself. Rotate the bowl a quarter turn and repeat. It should take about fifteen gentle folds per addition. Stop the exact second the dry streaks of flour disappear. Overmixing develops gluten, which is exactly what makes a homemade angel food cake chewy instead of tender.
Common Mistakes & Fixes
Mistake: Greasing the tube pan with butter or cooking spray.
Solution: Wash your pan with hot, soapy water to remove any residual oils. The batter needs to cling to dry, bare metal to rise properly.
Mistake: Using cold eggs straight from the refrigerator.
Solution: Cold egg whites will not whip to their maximum volume. Let them sit at room temperature for at least 60 minutes before whipping.
Mistake: The cake deflates immediately out of the oven.
Solution: You likely skipped the inversion step. You must immediately flip the pan upside down to cool. Gravity keeps the delicate structure stretched while it sets.
Cooling & Slicing: The Upside-Down Rule
When you pull the cake from the oven, you will smell that incredible toasted vanilla scent. The top will be a deep, golden brown color. Now for the scary part. You must immediately invert the pan.
Gravity is your best friend right now. The protein structure of the hot cake is highly unstable. If you leave it sitting right-side up, the heavy crumb will collapse under its own weight. Cooling it upside down stretches the cake, keeping it airy and tall. Most tube pans have little feet for this exact purpose. If yours doesn’t, invert the center tube over the neck of a heavy glass wine or liquor bottle. Well, a heavy glass bottle of any kind. Let it hang there for a full two hours until it is completely cold.
When it is time to serve, run a thin knife around the edges to release it. Never use a standard chef’s knife to slice it. You will just crush the spongy crumb. Use a sharp serrated knife with a gentle sawing motion. The sound of the knife sawing through that crust is pure magic.
What to Do with 12 Leftover Egg Yolks
You will have twelve leftover egg yolks. Do not throw them away. That is basically a crime in my kitchen. You can use them to make a rich lemon curd, a classic vanilla bean custard, or a batch of homemade ice cream.
Store them in an airtight container in the fridge. I like to add a tiny splash of water on top of the yolks before sealing the lid. This prevents that weird, hard skin from forming on the surface. They will keep perfectly for about two days. If you want a quick fix, make a shortcut hollandaise sauce for weekend brunch.
High-Altitude Baking Tips for a classic angel food cake recipe from scratch
Baking at high altitude in places like Denver or the mountains outside LA requires some serious adjustments. The lower air pressure means the air bubbles in your meringue will expand too quickly and then violently collapse.
To fix this, whip your egg whites only to very soft peaks. You want less air incorporated from the start. Reduce your superfine sugar by two tablespoons, and add a quarter cup of extra cake flour to strengthen the structure. Finally, increase your oven temperature by 15 degrees to set the cake faster before it has a chance to fall. Fine, but document what you changed so you can replicate it next time.
Frequently Asked Questions
Storage & Serving Your classic angel food cake recipe from scratch
This cake is incredibly versatile. Store it at room temperature in an airtight container for up to three days. I don’t recommend keeping it in the refrigerator, as the cold air tends to dry out the crumb very quickly. If you need to keep it longer, wrap it tightly and freeze it.
When you are ready to serve, keep it simple. A dollop of freshly whipped cream and a handful of seasonal berries is all it really needs. If I’m feeling fancy, I’ll drizzle a little lemon curd over the top. The tartness cuts right through the sweet, airy sponge beautifully.
I know this recipe requires a bit of focus, but the payoff is immense. There is nothing quite like the pride of pulling a towering, snow-white cake out of the pan and knowing you built that structure from scratch. Grab your ingredients, make sure your bowl is clean, and trust the process. You’ve got this.
For more inspiration and baking techniques, browse my Pinterest boards where I save all my favorite variations. I’d love to hear how tall your cake turned out in the comments below.
Reference: Original Source
Can I use a Bundt pan for this classic angel food cake recipe from scratch?
Let’s be clear about this. A Bundt pan simply won’t work. The intricate designs make the delicate cake stick, and the slanted sides prevent the batter from climbing properly. You absolutely need a straight-sided tube pan with a removable bottom for success.
Do I grease the pan before putting in the batter?
Absolutely not. That’s not how this works. The fat-free batter needs to grip the bare metal sides of the pan to rise tall and stay fluffy. If you grease it, the cake will slide right back down and collapse completely.
Can I freeze my classic angel food cake recipe from scratch?
Yes, you certainly can. Wrap the completely cooled cake tightly in a double layer of plastic wrap, followed by aluminum foil. It keeps beautifully in the freezer for up to three months. Just thaw it overnight in the refrigerator before serving.
Why do I need to use a tube pan?
The center tube conducts heat straight into the middle of the heavy batter. Without it, the outside would burn before the inside ever baked. Plus, the straight sides give the egg whites the necessary traction to climb and expand.
Why is it important to turn my angel food cake upside down?
Gravity is your friend here. The delicate protein structure of the egg whites is highly unstable while hot. Cooling it upside down stretches the crumb, preventing the cake from collapsing under its own weight as it cools down.
Why is my classic angel food cake recipe from scratch falling apart?
You likely sliced it with a standard chef’s knife or didn’t let it cool completely. Always wait the full two hours. Then, use a sharp serrated knife with a gentle sawing motion to slice without compressing that delicate, spongy texture.
Why is my homemade angel food cake chewy?
A chewy texture usually points to overmixing the batter or an incorrect sugar-to-flour ratio. If you fold too aggressively, you develop the gluten in the cake flour. Fold gently just until the dry ingredients disappear, and always measure carefully.