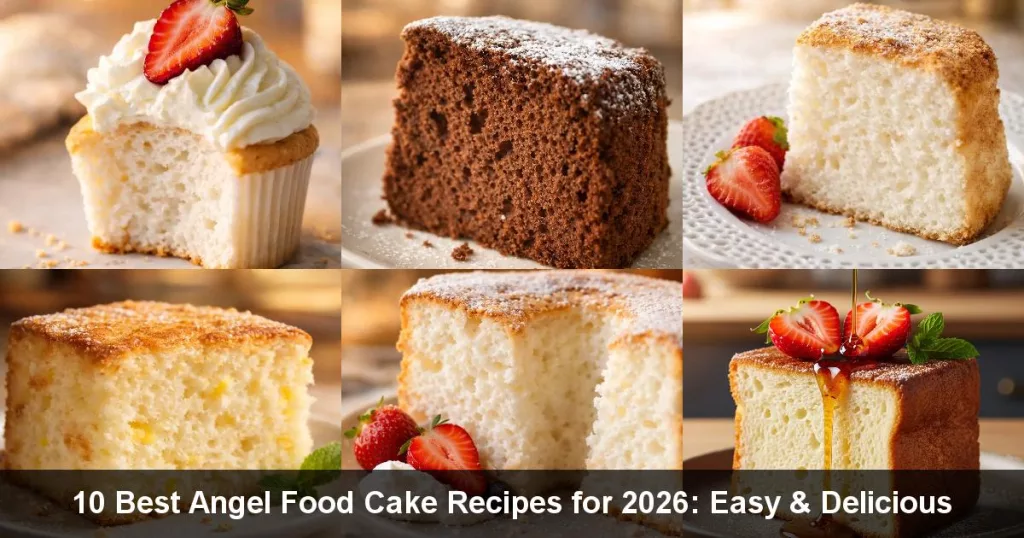
Light Airy Chocolate Angel Food Cake Recipe
Ingredients
Method
- Preheat the oven to 350°F and adjust the racks to ensure the cake sits in the center of the oven.
- Ensure all equipment is completely grease-free by thoroughly scrubbing even clean items, as any residue will ruin the cake.
- Sift the powdered sugar, flour, and cocoa together three times and set aside.
- Combine the egg whites, cream of tartar, vanilla, and salt in a mixing bowl.
- Beat the mixture at high speed.
- Gradually add the sugar in a slow, steady stream once the egg whites become foamy, keeping the beaters running.
- Continue beating on high speed until stiff peaks form.
- Gently fold the dry ingredients into the egg whites 1/2 cup at a time, taking care not to stir.
- Add the next 1/2 cup of dry ingredients once the previous addition is halfway incorporated.
- Repeat the process until all dry ingredients are fully incorporated.
- Gently spoon the batter into an ungreased 10-inch two-piece tube pan.
- Run a sharp knife in a circle through the batter to level it and remove large air bubbles without deflating the mixture.
- Bake at 350°F in the center of the oven for 35 minutes.
- Immediately invert the pan onto a wire rack to cool after removing it from the oven.
- Leave the cake in the pan to cool completely while inverted.
- Turn the pan upright once cooled and run a sharp knife around the outer and inner edges.
- Remove the outer ring of the pan and then carefully detach the cake from the center piece.
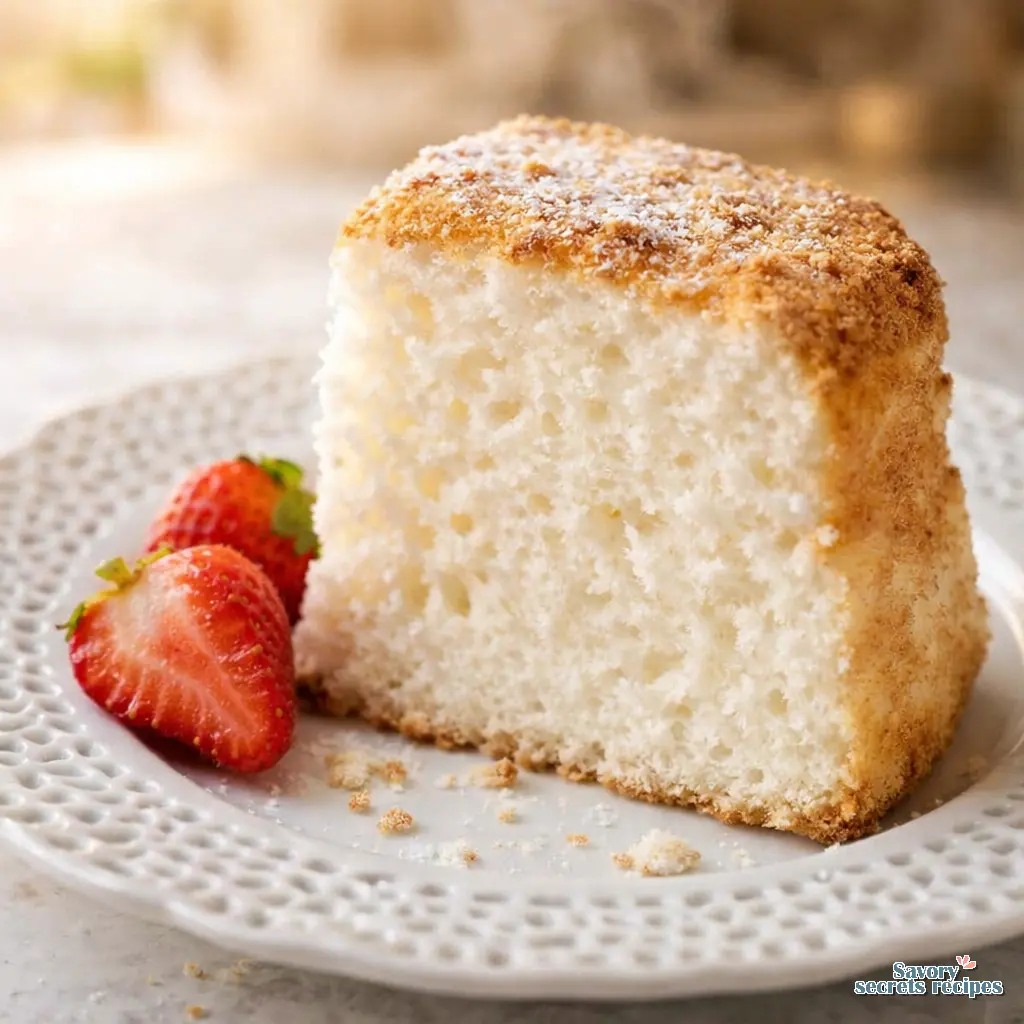
- Slice the cake with a serrated knife and serve with fresh fruit and whipped cream.
Nutrition
Notes
- Be sure to clean your equipment well. Any grease will break your egg whites.
- A 2-piece 10-inch tube pan is preferred for this recipe. This cake is fairly difficult to remove from a 1 piece tube pan in 1 piece.
- Out of cream of tartar? Sub ½ teaspoon Lemon Juice or ½ teaspoon White Vinegar instead.
- Mexican - sift 1-2 teaspoon Ground Cinnamon with the cocoa.
- Dark Chocolate - Sub equal amount of black cocoa for regular cocoa.
The Best of Both Worlds: A Chocolate Angel Food Cake Recipe
I remember standing on a wooden stool in my teta’s kitchen in Heliopolis, watching her fold butter into dough. She would count the folds in Arabic. I was seven and thought I was learning numbers, but I was actually learning ratios. That early lesson in precision stayed with me. Finding the perfect chocolate angel food cake recipe took me years of testing. You want that deep chocolate color and taste, but you also need that signature ethereal fluffiness. Most attempts at a fat free chocolate cake end up tasting like a dense sponge. We are fixing that today.
Let me think through this. People assume angel food has to be vanilla. They worry that adding heavy cocoa powder will destroy the delicate meringue. I’ve seen this go both ways in my Jersey City kitchen. But with the right technique, you get a decadent, velvety dessert that remains entirely guilt free. It is the perfect light dessert for spring, especially when you pair it with fresh California strawberries or a simple raspberry coulis. Let’s break down exactly how to make this work.
The Science of Stabilizing Egg Whites
Your egg whites are the foundation of this entire chocolate angel food cake recipe. This is where most recipes skip the detail. You need to separate your eggs while they are cold. Cold yolks hold together better, meaning they won’t accidentally break into your whites. Even a tiny speck of yolk fat will ruin your meringue. Once separated, let those whites sit on the counter for about 30 to 45 minutes. Room temperature egg whites whip up to a much higher volume than cold ones.
Now, let’s talk about convenience versus tradition. I prefer working with weight measurements exclusively, but I also know weeknights are busy. You can absolutely use a 16 oz carton of liquid egg whites for convenience and less waste. The tradeoff? Carton whites are pasteurized, which changes their protein structure slightly. They take longer to whip. If you use them, you must add your cream of tartar and vanilla extract early in the beating process. This stabilizes the foam so you don’t over-stir later. The smell shifts right before it’s done, taking on a sweet, marshmallow-like aroma. Watch for soft peaks that gently fold over at the tip.
Sifting and the Dutch-Processed Cocoa Tradeoff
Here’s what I’m noticing. A lot of home bakers skip sifting. You can’t do that here. Sifting is even more important in a chocolate angel food cake recipe than in the classic vanilla version. Cocoa powder is heavy. If you don’t aerate it, it will drag your egg whites down instantly. You need to sift your dry ingredients (the flour, cocoa, and powdered sugar) multiple times. I usually do it three or four times. It sounds tedious, but it creates the chocolate air texture we want.
You also have a choice to make with your cocoa. Natural baking cocoa is acidic and gives a sharper, fruitier chocolate flavor. Dutch-processed cocoa has been treated to neutralize its acidity. It gives you a darker, richer color and a smoother, milder taste. I prefer Dutch-processed for a dark chocolate angel food cake. Because we are adding bitter cocoa, we increase the vanilla extract to balance the flavor profile. The batter will take on this incredible malted smell right as you finish mixing the dry ingredients.
Step-by-Step Folding Guide: Keeping the Ethereal Lift
This is the detail that changes everything. Once your egg whites are perfectly whipped, transfer them to a larger bowl before adding your flour mixture. A cramped bowl makes folding impossible. You’ll end up deflating the batter just trying to scrape the bottom.
Your hands know before your eyes do. Use a large flexible spatula. Sprinkle about a quarter of the sifted cocoa mixture over the whites. Cut straight down the middle, scrape along the bottom, and fold the mixture over. Turn the bowl a quarter turn and repeat. You want to be incredibly gentle. Halfway through, you’ll see a beautiful marbled batter with thick chocolate swirls in the white foam. Stop folding the exact second the last streak of flour disappears. Over-mixing deflates the air bubbles needed for lift. The dough will tell you when it’s ready.

The Golden “No-Grease” Rule for Angel Food
I need to test that assumption every time I see a new baker grab the cooking spray. Do not grease your tube pan. I repeat, step away from the butter. A chocolate angel food cake recipe relies entirely on the batter clinging to the sides of the pan to rise. If the pan is slippery, the cake will slide right back down and collapse into a dense, rubbery disk. Use a perfectly clean, dry, ungreased aluminum tube pan with a removable bottom.
Visual Troubleshooting Guide: Why Did My Cake Sink?
Mistake: Using a dirty bowl for the egg whites.
Solution: Any trace of fat prevents egg whites from whipping. Wipe your glass or metal bowl with a paper towel dipped in white vinegar before starting.
Mistake: Greasing the tube pan.
Solution: As mentioned, the batter needs to climb. Wash your pan thoroughly with grease-cutting soap and dry it completely. Never use non-stick spray here.
Mistake: Over-mixing the batter.
Solution: The cocoa powder is heavy. Fold only until the streaks disappear. If you keep stirring to make it perfectly uniform, you’ll punch out all the air.
Mistake: Cooling the cake right-side up.
Solution: The delicate structure will crush under its own weight while warm. You must cool it upside down immediately.
Cooling Upside Down Instructions
Temperature matters more than time here, but gravity matters most. The moment you pull your dark, crackly top cake from the oven, you have to invert it. Most traditional tube pans have little metal feet on the rim for this exact purpose. If yours doesn’t, flip the pan upside down and slide the center tube over the neck of a heavy glass bottle.
Let it hang there for at least two hours until it is completely cool. I know the anticipation is high. The smell of chocolate is filling your kitchen, and you want to cut into it. Give it another ten minutes just to be safe. If you try to remove a warm cake from the pan, it will tear into pieces. Once cool, run a thin, flexible knife around the outer edge and the inner tube to release it.
High-Altitude Baking Tips for Chocolate Sponge
If you’re baking in a high-altitude area, the lower air pressure means your egg whites will expand too quickly and then collapse. I’ve worked through the variables on this. You’ll want to make a few minor adjustments to your chocolate angel food cake recipe. First, reduce the granulated sugar by about 2 tablespoons to strengthen the cell structure. Second, add 2 to 3 tablespoons of extra all-purpose flour to help set the cake before it over-expands. Finally, increase your oven temperature by 15 degrees Fahrenheit to set the batter faster. You’ll thank me later.
What to Do With Leftover Egg Yolks
This recipe leaves you with about a dozen egg yolks. Please don’t throw them away. I keep a glass jar in my fridge specifically for this. You can make a rich, velvety lemon curd to serve alongside the cake. The tartness cuts through the chocolate beautifully. You can also use them to make homemade mayonnaise, a rich vanilla custard, or a batch of decadent chocolate ice cream. Just store the yolks in an airtight container with a thin layer of water over the top to prevent them from drying out, and use them within two days.

Storage & Freezing Guide for Chocolate Angel Food Cake Recipe
Because this cake is fat-free, it dries out faster than a standard butter cake. Keep it at room temperature in an airtight container for 2 to 3 days. If you need it to last longer, the refrigerator will buy you up to 5 days, though the cold can alter the texture slightly. Make sure it’s wrapped tightly in plastic wrap.
Can you freeze chocolate angel food cake? Absolutely. It freezes beautifully for up to 3 months. I like to slice it first, wrap each piece tightly in plastic wrap, and then place them in a foil pouch or heavy-duty freezer bag. When you want a slice, just let it thaw at room temperature for about an hour. It tastes just as fresh as the day you baked it.
Frequently Asked Questions
Final Thoughts and Serving Suggestions
There’s nothing quite like that first bite of chocolate air. You get the deep, satisfying flavor of cocoa without the heavy, sleep-inducing density of a standard fudge cake. I love serving this chocolate angel food cake recipe with a vibrant raspberry coulis or just a pile of fresh, sliced strawberries from the farmers market. The acidity of the fruit balances the sweet meringue perfectly.
Try it this weekend. Follow the folding rules, don’t grease that pan, and let me know how it turns out. Is it better than the classic vanilla version? I’ll let you be the judge of that. For more inspiration and variations on this technique, check out my Pinterest boards where I save all my favorite baking experiments.
Reference: Original Source
How do you add cocoa powder to angel food cake without it collapsing?
The trick is sifting the cocoa powder with your flour and powdered sugar at least three times to aerate it. Then, fold it into the whipped egg whites extremely gently in four separate batches using a large spatula. Never rush the folding process.
What is the secret to making a light and airy chocolate angel food cake recipe from scratch?
It all comes down to your egg whites. Use room temperature whites for maximum volume, add cream of tartar early to stabilize the foam, and absolutely never grease your baking pan. The batter must grip the dry sides to climb and become airy.
Can I use Dutch-processed cocoa to make a dark chocolate angel food cake?
Yes, you definitely can. Dutch-processed cocoa gives a darker color and a smoother, less acidic chocolate flavor. Just make sure to sift it thoroughly, as it can sometimes clump more than natural baking cocoa. It makes the cake incredibly rich.
What is the best way to serve a chocolate angel food cake with chocolate glaze?
Wait until the cake is completely cool before drizzling a simple chocolate ganache or glaze over the top. Serve it with a side of fresh berries or a tart raspberry coulis to cut through the sweetness. A dollop of lightly sweetened whipped cream is perfect, too.