


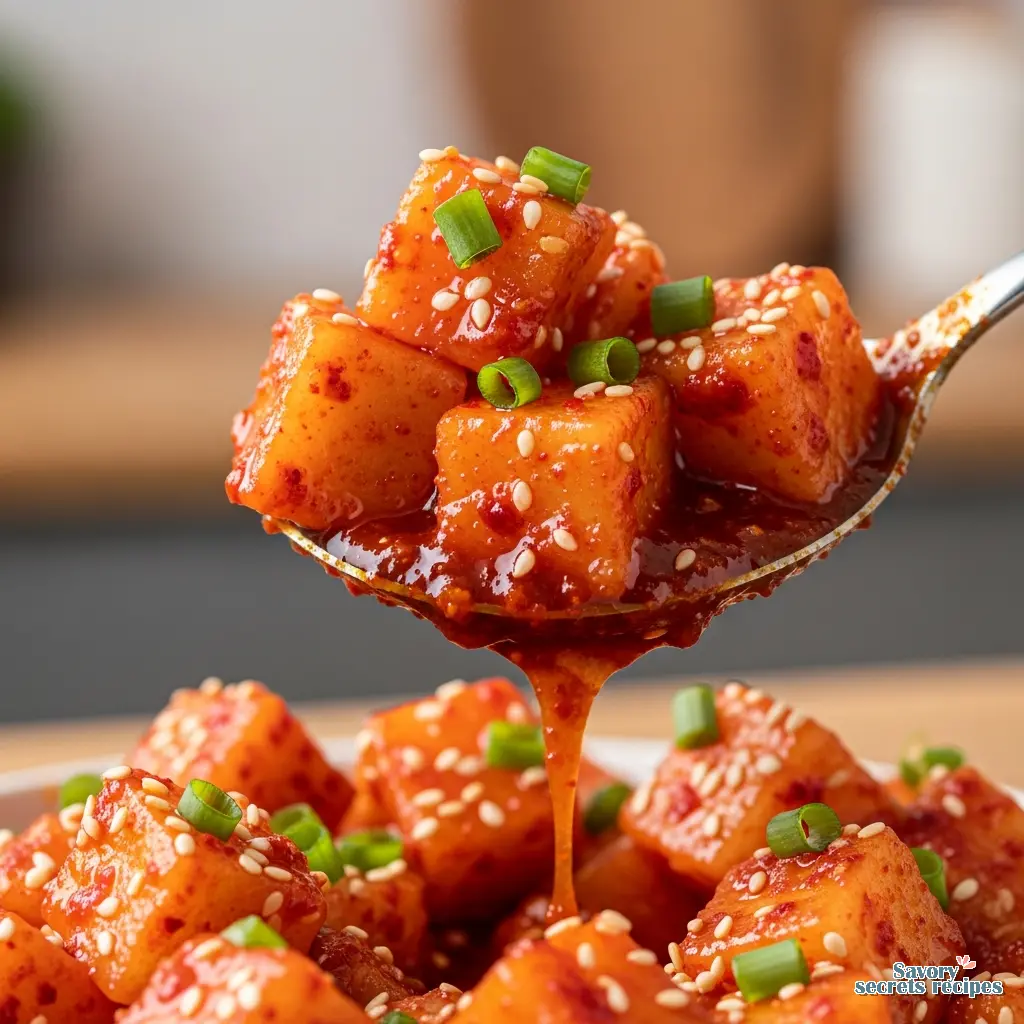
Simple Korean Radish Kimchi Kkakdugi Recipe
Ingredients
Method
- Cut the radish into medium-sized cubes. Place the cubes in a large mixing bowl, add the sugar and salt, and mix thoroughly. Let the mixture sit at room temperature for 1 hour.
- Chop the green onion into small pieces. Blend the onion, apple, and fish sauce in a blender until smooth. Prepare the rice porridge by mixing water and rice flour in a bowl, then microwave for approximately 1 minute until it reaches a mildly runny consistency. Combine all Kimchi base ingredients, excluding 2 tablespoons of Korean chili flakes, in a medium-sized bowl.
- Rinse the radish under cold running water several times and drain thoroughly for 5 minutes.
- Place the radish in a clean mixing bowl and add 2 tablespoons of Korean chili flakes. Mix the chili flakes evenly into the radish. Add the chopped green onion and the prepared Kimchi base, then mix everything thoroughly.
- Transfer the seasoned radish to an airtight glass container and let it sit at room temperature for 6 to 24 hours, depending on the ambient temperature. Store the container in the refrigerator, ideally at 6°C (42.8°F).
Nutrition
Notes
Why You Should Make Daikon Kimchi at Home
Ever wanted to make kimchi but felt intimidated by the whole fermentation thing? I hear you. The idea of leaving a jar of vegetables on your counter for days goes against everything we are taught about food safety in the West. It feels risky. But let me tell you, once you break through that initial hesitation, making **daikon kimchi** (or *kkakdugi* as it is known in Korea) is actually easier than baking sourdough or even making a decent pot of rice. My grandmother Fatima taught me to cook in Casablanca during my childhood summers. She never measured anything. She would just toss spices into the tagine, taste the air, and somehow know it was right. That drove me crazy as a kid because I wanted rules. I wanted exact numbers. But fermentation is a lot like her cooking style. It is about the environment and the feel of it. You do not need a degree in biology to make this work. You just need good radishes, some patience, and the willingness to let nature do the heavy lifting. Plus, the stuff you buy at the store? It has often been sitting on a shelf for weeks, losing that effervescent fizz that makes fresh **daikon kimchi** so incredible. When you make it yourself, you get that perfect balance of sweet, spicy, and crunchy that only exists in the first few weeks of fermentation. I have messed this up plenty of times so you do not have to. I have made batches that were too salty, batches that went mushy, and one batch that I am pretty sure exploded because I filled the jar too high. We are going to avoid all that. By the end of this, you will have a jar of bubbly, spicy goodness that tracks perfectly with your gut health goals.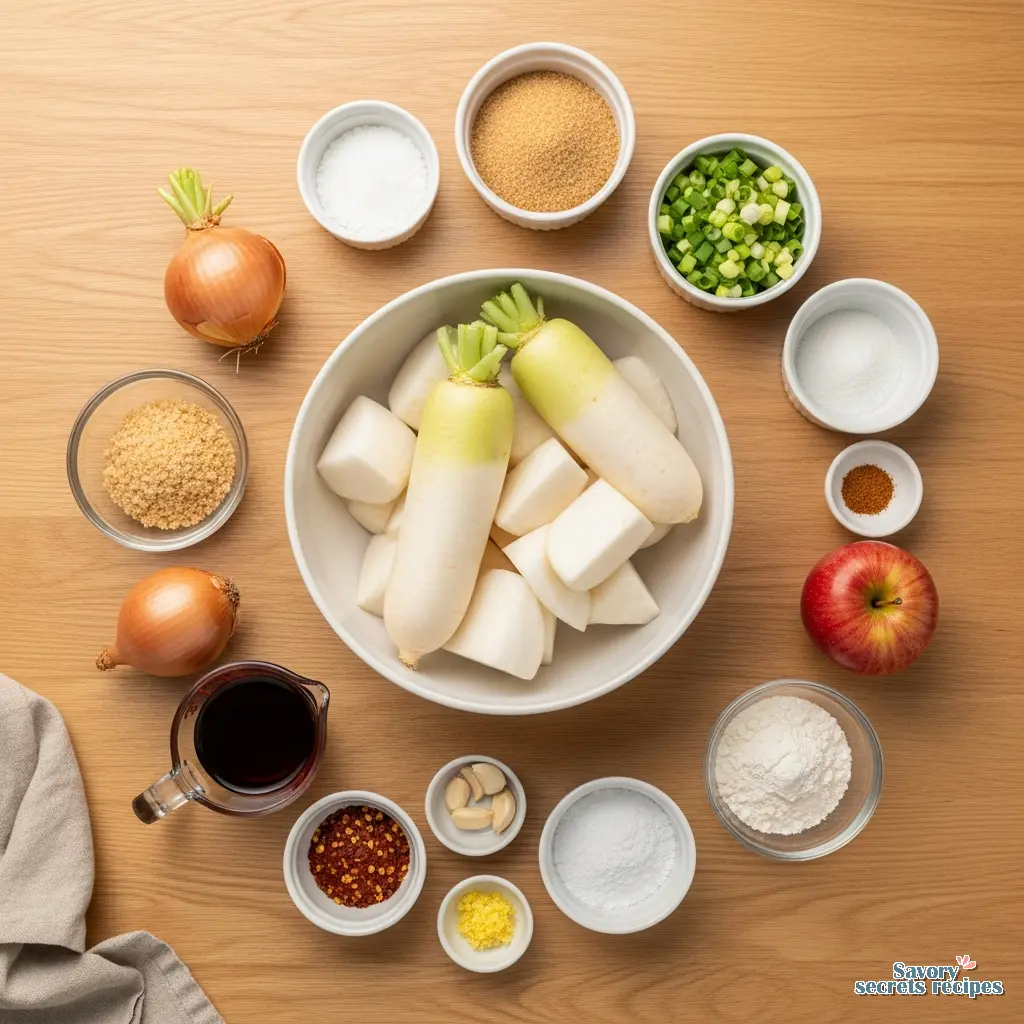
Choosing Your Radish: Korean Radish vs. Daikon
Here is what I would do if I were shopping for this recipe today. I would head straight to a Korean market like H Mart or a good local Asian grocer. You are looking for specific tubers here. There is a difference between the standard “daikon” you see in regular supermarkets and true Korean radish (*mu*). Korean radishes are shorter, rounder, and have a distinctive green shoulder near the stem. They are denser and contain less water than the long, slender Japanese daikon. **Why does this matter?** If you use a watery radish, your kimchi might turn out a bit soft rather than crunchy. Korean radishes stay incredibly crisp even after fermentation. However, let me think about that for a second. If you live in an area where H Mart is a two-hour drive away, do not stress. Regular daikon works just fine. I have used it plenty of times. The trick is just to salt it a little longer to draw out that extra moisture. If you are using regular daikon, just look for the firmest, heaviest ones you can find. Avoid any that feel spongy or have wrinkles on the skin. Also, October to December is peak season for these radishes. That is when they are sweetest and crunchiest. If you are making this in the summer, the radishes might be a bit more bitter, so you might need to adjust your sugar slightly. That tracks with how agricultural seasons work, right?The Science of the Rice Flour Paste
You might look at the ingredients list and wonder, “Why am I making a porridge?” It seems weird to cook rice flour and water into a glue-like paste before adding it to vegetables. But here is the thing. This paste acts as **bait for the probiotics**. Lacto-fermentation relies on Lactobacillus bacteria consuming sugars and converting them into lactic acid. The rice flour paste (often called *chapssal-pul*) provides an easily accessible starch source for those bacteria to feast on immediately. It kickstarts the fermentation process. It also serves a structural purpose. It helps the spicy red pepper mixture stick to the slippery radish cubes. Without it, your seasoning would just slide off and pool at the bottom of the jar. If you are gluten-free, make sure you are using glutinous rice flour (sweet rice flour) or regular rice flour. If you do not have rice flour, I have successfully used all-purpose flour in a pinch, but rice flour gives it a cleaner taste and better texture.Step-by-Step: From Prep to Jar
I am not going to list every single measurement again since the recipe card handles that, but I want to walk you through the *feel* of the process. This is where the magic happens.1. The Cut and The Salt
Peel your radish and cut it into cubes. I usually aim for about 1-inch cubes. If they are too small, they ferment too fast and get soft. Too big, and they are hard to eat. Toss them with the salt and sugar. **Do not skip the sugar here.** It helps draw out the water just as much as the salt does. Let them sit for about an hour. You will see a pool of liquid form at the bottom of the bowl. **Crucial Step:** Do not rinse the radishes after this! Unlike cabbage kimchi where we rinse off the salt, for **daikon kimchi**, we want to keep that brine. Drain the excess liquid into a separate bowl (save about half a cup of it just in case), but do not wash the cubes. You want that seasoning to cling to the salty surface.2. The Seasoning Base
While the radish is sweating, mix your gochugaru (Korean chili flakes), fish sauce, garlic, ginger, and your cooled rice flour paste. I prefer to blend my onion and apple into a puree. It distributes the flavor better than chopping them. The apple adds a natural sweetness that balances the heat. If you want it vegan, swap the fish sauce for a high-quality soy sauce or a kelp-based broth. It works beautifully. **A note on Gochugaru:** Make sure you are buying coarse flakes, not the fine powder used for gochujang paste. And check the color. It should be a vibrant, angry red. If it looks dull or brownish, it is old. Throw it out. Old chili flakes taste like dust and will ruin your hard work.3. Mixing (Gloves Required!)
This is the fun part. Put on disposable gloves. Trust me. I learned this the hard way after mixing a batch with bare hands and then rubbing my eye an hour later. It is not an experience you want to repeat. Massage the paste into the radishes. Really get in there. You want every single face of every cube coated in that red goodness. Throw in your chopped green onions at the very end and give it a gentle toss so you do not bruise them too much.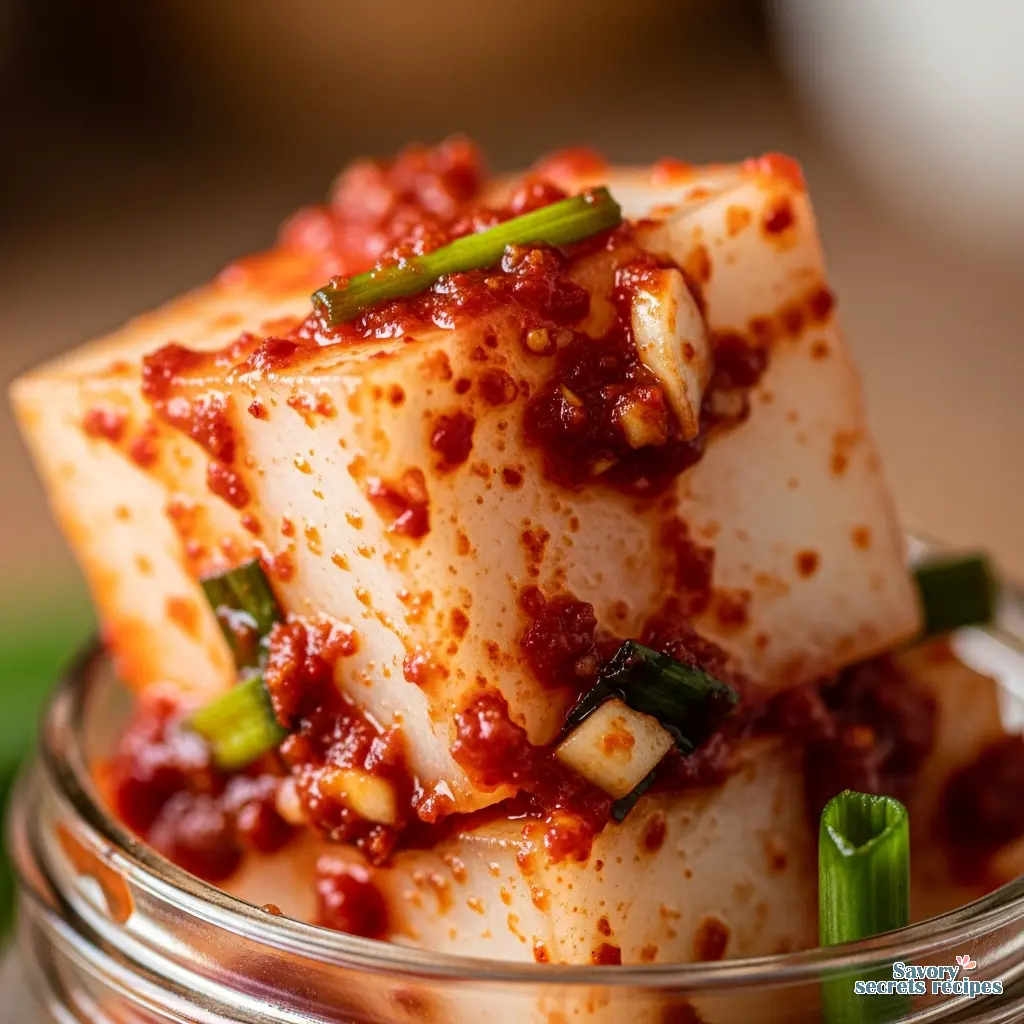
Fermentation: The Waiting Game
Pack the kimchi into a glass jar. Press it down firmly to remove air pockets. Air is the enemy here. You want the radishes submerged in their own juices as much as possible. Leave about an inch or two of headspace at the top. As it ferments, it bubbles and expands. If you fill it to the brim, you will wake up to a red puddle on your counter. **Timeline:** * **Day 1:** Leave it at room temperature. It will just look like seasoned radish. * **Day 2-3:** You will start to see small bubbles rising up the sides of the jar. When you open it, it should smell pungent and slightly sour. Press down on the radishes with a spoon to release gas bubbles. * **Taste Test:** Taste a small piece. If it tastes raw, leave it another day. If it has a pleasant tang, it is ready for the fridge. In my experience, though everyone’s kitchen temperature is different, 24 to 36 hours at room temperature is usually the sweet spot in a standard 70°F home. If your house is cold, it might take 48 hours. If it is a hot Los Angeles summer, 12 hours might be enough.Storage and Serving
Once you move it to the fridge, the fermentation slows down but does not stop. The flavor will continue to develop. I prefer eating **daikon kimchi** after it has been in the fridge for about a week. The flavors meld together, and the radish gets this incredible fizzy texture. It serves perfectly as a side dish to fatty foods. In Korea, this is the classic partner for *Seolleongtang* (ox bone soup) or *Kalguksu* (knife-cut noodles). The acidity cuts right through the richness of the broth. **Storage Tip:** Use glass jars. Plastic containers will stain red forever and smell like kimchi until the end of time. I learned that lesson when I ruined my wife’s favorite Tupperware. I am still hearing about it. Also, keep your kimchi pushed down under the brine. Every time you take some out, use your clean spoon to pack the rest back down. This keeps mold away and keeps the radish crunchy.
Common Mistakes & Fixes
Troubleshooting Your Ferment
Mistake: The kimchi is slimy.
Solution: This usually means the temperature was too high during fermentation. It is still safe to eat if it smells okay, but the texture is not great. Try fermenting in a cooler spot next time.
Mistake: The radish is mushy.
Solution: You might have skipped the salting step or cut the cubes too small. Or, you used a summer radish that was too watery. Stick to firm, heavy radishes. If the fermentation process feels too complex, you might prefer starting with a simpler korean pickled cucumber recipe that requires less time.
Mistake: It tastes bitter.
Solution: Radishes can be bitter in the summer. Add a little more sugar or apple to the paste next time to counteract it. As it ferments, the bitterness often mellows out.
Frequently Asked Questions
Time to Get Fermenting
When you finally crack open that jar of homemade **daikon kimchi** and hear that satisfying little fizz, you are going to feel like a kitchen wizard. It is such a simple process, but the result is complex, spicy, and alive. I would love to hear how your batch turns out. Did you go extra spicy? Did you find the perfect Korean radish? Let me know in the comments. And if you are looking for more ideas on how to use up that giant radish you bought, I share tons of variations on my Pinterest boards if you want ideas. You have just unlocked a new kitchen superpower. Happy fermenting!Reference: Original Source
When is the best time to make radish kimchi?
Late autumn to early winter (October to December) is ideal. This is when Korean radishes are in season. They are naturally sweeter, crunchier, and denser during these months, which leads to a superior fermentation result compared to summer radishes.
What is the difference between Korean radish and Daikon?
Korean radish (*mu*) is shorter, rounder, and has a pale green top. It is denser and less watery than the long, white Japanese daikon. While you can use daikon for **daikon kimchi**, Korean radish stays crunchier for longer.
Why is my kimchi not sticking to the radish?
You likely skipped the rice flour paste or the radishes were too wet. The rice flour acts as a glue. Also, make sure you drain your salted radishes well (but do not rinse them!) before mixing with the paste.
How do I know when it is fermented?
Look for small bubbles rising in the jar and a distinct sour, tangy smell replacing the raw vegetable scent. When you press the radish with a spoon, bubbles should release. Taste it it should be tangy, not just salty.
Can I use regular soy sauce instead of soup soy sauce?
You can, but soup soy sauce (guk-ganjang) is saltier and lighter in color, adding depth without darkening the kimchi too much. If using regular soy sauce, you might need to add a pinch more salt to compensate.
How long does it stay good in the fridge?
It stays edible for months, but the flavor changes. For the best crunchy texture, eat it within the first 3 to 4 weeks. After that, it becomes very sour and softer, which is perfect for making kimchi stew (*jjigae*).


