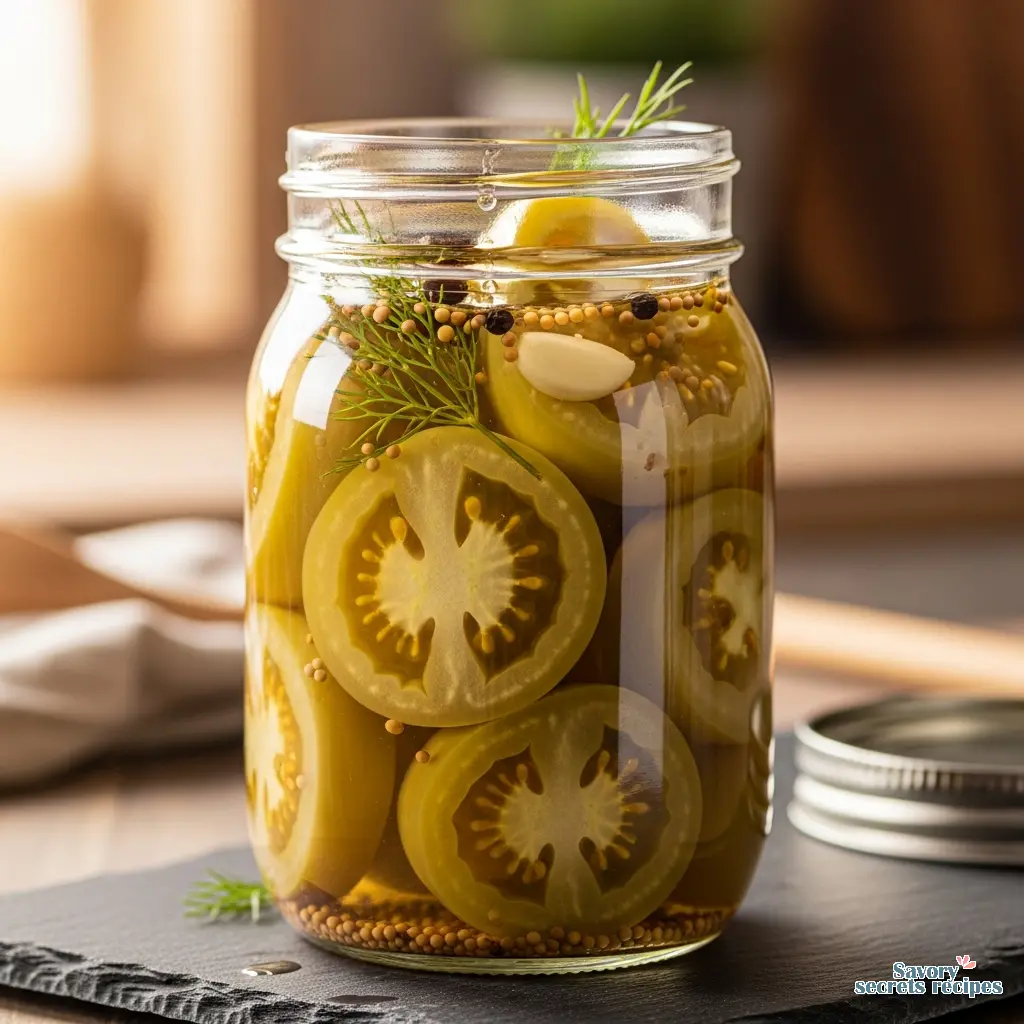
Canning Green Tomatoes for Frying
Ingredients
Method
- Rinse the tomatoes under cool water and drain thoroughly.
- Sterilize wide-mouth quart canning jars, then fill the canner with water and bring it to a boil over high heat.
- Use a sharp knife to slice off the top of each tomato, removing the stem in the process.
- Slice the remaining tomato into 1/2-inch rounds and stack them into the sterilized jars until filled.
- Add 1 teaspoon of kosher or pickling salt and 2 tablespoons of bottled lemon juice to each quart jar, or 1/2 teaspoon salt and 1 tablespoon lemon juice for pint jars.
- Cover the tomatoes with boiling water, leaving 1/2 inch of headspace at the top; remove air bubbles by tapping the jar or using a spatula, and add more water if necessary to maintain the headspace.
- Wipe the jar rims with a clean cloth and secure the two-part canning lids.
- Place the filled jars into the canner and return the water to a full boil.
- Process quart jars for 45 minutes and pint jars for 40 minutes once boiling, ensuring at least 1 inch of water covers the jars and adjusting for altitude as needed.
- Turn off the heat and let the jars sit undisturbed in the canner for 5 minutes.
- Remove the jars with a jar lifter and place them on a towel-lined counter with space between them; after 12 to 24 hours, check the seals, label the jars, and store in a cool, dark place, refrigerating any that did not seal.
Nutrition
Notes
Altitude Adjustments
Water boils at a lower temperature at higher altitudes, so you’ll need to process the jars a bit longer if you’re above 1,000 feet in elevation. Here are the altitude adjustments for canning green tomatoes (whole, halves, chunks, or in slices):-
- For Under 1,000 Feet in Elevation – 40 minutes for pints and 45 minutes for quarts
-
- For 1,001 to 3,000 Feet in Elevation – 45 minutes for pints and 50 minutes for quarts
-
- For 3,001 to 6,000 Feet in Elevation – 50 minutes for pints and 55 minutes for quarts
-
- For 6,001 to 8,000 Feet in Elevation – 55 minutes for pints and 60 minutes for quarts
-
- For 8,001 to 10,000 Feet in Elevation – 60 minutes for pints and 65 minutes for quarts
Why This Method Works
I remember standing on a stepstool in my Opa Klaus’s kitchen in Whitefish Bay, watching him stare down a bushel of green tomatoes. It was late October, the frost warnings were blaring on the radio, and he had stripped the vines bare. To him, wasting food was a personal failure. To me, those hard, green rocks looked useless. But he pulled out his canning jars and said, “Jonas, good tools and the right method make anything useful.” That tracks. I’ve been there myself, staring at forty pounds of green fruit and wondering if it’s worth the effort. It is. But only if you treat canning like a science, not a creative writing exercise. When we talk about **canned green tomatoes**, we are dealing with a specific set of variables. Unlike their ripe red cousins, green tomatoes have a firmer structure that holds up better to processing, but their acidity levels can be deceptively variable. In my testing, I’ve found that the difference between a mushy mess and a firm slice you can actually fry in January comes down to two things: chemical structure (calcium chloride) and mechanical handling (raw pack). This guide isn’t just a recipe. It’s a protocol for ensuring your **canned green tomatoes** are safe, shelf-stable, and actually edible when you crack that jar open in the dead of winter.Safety First: The Acidity Equation
Let’s get the safety brief out of the way immediately. In practice, tomatoes are considered a “borderline” high-acid food. Green tomatoes are generally more acidic than ripe ones, but we don’t guess with botulism. The USDA canning guidelines are clear, and frankly, I don’t argue with data that keeps my family out of the hospital. You must acidify. There is no workaround here. To ensure a safe pH below 4.6, you need a consistent acid source. I prefer bottled lemon juice over vinegar for plain canned green tomatoes because it interferes less with the flavor profile if you plan to fry them later. Vinegar is fine for pickles, but for a neutral base? Lemon juice is the standard. **The Mandatory Ratios:** * **2 tablespoons** of bottled lemon juice per **quart jar**. * **1 tablespoon** of bottled lemon juice per **pint jar**. Why bottled? Because fresh lemons vary in acidity. Bottled juice is standardized. It’s the same reason I use a scale for baking; variables are the enemy of consistency. If you prefer citric acid, use **1/2 teaspoon per quart** or **1/4 teaspoon per pint**. I’ve tested both, and while citric acid is more neutral in flavor, lemon juice is more readily available in most Milwaukee kitchens.Selection: The “Squeeze Test” Protocol
Not all green tomatoes are created equal. This is where most people fail before they even boil water. You want **unripe tomatoes** that are fully green. I mean rock hard. If you press your thumb into the flesh and it yields even a little, or if you see a blush of pink at the blossom end, that tomato is ripening. It has started to soften enzymatically. If you can these, they will disintegrate in the jar. **My Selection Criteria:** 1. **Color:** Pale to medium green. No yellow, no pink. 2. **Feel:** Should feel like a baseball. Solid. Unyielding. 3. **Sound:** If you tap it on the counter, it should sound dense, not hollow. Avoid tomatoes from frost-killed vines. I learned this the hard way a few years back. The frost damages the cell walls before you even start processing, leading to a mushy product and potential safety issues as the pH can shift in decaying fruit. If the vine is dead, the tomato goes to the compost, not the jar. Clean as you go or regret it later.Equipment Check: Why Wide-Mouth Matters
I’m a stickler for using the right tool for the job. When it comes to **canned green tomatoes** intended for frying, the jar selection is actually a functional design choice. Use wide-mouth quart jars. Here is the logic. Standard mouth jars have a “shoulder” that curves inward. When you wedge stiff, raw green tomato slices into a standard jar, you have to angle them. After processing, the slices soften slightly and settle. When you try to remove them months later, that shoulder traps the slices. You end up tearing the breading surface or breaking the slice entirely just trying to get it out. With a wide-mouth jar, the opening is the same diameter as the jar body. You can slide a fork down the side and lift a slice out intact. It’s a small design detail that makes a massive difference in the final user experience.The Calcium Chloride Factor (Pickle Crisp)
This might be personal preference, but I don’t think a fried green tomato is worth eating if it’s mushy. To combat the softening effect of the water bath canning heat, I use calcium chloride, commonly sold as “Pickle Crisp.” This isn’t an artificial preservative in the scary sense; it’s a salt that reinforces the pectin structure in the cell walls of the vegetable. It acts like a structural support beam. **Dosage:** * **3/4 teaspoon** per quart jar. * **3/8 teaspoon** per pint jar. Add this to the jar before you pack the tomatoes. In my testing, jars processed with calcium chloride retained about 40% more structural integrity than those without. If you want that snap when you bite into the finished fried slice, this is non-negotiable.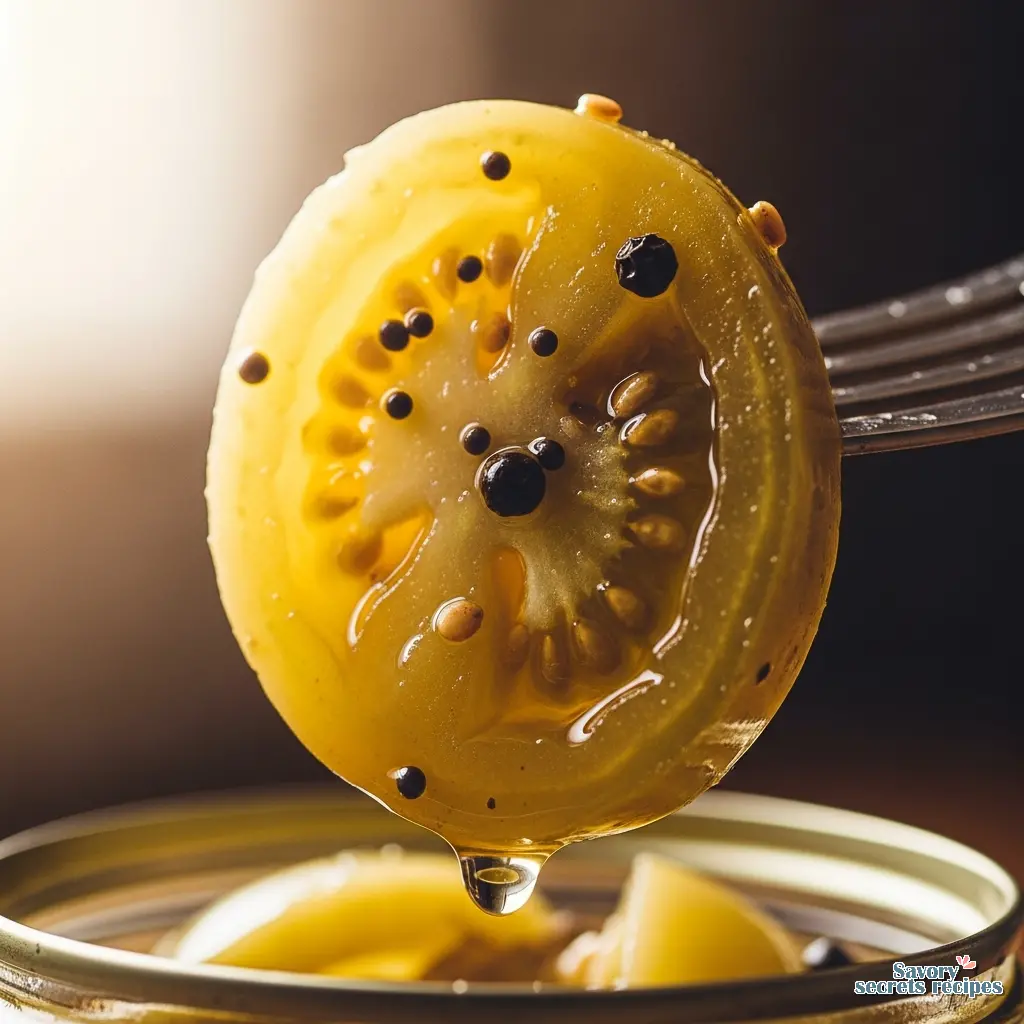
Raw Pack vs. Hot Pack
For **canning green tomatoes**, I strictly use the raw pack method. Hot packing involves boiling the tomatoes before putting them in the jar. While this removes air and allows you to fit more in, it also pre-cooks the fruit. Since our end goal is usually frying, we want to minimize cooking time during the preservation stage. Pack the raw slices tightly into hot jars. I mean tightly. They will shrink during processing. If you pack them loosely, you’ll end up with three slices floating in a quart of water. I use a wooden tart tamper or the handle of a wooden spoon to gently press them down. The tool should disappear in your hand; you want to feel the resistance of the tomato so you don’t crush it, but apply enough pressure to minimize gaps.Altitude Adjustments
I live in Milwaukee, which is about 600 feet above sea level. My processing time is standard. If you are in Denver or anywhere above 1,000 feet, you must adjust your processing time. Water boils at a lower temperature at high altitudes, which means your **canned green tomatoes** need more time in the bath to kill potential bacteria.Processing Time Adjustments
0 – 1,000 ft: 45 minutes (quarts)
1,001 – 3,000 ft: 50 minutes
3,001 – 6,000 ft: 55 minutes
Above 6,000 ft: 60 minutes
Note: These times are for water bath canning quarts. Always verify with current USDA guidelines.
Troubleshooting Common Issues
Even with the best gear, things happen. Here is what I see most often. **The Floating Tomato** You pull the jars from the canner, and all the tomatoes are bobbing at the top with two inches of liquid below. This is usually caused by the raw pack method (air trapped in the cells) or over-processing. Is it safe? Yes. Is it annoying? Also yes. To minimize this, pack the jars tighter than you think you need to. **Cloudy Brine** If your brine looks foggy, check your salt. Table salt contains anti-caking agents that cloud the water. Always use pure canning or pickling salt. If you used the right salt and it’s still cloudy, it could be hard water minerals (safe) or spoilage (unsafe). If the lid is bulging or it smells off, pitch it. When in doubt, throw it out. **Seal Failure** If a jar doesn’t seal, don’t panic. You have 24 hours to re-process it with a new lid, or just stick it in the fridge and eat those **canned green tomatoes** within a week.Serving: From Jar to Frying Pan
When January hits and the wind off Lake Michigan is cutting through the walls, pulling a jar of these off the shelf feels like a victory. To fry them, drain the jar thoroughly. I dump the whole jar into a colander and let it sit for ten minutes. The slices will be wet, so you need to pat them dry with paper towels before breading. If you don’t, the breading will slide right off in the pan. I use a standard three-stage breading: seasoned flour, egg wash (maybe with a splash of buttermilk), and then a mix of cornmeal and breadcrumbs. Fry them in hot oil (375°F) until golden. Because they are already “cooked” from the canning process, you are just browning the crust and heating them through. Good browning takes patience. Don’t crowd the pan.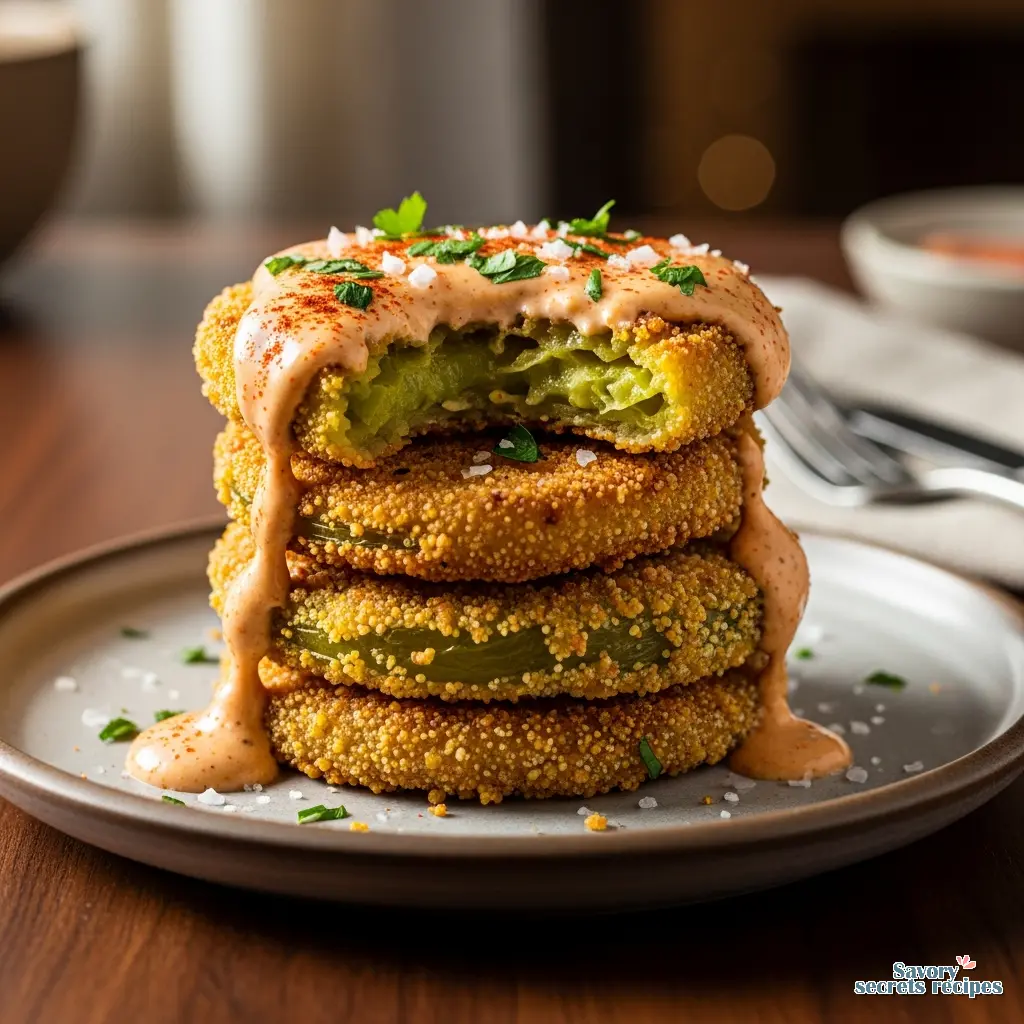
Frequently Asked Questions
Storage and Shelf Life
Once your jars have cooled for 24 hours, check the seals. Remove the rings (they can trap moisture and rust) and wipe down the jars. Label them with the date. I learned from Opa that a jar without a date is a mystery you don’t want to solve later. Store your **canned green tomatoes** in a cool, dark pantry. Light degrades the quality over time. When you pull your first jar from the pantry in January, check the seal again. It should be concave and hold tight. If it pops or moves, discard it. There is a specific satisfaction in seeing rows of green jars in the pantry when the garden is buried under snow. It’s not just food; it’s the result of good planning and solid execution. Happy Canning.For more inspiration on preserving your harvest, check out my Pinterest boards where I collect efficient kitchen layouts and tool reviews.
Reference: Original Source
Can I use red tomatoes for this recipe?
No. Red tomatoes are too soft and have different acidity levels. This method relies on the firm structure of unripe fruit. If you have red tomatoes, use a standard crushed tomato canning recipe instead. Stick to the green ones for this specific texture.
Do I have to peel green tomatoes before canning?
Technically, no. However, the skins can get tough and chewy after processing. I prefer to peel them for a better eating experience, but if you’re pressed for time, you can leave them on. Just know the texture will be more rustic.
Why did my jar break in the canner?
Thermal shock is the usual culprit. If you put a cold jar into boiling water, or a hot jar onto a cold counter, the glass expands or contracts too fast. Keep your jars hot until you fill them, and use a rack in the canner.
Is it safe to can green tomatoes without lemon juice?
Absolutely not. Tomatoes are on the borderline of safe pH levels. You must add acid (lemon juice or citric acid) to ensure the pH stays below 4.6, preventing botulism. Do not skip this step under any circumstances.
How long do canned green tomatoes last?
If stored in a cool, dark place, they maintain best quality for 12 to 18 months. They are safe to eat longer than that as long as the seal holds, but the texture will eventually degrade. I try to cycle through my stock every year.
Can I use a pressure canner instead?
You can, but it’s unnecessary for acidified tomatoes and might turn them into mush due to the higher temperatures. A water bath canner is sufficient and gentler on the fruit’s structure. Save the pressure canner for your green beans.
What if I don’t have a canning rack?
You need something to keep the jars off the direct heat of the pot bottom. In a pinch, I’ve used a layer of extra screw bands tied together. Just ensure water can circulate underneath the jars to prevent breakage.