


Canned Pickled Tomatoes for Safe Storage
Ingredients
Method
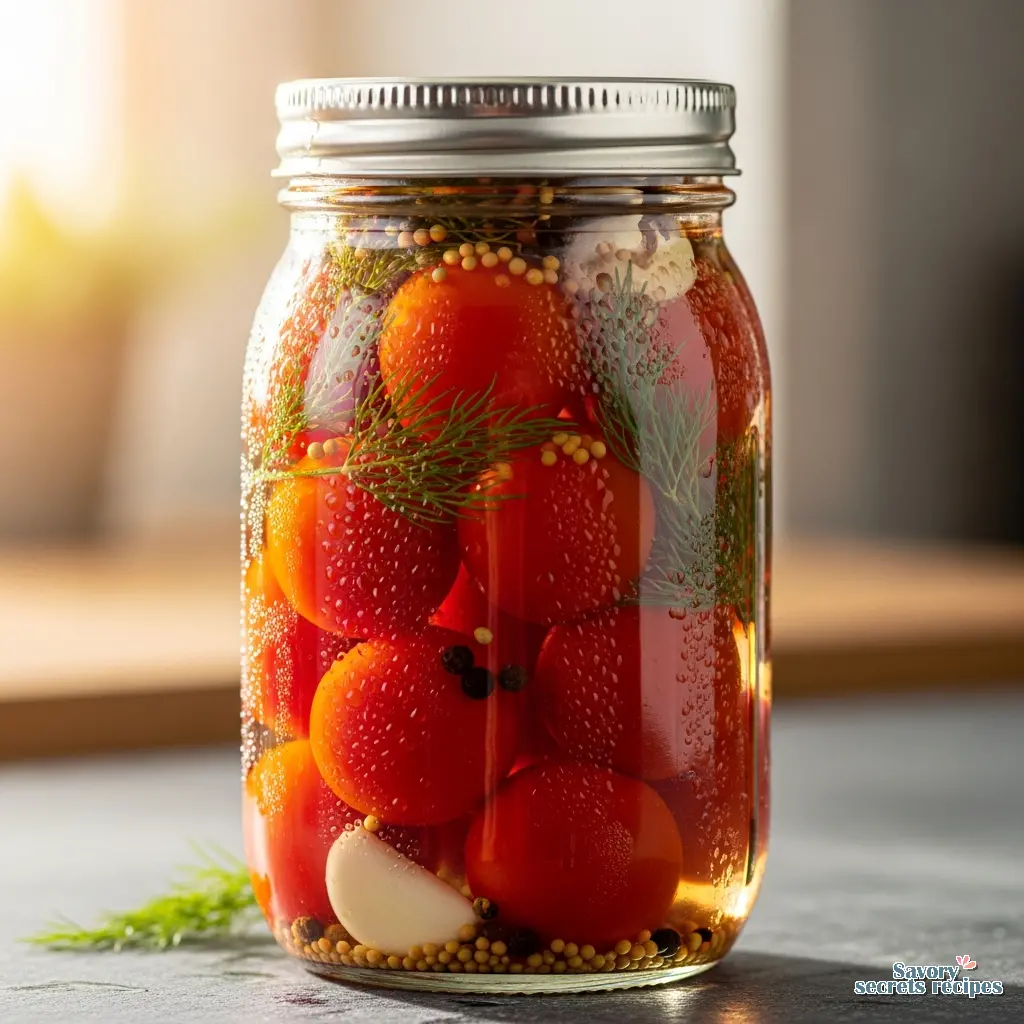
- Pack the tomatoes into sterilized 1-pint jars or a quart jar, leaving a small amount of headspace.
- Combine the vinegar, water, salt, garlic, honey, and peppercorns in a saucepan, bring to a boil, and then remove from the heat.
- Allow the brine to cool slightly, pour it over the tomatoes, and add the rosemary, basil, bay leaves, and optional jalapeños.
- Seal the jars and refrigerate for at least 24 hours to develop flavor, or serve immediately if desired.
- Keep the tomatoes submerged in brine and refrigerated, and consume within 3 months.
Nutrition
Notes
Why I Obsess Over Canned Pickled Tomatoes
I still remember the specific smell of my Babcia Helena’s cellar in Milwaukee. It was a mix of damp earth, dried herbs, and that sharp, sinus-clearing scent of vinegar. She had shelves lined with jars that glowed like jewels in the dim light. While everyone else was fighting over her dill pickles, I was always eyeing the canned pickled tomatoes. They were these bright red bursts of summer that we’d crack open in the middle of a gray February. Now, living here in Minneapolis, I’ve inherited that obsession. But let’s be honest. Tomatoes are tricky. If you don’t get the chemistry right, you end up with a jar of mush that’s safe to eat but unpleasant, or worse, a beautiful jar that’s actually a science experiment gone wrong. I’ve spent years testing pH levels and tweaking brine ratios to get this right. I want you to have that “pop” of flavor acidic, savory, slightly sweet without the texture falling apart. Whether you are looking for quick pickled tomatoes to eat next week or shelf-stable ones for next year, the principles are the same. It comes down to precision. And maybe a little bit of patience.The Science of Crispness: Avoiding the Mush
Here is the thing about tomatoes: they want to turn into sauce. Heat breaks down their cell walls, and vinegar softens them further. So, how do we keep canned pickled tomatoes firm? First, variety matters. I see people trying to pickle big, juicy beefsteak tomatoes, and I just want to gently stop them. Those are for sandwiches. For pickling, you need structure. I almost exclusively use cherry or grape tomatoes, or very small, firm Romas. Their skin-to-flesh ratio is higher, which acts like a little armor against the hot brine. Second, let’s talk about **calcium chloride**. You might see this sold as “Pickle Crisp.” It’s a salt that reinforces the pectin in the vegetable’s cell walls. It is not strictly necessary for safety, but for texture? It makes a huge difference. I always add a pinch (about 1/8 teaspoon per pint) to my jars. Also, prick your tomatoes. I use a sterilized needle or a toothpick to poke a tiny hole in each cherry tomato. This prevents the skins from splitting and peeling off when they hit the hot liquid. It allows the brine to penetrate the tomato without exploding it. It takes extra time, I know. But trust me on this. It’s worth it.Safety First: The Vinegar and pH Equation
I’m going to put my “cautionary editor” hat on for a second. When we talk about canning, we are playing with biology. Botulism is odorless, tasteless, and thrives in anaerobic (oxygen-free) environments with low acidity. Tomatoes are borderline acidic. Some modern varieties are actually quite sweet and have a pH above 4.6, which is the danger zone. This is why you **must** use acid. For this recipe, we rely on **distilled white vinegar** with 5% acidity. Do not use homemade vinegar or salad vinegars unless you know their exact percentage. The ratio I use and I’ve cross-referenced this with USDA guidelines is crucial. We aren’t just making them taste sour; we are acidifying the environment to kill bacteria. The “3:2:1” rule you see on the internet (3 parts vinegar, 2 parts water, 1 part sugar) is a good mnemonic, but for water bath canning tomatoes, I prefer a brine that is at least 50% vinegar to water ratio, sometimes higher depending on the vegetable. For these tomatoes, I stick to a strong brine. Better to err on the side of caution. If it’s too tart when you open the jar, you can always rinse them or cook with them. You can’t fix botulism with a rinse.Equipment: What You Actually Need
You don’t need a fancy canning kit to start, but there are a few tools that make the **boiling water process** safer and less frustrating. * **The Pot:** You need a pot deep enough that your jars can be submerged with at least 1 inch of water *over* the tops. A stockpot works if you have a rack for the bottom. * **The Rack:** Never put glass jars directly on the metal bottom of a boiling pot. They will crack. I’ve had it happen, and cleaning broken glass and hot brine out of a pot is miserable. A round cake cooling rack or a silicone trivet works in a pinch. * **Jar Lifter:** This is the one specialized tool I insist on. Trying to fish boiling jars out with tongs is a recipe for burns or dropped jars. A **magnetic lid lifter** is nice, but the jar lifter is essential. * **Bubble Remover Tool:** You can use a plastic chopstick. Just don’t use metal knives, as they can etch the glass, leading to future breakage.The Process: Water Bath vs. Refrigerator
There are two ways to approach this. **Quick Pickled Tomatoes (Refrigerator Method):** This is the “I want them now” method. You make the brine, pour it over the tomatoes, let it cool, and stick it in the fridge. They are ready to eat in 24 hours and last about a month. The texture stays snappier because you aren’t boiling the tomatoes. **Water Bath Canning (Shelf Stable):** This is for long-term storage. You process the jars in boiling water. 1. **Jar Sterilization:** Wash jars in hot soapy water. Keep them hot until you fill them. I usually keep them in the simmering canning pot. 2. **Headspace:** This is critical. For tomatoes, leave 1/2 inch of headspace at the top of the jar. If you overfill, the food expands and pushes the lid open. If you underfill, you trap too much air, which can lead to discoloration. 3. **The Bath:** Lower the jars into boiling water. Process for 10 minutes (adjusting for altitude). Turn off the heat and let them sit in the water for 5 minutes before removing. This prevents “thermal shock” and siphoning (liquid leaking out).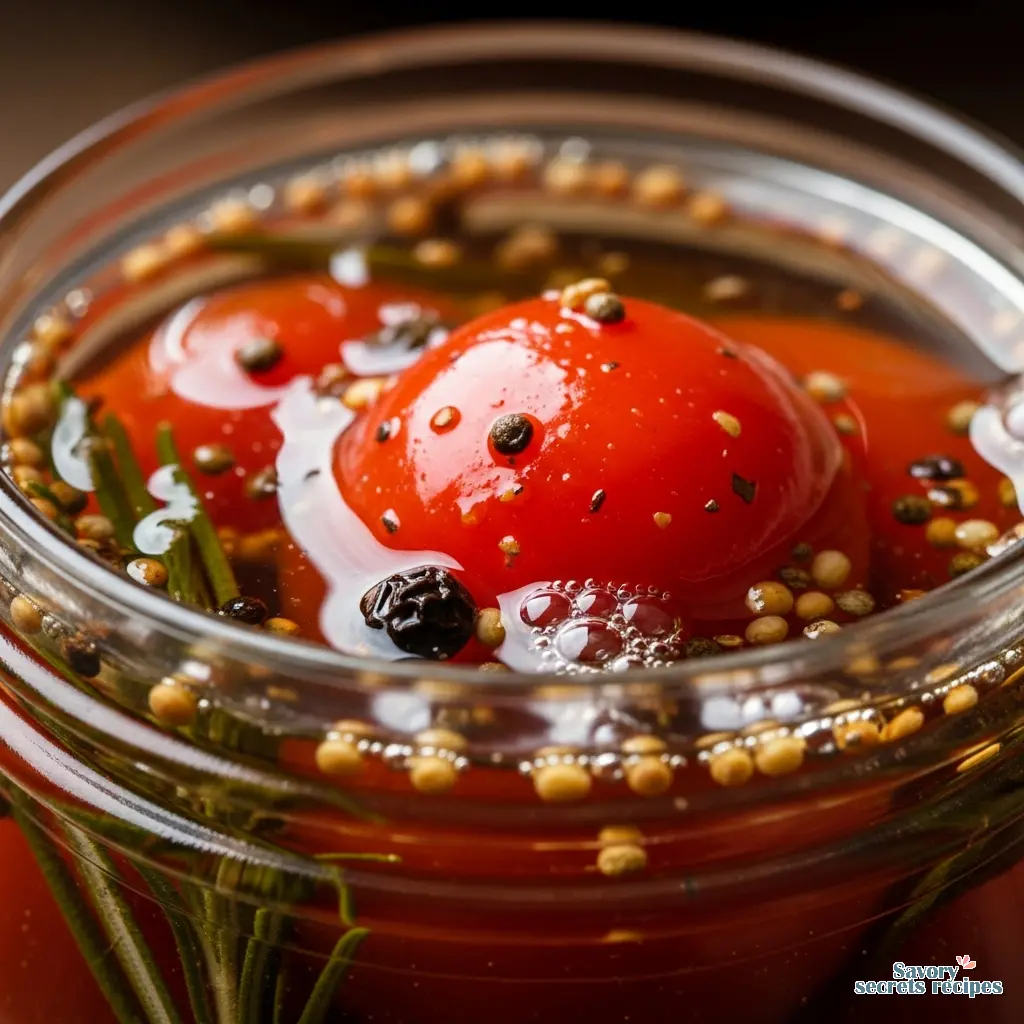
Visual Troubleshooting: Is It Safe?
I get emails about this all the time. “Lina, my brine is cloudy!” or “There’s white stuff at the bottom!” Let’s break it down. * **Cloudy Brine:** This usually happens for two reasons. One, you used **table salt** which has iodine and anti-caking agents. These don’t hurt you, but they make the liquid look murky. Always use **canning salt** or pure kosher salt. Two, it could be spoilage. If the brine was clear and *turns* cloudy later, and the lid is bulging? Throw it out. Do not taste it. * **White Sediment:** A little white dust at the bottom of the jar is often just a reaction between the vinegar and the minerals in hard water. It’s harmless. However, if the sediment is yellow or stringy, that’s bacteria. Goodbye, jar. * **Floating Tomatoes:** This is annoying but safe. It means there was too much air in the tomato tissue. This is why I poke them and pack them tight.How to Actually Eat Them
Okay, you have 12 jars of **canned pickled tomatoes**. Now what? My husband likes them straight out of the jar as a snack, but I think they are more versatile than that. They are incredible on a charcuterie board because the acid cuts through the fat of rich cheeses. I also toss them into pasta salads. Here is a trick I learned: use the brine! Don’t pour it down the sink. That liquid is gold. It’s infused with tomato essence, garlic, and herbs. I use it to make vinaigrettes or mix it into a Bloody Mary mix (virgin or otherwise). It adds a depth you just can’t get from plain vinegar.
Frequently Asked Questions
Storage & Serving
Once your jars have cooled for 24 hours, check the seals. The lid should be concave and not flex when you press the center. Remove the rings (yes, take them off!) so you can easily spot if a lid unseals later. Wipe the jars down and label them with the date. Store them in a cool, dark place. Light is the enemy of color; it will turn your beautiful red tomatoes brown over time. When you open a jar in mid-January, the smell of summer herbs will hit you. It’s the best feeling. I serve these alongside roasted chicken or chopped up in a grain bowl. Honestly, just seeing them on the pantry shelf makes me feel like I’ve got my life together. For more inspiration, check out my Pinterest boards where I collect all my favorite preservation projects.Reference: Original Source
What is the 3/2:1 rule for pickling?
It’s a common ratio of 3 parts vinegar, 2 parts water, and 1 part sugar. However, for canned pickled tomatoes, I prefer a 1:1 ratio of vinegar to water to ensure the acidity is high enough for safety, especially since tomatoes have varying natural pH levels. I always prioritize safety over the mnemonic.
How long do canned pickled tomatoes last?
If processed in a water bath canner and stored in a cool, dark place, they are best consumed within one year for quality. After that, the texture really degrades. Once opened, keep them in the fridge and eat them within two weeks. If you just did the quick fridge method, eat them within a month.
Do pickled tomatoes taste like tomatoes?
Yes, but amplified. Imagine a tomato that went to finishing school. You still get that essential tomato flavor, but it’s brighter, tangier, and savory from the garlic and herbs. They lose some sweetness to the vinegar, but the honey in my recipe helps balance that out beautifully.
How to avoid botulism when pickling?
Botulism prevention comes down to acidity and heat. You must use distilled white vinegar with at least 5% acidity. Do not alter the vinegar-to-water ratio to make it “less sour.” Process the jars for the full recommended time in boiling water. If a lid doesn’t seal or bulges later, discard it immediately.
Can you eat 10 year old home canned food?
Absolutely not. I don’t care what you read on forums. Even if the seal seems intact, the nutritional value is gone, the texture will be mush, and the risk of seal failure over that decade is high. I rotate my pantry every year. If it’s older than two years, it goes into the compost.


