


Vegan Canned Collards Recipe
Ingredients
Method
- Add olive oil, onion, and garlic to a large saucepan. Sauté gently until tender and translucent.
- Stir in chopped collard greens and allow them to wilt. Add a quarter cup of water and cover.
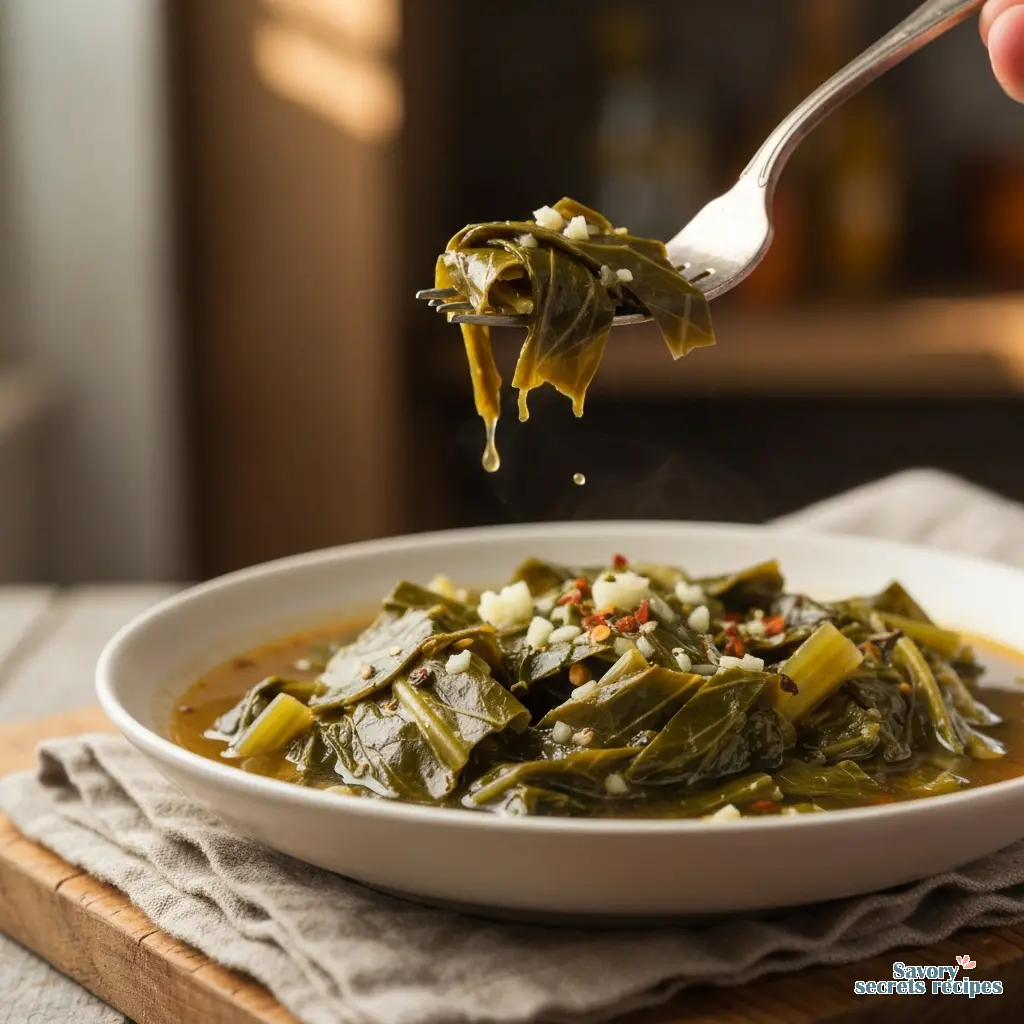
- Cook until greens are completely tender and buttery. Add seasoning, liquid smoke, and Tabasco sauce to taste.
Nutrition
Notes
Why This Canned Collards Recipe Saves Tuesday Night
Let me think about that for a second. It is Tuesday. You have worked a full day. The kids are asking what is for dinner. And honestly? The idea of spending forty-five minutes washing, de-stemming, and chopping fresh greens feels like a marathon you did not train for. I have been there. My avó Helena would spend hours in her kitchen in Somerville prepping kale for soup, but she also did not have a Zoom meeting at 5 PM. That is where this **canned collards recipe** comes in. Here is the thing, though. Canned greens have a bad reputation. People think they are mushy or taste like metal. And if you just dump them into a pot and heat them up? They are right. But as a dietitian and a busy mom, I have learned that with the right technique, you can transform that humble can into a soul food side dish that tastes like it simmered all afternoon. It is about balancing the pH with acid and adding the right fats. This isn’t just opening a can. It is about doctoring up pantry staples to create something that feels homemade. We are going to use aromatics, a little smoke, and the right amount of simmer time to make these greens tender, not mushy. When I make this for my family, the kitchen smells like garlic and smoked paprika, and nobody knows it started with a can opener.Canned vs. Fresh: The Reality Check
I often get asked if a **canned collards recipe** can really compete with fresh. From a nutritional standpoint, the answer is a solid yes. Canning preserves the vitamins right at the peak of freshness. You are still getting that fiber, calcium, and Vitamin K. But let’s talk about the labor. Cleaning fresh collards is a whole Saturday project. You have to rinse them three or four times to get the grit out. You have to strip the tough stems. It is a labor of love. But on a weeknight? I am choosing the can. The texture of canned greens is already soft, which means the “cooking” time is really just “marinating” time. You are infusing flavor rather than breaking down cellulose. This makes them perfect for a twenty-minute timeline. The trade-off is that they can be salty and have that metallic “can” taste. That is what we are going to fix.The Science of Bitterness: Why Vinegar Works
If you have ever tasted greens straight from the can, you know they can be bitter and flat. Taste as you go, your palate is data. That bitterness is natural to the vegetable, but it needs to be tamed. My avó taught me that good food is about balance. In her kitchen, it was wine or lemon. For Southern-style greens, it is vinegar. Here is the science: the acetic acid in apple cider vinegar neutralizes the bitter compounds in the greens. It brightens the flavor profile instantly. But we don’t stop there. We add a pinch of sugar. It tracks with what I have seen in flavor chemistry. You are not making the greens sweet like candy. You are adding just enough sucrose to round out the sharp edges of the vinegar and the bitterness of the greens. It creates that savory, complex “pot liquor” flavor that makes you want to drink the broth from the bowl.Building the Flavor Foundation
To make a **canned collards recipe** taste homemade, you have to build a base. You cannot rely on the liquid in the can alone.The Aromatics
You need onion and garlic. Sautéing them in olive oil (or bacon grease if you have it) releases their sulfur compounds, creating that deep, savory aroma. I usually start with the onions and let them get translucent before adding the garlic so the garlic doesn’t burn.Smoky Flavor Without the Pork
Traditionally, greens are stewed with ham hocks or turkey necks. But we are making this in twenty minutes, not four hours. Plus, I like to keep things plant-forward when I can. I use smoked paprika and liquid smoke. Smoked paprika gives you that earthiness, and liquid smoke provides the campfire depth. It is a really solid option here. If you are vegetarian or watching your saturated fat, this is the way to go. You get all the umami without the heavy meat. Of course, if you have bacon drippings in a jar in the fridge, feel free to use a tablespoon. It adds a layer of richness that is hard to replicate.Step-by-Step: How to Doctor Up Canned Greens
This is where the magic happens. A recipe is a hypothesis until you have tested it three times, and I have tested this one plenty. **1. The Rinse Debate** Should you rinse canned greens? I’d want to double-check that for sodium content, but generally, yes. I rinse them. The liquid in the can is often very salty and can have a metallic taste. I prefer to drain and rinse the greens, then add my own chicken stock or vegetable broth. This gives me control over the salt and flavor. **2. The Sauté** Start with your fat of choice in a medium pot. Add your chopped onions and sauté until soft. Add the garlic and red pepper flakes for the last minute. You want to smell that heat hitting the oil. **3. The Simmer** Add your rinsed greens and your liquid (broth). Add the vinegar, sugar, and seasonings. Bring it to a boil, then drop it to a simmer. Cover it. Let it go for at least 15 to 20 minutes. This is crucial. The greens are already cooked, but they need time to absorb the new flavors. If you rush this, the greens and the broth will taste like two separate things.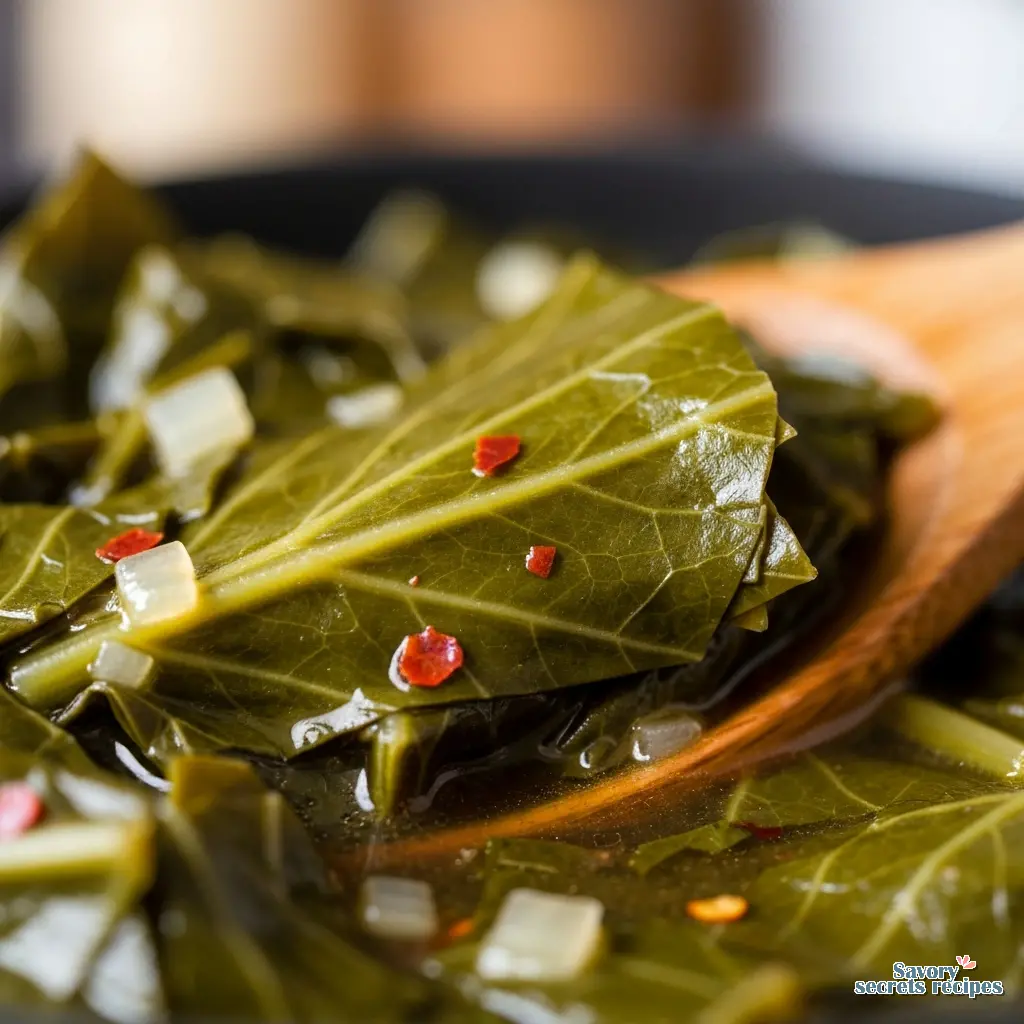
Common Mistakes & Troubleshooting
Even with a simple **canned collards recipe**, things can go sideways. Here is what I have learned from my own kitchen failures.Mistake → Solution
Mistake: The greens taste metallic.
Solution: You likely skipped the rinse or didn’t simmer long enough. Add a squeeze of fresh lemon juice at the very end to cut through that tinny flavor.
Mistake: They are too salty.
Solution: Canned goods are high in sodium. If you used salty broth and added salt, it might be too much. Add a halved potato to the pot and simmer for 10 minutes to absorb some salt, or dilute with a splash of water and a pinch more sugar.
Mistake: The texture is mushy.
Solution: You stirred them too much. Canned greens are delicate. Stir gently only once or twice. Let them simmer undisturbed.
Serving & Meal Prep Ideas
When I make this **canned collards recipe**, I usually double it. It keeps beautifully in the fridge. In fact, like stew, it tastes better the next day after the flavors have melded even more. For serving, you need something to soak up that pot liquor. Cornbread is the classic choice. I sometimes serve it over polenta (my Portuguese roots showing through) or even with a side of rice. **Meal Prep Tip:** Use leftover greens in a frittata. Squeeze the liquid out and mix them with eggs and feta cheese. It is a really solid option for a quick breakfast.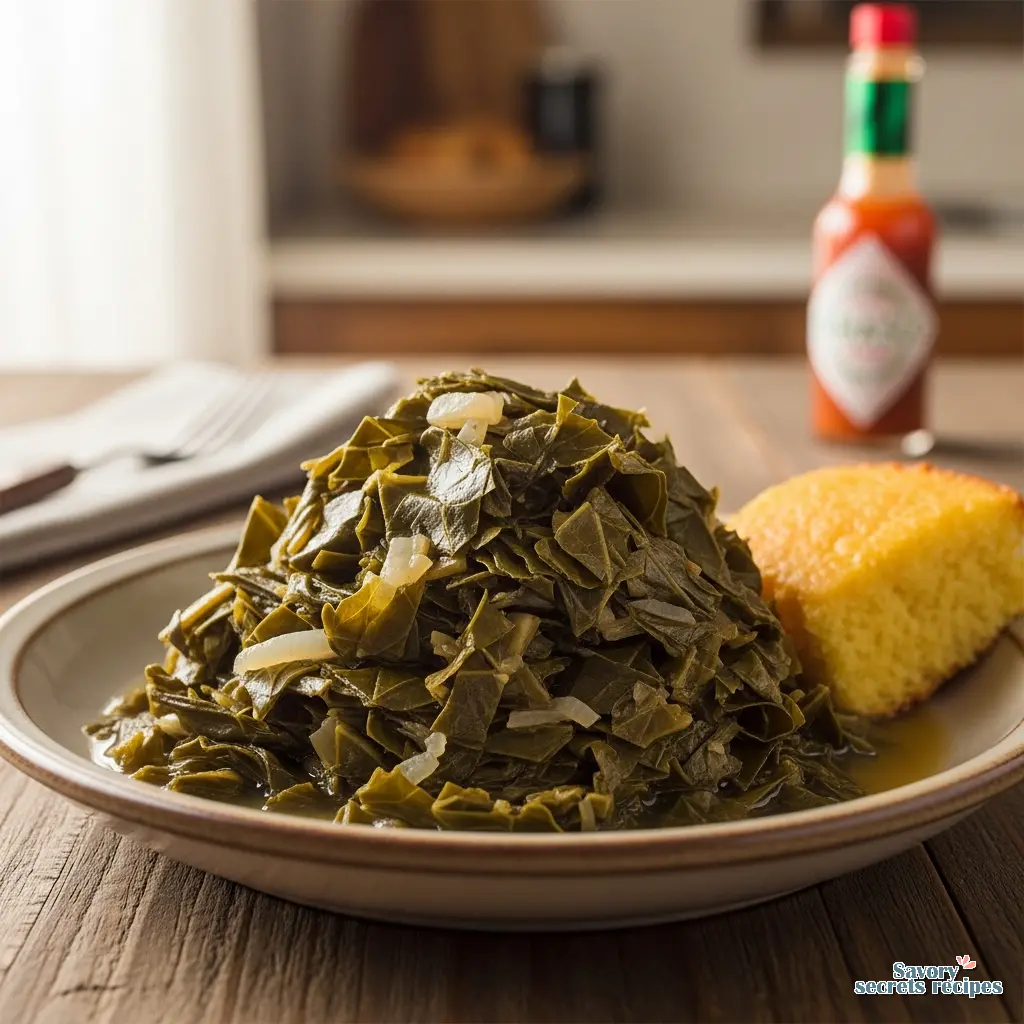
Frequently Asked Questions
Final Thoughts
Making a delicious **canned collards recipe** is not about lowering your standards. It is about being smart with your time. When you sit down to eat these, and you taste that smoky, vinegary broth and the tender greens, you are going to feel like a kitchen genius. And nobody needs to know it only took twenty minutes. Enjoy your dinner. You earned it. For more inspiration, check out my Pinterest boards where I share more easy weeknight wins.Reference: Original Source
Are canned collard greens actually good for you?
Absolutely. As a dietitian, I can tell you they pack a nutritional punch. They are loaded with Vitamin K, A, and fiber. Just be mindful of the sodium content. Rinsing them before cooking helps reduce that salt significantly.
Do I have to use meat in this canned collards recipe?
Not at all. While traditional recipes use ham hocks, you can get incredible flavor using smoked paprika, liquid smoke, and sautéed onions. I make a vegetarian version all the time that satisfies that smoky craving perfectly.
How do I store leftover canned collards recipe?
Store them in an airtight container in the refrigerator for up to 4 days. They actually taste better on day two! You can also freeze them for up to 3 months, though the texture might get a little softer upon reheating.
What is potlikker?
Potlikker (or pot liquor) is the savory, nutrient-rich broth left behind after cooking greens. It is full of vitamins and flavor. In this recipe, we build a “quick” potlikker using broth, vinegar, and seasonings so you don’t miss out.
Which brand is best for a canned collards recipe?
I’d probably want to see more research on every brand, but generally, Glory Foods is the gold standard for many because they are seasoned well. However, simple store brands work great too since we are rinsing and seasoning them ourselves anyway.


