


Follow your 5 minute grits instructions for creamy results
Ingredients
Method
- Combine water, milk, butter, and salt in a large pot. Bring to a low boil over medium-high heat, stirring frequently.
- Slowly whisk in the grits. Reduce heat to low and continue whisking for one minute.
- Cover the pot and stir every 4 to 5 minutes, scraping the bottom to prevent sticking or burning.
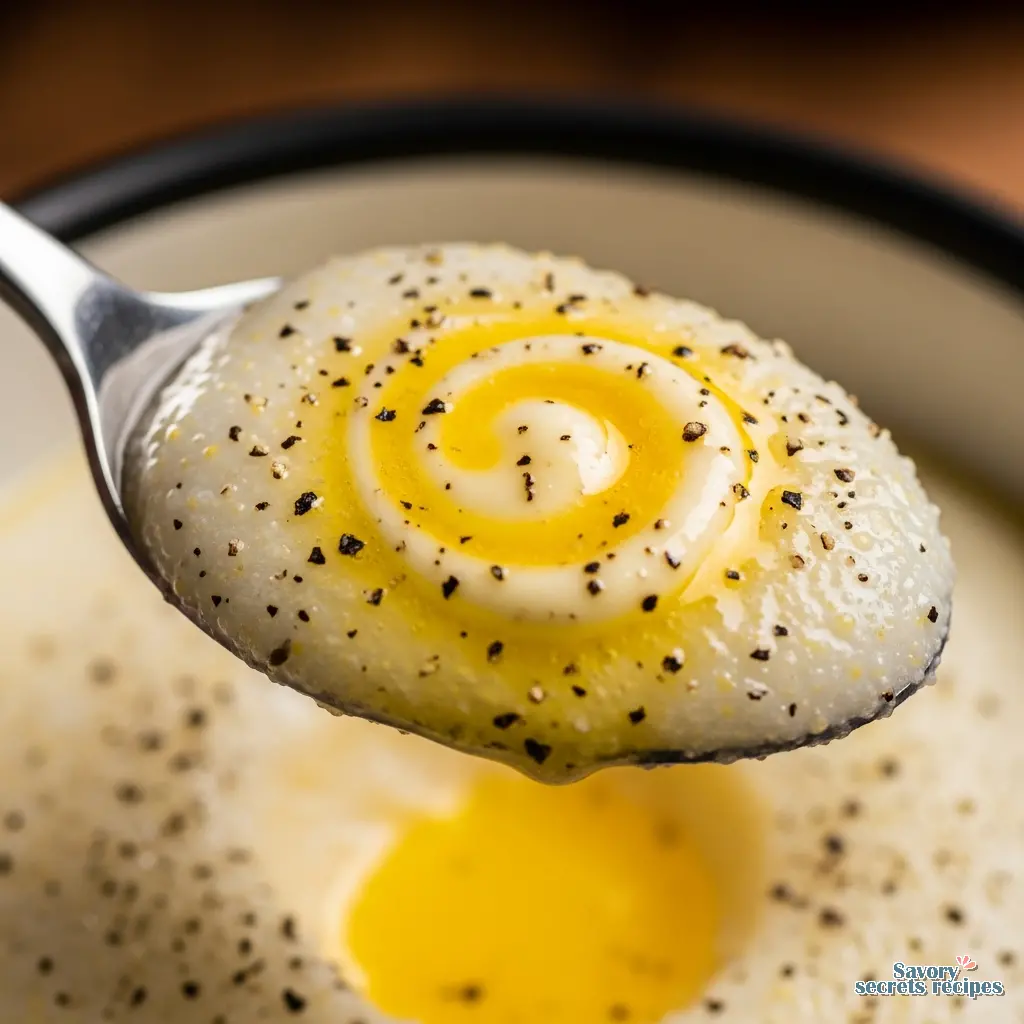
- Cook for 25 to 30 minutes until the grits reach a thick, creamy consistency.
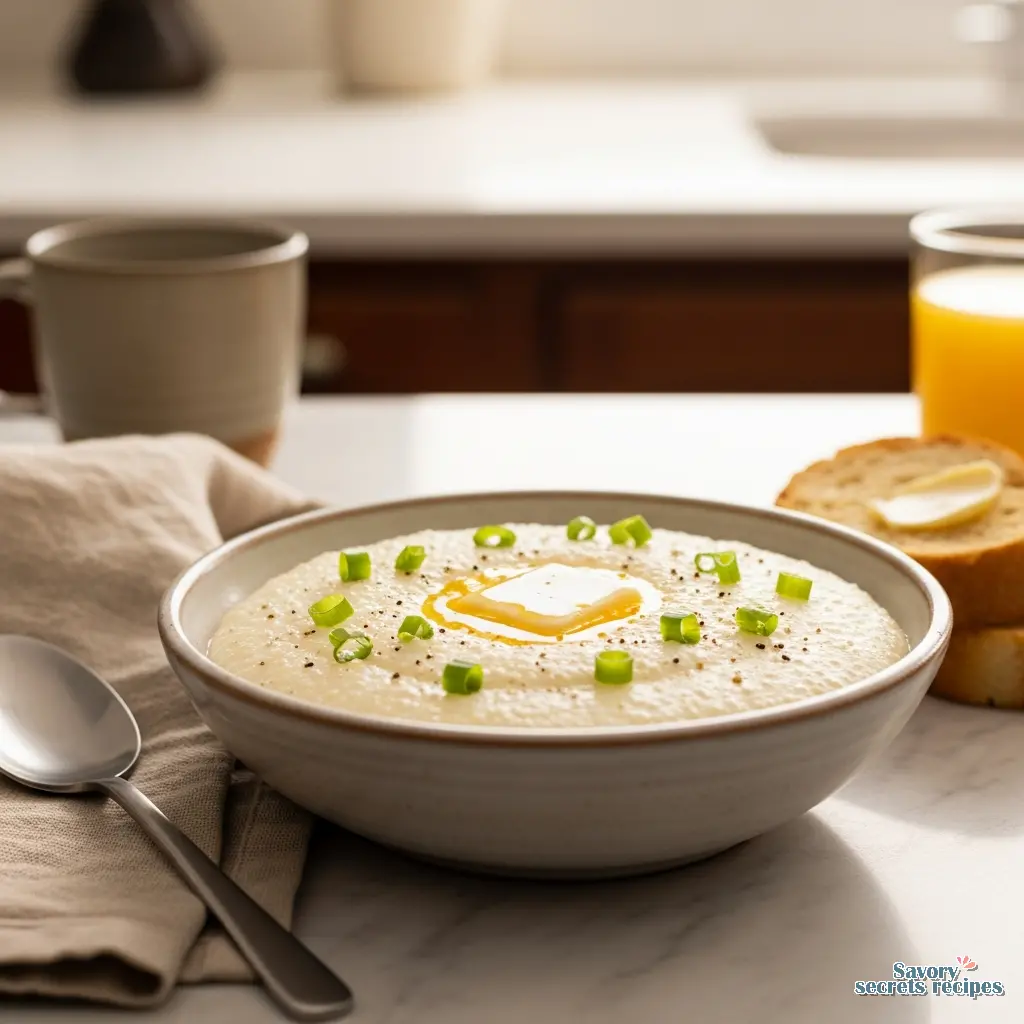
- Transfer the hot grits to a serving bowl and top with a slice of butter.
- Stir in one cup of cheese once the grits are fully cooked and still hot.
Nutrition
Notes
Why Your Morning Needs These 5 Minute Grits Instructions
The alarm goes off at 6:00 AM. It’s dark outside, the kitchen floor is cold, and frankly, the idea of standing over a stove for 45 minutes to stir stone-ground corn is laughable. I get it. My daughter recently decided she doesn’t like “mixed-up food,” which means our mornings are already a logistical puzzle. But you still want that warm, comforting bowl that feels like a hug.
That’s where quick grits come in. There is a bit of a stigma around them, isn’t there? We’ve all seen My Cousin Vinny. We know the trope that “no self-respecting Southerner uses instant grits.” But here is the thing: from a food science perspective, quick grits are simply corn kernels ground finer and steamed longer before drying. They aren’t “fake.” They just have a higher surface area for water absorption. Understanding the fundamental basics of [what is grits] and how they are processed explains why these quick-cooking versions still offer authentic flavor.
I’m going to walk you through the 5 minute grits instructions that actually work. I’ve tested this. If you follow the box, you’ll get edible food. If you follow my method, you’ll get a velvety, restaurant-quality breakfast that tracks with what I’ve seen in professional kitchens, all before your coffee finishes brewing.
The Science of the Ratio: Milk vs. Water
If you take nothing else away from this, let it be the liquid ratio. The back of the box usually tells you to use water. From a nutritional standpoint, water is fine. From a sensory perspective? It’s a missed opportunity.
Water hydrates the cornstarch granules, causing them to swell and gelatinize. That creates the structure. However, water lacks fat and protein. To get that creamy texture without using heavy cream (though I’m not opposed to a splash), we need milk. But here is where it gets complicated.
If you cook grits in 100% milk, the sugars (lactose) and proteins (casein/whey) will likely scorch on the bottom of your pot before the corn is fully cooked. It happens fast. I’ve scrubbed enough pots to know.
The Golden Ratio is 1:1. Use half water and half milk. The water provides the hydration vehicle for the starch to expand rapidly, while the milk adds the fat molecules that coat the tongue, creating that perception of richness. This makes good sense when you think about it. You get the best of both worlds without the burnt milk smell. For those looking for a savory alternative to dairy, making [grits with chicken broth] is another fantastic way to build a complex flavor profile.
Stovetop 5 Minute Grits Instructions (The Gold Standard)
Even though they are “quick,” the stovetop is always going to give you better control over the evaporation rate than the microwave. Here is how I do it in my kitchen.
First, bring your liquid (the water and milk mix) to a boil. Salt it now. I remember my nani making achaar every summer on the terrace in Chandigarh. She taught me that salt isn’t just a topping; it’s a chemical agent that needs to penetrate the food. If you salt grits at the end, they taste like bland mush with salty water on top. Salt the water until it tastes like the ocean.
Once boiling, reduce the heat to low. This is crucial. Now, whisk. Don’t use a spoon yet. Use a whisk. Slowly stream the dry grits into the liquid while whisking constantly. This agitation prevents the starch granules from clumping together before they have a chance to hydrate. If you dump them all in at once, the outside granules gel instantly, sealing dry powder inside. That creates lumps.
Cover the pot. This traps steam, which helps cook the corn evenly from the top down, not just the bottom up. Let it simmer. The box says 5 minutes. I’d want to see more research before I agree with that blindly. In practical terms, give it 7 to 10 minutes if you can spare it. The texture difference is worth it.
Microwave Instructions (For the Realist)
I’m not going to judge you for using the microwave. I use it. The physics are different, though. Microwaves excite water molecules aggressively, which can cause the starch matrix to expand too fast and boil over. We call this the “volcano effect.”
To avoid cleaning your microwave at 7 AM, use a deep bowl. Much deeper than you think you need. The grits will rise significantly as they cook. Combine your grits, water, and salt. Skip the milk for the cooking stage here it boils over too easily. Cook on high for 3 to 4 minutes, but stop halfway to stir.
Once they are cooked and hot, then stir in your milk or a splash of heavy cream and butter. The residual heat will warm the dairy without the risk of an explosion. It’s a compromise, but a solid one.
Troubleshooting: Why Are My Grits…?
Even with 5 minute grits instructions, things go wrong. Here is how to fix the common issues based on starch behavior.
Common Mistakes & Fixes
Mistake: They are lumpy.
Solution: This is a hydration issue. You likely added the grits too fast. To fix it, grab a whisk and beat them vigorously against the side of the pot. If they are stubborn, press the lumps against the side with a spatula.
Mistake: They are still gritty/crunchy.
Solution: Undercooked starch. You need more liquid and steam. Add a splash of hot water (not cold, or you shock the starch), stir, cover tightly with a lid, and turn the heat to the lowest setting for another 3 minutes.
Mistake: They are too thin/soupy.
Solution: You have too much liquid relative to the starch. Cook them uncovered for a few more minutes to encourage evaporation. They will also thicken significantly as they cool down (retrogradation).
Variations: Sweet vs. Savory
Grits are essentially a blank canvas of corn flavor. In my house, we are divided. My husband prefers savory; I have a soft spot for sweet, which reminds me slightly of the warm semolina puddings (suji ka halwa) we have in India, though the texture is different.
Savory: This is the classic route. Sharp cheddar is the standard, but don’t sleep on goat cheese or smoked gouda. The acidity in goat cheese cuts through the heavy starch beautifully. Add the cheese after you turn off the heat. If you boil cheese, the proteins separate from the fat, and you get a greasy, stringy mess. Stir it in gently until melted.
Sweet: Treat it like oatmeal. A pat of salted butter, a drizzle of maple syrup, and a handful of toasted pecans. The salt from the butter is non-negotiable here; it makes the sugar taste sweeter. I’m impressed by how well this holds up as a dessert, actually.
Storage and Reheating
Corn starch undergoes a process called retrogradation when it cools. The amylose molecules realign and squeeze out water, turning your creamy grits into a solid brick. This is actually great if you want to make grit cakes to fry later, but terrible if you want a bowl of soft grits tomorrow.
To store, place them in an airtight container in the fridge for up to 4 days. To reheat, you cannot just microwave the brick. You must reintroduce moisture. Add a tablespoon of milk or water per cup of grits. Break up the solid block with a fork. Heat it in 30-second intervals, stirring aggressively in between to break the starch bonds again. It won’t be quite as good as fresh, but it’s close enough for a Tuesday.
Frequently Asked Questions
Final Thoughts
Cooking doesn’t always have to be a project. Sometimes, it’s just about getting something warm into your body before the chaos of the day begins. These 5 minute grits instructions are my way of compromising between the culinary ideal and the reality of a busy morning.
I hope this helps you reclaim your breakfast. Go enjoy your 5 minutes of peace before the day starts. If you try the sweet version, let me know I need more data points to convince my husband it’s a valid life choice. For more inspiration, check out my Pinterest boards where I collect all my favorite quick breakfast ideas.
Reference: Original Source
What is the ratio of water to 5 minute grits?
The standard ratio is 4 cups of liquid to 1 cup of grits. For a single serving, that’s 1 cup of liquid to 1/4 cup of grits. I strongly recommend using a mix of half milk and half water for the liquid portion to achieve optimal creaminess without scorching.
Why are my 5 minute grits gritty?
Grittiness indicates the cornstarch hasn’t fully hydrated or gelatinized. This usually means they were undercooked or didn’t have enough liquid. Add a splash of hot water, cover the pot tightly to trap steam, and cook for another 2-3 minutes on low heat.
Are 5 minute grits the same as instant grits?
Not exactly. Instant grits are fully precooked and dehydrated; you just add hot water. 5 minute (or “quick”) grits are raw corn that is ground very fine to cook faster. Quick grits retain more corn flavor and texture than instant varieties.
Is it better to put milk or water in grits?
Water is better for the initial boiling because it hydrates the grain efficiently. Milk is better for flavor and texture. I advise using a combination. Start with water to cook the grain, and whisk in milk or cream towards the end for richness.
What does adding an egg to grits do?
Adding an egg boosts the protein content and richness. You can either poach an egg on top (my preference) or temper a beaten egg into the hot grits, similar to carbonara, which creates a custardy, incredibly rich texture.


