


Simple Shrimp and Grits Recipe for Beginners
Ingredients
Method
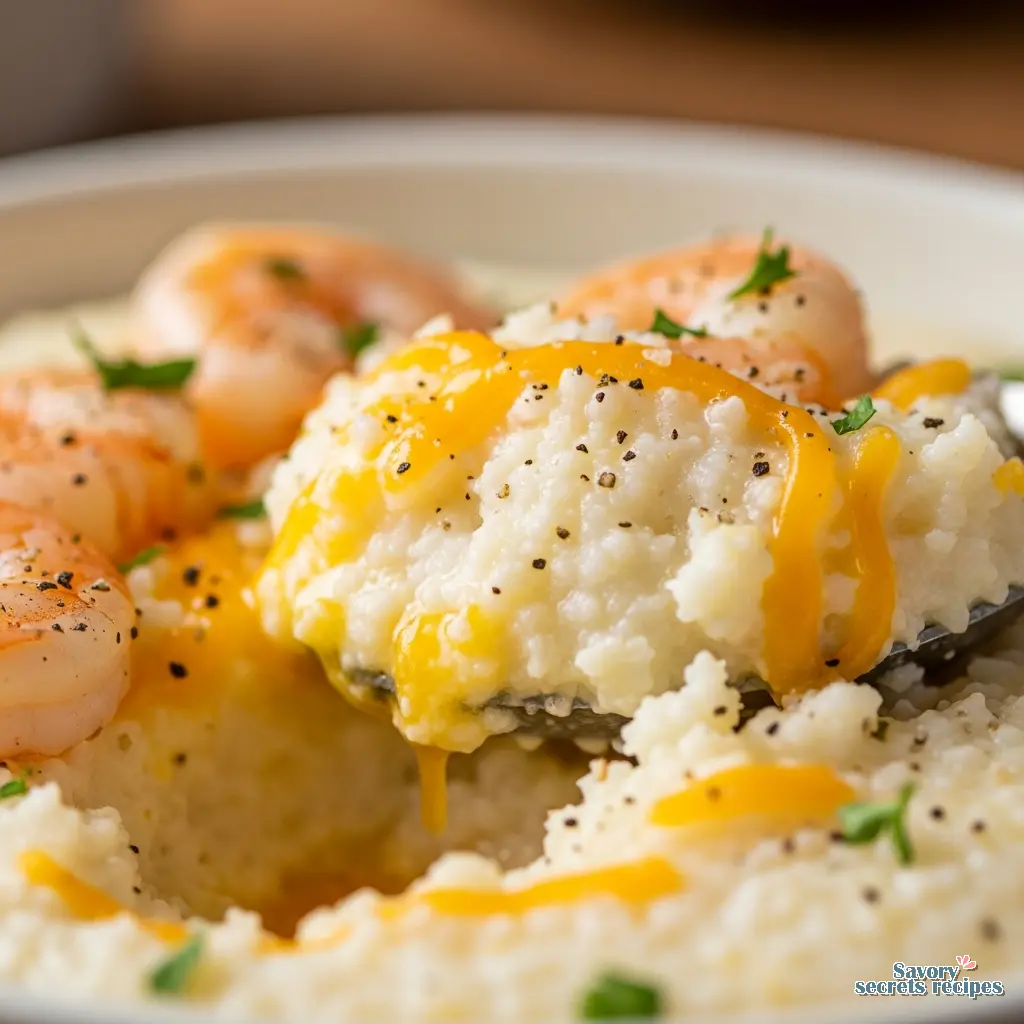
- Bring 5 cups of water to a boil over high heat. Whisk in the quick grits, salt, and pepper. Reduce heat to low and cook for 5 to 7 minutes, whisking frequently to prevent lumps. Stir in the butter, cream, and cheese until well combined. Remove from heat and cover to keep warm.
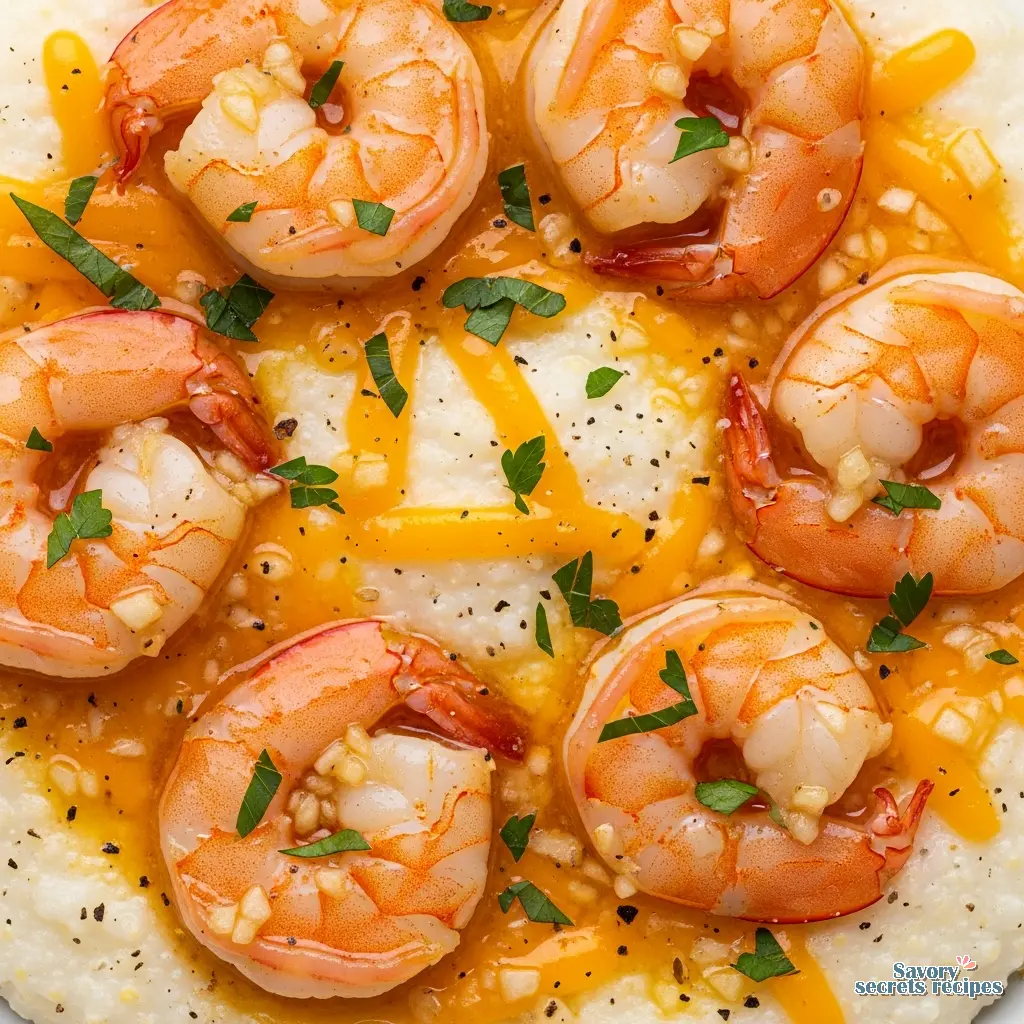
- Season the shrimp with essence or salt and pepper. Melt 4 tablespoons of butter in a large skillet over medium-high heat. Add the garlic, shrimp, and cayenne pepper; cook and stir until the shrimp are pink, about 3 to 4 minutes. Stir in the parsley, lemon juice, and water to coat the shrimp.
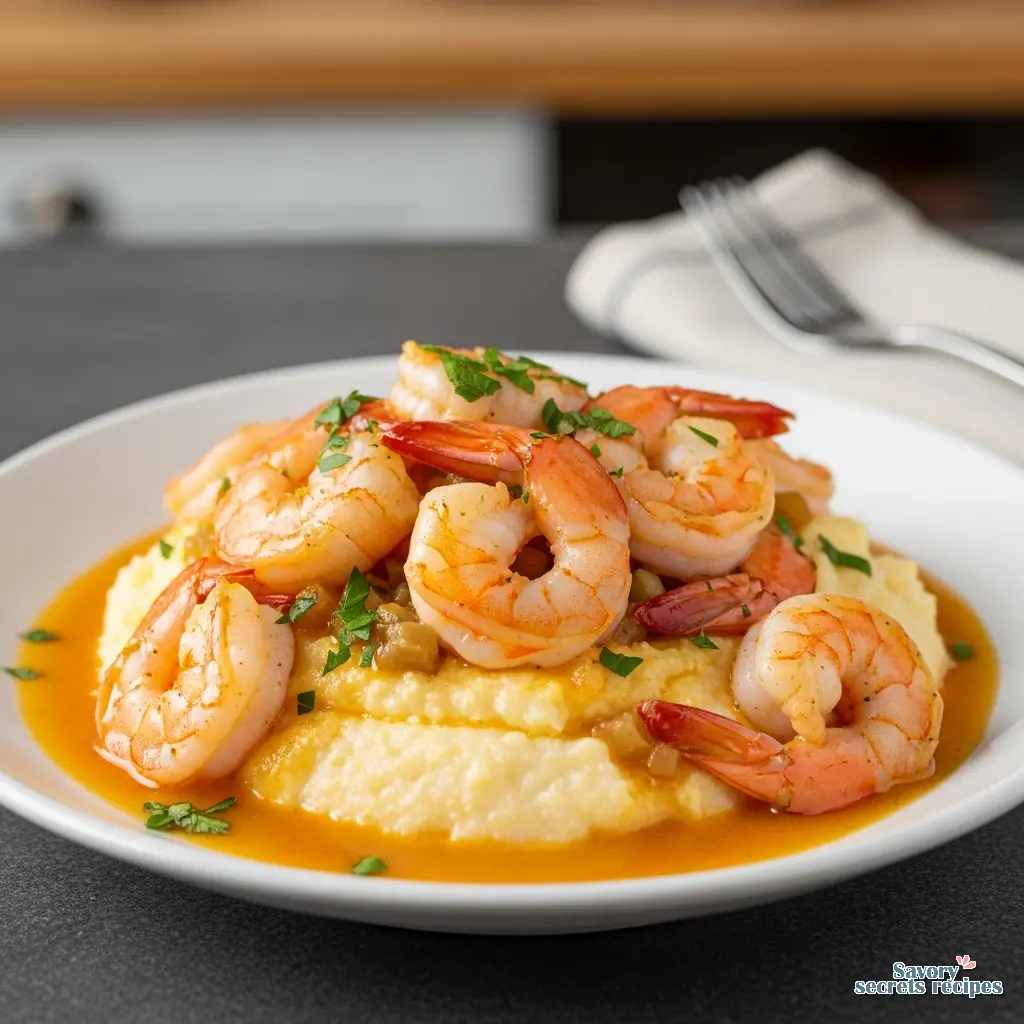
- Divide the grits into four bowls and top with the shrimp mixture. Garnish with additional parsley if desired.
Nutrition
Notes
Why This Basic Shrimp and Grits Recipe Works
I remember the first time I tried to make grits. I was twenty-two, working in a kitchen that had absolutely no business serving Southern food, and I treated them like polenta. I stirred them once, walked away, and came back to a solid block of concrete that you could have used to pave a driveway. It was humbling. My grandfather, who timed his pasta sauce with a wind-up clock, would have shaken his head. He always said, “If it’s not ready, it’s not ready.”
I’ve spent years since then refining the method. Especially now, with the February chill settling into the bones, there is nothing quite like a basic shrimp and grits recipe to act as a warm hug in a bowl. It is the ultimate comfort food. But here is the thing about this dish: it intimidates people. You worry about the lumps. You worry about the shrimp turning into rubber. I get it. I have been there.
This recipe strips away the complexity. We aren’t doing a twelve-hour stock. We aren’t using obscure ingredients. We are focusing on the two things that matter: the hydration of the corn and the temperature of the protein. When you nail those, you get creamy, velvety grits and shrimp that snap perfectly when you bite them. It is methodical, yes, but it is also incredibly forgiving once you know the rules.
The Great Debate: Stone-Ground vs. Quick Grits
Let’s table that instant grit packet for a second. If you want a result that actually tastes like corn and not just salted wallpaper paste, you need to look at the grind. In my experience, though yours may differ, stone-ground grits are the only way to go for flavor. They retain the hull and the germ of the corn, which gives you that robust, toasted corn flavor and a texture that has some actual bite to it.
However, stone-ground grits take time. Usually 45 minutes to an hour. If you are rushing to get dinner on the table on a Tuesday, quick grits (not instant) are a fair compromise. They are ground finer and processed to cook faster, usually in about 5 to 7 minutes. For this basic shrimp and grits recipe, I’ve written it for quick grits because I know time is a luxury. But if you have the stone-ground variety, just increase the liquid by about half a cup and the cooking time by thirty minutes. The technique remains the same.
The secret to either type? The liquid ratio. I prefer a mix of chicken broth and milk. Water is too bland. All milk is too heavy and can scorch. The broth provides the savory backbone, while the milk (or heavy cream if you are feeling indulgent) provides the fat needed to soften the corn’s starch.
The Science of Starch: Why We Whisk
Nonna Giulia used to make me feel the pasta dough every single time we made it. “Your hands forget,” she would say. Cooking grits is similar. You have to watch the pot. When you first add the grits to the boiling liquid, the starch granules essentially explode. They absorb water and expand rapidly. This is the danger zone for lumps.
Here is what I’m seeing most people do wrong: they dump the grits in and wait to stir. No. You need to be whisking the liquid before the grits even hit the surface. Create a vortex. Pour slowly. Whisk furiously. This separates the granules before they can clump together. Once they are incorporated and the mixture returns to a simmer, you can switch to a spoon and lower the heat. But that initial whisking? That is non-negotiable.
Sourcing the Shrimp: Fresh vs. Frozen
Let me walk that back a bit regarding “fresh” seafood. Unless you are living on the coast and buying directly from a boat, the “fresh” shrimp in the display case at the supermarket were likely frozen on the boat, shipped to the store, and thawed out for display. They have been sitting there degrading in quality.
You are better off buying IQF (Individually Quick Frozen) shrimp. They are frozen at the peak of freshness. You can control exactly when they thaw. For this basic shrimp and grits recipe, look for large or extra-large shrimp. The count per pound should be around 21-25. Anything smaller cooks too fast and dries out before you can get a good sear on them. Anything larger (jumbo) is great but expensive.
I also recommend buying them peeled and deveined. I enjoy prepping food it’s my job but deveining fifty shrimp on a Tuesday night is not my idea of relaxation. Save yourself the time. If you buy them with tails on, it looks prettier for presentation, but tails off is easier to eat. That tracks with how I feed my own kids; function over form.
Visual Troubleshooting: The ‘C’ vs. ‘O’ Rule
Rubber. That is the texture we are avoiding. Shrimp are almost pure protein with very little fat, which means the window between “perfect” and “tire rubber” is about forty-five seconds. Your pan needs to be hot, but not smoking. We aren’t searing a steak here.
Here is the visual cue I teach my junior chefs: The ‘C’ Shape: When the shrimp curls loosely like the letter ‘C’, it is Cooked. It is tender, juicy, and ready to eat. The ‘O’ Shape: If it curls tightly into an ‘O’, it is Overcooked. It will be tough.
As soon as you see pink and that loose curl, get them out of the pan. Residual heat will finish the job. If you leave them in the hot pan while you look for a serving bowl, you’ve already lost the battle.
The Sauce: A Simple Emulsion
We aren’t using bacon fat or wine here. We are building flavor with butter, garlic, and spices. This is where the “season as you go” rule applies. When you sauté the garlic in the butter, you want it fragrant, not brown. Burnt garlic is bitter and will ruin the whole dish. Give it another minute if it’s not smelling sweet and pungent.
We use smoked paprika to mimic that smoky depth you usually get from cured meats. It works beautifully. A splash of chicken broth deglazes the pan lifting up all those tasty browned bits (the fond) and a hit of fresh lemon juice at the very end cuts through the richness of the cheese grits. That acid is crucial. Without it, the dish is just heavy. With it, it sings.
Variations & Substitutions
I’m still working through all the possible variations, but here are the ones that have passed the test in my kitchen.
- Cajun/Creole Style: If you want more heat, swap the smoked paprika for a dedicated Cajun seasoning blend. Just be careful with the salt content, as many blends are salty. Taste it really taste it before adding more salt.
- Dairy-Free: You can absolutely make this without dairy. Use olive oil instead of butter for the shrimp. For the grits, use all chicken stock. They won’t be quite as creamy, but if you whisk them vigorously, the natural corn starch will still give you a good texture.
- Cheesy Grits: I use sharp cheddar because it cuts through the corn flavor. Parmesan is also excellent for a nuttier, more Italian vibe. Gouda melts beautifully if you want something smokier.
Common Mistakes & Fixes
Mistake: The grits are lumpy.
Solution: You likely added the grits too fast or didn’t whisk immediately. You can try to whisk them vigorously to break the lumps, or in a worst-case scenario, pass them through a fine-mesh sieve.
Mistake: The cheese sauce is oily/broken.
Solution: You added the cheese while the pot was too hot. The proteins tightened and squeezed out the fat. Next time, remove the pot from the heat completely before folding in the cheese.
Mistake: The shrimp are tough.
Solution: Overcooked. Next time, watch for the “C” shape and remove them the second they turn pink. There is no fixing rubbery shrimp, unfortunately. You just have to eat them and learn.
Frequently Asked Questions
Storage and Reheating
If you have leftovers, store the shrimp and the grits in separate containers if possible. This prevents the shrimp from getting soggy or overcooking when you reheat the grits. They will keep in the fridge for up to two days.
To reheat, tackle the grits first. Put them in a pot with a splash of water or milk. Break them up with a spoon as they warm. They need that extra liquid to return to their creamy state. For the shrimp, gently warm them in a skillet over low heat just until they are warm. Do not microwave the shrimp unless you enjoy the texture of a pencil eraser.
When you take that first creamy, buttery bite, I think you’ll agree that mastering this basic shrimp and grits recipe was worth the effort. It is simple, honest food. You’ve officially mastered a Southern classic. Now, go pour yourself a drink (maybe an iced tea) and enjoy.
For more inspiration, check out my Pinterest boards where I collect all my favorite comfort food ideas.
Reference: Original Source
Can I make basic shrimp and grits recipe ahead of time?
I wouldn’t recommend making the shrimp ahead; they get rubbery when reheated. However, you can make the grits in advance. They will solidify into a block in the fridge. To reheat, add them to a saucepan with a splash of milk or broth and whisk over low heat until creamy again.
What is the difference between grits and polenta?
It comes down to the type of corn. Grits are usually made from dent corn (softer starch), while polenta is made from flint corn (harder starch). Grits tend to be creamier and smoother, while polenta retains a firmer, grainier texture. You can swap them in a pinch, but the texture will differ.
Can I use water instead of chicken broth?
You can, but I don’t advise it. Water brings no flavor to the party. Grits are a blank canvas; they need the savory notes from the chicken broth to really shine. If you are watching sodium, use a low-sodium broth, but don’t skip it entirely.
How do I prevent the shrimp from getting rubbery?
Speed is key. High heat, short time. Cook them just until they turn opaque and pink, usually 2 to 3 minutes total. Remove them from the hot pan immediately. If you leave them in the hot skillet, they continue cooking even with the flame off.
What sides go well with shrimp and grits?
Since this is a rich dish, you want something to cut the heaviness. A simple green salad with a sharp vinaigrette is perfect. Braised greens like collards or kale are traditional. I also like serving it with crusty bread to sop up that extra garlic butter sauce.


4 Responses
This really is a warm hug in a bowl, especially with the lemon juice cutting through the richness. My kids actually asked for seconds which never happens!
I loved how creamy these turned out even with quick grits! I added a little extra cheddar and some smoked paprika for a bit of kick.
The flavor was great, but my shrimp ended up a bit tough. Can I use frozen shrimp for this, or does it have to be fresh to get that perfect snap?
Frozen shrimp is actually a great choice since it’s often flash-frozen at sea, but that toughness usually comes from overcooking rather than the source. I’d suggest pulling them off the heat just as they turn opaque and form a “C” shape to ensure they stay tender and snappy.