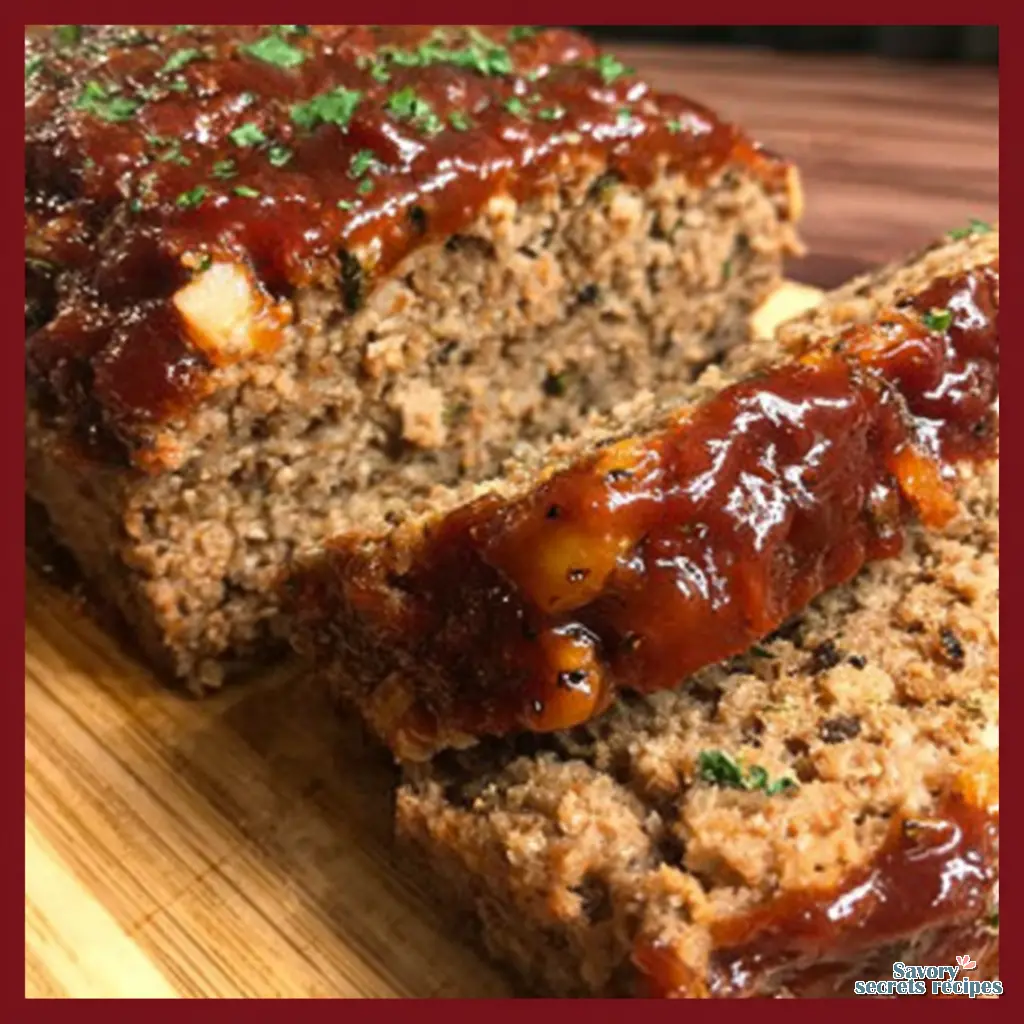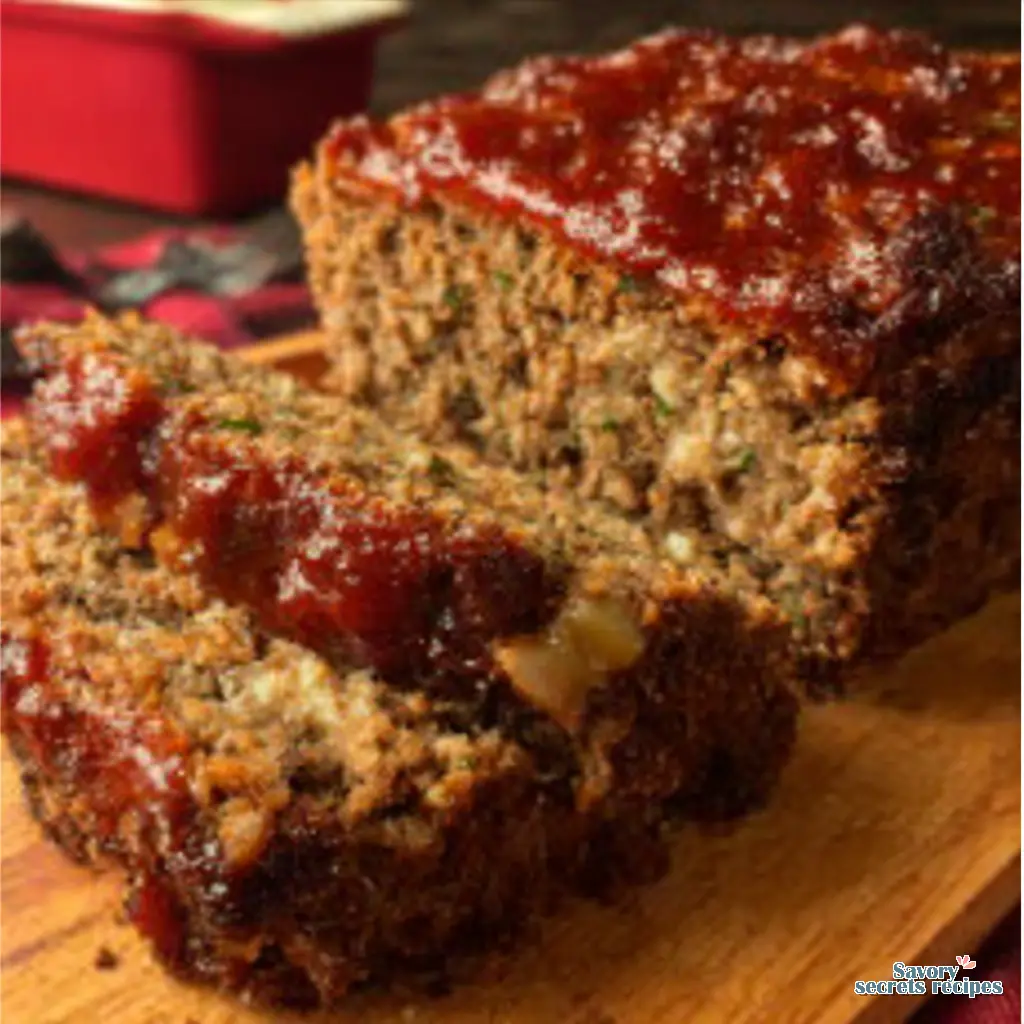
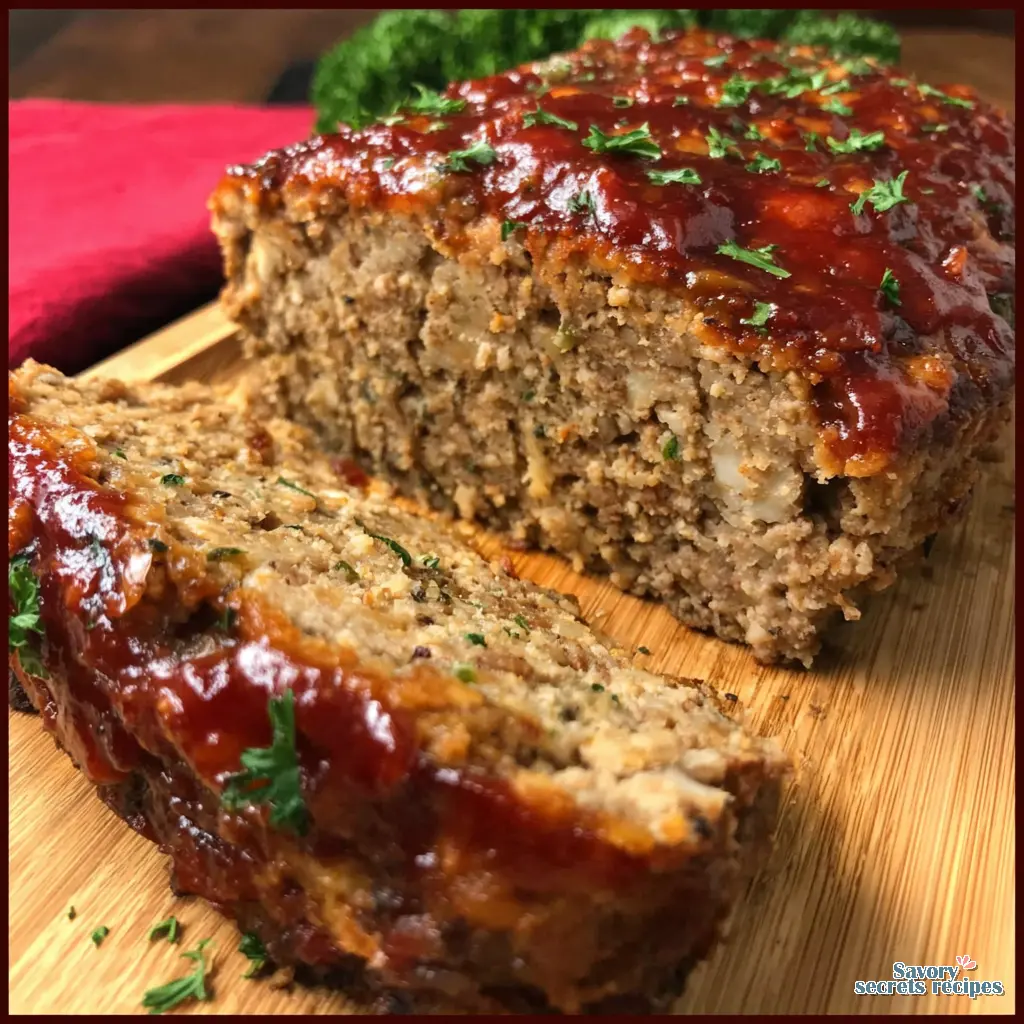
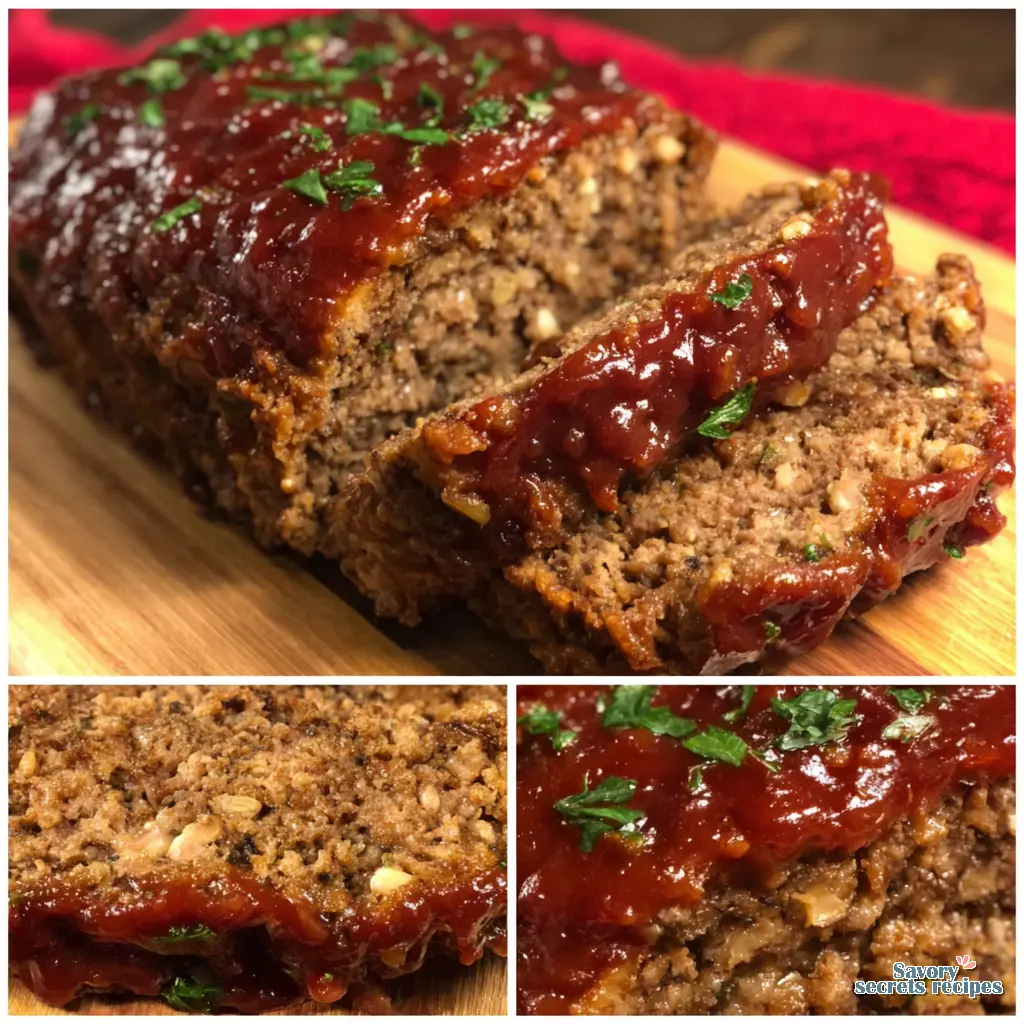
Classic Juicy Meatloaf Recipe Does Not Fall Apart
Ingredients
Method
- Preheat the oven to 350°F (175°C) and lightly grease a loaf pan or prepare a baking sheet.
- Combine the breadcrumbs and milk in a small bowl and let the mixture stand for 5 minutes until the liquid is absorbed.
- In a large bowl, combine the soaked breadcrumbs, ground beef, beaten egg, onion, celery, garlic, salt, pepper, 1/4 cup ketchup, and Worcestershire sauce.
- Gently mix the ingredients by hand until just combined, taking care not to overmix to ensure a tender texture.
- Shape the mixture into a loaf and place it on the prepared baking sheet or into the loaf pan.
- Whisk together 1/2 cup ketchup, brown sugar, apple cider vinegar, and Dijon mustard in a small bowl to prepare the glaze.
- Spread half of the glaze evenly over the top of the meatloaf.
- Bake the meatloaf for 45 minutes.
- Remove the meatloaf from the oven and spread the remaining glaze over the top.
- Return the meatloaf to the oven and bake for an additional 15 to 20 minutes, or until the internal temperature reaches 160°F (71°C).
- Allow the meatloaf to rest for 10 minutes before slicing and serving.
Notes
The End of the ‘Dry Meatloaf’ Era
We all have that childhood memory of cardboard meatloaf. You know the one. Dry, dense, requiring a gallon of ketchup just to swallow, and sitting in your stomach like a lead weight. Let me walk that back. Maybe yours was fine, but most of us suffered through some pretty tough dinners. I’m here to fix that permanently.
I remember my grandfather timing his Sunday tomato sauce with a wind-up kitchen timer that ticked so loud you could hear it from the stoop. Exactly 47 minutes, every single time. When I asked why not 45 or 50, he said it was because 47 is when the tomatoes stop fighting the oil. He understood that cooking is about hitting exact points of transformation. The same logic applies to this ultra juicy meatloaf recipe. It’s not magic. It’s pure kitchen chemistry.
When you smell those onions sautéing in butter, you’ll know you’re on the right track. This ultra juicy meatloaf recipe is my definitive answer to weeknight dinner anxiety. It looks fancy, it slices perfectly, and most importantly, it actually tastes incredible. I’ve tested this method more times than I can count, and the results are consistent every single time.
The Science Behind an Ultra Juicy Meatloaf Recipe
The secret to an ultra juicy meatloaf recipe isn’t just dumping a bunch of wet ingredients into a bowl. It’s about moisture retention and protein structure. The foundation of this dish is the panade. A panade is simply a mixture of starch and liquid, usually breadcrumbs soaked in milk. It acts as an insurance policy for moistness.
Here’s what I’m seeing in a lot of home kitchens. People skip the panade, use dry store-bought breadcrumbs, and wonder why their dinner crumbles into dust. That tracks. Dry breadcrumbs absorb moisture from the meat as it bakes, drying it out. By pre-soaking panko or fresh breadcrumbs in milk, you create a hydrated paste. This paste coats the meat proteins, preventing them from linking together too tightly when heated. Less linking means a more tender, velvety texture. Using a [meatloaf recipe with crackers] is another popular variation that helps maintain the structure of the loaf while keeping it moist.
Then there’s the meat itself. You need 80/20 ground chuck. I see people buying 90/10 or even 93/7 beef to be healthy. I mean, I get it, but lean meat just can’t hold up here. You need that fat for a sliceable, tender loaf that melts in the mouth. Fat equals juice. If you use lean beef, you’re fighting a losing battle before you even turn on the oven. Alternatively, a [healthy keto meatloaf recipe] is a great option for those looking to reduce carbs while keeping the fat content high for flavor.
Sautéing Aromatics: The Flavor Foundation
Raw onions in meatloaf are a mistake. I’m still working through why so many old recipes call for them, but my sense is that it was just a shortcut. Raw onions stay crunchy, they release water as they cook (which makes the surrounding meat mushy), and they give you terrible onion burps later. We don’t want that.
Sauté your onions and celery in butter until they’re completely soft and translucent. Add your garlic powder and a splash of Worcestershire sauce right to the pan to bloom the flavors. Season as you go, not at the end. This mellows the sharp allium bite and builds a deep, savory umami base. Let this mixture cool slightly before adding it to your raw meat, or you’ll start cooking the beef prematurely.
The Art of Mixing and Shaping
Nonna Giulia would make me feel the pasta dough every time. Not just once, but every single Sunday. “Your hands forget,” she’d say. She was teaching me that consistency comes from sense memory. You need to use your hands to mix this ultra juicy meatloaf recipe. Spoons and spatulas just mash the ingredients together.
Here’s the critical part. Do not overmix. Overworking the meat leads to a tough, dense loaf. You want to gently fold the meat, the panade, the cooled aromatics, and the egg (your binding agent) together just until they’re combined. Once the egg disappears and the mixture holds its shape, stop. That’s the one. See? That’s what I’m talking about.
When it comes to shaping, we need to talk about the loaf pan debate. I strongly prefer the free-form sheet pan meatloaf method. Baking it free-form on a baking sheet allows for better airflow. The heat surrounds the entire loaf, caramelizing the outside and developing a beautiful crust. A loaf pan traps steam, essentially boiling the meat in its own juices. Lightly press the meat into an oval shape on your pan. Don’t pack it tightly. Flatten the top slightly to ensure even cooking.
The Ketchup Glaze and Temperature Control
A good meatloaf needs a sticky, sweet, and tangy topping to cut through the richness of the beef. We’re using a classic ketchup glaze, but we’re upgrading it. Whisk together ketchup, brown sugar, a little Dijon mustard, and a splash of apple cider vinegar. The vinegar is crucial. It balances the sugar.
Don’t put the glaze on immediately. Bake the loaf naked for the first 40 minutes. If you glaze it too early, the sugars will burn before the center is cooked. Pull it out, slather that glaze all over the top and sides, and put it back in. The glaze will bubble and turn into a sticky lacquer.
You absolutely must use a meat thermometer. Time is a suggestion, temperature is a fact. You’re looking for an internal temperature of exactly 160°F. Check it right in the center. If it’s at 155°F, give it another minute. If it’s not ready, it’s not ready. Pulling it at 160°F ensures it’s completely safe to eat but still incredibly moist.
Common Mistakes & Fixes
Mistake: The meatloaf falls apart when sliced.
Solution: You likely skipped the resting time or didn’t use enough binding agent (egg and panade). Let it rest for 15 minutes before touching it with a knife.
Mistake: The texture is tough and rubbery.
Solution: You overmixed the meat or used beef that was too lean. Mix gently with your hands just until combined, and always use 80/20 ground chuck.
Mistake: The bottom is soggy and sitting in grease.
Solution: You baked it in a loaf pan. Switch to the free-form sheet pan method so the excess fat can drain away and the edges can caramelize.
Visual Troubleshooting Guide: Mushy, Tough, or Perfect?
I genuinely love the puzzle of recipe development. Taking a dish and figuring out exactly why it fails in home kitchens is my favorite part of the job. Let’s look at what can go wrong with your ultra juicy meatloaf recipe so you can adjust in real time.
If your raw mixture feels mushy and wet, you’ve added too much milk to your panade or you didn’t let the sautéed onions cool. The fix? Add a handful of dry panko breadcrumbs to absorb the excess moisture. Give it five minutes to hydrate.
If the raw mixture feels dense and stiff, you’ve overmixed it or your meat is too cold. The fat has smeared. There’s no real fix for this once it happens, which is why a gentle hand is so important. Next time, mix less. A perfect raw mixture should feel velvety, slightly tacky, and hold its shape without being packed tight.
Air Fryer Instructions & Leftover Life
During these cooler LA spring evenings, I love firing up the oven. But if you’re short on time, you can absolutely adapt this ultra juicy meatloaf recipe for the air fryer. Divide the mixture into four individual mini-loaves. Air fry at 350°F for about 20 to 25 minutes, glazing them in the last 5 minutes. They cook faster and you get more of that incredible caramelized edge per serving.
Leftovers are arguably the best part. Honestly, I think I like day-two meatloaf better than day-one. Here are my top ways to use it:
- The Classic Sandwich: Cold slice, white bread, mayonnaise, extra ketchup. Simple and perfect.
- Meatloaf Burgers: Sear a thick slice in a hot skillet until the edges are crispy, then serve it on a toasted bun.
- Pasta Ragu: Crumble leftover slices into a basic marinara sauce and simmer for 10 minutes. Serve over rigatoni.
- Breakfast Hash: Dice it up and fry it with potatoes, onions, and top with a fried egg.
- Stuffed Peppers: Crumble the meat, mix with cooked rice, stuff into bell peppers, and bake.
Storage, Freezing & Reheating Your Ultra Juicy Meatloaf Recipe
Proper storage is just as important as the cooking process. I’ve ruined good leftovers by rushing the reheat, and I don’t want you to make the same mistake. Let the meatloaf cool completely to room temperature before storing. Condensation in a container will ruin that beautiful glaze.
Store leftovers in an airtight container in the refrigerator for up to 4 days. If you want to freeze it, you have two options. You can freeze the raw, shaped loaf wrapped tightly in plastic wrap and foil for up to 3 months. Thaw it overnight in the fridge before baking. Or, you can freeze cooked slices. Lay the slices flat on a parchment-lined baking sheet, freeze until solid, then transfer to a freezer bag. This way, you can pull out exactly what you need.
To reheat, avoid the microwave if possible. It turns the meat rubbery. Place your slices on a baking sheet, cover loosely with foil to prevent drying out, and warm in a 350°F oven for about 15 minutes. Or, like I mentioned earlier, sear the slices in a hot skillet with a tiny bit of butter. Worth it. Trust me.
creates tiny pockets of moisture that prevent the meat fibers from bonding too tightly into a rubbery brick. It acts like a sponge, holding onto the juices while the beef cooks instead of letting them leak out onto the pan.