


Creamy Farmhouse Deviled Eggs for Your Large Party
Ingredients
Method
- Hard-boil the eggs and peel them immediately. Place them in a self-sealing bag lined with paper towels, changing the towels as needed to absorb excess moisture. Store in the refrigerator for up to 3 days.
- Slice the eggs in half and remove the yolks. Arrange the egg white halves on a tray for filling.
- Thoroughly combine the mustard, mayonnaise, and cream cheese using an immersion blender.
- Add the egg yolks to the mixture and blend until smooth and completely free of lumps.
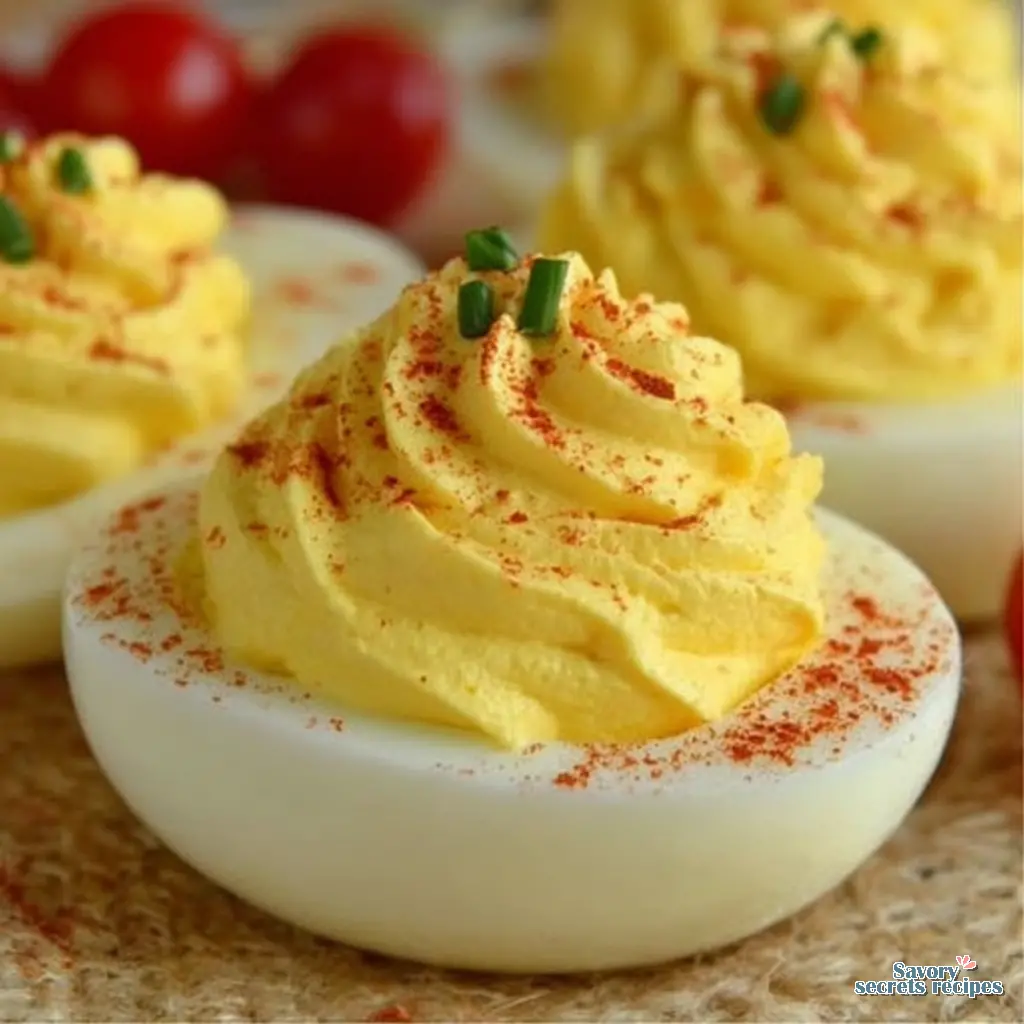
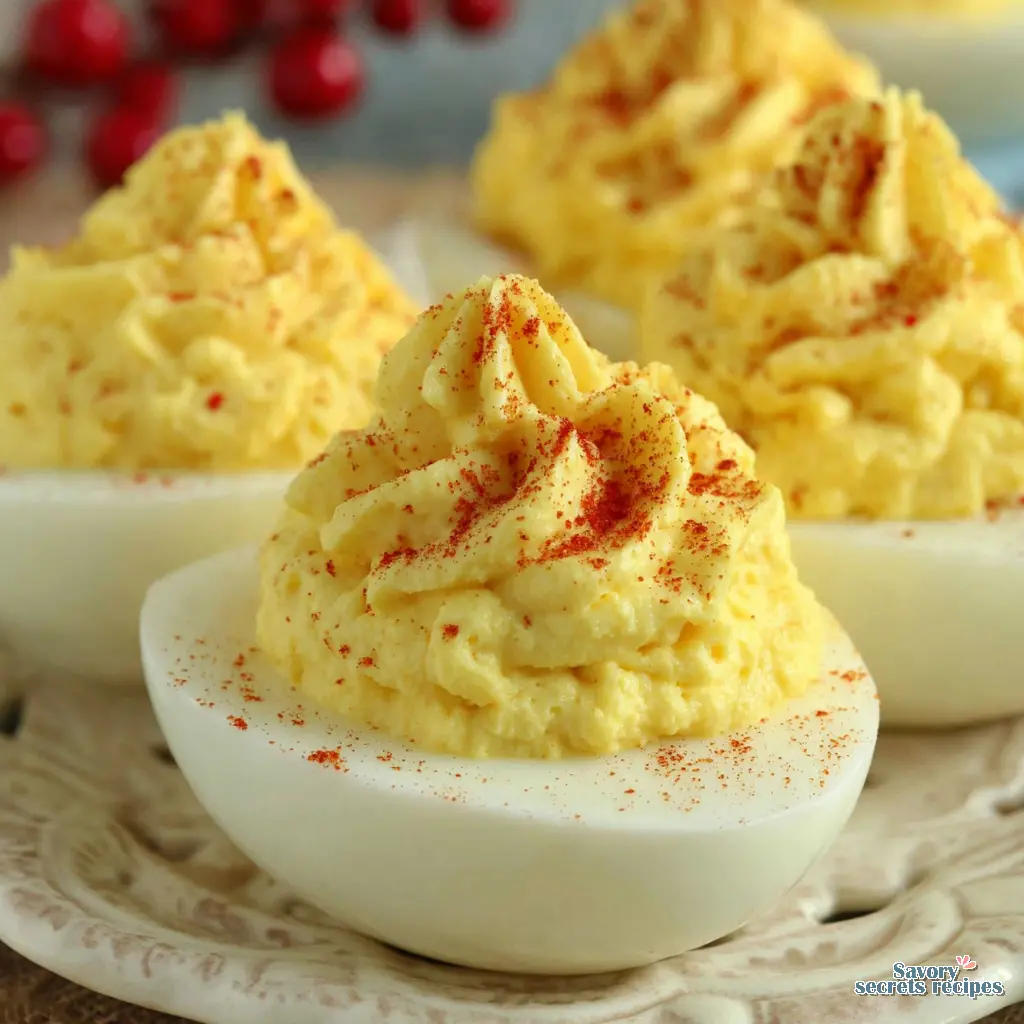
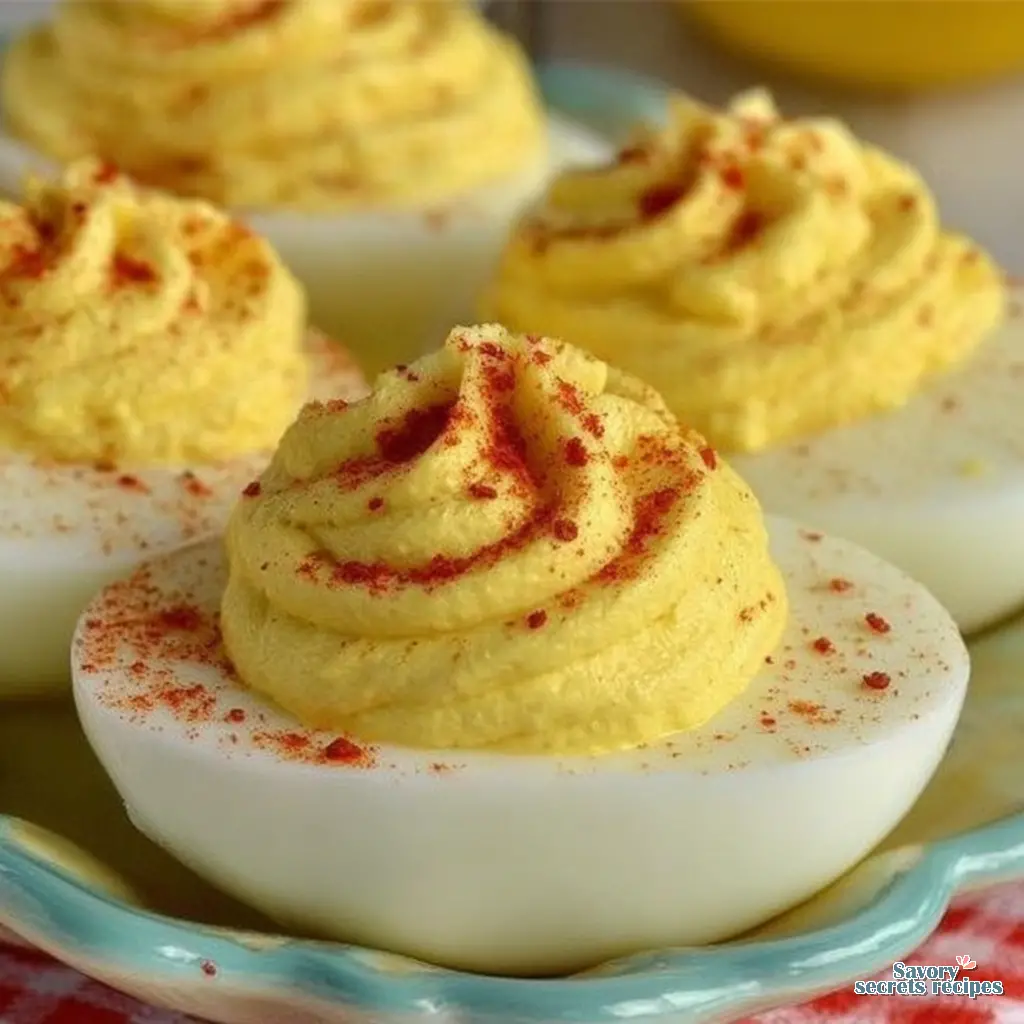
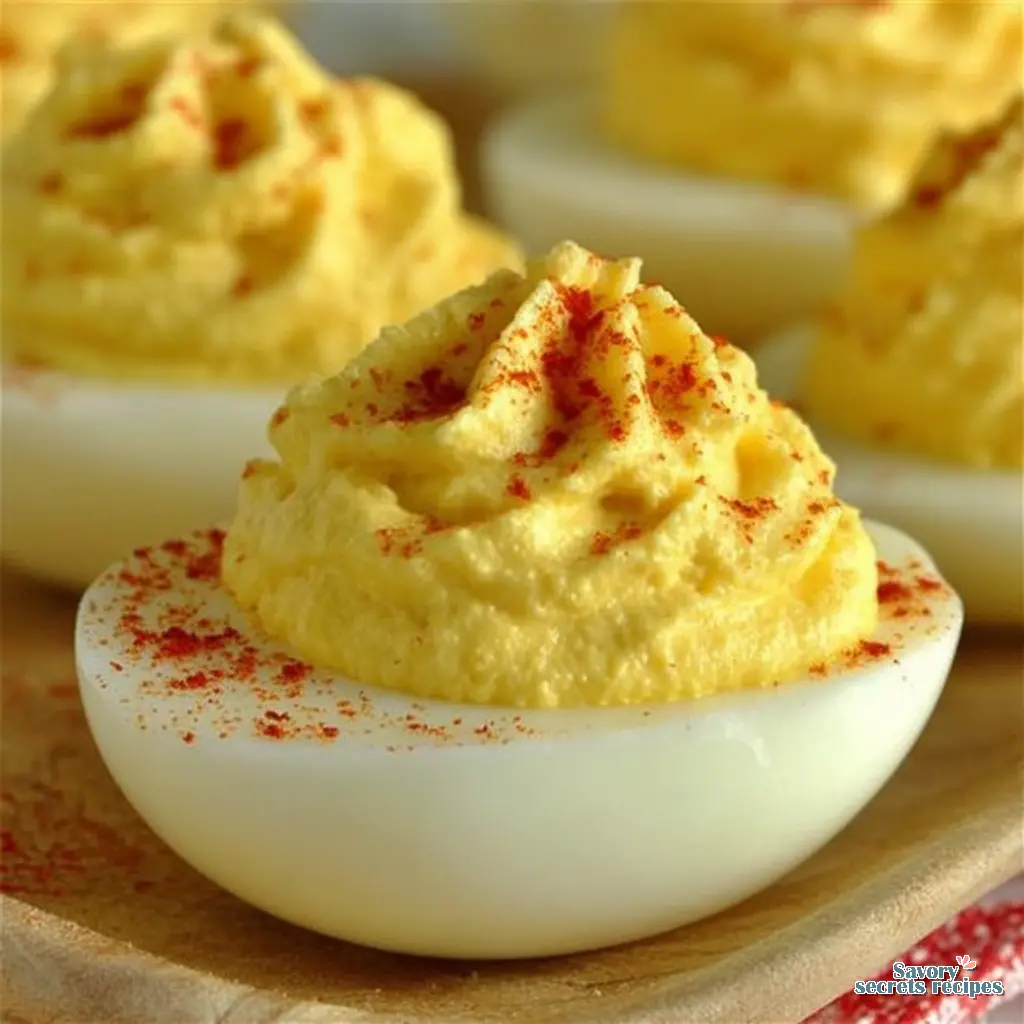
- Fill the egg whites generously using a piping bag. Sprinkle with paprika and serve immediately or refrigerate.
Nutrition
Notes
The Secret to Restaurant-Quality Creamy Deviled Eggs
With Mother’s Day brunch season approaching fast, I know the pressure of hosting is real. You want a party platter that looks like it came from a high-end Los Angeles catering company, not a lumpy afterthought you threw together at the last minute. Let me walk you through it. I remember standing on a step stool in my teta’s kitchen in Dearborn, watching her prepare food entirely by feel. She never measured anything, but she knew exactly what texture she wanted. We are going for that same intuitive perfection here.
The difference between a basic appetizer and truly creamy deviled eggs comes down to technique and a few hidden ingredients. My daughter Layla insists on cracking the eggs whenever I test recipes. Last month she asked why we couldn’t just mash them with a fork and be done with it. I had to explain that testing means intentionally trying different approaches to find the absolute best texture. We want a silky smooth, mousse texture that melts in your mouth. Trust the process here.
I know making hors d’oeuvres for a crowd can feel intimidating. You worry about the filling weeping or the whites getting rubbery. Let’s troubleshoot this together. By the end of this guide, you’ll be piping gorgeous, gourmet creamy deviled eggs that will be the first thing to disappear from your appetizer display.
The Science of the Perfect Yolk and Silky Smooth Texture
Here’s what I’ve found works best after dozens of tests. The secret to that luxurious, velvety finish isn’t just mayonnaise. It’s fat structure. Adding one soft, room temperature pat of butter to the warm yolk mixture acts as a secondary binder. It gives you what caterers call a “Million Dollar” richness. It’s not a dealbreaker if you skip it, but worth noting if you want perfection.
You also need the right equipment. A food processor is your best friend for this recipe. Mashing with a fork leaves tiny, stubborn lumps that ruin the mouthfeel and clog your piping bag. If you don’t have a processor, pushing the yolks through a fine-mesh sieve works beautifully. You’re looking for the color of wet sand before you add your wet ingredients.
- Gather your ingredients: Ensure your butter and cream cheese are completely softened at room temperature.
- Mash the yolks first: Break them down completely before adding any mayonnaise or dijon mustard.
- Emulsify the mixture: Let the food processor run until the mixture is glossy and holds its shape.
In my tests, this usually works flawlessly, though your mileage may vary depending on the brand of mayonnaise you use. A splash of heavy cream can loosen it up if it feels too stiff.
Egg Boiling Method Comparison: Stove vs. Instant Pot
Look, I’ll be honest. Peeling farm-fresh eggs is notoriously frustrating. I’ve tried every trick on the internet. Some people swear by baking soda. Others insist on older eggs. Let’s look at the two most reliable methods to ensure your creamy deviled eggs have pristine, tear-free whites.
If you’re using the stovetop, precision is everything. Boil your eggs for exactly 5 minutes, turn off the heat, cover, and let them stand for 10 minutes. Then plunge them immediately into an ice bath. The shock stops the cooking process and prevents that awful green ring around the yolk. Adding a splash of vinegar to the boiling water helps break down the shell’s calcium, making peeling easier. That tracks with my experience. If you are looking for a more streamlined approach for a busy weeknight, an easy deviled eggs recipe can provide great results with less effort.
If you prefer the Instant Pot, the 5-5-5 method is incredibly consistent. Five minutes on high pressure, five minutes natural release, five minutes in an ice bath. To peel them cleanly, gently tap the egg on a countertop to crack the shell all over, then roll it lightly under your palm. The shell should slip right off under cold running water. Perfect.
Common Mistakes & Troubleshooting
Mistake: The filling is too runny and won’t hold a piped shape.
Solution: You likely added the wet ingredients too quickly or used a mayonnaise with high water content. To fix it, mash an extra hard-boiled egg yolk into the mixture to thicken it up.
Mistake: The egg whites are rubbery and tough.
Solution: You overcooked them or assembled the eggs too far in advance. The filling’s acidity breaks down the delicate egg white over time. Always store the components separately if making them ahead.
Mistake: The paprika bled into the white, making it look messy.
Solution: You garnished them too early. Moisture draws out the color of spices. Wait until right before serving to add your gourmet garnish.
Transportation Guide and Scaling for a Party Platter
I once brought a beautifully arranged platter of creamy deviled eggs to a neighborhood potluck in Los Angeles. By the time I navigated the traffic on the 405, half of them had slid across the plate and smashed into each other. I learned my lesson. Let’s make sure that doesn’t happen to you.
Here is the absolute best catering tip for transporting these delicate appetizers. Take a sharp paring knife and slice a paper-thin sliver off the rounded bottom of each egg white half. This creates a flat base, allowing them to sit perfectly upright on any serving tray. No special indented egg plate required.
If you’re making these for a large crowd, scaling the recipe is straightforward. Plan for two to three halves per person. For a party of 20, you’ll need at least 24 whole eggs (yielding 48 halves). When prepping large batches, use a heavy-duty Ziploc bag with a large star tip dropped into one corner. Fill the bag, twist the top tightly, and pipe the filling directly into the whites. It’s much faster than using a spoon and looks incredibly professional.
Make-Ahead & Storage Instructions
I tend to favor make-ahead components over start-to-finish recipes because they’re more realistic for how people actually cook. You can absolutely prep creamy deviled eggs in advance, but there is a strict rule you must follow. Never assemble them fully more than a few hours before your party.
If you assemble them a day ahead, the moisture from the filling will weep, and the egg whites will turn unpleasantly rubbery. Instead, prepare the yolk mixture and store it in your piping bag (or an airtight container) in the fridge. Wrap the empty egg white halves tightly in plastic wrap or place them in a single layer in a sealed container. They will stay fresh like this for up to two days. When your guests are about to arrive, simply pipe the filling into the shells. It takes five minutes and tastes incredibly fresh.
Filling Customization: Sweet, Savory, and Gourmet Garnishes
Once you nail the base texture, you can play around with the flavor profile. I like ingredients that do double duty. A spoonful of Greek yogurt instead of some mayonnaise adds a beautiful tang while keeping the texture light. If you prefer a Southern style, fold in a tablespoon of sweet pickle relish and a tiny pinch of sugar. For a savory Garden style, mix finely minced fresh chives directly into the yolk mixture.
The visual finish is just as important as the taste. This is your checkpoint for presentation. Skip the heavy, greasy toppings and opt for elegant, fresh ingredients. A sprinkle of smoked paprika is classic and provides a gorgeous color contrast against the pale yellow filling. Tiny dill sprigs or microgreens add a pop of freshness that cuts through the richness of the egg. Just remember to garnish right before serving.
Frequently Asked Questions
Final Thoughts on Your Appetizer Spread
I genuinely love the moment when a recipe test finally works perfectly, and I’m so excited for you to try this method. There’s something incredibly satisfying about setting down a tray of perfectly piped creamy deviled eggs and watching your friends’ eyes light up. They look fancy, but as you now know, the process is totally manageable.
Don’t forget to take a quick photo of your beautiful platter before they’re all devoured. You’re going to be the absolute star of your next potluck or brunch gathering. If you end up making these, I’d love to hear how they turned out for you. Browse my Pinterest for related recipes and more easy hosting ideas. You’ve got this!
Reference: Original Source
How do you make deviled eggs extra creamy and smooth?
The real trick is using a food processor to blend the yolks before adding your binders. I’ve found that adding a small pat of room temperature butter alongside your mayonnaise creates an incredibly silky, mousse-like texture that you simply can’t achieve by mashing with a fork.
Can these creamy deviled eggs be made ahead of time for a party?
Yes, but you have to store the components separately. Keep the cooked egg whites in one airtight container and the prepared yolk filling in a piping bag in the fridge for up to two days. Assemble them right before your guests arrive so the whites don’t get rubbery.
What is the best way to transport deviled eggs for a large party without them making a mess?
Here’s a catering trick I love. Take a paring knife and slice a tiny, flat piece off the bottom of each egg white half. This creates a stable base so they won’t slide around on your serving platter during the car ride.
How many party appetizer eggs should I prepare for a large crowd?
I always plan for two to three halves per person. If you’re hosting 12 people, you’ll want to boil at least 15 whole eggs to give yourself 30 halves, plus a few extra just in case some of the whites tear while you are peeling them.
How do I store leftover creamy deviled eggs?
Place any assembled leftovers in a single layer inside an airtight container in the refrigerator. They will stay safe to eat for up to two days, though the texture of the filling might firm up slightly. Serve them straight from the fridge; they taste best chilled.


