


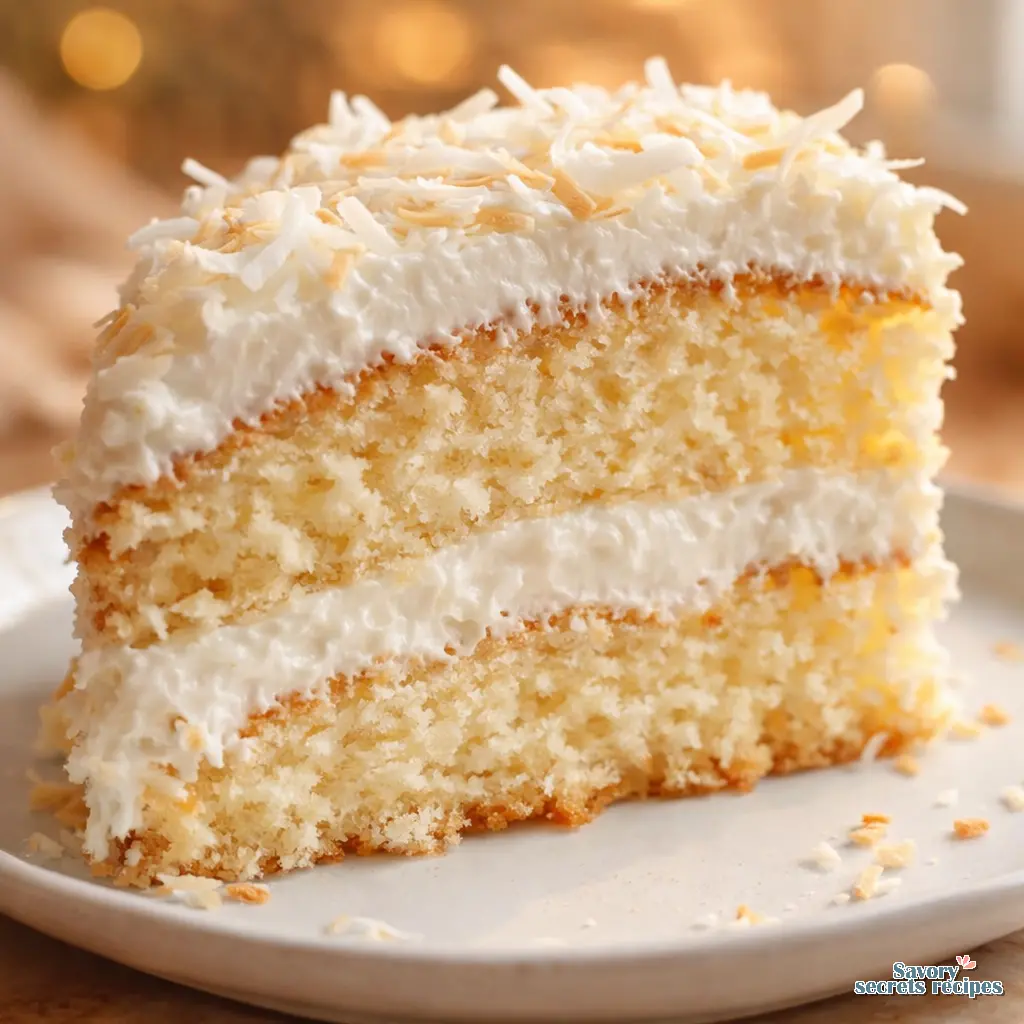
Classic Coconut Cake Recipe for Your Traditional Layer Cake
Ingredients
Method
- Preheat the oven to 350°F (175°C). Grease two round cake pans and line the bottoms with parchment paper.
- Whisk the flour, baking powder, and salt together in a bowl.
- Cream the butter and sugar in a separate bowl for approximately 3 minutes until light and fluffy.
- Add the eggs one at a time, mixing well after each addition, then stir in the coconut milk until combined.
- Gradually add the dry ingredients to the wet mixture and fold in the shredded coconut until smooth.
- Divide the batter evenly between the pans and bake for 25-30 minutes or until a toothpick comes out clean, then cool completely before frosting.
Nutrition
Notes
The Only Classic Coconut Cake Recipe You Will Ever Need
I still remember the first time I tried to bake a layer cake from scratch. I was nineteen, trying to recreate a bakery window display in my tiny Queens apartment, and the whole thing leaned so far to the left it looked like a structural hazard. The layers slid, the crumb was dense, and I ended up eating it straight from the pan with a spoon. That failure taught me early on that temperature is doing the heavy lifting here. When you are building a classic coconut cake recipe, you are essentially acting as an architect.
My grandmother Lalla Fatima used to tell me that patience is an ingredient you cannot buy. I would stand on a step stool in her Casablanca kitchen, watching her wait for syrups to reach the exact right stage. That same patience applies to this cake. With holiday party season in full swing, and my friends in LA telling me it is finally cool enough to turn their ovens on, this is the centerpiece you want on your table. It takes time, but let me walk you through this. I promise this is the most reliable, fluffy, and perfectly moist classic coconut cake recipe you will ever bake.
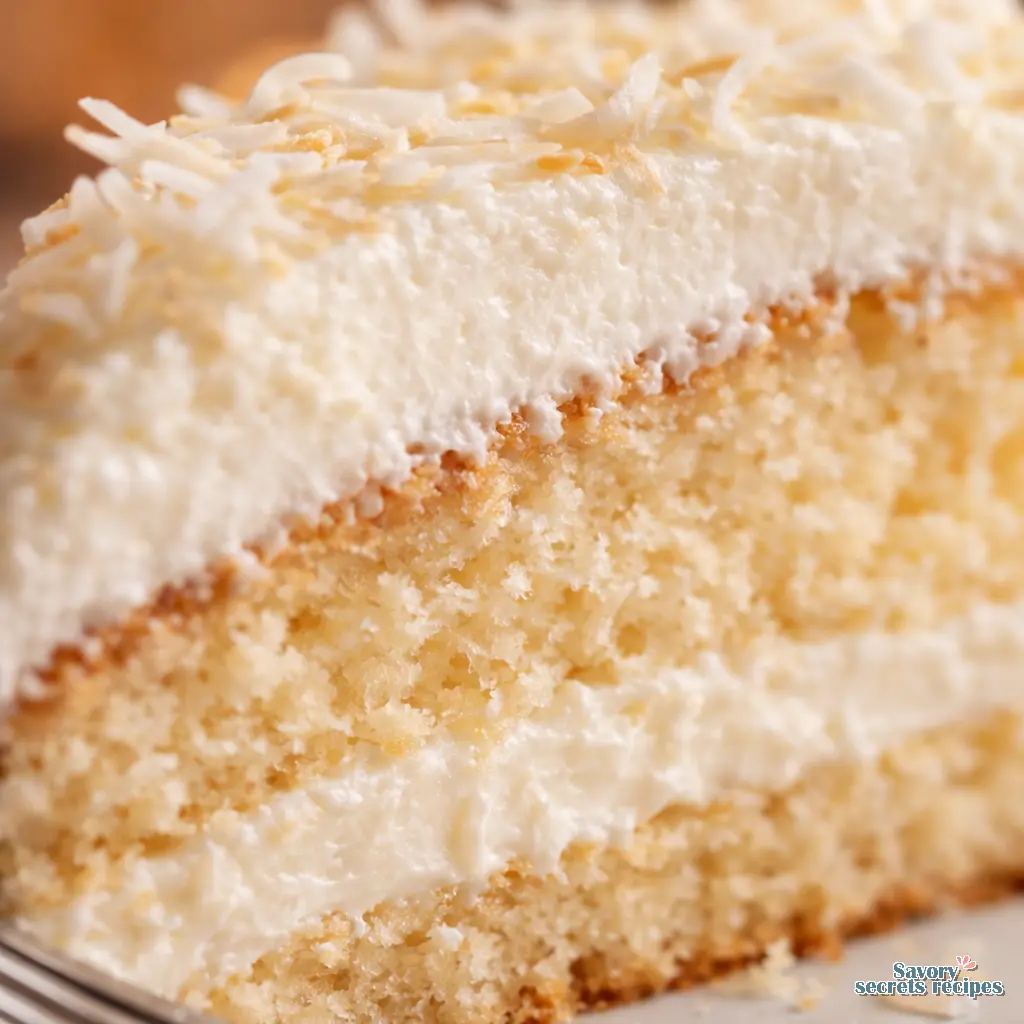
The Science of a Perfectly Fluffy Crumb
Let’s talk about why some cakes turn out like heavy cornbread and others melt in your mouth. The secret to this classic coconut cake recipe lies in the ingredients and how we mix them. I prefer using the reverse creaming method for layer cakes. Instead of beating the unsalted butter and sugar together first, we mix the dry ingredients with the fat. Coating the cake flour with butter and oil before adding liquids inhibits gluten formation. This gives you that velvety, moist crumb that stays soft for days. For bakers who prioritize hydration, learning the nuances of a moist coconut cake can help refine your technique.
You might notice this recipe only uses egg whites. Why? Whole eggs bring heavy fats and a yellow tint. Egg whites provide structure and lift, ensuring the cake bakes up snowy white and incredibly fluffy. If you want that bakery-style texture, the egg whites are non-negotiable.
I know it is tempting to rush, but you must use room temperature ingredients. Cold eggs and butter will shock the batter and break the emulsion. If you forgot to take your eggs out, do not panic. Just soak the cold eggs in a bowl of hot tap water for 5 to 10 minutes to bring them to room temperature quickly. It is a small step, but it makes all the difference.
Choosing the Right Coconut Milk
This is where I see the most mistakes. A truly great classic coconut cake recipe relies on canned coconut milk, not the refrigerated coconut milk beverage you pour over cereal. The canned version has the fat content necessary to tenderize the cake flour and carry the flavor.
When you open canned coconut milk, the heavy cream usually separates from the water. You need to shake the can vigorously before opening. If you open it and it is still chunky, here is a quick fix. Heat the chunky coconut milk in the microwave for 30 seconds to melt the fats back into the liquid, then whisk it smooth. This needs time to hydrate properly in the batter, so making sure it is fully emulsified is critical.
If you want to adjust the coconut intensity, you have options. For a subtle flavor, stick to the coconut milk in the batter and a pure vanilla extract base. For an intense, punchy flavor, swap the vanilla extract for coconut extract in both the cake and the cream cheese frosting.
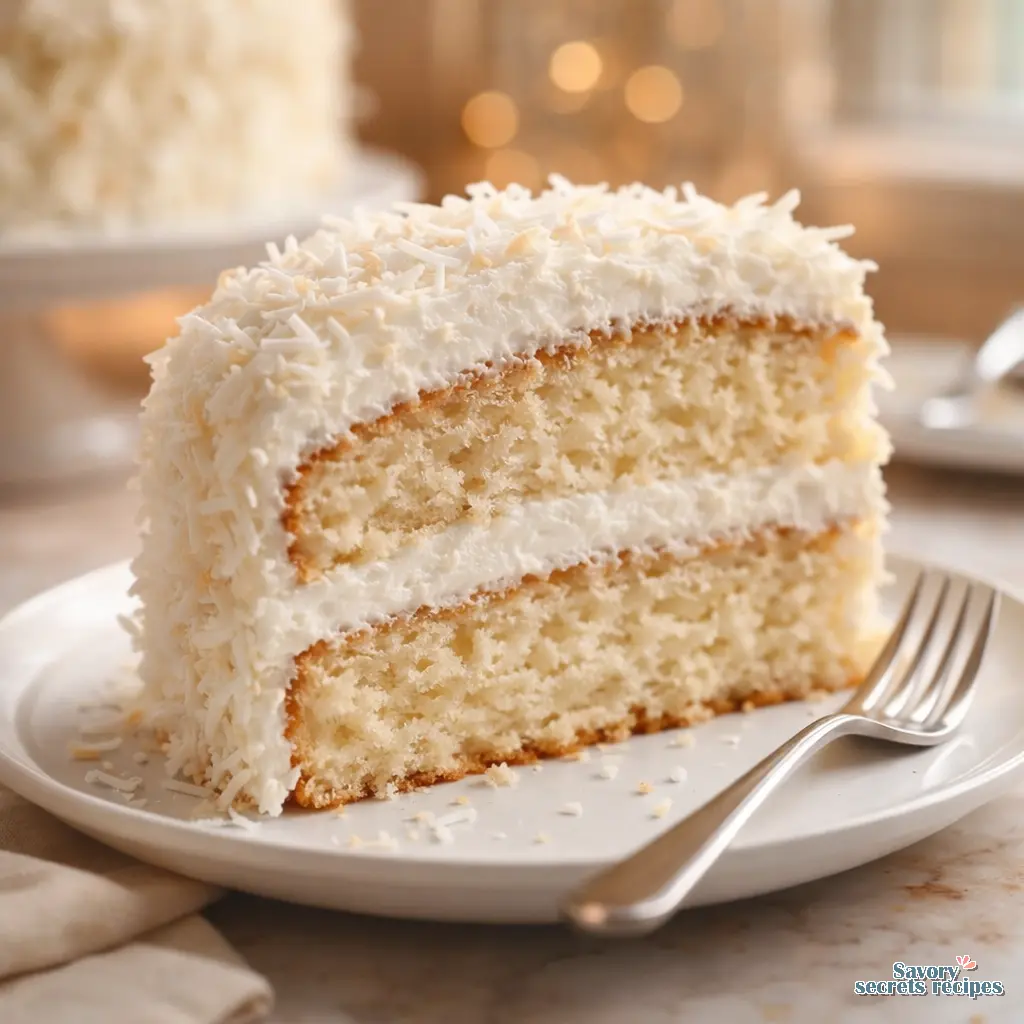
Mastering the Assembly and Crumb Coat
This is the part I love. Building the cake is incredibly satisfying when you have a solid foundation. First things first, your cakes must be completely cool. Frosting a warm cake is a recipe for disaster. I tend to find that cooling the cakes in their pans for exactly 5 minutes before inverting them onto a wire cooling rack prevents them from sticking or breaking. Give it a minute to settle, then flip.
If your cakes baked up with a dome, level them off with a serrated knife. A flat cake is a stable cake. Alternatively, you can use bake-even strips wrapped around the outside of your pans before baking to prevent doming altogether. They are just wet fabric strips that cool the edges of the pan, and they work like magic.
Let’s talk about the crumb coat. This is a thin layer of cream cheese frosting applied all over the stacked cake to trap any loose crumbs. Once you apply the crumb coat, chill the cake in the refrigerator for 20 minutes. Freezing the layers briefly before final frosting reduces crumbs and increases stability. When you apply the final layer of frosting, the texture should read smooth when you drag a spatula through it.
Common Mistakes & Fixes
Mistake: The cake layers slide off each other.
Solution: You likely frosted the cake while it was still warm, or your frosting was too soft. Always cool cakes completely and chill your frosting for 10 minutes if your kitchen is hot.
Mistake: The batter looks curdled.
Solution: Your ingredients were too cold. Room temperature ingredients are mandatory for a proper emulsion. If it curdles, keep mixing on low speed; the flour will usually bring it back together.
Mistake: The cake is dense and heavy.
Solution: Overmixing is usually the culprit. Once you add the dry ingredients, mix only until just combined. You want to keep those air bubbles intact.
Perfecting the Coconut Exterior
My nephew Omar refuses to eat anything with weird textures, which made me rethink how I handle shredded coconut. Long shreds can sometimes feel chewy or stringy. If you want a more refined mouthfeel, pulse your long coconut shreds in a food processor a few times. It creates a snowy, delicate texture that practically melts in your mouth. This finishing touch is essential for any high-quality tropical coconut dessert.
You can use sweetened or unsweetened shredded coconut depending on your preference. I like my desserts on the slightly less sweet side, so I often mix the two. For the outside of this classic coconut cake recipe, toasting half of the coconut adds incredible depth. Toast the coconut in a dry skillet over medium heat, stirring constantly, until it smells fragrant and turns a light golden brown. Let it cool completely before pressing it into the sides of your frosted layer cake.
Pan Size Conversions and Variations
Not everyone has three 8-inch cake pans sitting in their cupboard. That tracks with what I have seen from readers over the years. You can easily adapt this classic coconut cake recipe to fit your kitchen.
If you only have two 9-inch pans, the batter will fit perfectly. Just increase the baking time to about 25 to 30 minutes. Keep an eye on it. You are looking for a gentle spring-back when you touch the center, not just a clean toothpick. If you want a casual weeknight dessert, bake this as a 9×13-inch sheet cake for about 40 minutes. You can even make cupcakes, which take about 19 to 21 minutes to bake perfectly.
Storage and Make-Ahead Strategy
Layer cakes are a project, and I highly recommend splitting the work over two days. You can bake the cake layers, let them cool completely, wrap them tightly in plastic wrap, and leave them at room temperature overnight. The next day, make your cream cheese frosting and assemble.
If you want to freeze the cake, you are in luck. Unfrosted layers freeze beautifully for up to 4 months. Just wrap them in plastic wrap and a layer of aluminum foil. Thaw them overnight in the refrigerator before assembling. If you have leftover frosted cake, store it in an airtight container in the refrigerator for 2 to 3 days. Because the frosting contains cream cheese and the butter solidifies when cold, you must bring the slices to room temperature for about 30 minutes before serving. The texture is vastly superior when the butter softens back up.
Frequently Asked Questions
The Final Slice
There is a specific kind of silence that falls over a dining table when everyone takes their first bite of a truly great dessert. That is exactly what happens with this cake. The contrast of the tangy, creamy frosting against the snowy, moist crumb and the slight crunch of toasted coconut is pure magic. It reminds me of those Friday afternoons in my grandmother’s kitchen, where everything felt possible if you just paid attention to the details.
Take a photo of your masterpiece before you cut into it, because I promise it will not last long. I would love to hear who you baked this for, so leave a comment below. If you are looking for more baking inspiration or holiday dessert ideas, browse my Pinterest boards where I save all my favorite texture-focused recipes. Happy baking, and trust yourself, you’ve got this.
Reference: Original Source
Why does everything in this classic coconut cake recipe need to be at room temperature?
Room temperature ingredients bond together easily to form a smooth, trapped-air emulsion. If you add cold eggs to room temperature butter, the fat seizes and your batter will look curdled. This leads to a dense, flat cake instead of a fluffy one.
What is the difference between vanilla buttercream and cream cheese frosting for this classic coconut cake recipe?
Vanilla buttercream is sweeter and strictly butter-based, which is lovely but can be cloying. Cream cheese frosting introduces a slight tang that beautifully cuts the sweetness of the shredded coconut and confectioners sugar, making the whole dessert much more balanced.
What if I do not have three 8-inch cake pans for this classic coconut cake recipe?
No problem at all. You can bake this batter in two 9-inch cake pans for 25 to 30 minutes, or in a 9×13-inch rectangular baking dish for about 40 minutes. Just keep an eye on the center and look for that gentle spring-back texture.
Can I freeze this classic coconut cake recipe?
Yes, absolutely. The unfrosted baked layers freeze perfectly for up to 4 months when wrapped tightly in plastic wrap and foil. You can also freeze the fully frosted cake for up to 3 months. Just thaw it overnight in the refrigerator before serving.
Can I use boxed coconut milk beverage instead of canned?
I strongly advise against it. Boxed coconut milk is mostly water and lacks the necessary fat content. Canned coconut milk is a cooking ingredient that provides the fat needed to tenderize the cake flour and deliver an authentic, rich flavor.


