


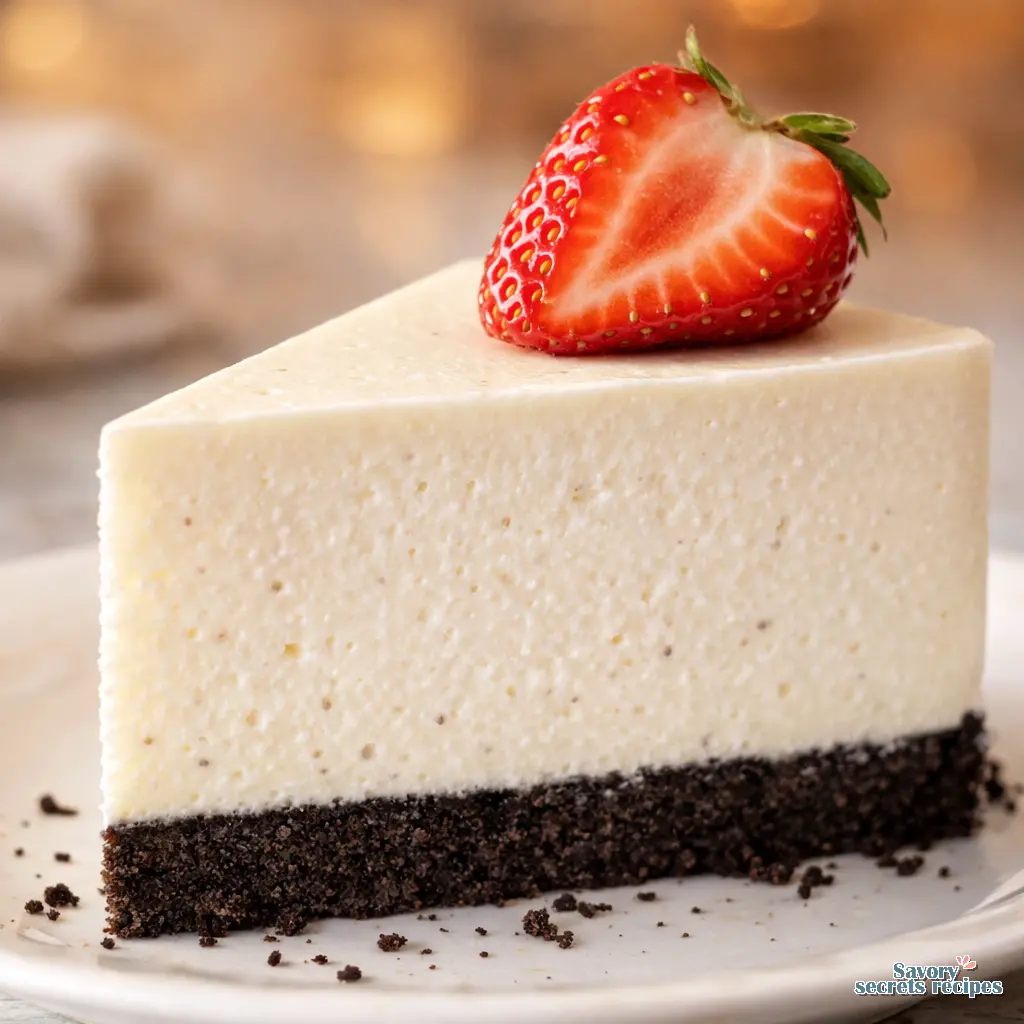
Best Chilled Chocolate Cheesecake Bars for a Crowd
Ingredients
Method
- Line the bottom of a 9-inch springform pan with parchment paper and grease the sides.
- Combine the crust ingredients in a small bowl and press the mixture into the bottom and up the sides of the pan.
- Refrigerate the crust while preparing the filling.
- Beat the cream cheese, sugar, and cocoa powder in a large mixer bowl until smooth and well combined.
- Mix in the melted chocolate until smooth and set the mixture aside.
- Whip the heavy whipping cream, powdered sugar, and vanilla extract in a separate large bowl on high speed until stiff peaks form.
- Gently fold the whipped cream into the cream cheese mixture in two additions until well combined.
- Spread the filling evenly over the crust and refrigerate for 5-6 hours or overnight until firm.
- Whip the heavy whipping cream, powdered sugar, and vanilla extract in a large bowl on high speed until stiff peaks form.
- Remove the cheesecake from the pan, place it on a serving platter, and pipe the whipped cream around the rim.
- Garnish the cheesecake with desired toppings, such as chocolate shavings, mini chocolate chips, or sprinkles.
- Store the cheesecake in the refrigerator until ready to serve and consume within 4-5 days.
Nutrition
Notes
The Heat-Free Hook for Spring Entertaining
Picture this scenario. It is Mother’s Day weekend, the Los Angeles spring weather has suddenly spiked to 85 degrees, and you have twelve people arriving in four hours. You want to serve something elegant, but turning on the oven feels like a terrible idea. Plus, slicing a traditional round cake for a crowd always ends up looking like a messy, crumbled disaster on the serving platter. I have been there so many times. If you are just starting out, you might find a simple cheesecake recipe more approachable for your first attempt.
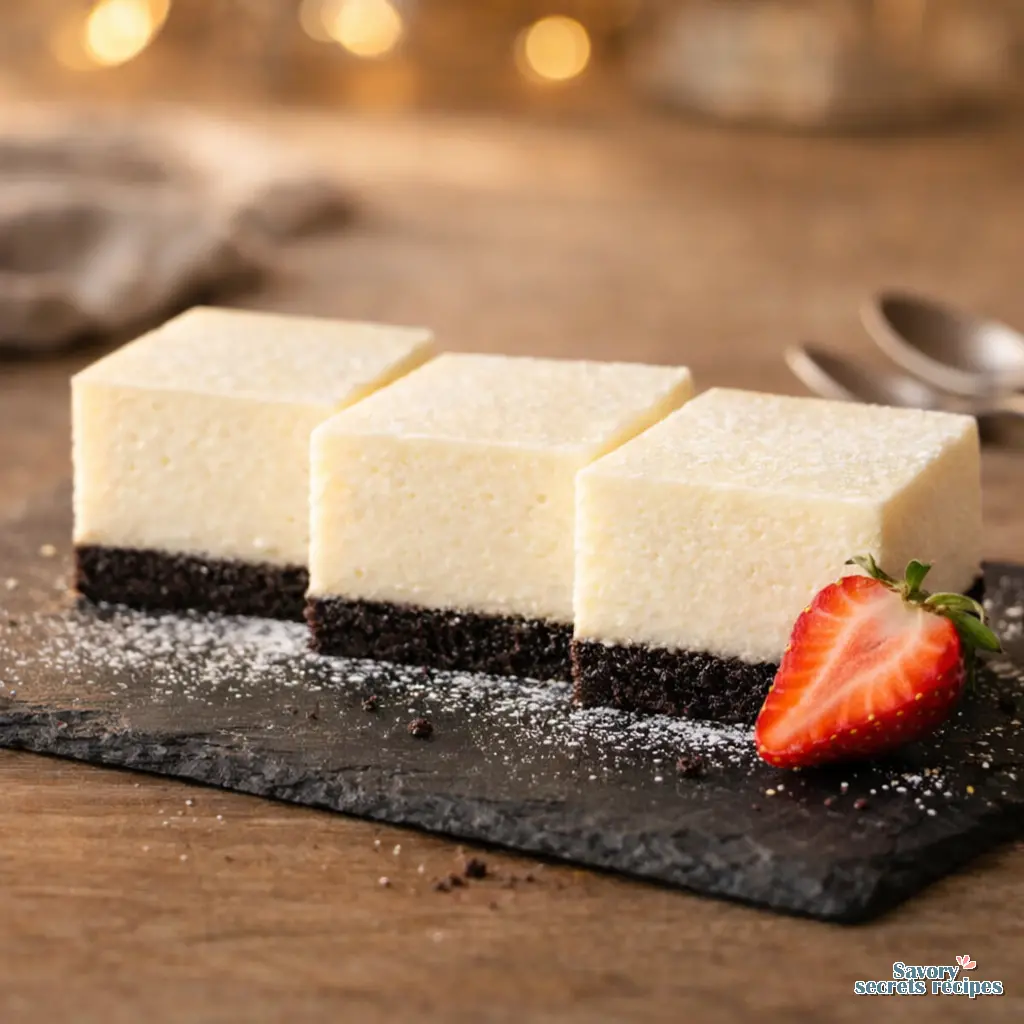
This is exactly why I developed this quick cheesecake no oven required. Let me walk you through this. By transforming the classic dessert into a chilled cheesecake dessert served in a 9×9 pan, you eliminate the baking stress entirely. You get perfectly uniform squares, easy grab-and-go portions, and a dessert that actually provides a refreshing relief from the heat. Worth it. Completely worth it.
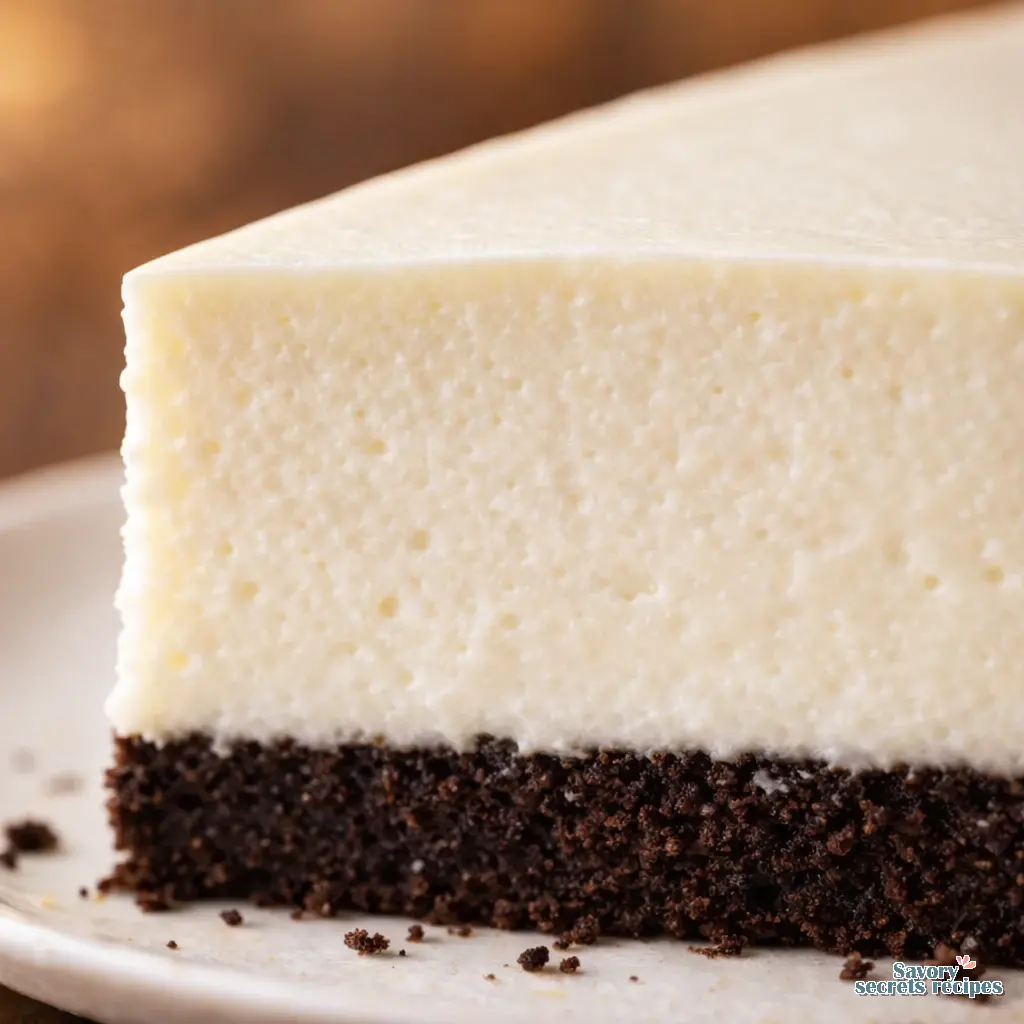
My readers often ask me how to make no bake cheesecake bars that hold their shape. They worry it will melt into a puddle on the picnic table. I totally get that fear. In my testing, I figured out the exact ratio of heavy cream to cream cheese that guarantees stability. Your guests will get that beautiful contrast between a crunchy graham cracker base and a silky filling, all while keeping your kitchen perfectly cool.
The Foolproof 9×9 Pan and Parchment Sling Setup
Before we even touch the ingredients, we need to talk about your pan. This is the part that matters most for clean removal. You will need a standard 9×9 inch square baking dish. (If you are feeding a massive crowd, you can double this for a 9×13 pan, but check your math on the crust ratio).
Here is what I have found works best. You need to create a parchment paper sling. Cut two long strips of parchment paper and lay them in a cross shape inside the pan, leaving plenty of overhang on all four sides. This is not just a suggestion. It is your insurance policy. Later, when the dessert is fully set, you will use those overhanging flaps to lift the entire solid block out of the pan at once. Peeling that paper back from the firm, chilled edges is incredibly satisfying. It feels like unwrapping a gift.
For the base, compress your cookie crumbs firmly. I use the flat bottom of a measuring cup to pack it down hard. If you do not press it firmly enough, it will crumble when you try to eat it. A sturdy crust is the foundation of the best chilled cheesecake bars for a crowd. This technique ensures your easy cheesecake recipe turns out looking professional every time.
The Ingredient Temperature Rule
If you take nothing else away from this article, please remember this rule. Your cream cheese must be at room temperature, and your heavy whipping cream must be freezing cold. I know this sounds fussy, but it is the secret to a silky filling.
Use full-fat, brick-style real cream cheese. Never use the spreadable tub versions. The tub stuff has added water and air to make it spreadable on bagels, which means it will never set up firm enough for a quick cheesecake no oven recipe. I prefer Philadelphia brand for the most consistent results. In my experience, though yours may differ, generic brands sometimes have a higher water content that throws off the texture.
Leave the cream cheese out on the counter for about two hours before you start. If you try to beat cold cream cheese, you will get tiny, stubborn lumps that no amount of mixing will fix. Trust me on this. I learned this the hard way during a potluck panic in 2019. This preparation ensures a smooth base for any creamy no bake dessert you choose to make.
The Whipped Cream Secret and Stability Science
Since we are not using eggs or baking this dessert, we need another way to give it structure. That is where the heavy whipping cream comes in. You need to whip your cold heavy cream to stiff peaks before folding it into the cream cheese mixture.
You will know it is ready when you pull your whisk straight up and the cream forms a sharp peak that does not flop over. This is your checkpoint. If it flops, keep whipping. The air trapped in those stiff peaks acts like millions of tiny invisible pillars, holding the whole structure up. When you fold this into your cream cheese, do it gently. You do not want to deflate all that hard work.
Also, use confectioners’ sugar (powdered sugar) instead of granulated sugar. Confectioners’ sugar contains a small amount of cornstarch, which acts as a gentle binder and absorbs excess moisture. It gives you that perfect stability without any chalky aftertaste.
Visual Troubleshooting Guide
Mistake: The filling looks lumpy like cottage cheese.
Solution: Your cream cheese was too cold. Stop mixing immediately. Let the bowl sit in a warm spot in your kitchen for 20 minutes, then try beating it again until smooth before adding the whipped cream.
Mistake: The mixture turned into a runny soup.
Solution: You likely under-whipped the heavy cream, or you over-mixed when folding it together. To rescue it, you can bloom 1 teaspoon of unflavored gelatin in a tablespoon of cold water, microwave for 10 seconds until melted, and quickly fold it into the batter before chilling.
Mistake: The crust crumbles when cutting.
Solution: You did not pack it tightly enough, or you used too little butter. Next time, use a flat-bottomed glass to really compress it into the corners of the 9×9 pan.
Chilling Timeline: The 12-Hour Rule
Look, I will be honest. The hardest part of this quick cheesecake no oven recipe is the waiting. You might be tempted to cut into it after three hours. Please do not do that.
For the best chilled cheesecake bars for a crowd, you need patience. The dessert needs a minimum of 6 to 12 hours in the refrigerator to properly set. Overnight is always best. During this time, the butter in the crust solidifies, the cream cheese firms up, and the moisture from the filling slightly softens the top layer of the graham crackers, marrying the two layers together perfectly.
This is a cold dessert. It is meant to be intensely refreshing. Serving it straight from a long chill in the fridge ensures it has that beautiful, cool-to-the-touch mouthfeel that everyone craves during a warm afternoon picnic.
Pro-Tools for Clean Cuts and Serving
When it is finally time to serve, you want those perfectly uniform 2×2 inch squares. This is where you look like a catering professional. First, pop the entire pan into the freezer for exactly 20 minutes before cutting. This quick freezer blast firms up the top layer just enough to prevent the knife from dragging.
Use your parchment sling to lift the block onto a large cutting board. Now, grab your sharpest, longest chef’s knife. Run the blade under hot tap water for a few seconds, wipe it completely dry with a towel, and make your first cut. Press straight down. Do not saw back and forth. Hot knife, wipe, repeat. You must wipe the blade clean between every single cut. It takes an extra three minutes, but it is the difference between a messy blob and a bakery-quality square. Using these professional tips will elevate any simple cheesecake recipe to gourmet status.
If you want to get fancy with the presentation, an offset spatula is wonderful for creating little rustic swoops on the top of the filling before you chill it. You can top these with fresh Meyer lemon zest or a handful of diced California strawberries right before serving.
Storage and Freezing Guide
Batch cooking these for a party is brilliant because they store incredibly well. Keep the bars chilled in the refrigerator in an airtight container for up to 5 days. I usually separate the layers with wax paper so they do not stick together.
Can you freeze them? Absolutely. This recipe is a fantastic freezer set dessert. Wrap the uncut block tightly in two layers of plastic wrap, then a layer of aluminum foil. It will keep for up to 3 months. When you are ready to serve, let it thaw in the refrigerator overnight. Never thaw it on the counter at room temperature, or the sudden temperature change will cause condensation and make the crust soggy.
Frequently Asked Questions
Ready to Host?
Once you understand these basic principles, you will never stress over a summer dessert again. You get all the rich, tangy flavor of a traditional recipe, but in a portable, refreshing format that actually survives a warm afternoon. I am genuinely excited for you to try this method.
Keep them chilled right up until the moment you serve them. Your guests are going to love how light and cool they taste. What event are you making these for? Let me know how they turn out.
For more inspiration, check out my Pinterest boards where I save all my favorite party-friendly variations. You’ve got this!
Reference: Original Source
Can I make quick cheesecake no oven ahead of time?
Yes, and you absolutely should. I always recommend making this at least 24 hours before your event. The extra time in the fridge allows the flavors to meld and ensures the filling is perfectly firm for clean, professional-looking slices.
Can no-bake cheesecake be frozen?
It freezes beautifully. Wrap the fully set, uncut block in plastic wrap and foil. It lasts up to three months. Just remember to thaw it slowly in the refrigerator overnight, not on the kitchen counter, to keep the crust crisp.
Why didn’t my quick cheesecake no oven set?
This usually happens if you used a tub-style cream cheese spread instead of the solid bricks, or if you under-whipped the heavy cream. The cream needs stiff, sturdy peaks to provide structure. Also, ensure you chill it for the full 12 hours.
Can I make mini no-bake cheesecakes with this recipe?
Definitely. Line a standard muffin tin with paper liners. Press a spoonful of the crumb mixture into each cup, top with the filling, and chill. They are perfect portable treats for a picnic and usually set a bit faster than the 9×9 pan.
Can I mix pie filling directly into the cream cheese mixture?
I do not recommend it. Stirring liquidy pie filling into the batter adds too much moisture and prevents it from setting. Instead, keep the filling pure and spoon your cherry or strawberry topping over the bars right before serving.
What happens if I use tub cream cheese?
Your dessert will turn into a delicious but soupy mess. Tub cream cheese is formulated with extra water and air to stay soft in the fridge. It simply does not have the structural integrity needed to hold its shape when sliced.


