


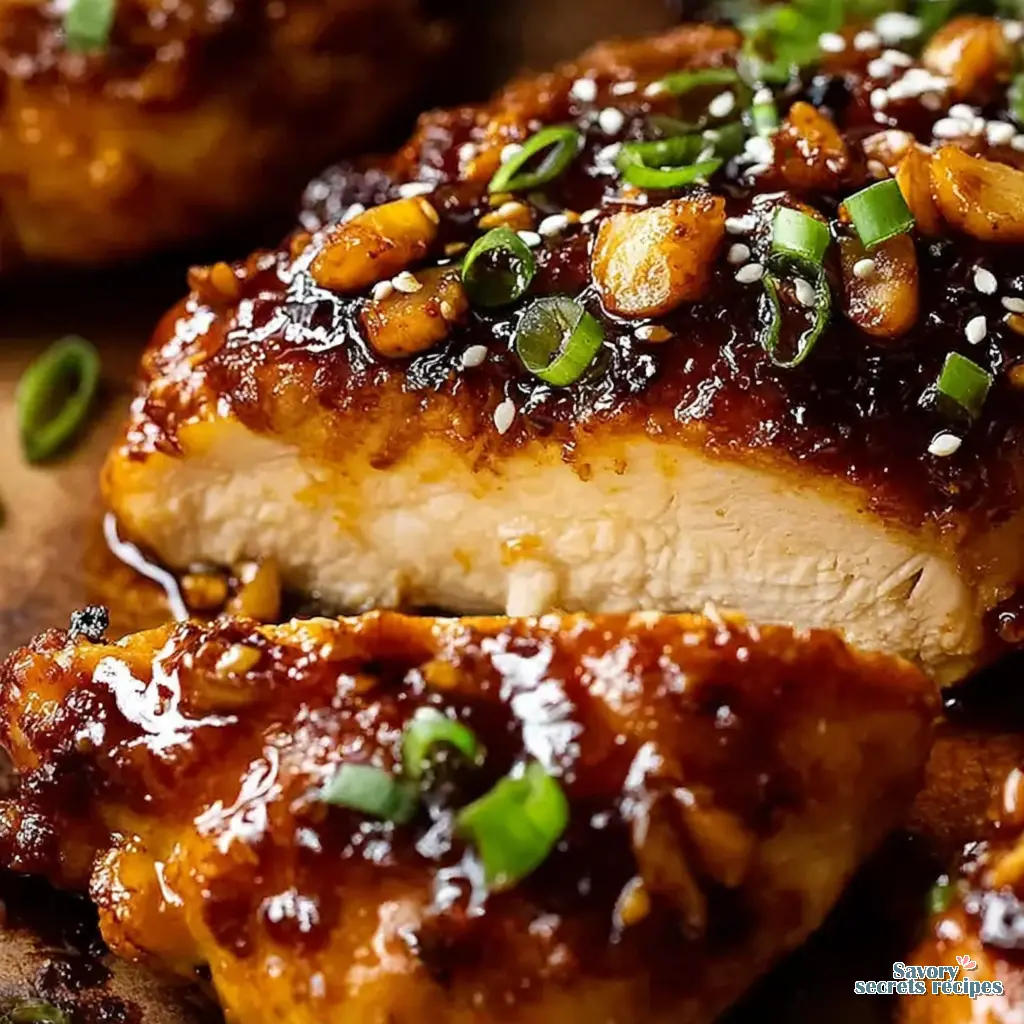
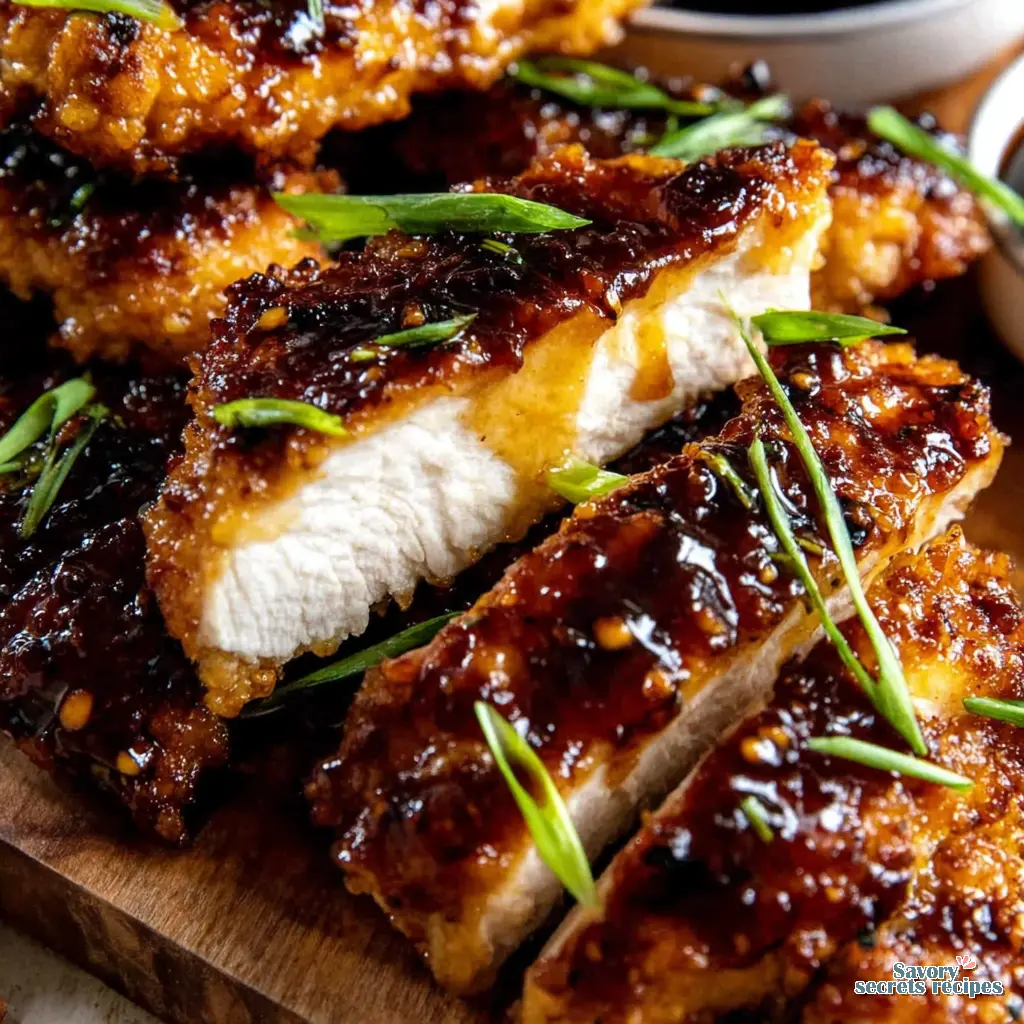
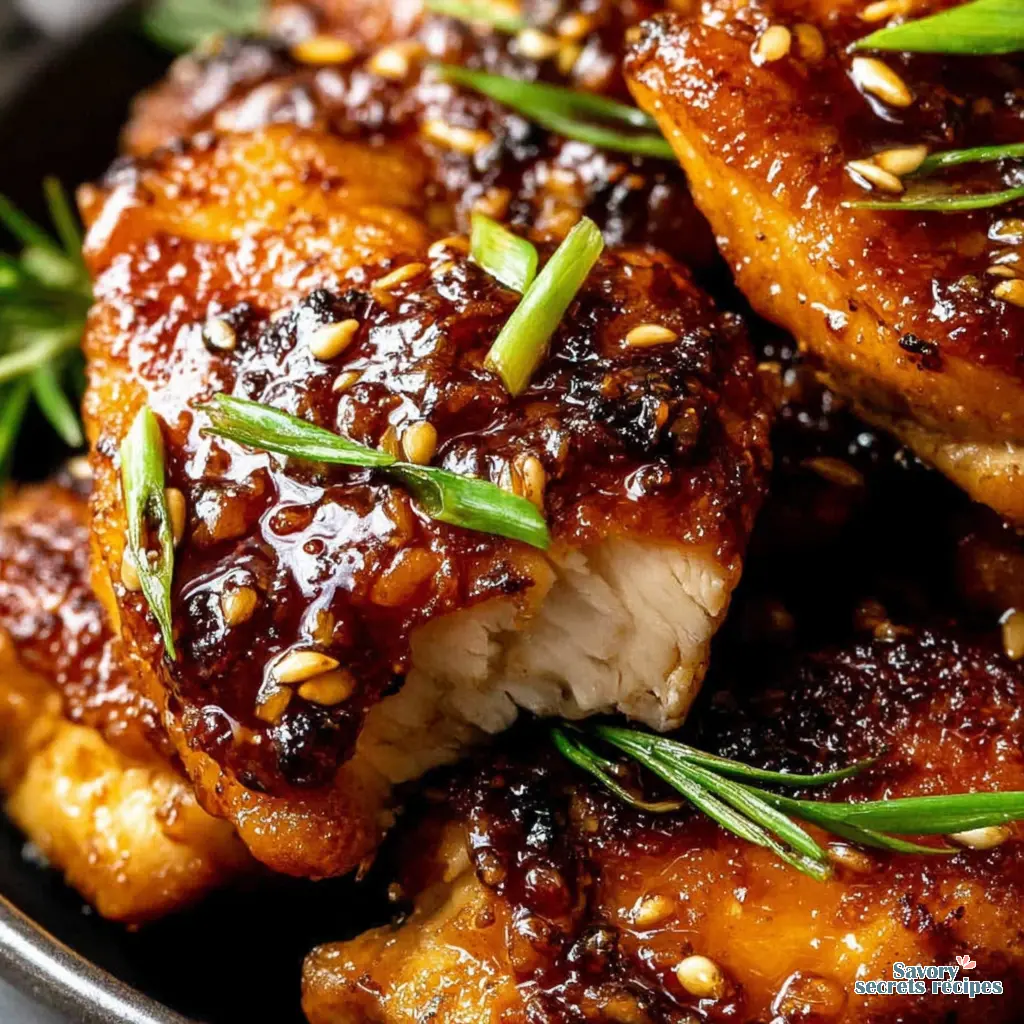
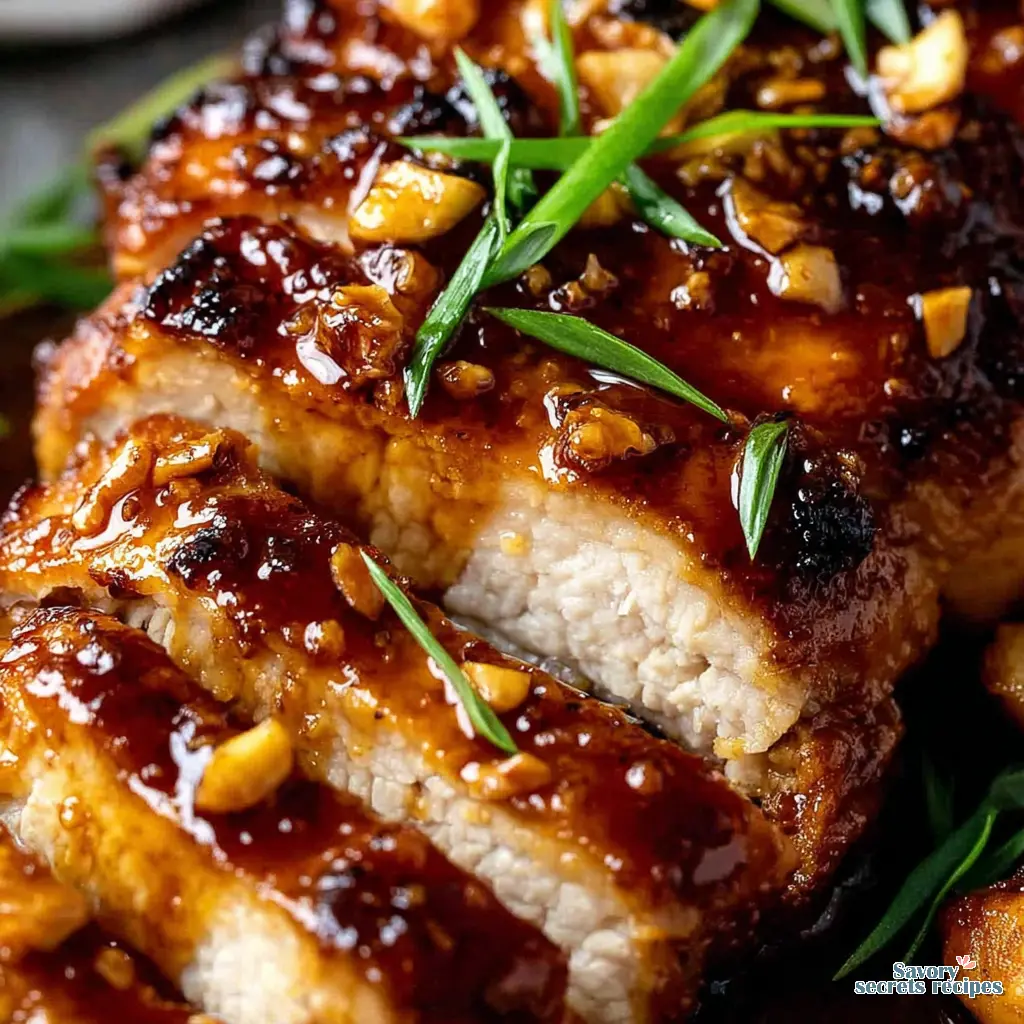
Easy Baked Honey Glazed Chicken Thighs
Ingredients
Method
- Preheat the oven to 190°C / 375°F (fan).
- Prepare the chicken: Trim excess fat from the chicken thighs and cut into bite-sized pieces. Set aside.
- Coat the chicken: In a medium bowl, combine the cornflour, salt, pepper, garlic powder, and paprika. Add the chicken pieces and toss to coat evenly.
- Add oil: Drizzle the oil over the coated chicken and stir to ensure the pieces are well covered and slightly sticky.
- Arrange for baking: Spread the chicken in a single layer in a large baking tray (or two medium trays). Ensure there's space between the pieces for better crisping. Use trays with sides at least 2.5 cm (1 inch) high.
- Bake for 15 minutes near the top of the oven.
- Make the sauce: While the chicken bakes, whisk together the rice vinegar, soy sauce, and cornflour. Stir in the chicken stock, butter, minced garlic, and honey. Set aside.
- Add the sauce: After 15 minutes, remove the tray from the oven and turn the chicken pieces. If using two trays, combine everything into one. Pour the sauce around (not directly over) the chicken.
- Return to oven: Bake for another 10–12 minutes, until the sauce is bubbling.
- Coat the chicken: Remove the tray, stir the chicken in the sauce to coat well.
- Serve: Spoon over rice, then top with chopped spring onions and chilli flakes.
Notes
The Secret to Perfect Baked Honey Chicken
I remember my grandfather bringing home fresh sardines from the morning catch in Essaouira. He would grill them whole over charcoal in the courtyard. The smell of that smoke mixed with the natural caramelization of the fish is still the first thing I think of when someone mentions a good glaze. I know we are talking about poultry today, but the principle is exactly the same. You want that deep, sticky, lacquered finish. That is what makes a proper baked honey chicken so irresistible.
During these cooler LA winter months when we actually use our ovens, this recipe is my absolute go-to. I used to think you had to stand over a hot stove, constantly flipping and basting, to get a beautiful sweet glazed chicken. From what I’ve seen in test kitchens, home cooks often avoid sticky sauces because they fear burning them. I certainly ruined my fair share of dinners early on. I once destroyed an entire test batch of branzino because I misjudged the residual heat. I had to scrap the photos and restart the next day. I still feel that one.
But here is the truth about this baked honey chicken. The oven does ninety percent of the heavy lifting. You just need to understand moisture control and temperature. We are going to build a foolproof foundation, use the broiler for that final restaurant-quality char, and get dinner on the table without the stress. Let me walk you through the details that actually matter.
Building the Foundation: Why Ingredients Matter
Generally speaking, I lean toward bone-in skin-on chicken thighs for roasting. The bone acts as an insulator, cooking the meat gently from the inside out, while the skin protects the flesh and crisps up beautifully to hold the sticky sauce. You can absolutely use boneless skinless thighs if you prefer dark meat without the prep work. If you must use chicken breasts, please take a meat mallet and flatten chicken breasts before baking for even cooking. Uneven breasts are the enemy of a good roast.
Before you even touch a pan, you need to let the meat rest. Let it come to temperature first. Bring your chicken to room temperature for 30 to 60 minutes before baking. I cannot stress this enough. Throwing ice-cold meat into a hot oven drops the pan temperature immediately, which leads to steaming instead of roasting. You want a roast, not a steam bath.
For your equipment, grab a sturdy rimmed baking sheet or a ceramic baking dish. Line it with parchment paper for easy cleanup. Some people swear by foil, but I find that honey glazes tend to stick to foil even when greased. Parchment is much more forgiving.
The Science of the Baked Honey Chicken Glaze
This is where it gets good. A great glaze is a balancing act between sweet, salty, and acidic. The honey provides the caramelization and the sticky texture. The dijon mustard adds a crucial emulsifier and a sharp bite. But the real trick is the butter. You need to melt the butter before mixing with honey and mustard for a smooth glaze. If you try to whisk cold butter into room-temperature honey, you will end up with a broken, lumpy mess. This is a similar technique used in my sticky honey chicken recipe, which prioritizes that thick, finger-licking coating.
For the savory element, use low sodium soy sauce to control saltiness. Regular soy sauce can easily overpower the delicate floral notes of the honey as the sauce reduces in the oven. If you do not have rice vinegar on hand, a splash of lemon juice or regular white vinegar works perfectly to cut the sweetness. And if you want a secret ingredient, add just a tiny pinch of grated nutmeg to the sauce. It adds a warm, background complexity that makes people ask what your secret is.
As the chicken cooks, the sugars in the honey will start to bubble and thicken. You need a good basting brush. Baste the chicken with the glaze that gathers at the bottom of the dish during cooking. Do this about halfway through the baking time. That bottom juice is pure gold. It is a mixture of rendered chicken fat, caramelized honey, and savory garlic.
Troubleshooting: When Things Go Wrong
I genuinely love the problem-solving aspect of cooking. Figuring out why a recipe failed is how you become a better cook. Let’s look at a few common pitfalls with oven baked sweet chicken for beginners.
Common Mistakes & Fixes
Mistake: The honey glaze burns and turns bitter.
Solution: Honey has a low smoke point. If your oven runs hot, the sugars will scorch before the meat cooks. If you see the edges getting too dark, tent the baking dish loosely with foil. Never cover bone-in chicken tightly from the start, as it prevents the glaze from thickening.
Mistake: The sauce is too thin and watery.
Solution: This happens if the chicken releases too much water (often the case with frozen chicken that wasn’t patted dry). Simply pour the juices into a small saucepan, add a tiny cornstarch slurry, and simmer on the stove for three minutes until it coats the back of a spoon.
Mistake: The chicken is dry and stringy.
Solution: You overcooked it. Trust the texture more than the clock. Check the internal temperature to ensure it reaches 165 degrees Fahrenheit. I highly recommend using a digital meat thermometer. It takes all the guesswork out of roasting.
My daughter has a rule that she has to try one bite of whatever I am testing. Last Tuesday it was a variation of this very chicken. She took the smallest possible bite, looked at the sticky sauce on her fingers, and asked for a whole thigh. That is the ultimate endorsement in my house.
Prep-Ahead baked honey chicken Strategy
If you are meal prepping for a busy week, this recipe scales beautifully. I often buy chicken in bulk from Costco. I use a vacuum sealer for freezing chicken bought in bulk, which prevents freezer burn completely. You can even freeze the chicken directly in the marinade. It is consistently rated as a favorite easy chicken dinner for those with limited time in the evenings.
If you prefer to make the sauce a few days in advance, store it in an airtight jar in the fridge. Just remember to whisk the sauce thoroughly if prepared ahead of time as honey can settle at the bottom and solidify. Give it a quick ten-second blast in the microwave to loosen it up before pouring it over your raw poultry.
Storage, Reheating, and Serving Suggestions
Proper storage is the difference between a sad desk lunch and a meal you actually look forward to eating. To store your leftovers, refrigerate them in an airtight container for 2 to 4 days. If you want to freeze them, wrap the cooled chicken in plastic wrap before putting it in a ziplock bag with the air removed. It will keep for 1 to 3 months.
Regarding reheating, I have strong opinions here. The microwave is convenient, sure. If you must use it, microwave in one-minute intervals, flipping frequently so the chicken doesn’t turn into rubber. But honestly, the oven is vastly superior. Transfer the chicken to a baking pan, maybe throw in some leftover potatoes, and reheat in the oven at 350 degrees Fahrenheit for 15 to 20 minutes. The skin will crisp back up, and the sauce will regain its sticky glory.
For serving, you absolutely need a starchy base to soak up that incredible sauce. Serve over white or brown rice. If you are keeping things lighter, it pairs beautifully with roasted asparagus or a fresh green salad. Sometimes I just serve it with a side of warm rolls to mop up the pan drippings. Perfect.
Frequently Asked Questions
Final Thoughts from the Kitchen
There is something deeply satisfying about pulling a perfectly glazed piece of poultry from the oven. Seeing that golden crust form and knowing you nailed the temperature is exactly why I love cooking. This baked honey chicken is forgiving, deeply flavorful, and relies on simple techniques rather than complicated steps. Trust the process, use a thermometer, and don’t skip the basting. You’ve got this.
If you end up making this for dinner, I would love to hear how it turns out. I share tons of variations on my Pinterest boards if you want more ideas for easy weeknight dinners. Keep experimenting, keep tasting, and enjoy the food.
Reference: Original Source
Did you use mustard seed in this baked honey chicken?
I prefer using smooth Dijon mustard for this glaze. It emulsifies perfectly with the honey and butter. If you like texture, you can absolutely use a stone-ground mustard with visible seeds, but avoid dry mustard powder as it can make the sauce slightly gritty.
Do you melt the butter before making the sauce?
Yes, always. Melting the butter before whisking it with the honey and soy sauce ensures a silky, unified glaze. If you try to mix cold butter into room-temperature honey, the sauce will break and heat unevenly in the oven.
What do you baste with during cooking?
Do not hold back extra sauce for basting. Instead, baste the chicken with the natural juices and glaze that gather in the bottom of the baking dish as it cooks. That mixture of rendered fat and caramelized honey creates the best possible coating.
How long do I leave raw chicken out for before baking?
I always let the meat come to room temperature for 30 to 60 minutes before it goes into the oven. This prevents the cold meat from dropping the pan temperature and ensures it roasts evenly rather than steaming in its own juices.
Should you cover baked honey chicken while it cooks?
I recommend leaving it uncovered. Covering bone-in chicken traps steam, which prevents the glaze from thickening and caramelizing. If you notice the honey browning too quickly toward the end, you can loosely tent it with a piece of foil.
Is it better to cook chicken at 350 or 400 degrees F?
It depends on the cut. For bone-in thighs, 350 degrees Fahrenheit is better to render the fat slowly without drying out the meat. If you are using boneless chicken breasts, 400 degrees works well for a faster cook time to retain moisture.
How long is it safe to leave cooked chicken out on the counter for?
Food safety is non-negotiable here. Cooked poultry should not sit at room temperature for more than two hours. If your kitchen is particularly warm, cut that time down to one hour before moving the leftovers to an airtight container in the fridge.


