


Banana Nut Bread Recipe with Brown Sugar
Ingredients
Method
- Preheat the oven to 350°F (175°C) and lightly grease a 9x5-inch loaf pan.
- Cream the butter and sugar in a large bowl until light and fluffy. Beat in the eggs one at a time, then stir in the vanilla and banana. Sift the flour, baking powder, and salt together in a separate bowl.
- Blend the banana mixture into the flour mixture, stirring just until combined. Fold in the walnuts and pour the batter into the prepared pan.
- Bake in the preheated oven for 1 hour or until a toothpick inserted into the center of the loaf comes out clean.
Nutrition
Notes
The Secret to That Deep, Caramelized Color
I grew up watching my Gran make what she called “Monday pie.” It was whatever was left from Sunday dinner, tucked under mashed potatoes and baked until the top went golden. I didn’t realize until I was grown that it was her way of making sure nothing went to waste. Now I do the same thing, though I call it shepherd’s pie and my daughter thinks I invented it. That same “waste not, want not” spirit is exactly why we are talking about banana bread brown today.
We have all been there. You buy a bunch of bananas with the best intentions of healthy snacking. Then Wednesday rolls around, work gets crazy, and suddenly you have these spotted, brown things on your counter that nobody wants to eat. Most people toss them. But us? We know better. We know that those ugly bananas are the start of something incredible.
The difference between a dry, pale loaf and a rich, moist banana bread brown often comes down to one simple ingredient switch you probably already have in your pantry. It is not about being a fancy pastry chef. It is about understanding that brown sugar does something white sugar just can’t do. It brings moisture, depth, and that incredible molasses flavor that makes your house smell like a bakery on a cold winter morning.
Why Brown Sugar Makes the Difference
If you have ever baked a loaf that came out looking pale and tasting a bit like sweetened sawdust, the sugar was likely the culprit. White sugar is just sweet. That’s it. But brown sugar? That is where the magic happens.
Brown sugar is simply white sugar with molasses added back in. That molasses is hygroscopic. I know, fancy word, but it just means it grabs moisture from the air and holds onto it. When you use brown sugar in your banana bread brown recipe, you are essentially building a moisture insurance policy into your batter. It keeps the crumb soft for days, not just for the first hour out of the oven.
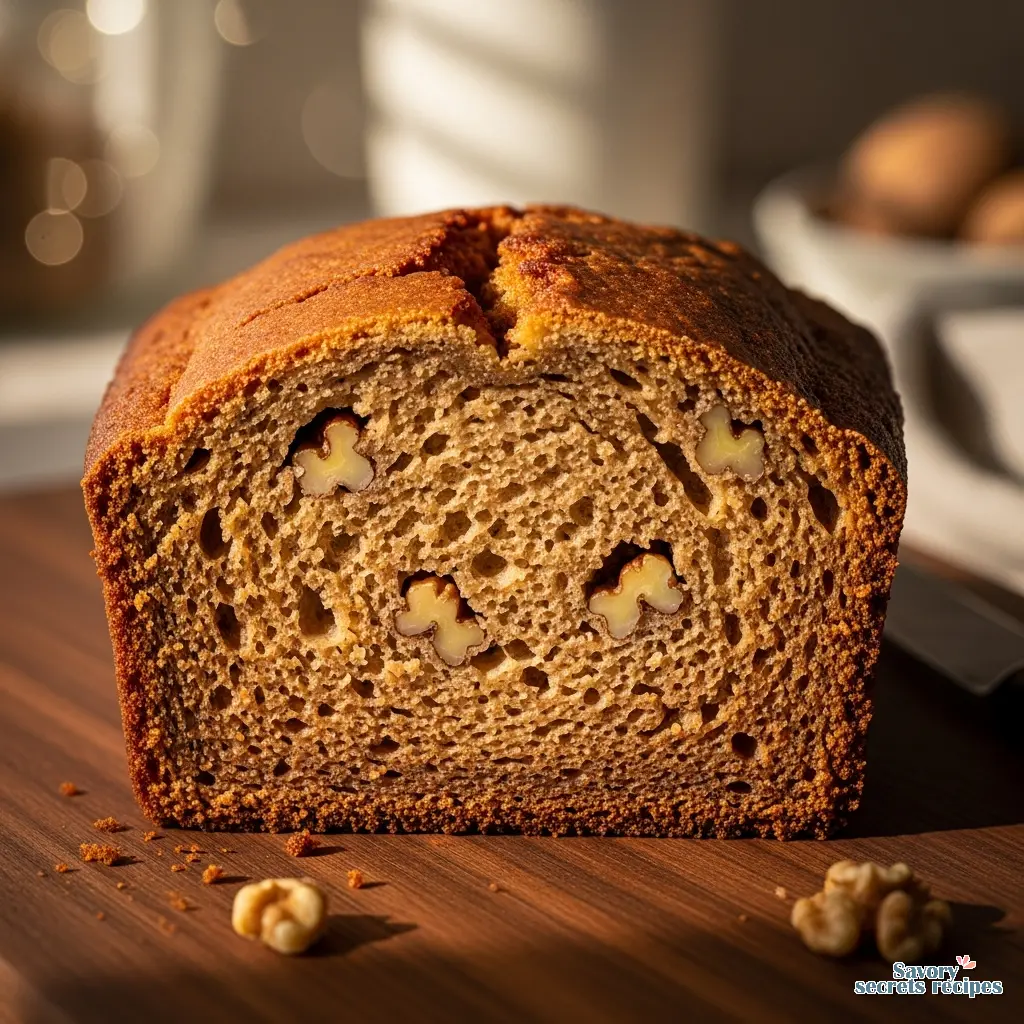
Plus, there is the color. We want that deep, dark, mahogany crust. That comes from caramelization. The molasses in the brown sugar reacts with the heat and the baking soda to create that gorgeous dark color. So if your bread comes out looking dark, don’t panic. It isn’t burnt. It’s flavor.
The “Ugly” Fruit Rule
Let’s be realistic here. If your bananas are yellow with a little green at the stem, put the mixing bowl away. You are not ready yet. Using under-ripe bananas is the number one mistake I see people make. It results in a bland loaf with no sweetness.
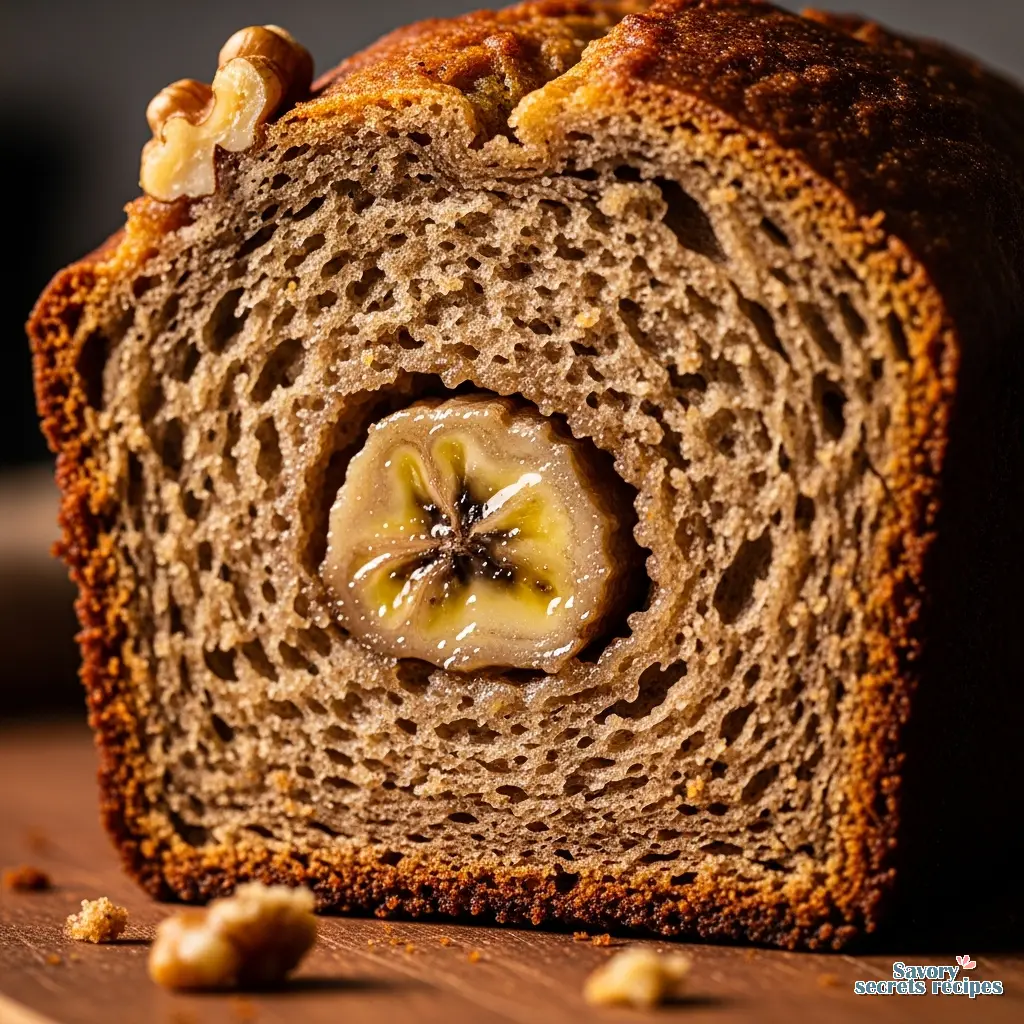
You want bananas that look like they are about one day away from the compost bin. I’m talking brown spots, streaks, maybe even mostly black skins. The fruit inside should be soft and yield easily to a fork. This is when the starches have converted almost entirely to sugar. That natural sweetness combined with the brown sugar is what gives banana bread brown its signature taste.
I’ll admit, it’s not fancy to keep a pile of rotting fruit on your counter. My husband used to try to throw them away until he tasted the result. Now he guards them like gold. If you have an abundance of overripe fruit, you can also make a simple [banana applesauce] to use as a healthy snack or natural sweetener.
The Science of Moisture: Acid and Soda
Here is what actually works when you want that tender, melt-in-your-mouth texture. It is not just the bananas. It is the reaction between the brown sugar, the baking soda, and a little bit of acid.
This recipe uses sour cream (or yogurt if that is what you have). The acidity in the sour cream reacts with the baking soda. This creates little bubbles of carbon dioxide, which gives the bread its lift. But because we are using brown sugar, which is also slightly acidic due to the molasses, we get a double reaction. This ensures the bread isn’t dense or heavy, even though it is incredibly moist.
If you don’t have sour cream, don’t worry. Plain Greek yogurt works just as well. I have even used buttermilk in a pinch. The goal is to introduce that acid to wake up the baking soda.
Emergency Ripening: When You Can’t Wait
Sometimes the craving hits you on a Tuesday, but your bananas are stubbornly yellow. I have been there. You don’t have to wait three days. You can cheat nature a little bit.
Set your oven to 300°F. Place your unpeeled bananas on a baking sheet lined with parchment paper (trust me on the parchment, they might leak). Bake them for about 15 to 20 minutes until the skins turn completely black. They will look terrifying. That is okay. Let them cool, then peel and mash. They will be soft and sweet, perfect for your banana bread brown.
No harm in trying this method if you are in a rush. The flavor isn’t quite as deep as naturally ripened fruit, but once you add the brown sugar and vanilla, nobody will know the difference.
Tips for the Moistest Crumb
I’m not sure everyone will agree, but I think overmixing is the death of quick breads. When you mix flour with wet ingredients, gluten starts to form. Gluten is great for chewy pizza crust. It is terrible for tender banana bread. Once you add the dry ingredients to the wet, mix only until the flour streaks disappear. If there are a few tiny lumps left, leave them. They will bake out.
Another thing is the fat. Butter gives great flavor, but oil actually keeps bread moister for longer. I like to use a mix, or sometimes just stick with melted butter because I love that rich taste. But if you need this loaf to last on the counter for four days (if it doesn’t get eaten first), swapping half the butter for a neutral oil like vegetable or canola is a smart move.
And please, don’t skip the salt. Salt fixes most things. It doesn’t make the bread salty; it makes the banana taste more like banana and the sugar taste sweeter. It wakes everything up.
Visual Troubleshooting: Common Mistakes
Even with a simple recipe, things can go sideways. Here is what to look for so you don’t waste your ingredients.
Why Did It Fail?
Mistake: The center is gummy but the top is burnt.
Solution: Your oven is likely running hot or the pan is too dark. Tent the loaf with foil after 30 minutes to stop the browning while the center finishes cooking.
Mistake: The loaf sank in the middle.
Solution: You probably underbaked it or opened the oven door too early. That rush of cold air can cause the structure to collapse before it sets. Use the toothpick test.
Mistake: The bread is tough and rubbery.
Solution: You overmixed the batter. Remember, gentle hands. Just fold the ingredients together until combined.
Glass vs. Metal vs. Silicone
I used to bake everything in whatever pan was clean. But for banana bread brown, the pan actually matters. Dark metal pans absorb heat fast and can burn the edges before the middle is done. If you use dark metal, reduce your oven temperature by about 25 degrees.
Glass pans take longer to heat up but hold heat well. You might need to add 5 or 10 minutes to the baking time. I prefer a light-colored aluminum pan. It conducts heat evenly and gives you that perfect golden crust without scorching the sugar. Silicone is okay, but I find the crust never gets quite as nice. If you are in a pinch, you can even learn how to bake [banana bread without a bread pan] using a standard cake tin or baking sheet.
Storage & Freezing: Save It for Later
If by some miracle you have leftovers, you need to store them right. Air is the enemy here. It will dry out your bread faster than you can blink. Wrap the cooled loaf tightly in plastic wrap. I mean tightly. Then put it in a ziplock bag or an airtight container.
It will stay fresh on the counter for about 3 to 4 days. In fact, I think it tastes better on day two. The flavors have time to meld and the moisture from the brown sugar redistributes. It gets fudgier.
You can also freeze it. I like to slice it first, then wrap individual slices in plastic wrap and foil. That way, on a busy Tuesday morning, I can just grab a slice, pop it in the toaster, and have a warm, homemade breakfast in two minutes. It’s a lifesaver.
Frequently Asked Questions
A Slice of Comfort
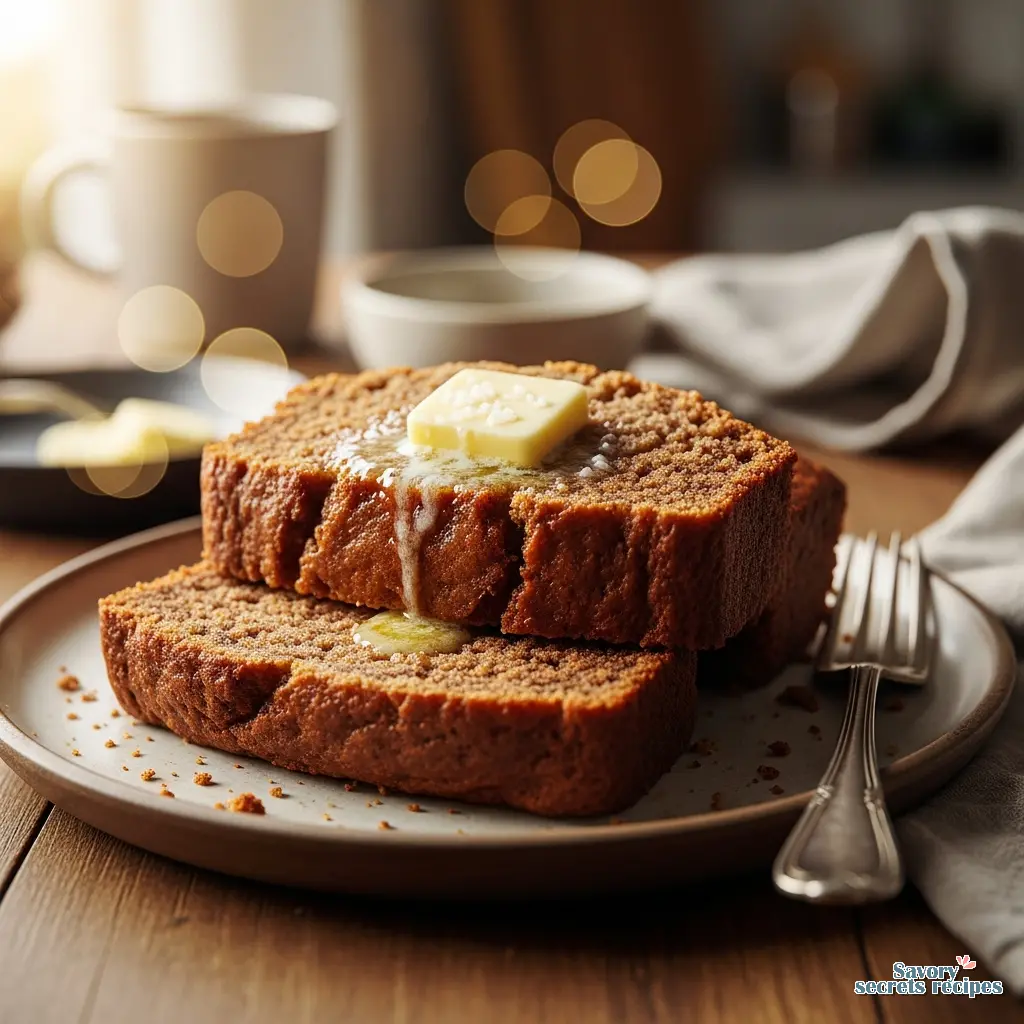
When your house smells like cinnamon and warm sugar, and you pull that dark, golden loaf out of the oven, take a moment. It is simple food, sure. But it is the kind of food that makes a house feel like a home. Slice it thick, slather it with salted butter, and pour yourself a coffee. You earned it.
And if you have friends coming over, this is the perfect thing to have on the counter. It looks impressive, tastes like heaven, and cost you pennies to make. That is my kind of cooking.
For more inspiration, check out my Pinterest boards where I collect all my favorite budget-friendly bakes.
Reference: Original Source
Can I use frozen bananas for this recipe?
Absolutely. I do it all the time. Just let them thaw completely in a bowl first. They will release a lot of liquid. Don’t pour that down the sink! That liquid is pure flavor and sugar. Pour it right into the batter with the mashed fruit. It makes the banana bread brown incredibly moist.
Can I bake this in a bundt pan instead of a loaf pan?
You sure can, and it looks beautiful. Since a bundt pan has that hole in the middle, the heat distributes differently. You might need to reduce the baking time to about 45-50 minutes. Just keep an eye on it and use a toothpick to check for doneness. Grease that pan well, though!


