Banana Bread without Butter or Oil
Ingredients
Method
- Preheat the oven to 325°F (163°C).
- Mash the bananas thoroughly using a fork.
- Beat the eggs lightly.
- Combine the mashed bananas, vegetable oil, eggs, and sugar in a large mixing bowl and stir until completely incorporated.
- Stir in the remaining ingredients with a large spoon until the batter is fully mixed, avoiding an electric mixer to prevent a gummy or rubbery texture.
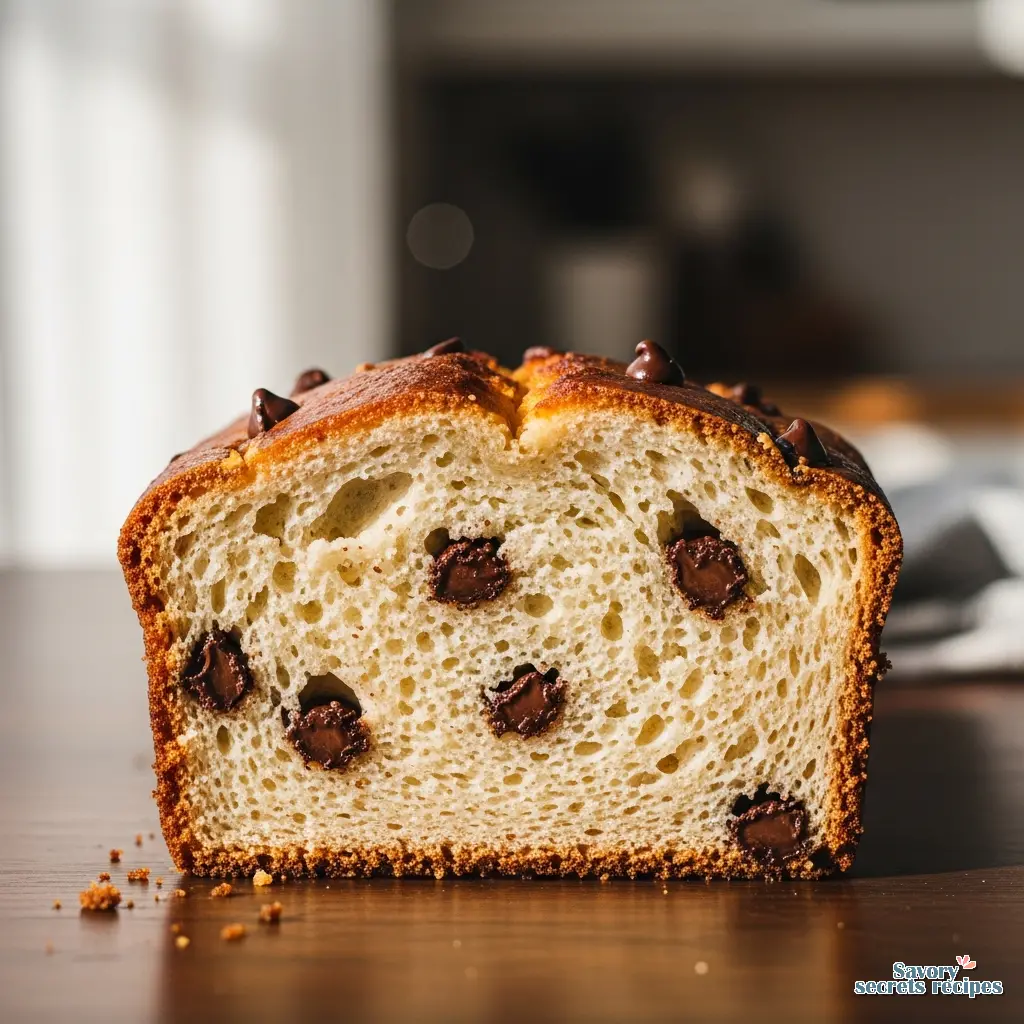
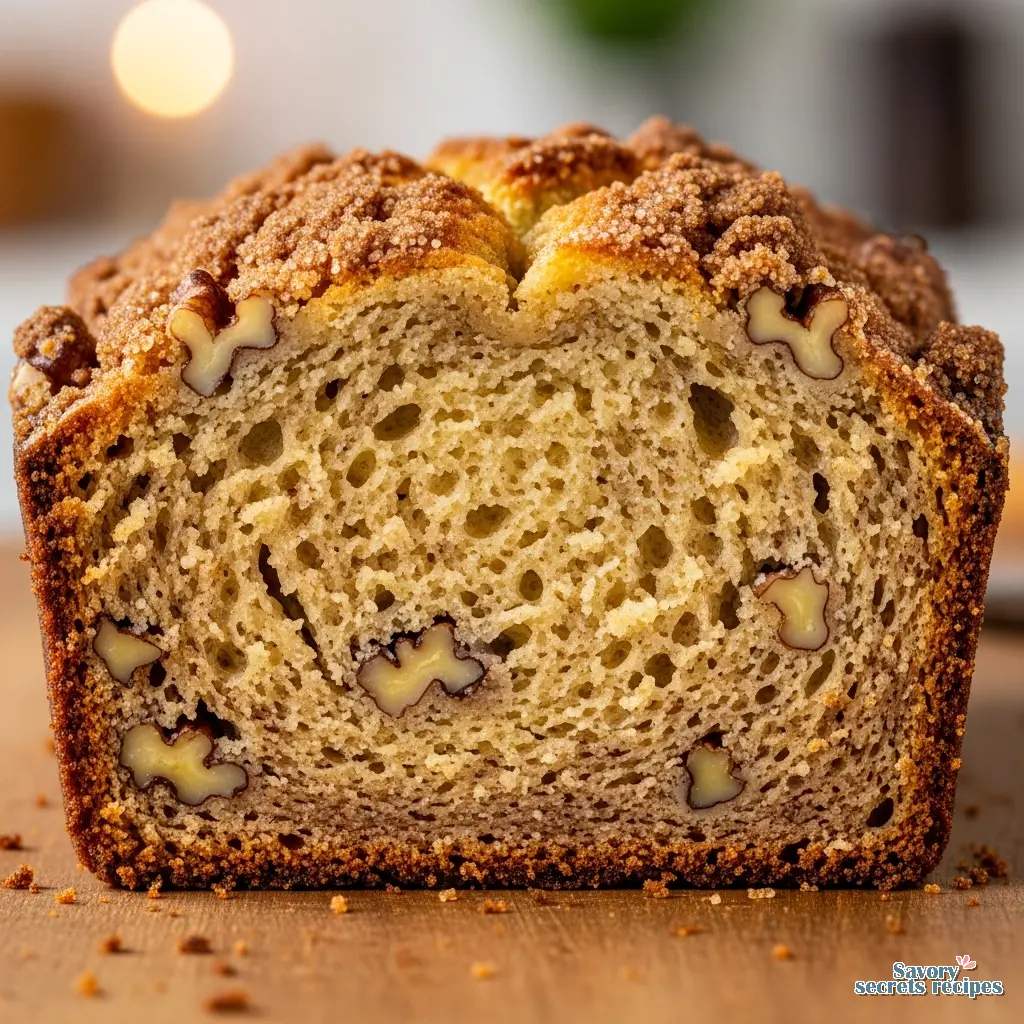
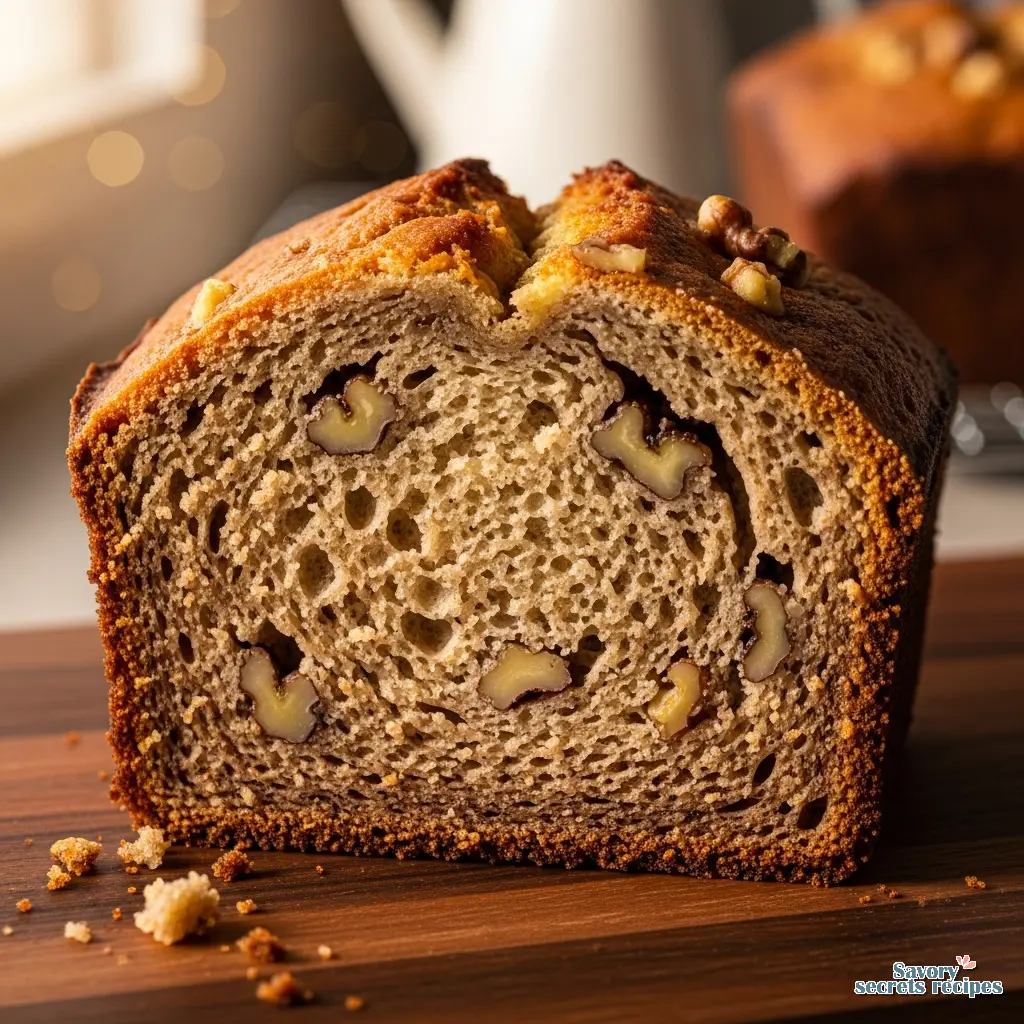
- Optionally, fold in one cup of your preferred mix-ins, such as chocolate chips or chopped walnuts, after the batter is mixed.
- Pour the batter into a nonstick bread pan and smooth the surface.
- Bake the bread at 325°F (163°C) for 65 to 70 minutes.
- Remove the pan from the oven using mitts and allow the bread to cool in the pan for 10 minutes to finish the baking process.
- Transfer the bread to a wire rack to cool completely for 1 to 2 hours, using a silicone spatula to loosen the edges if the bread sticks to the pan.
- Refer to the tips section on BreadDad.com for additional guidance on ensuring recipe success and avoiding common problems.
Nutrition
Notes
Why I Stopped Using Butter in My Banana Bread
I remember being about seven or eight, sitting on the counter in our Bronx apartment while my grandmother sorted through ingredients. She had this way of holding things up to the light, checking the quality, and explaining that every ingredient had a job to do. When I was 23, I inherited her notebook a worn, grease-stained record of substitutions she’d figured out over decades. One of the biggest takeaways? Sometimes the “fancy” ingredient isn’t the best one for the job.
That’s exactly the case with banana bread butter free recipes. For years, I thought butter was non-negotiable for flavor. I mean, it’s butter. But after testing dozens of loaves for my own notebook, here’s what I’ve found works: oil actually makes for a superior texture in quick breads. It keeps the crumb incredibly moist for days longer than butter ever could. Plus, when you’re staring at a bowl of brown bananas on a Tuesday night, you don’t always have time to wait for butter to soften.
If you’re skeptical, fair enough. I was too. But this recipe isn’t just a “healthy” compromise. It’s a technique-driven approach to getting that tender, melt-in-your-mouth crumb we all want, without the heaviness. Let me walk you through why this works.
The Science of Moisture: Why Oil Wins
It depends on what you’re going for, but if moisture is your goal, oil is the clear winner. Here’s the thing: butter is solid at room temperature. Oil is liquid. When you bake with butter, the loaf solidifies slightly as it cools, which can lead to a drier texture if you aren’t careful. Oil remains liquid, which means your banana bread butter free loaf stays soft and tender on the counter for days.
I’m genuinely excited about this one because it changes how we think about “richness.” We usually associate richness with animal fats, but in this case, the bananas provide the density and the oil provides the silkiness. The flavor comes from the brown sugar and vanilla, not the fat source. This is exactly the sort of thing I love to dig into using an ingredient for its chemical properties, not just its flavor profile.
And let’s be real, in this LA winter (which means it’s a chilly 60 degrees), having a warm slice of bread that doesn’t need to be toasted to be soft is a small luxury.
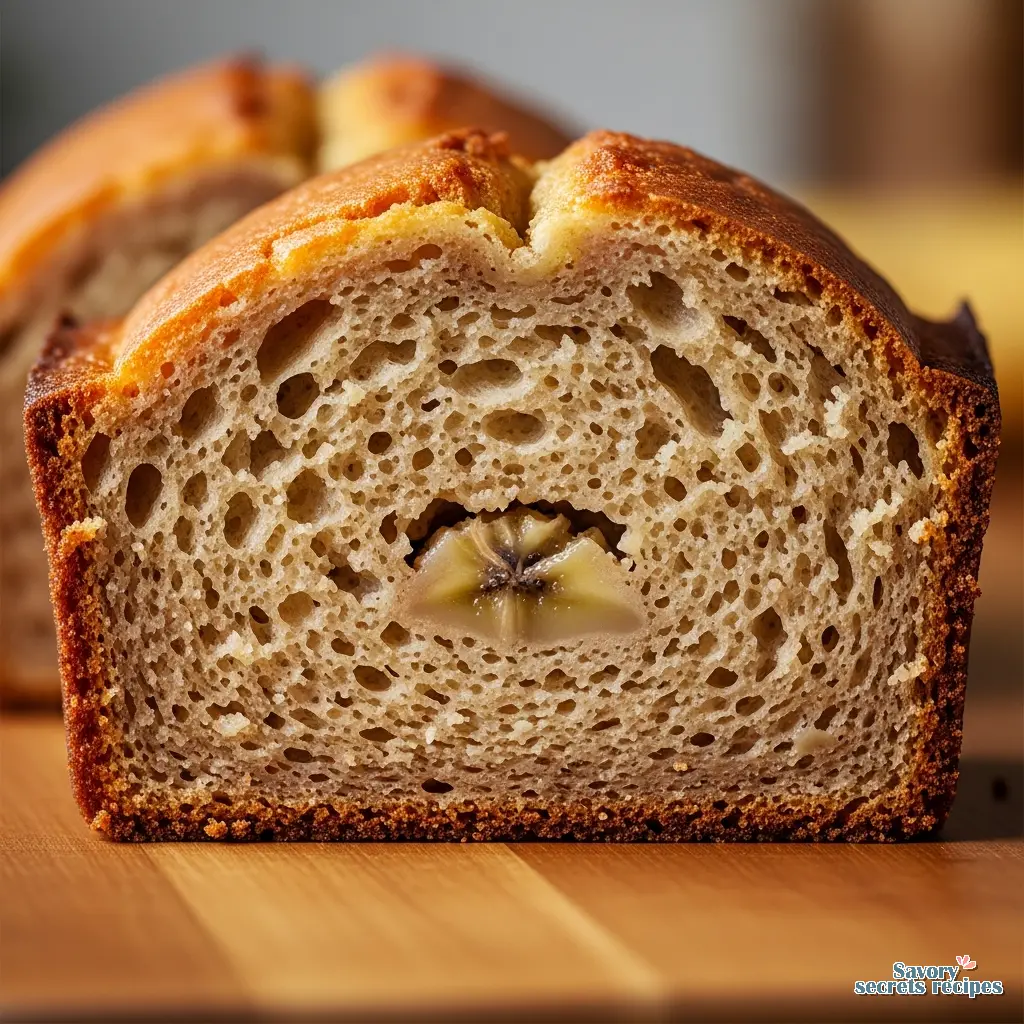
The “Ugly” Banana Rule
You’ll know it’s ready when the peel looks like it belongs in the compost. I cannot stress this enough. If your bananas are yellow with just a few spots, wait. Put them back on the counter. We want them black. Or at least 50% brown.
Why? As bananas ripen, their starch converts to sugar. A yellow banana is starchy and mild. A black banana is essentially a sugar packet with intense banana perfume. Since we aren’t using butter to carry flavor, we need the fruit to do the heavy lifting. The ingredient does most of the work if you let it. If you only have two spotted fruits ready to use, a simple 2 banana loaf recipe is a great alternative for a smaller batch.
Quick Tip: If you’re desperate and your bananas are still yellow, you can roast them in their skins at 300°F for about 15-20 minutes until they turn black. It’s not exactly the same as natural ripening, but it’s a solid 80% solution.
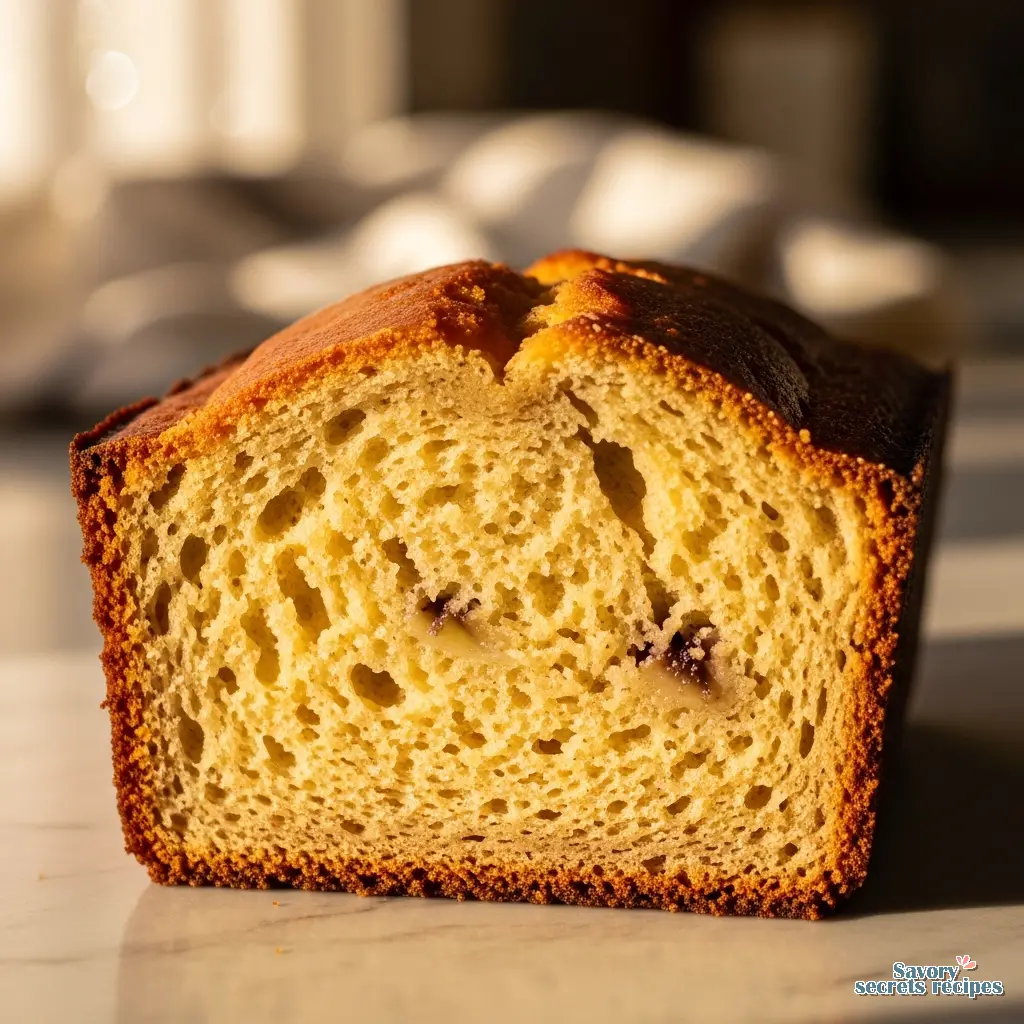
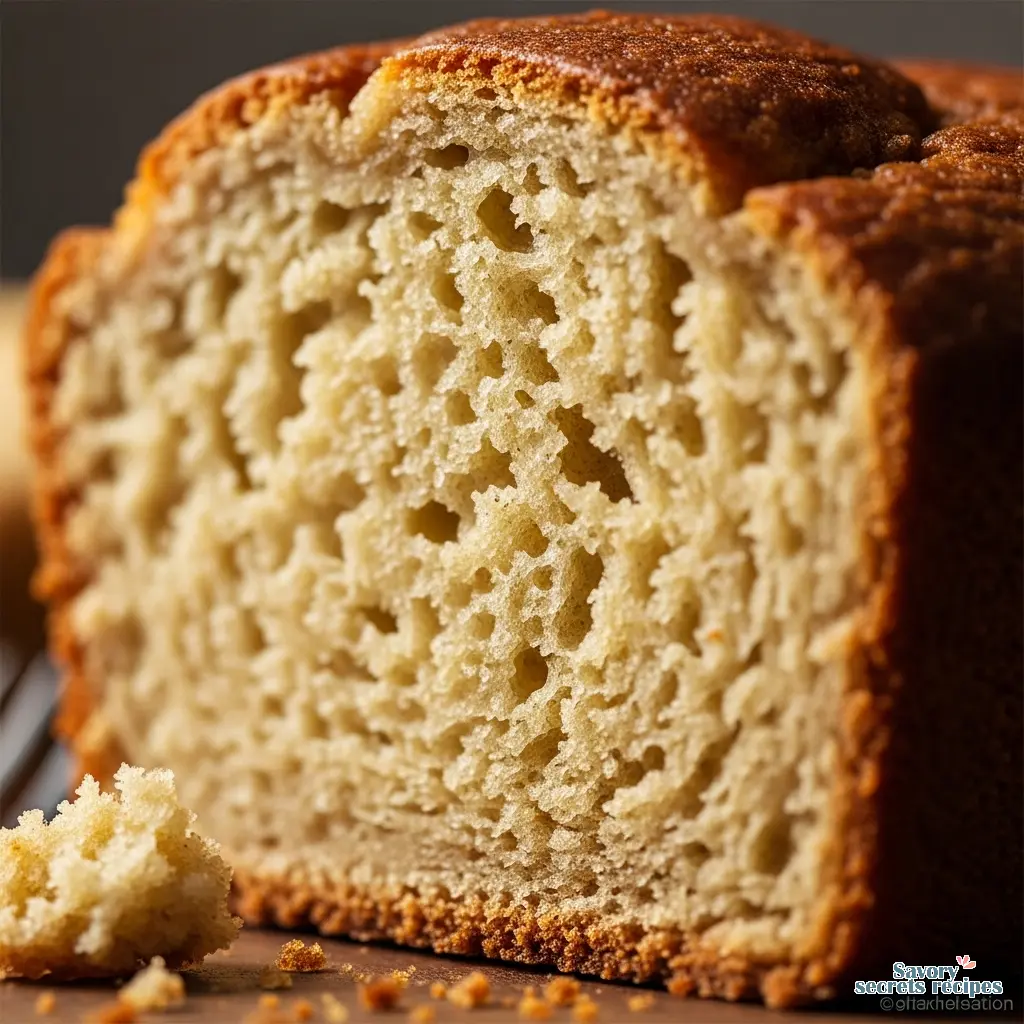
Visual Batter Guide: Preventing the “Rubber” Effect
The number one mistake people make with banana bread butter free recipes is overmixing. It’s the difference between a tender loaf and a rubbery brick. When you mix flour with liquid, gluten starts to form. We want some structure, but not bread-dough structure.
Here’s what I look for:
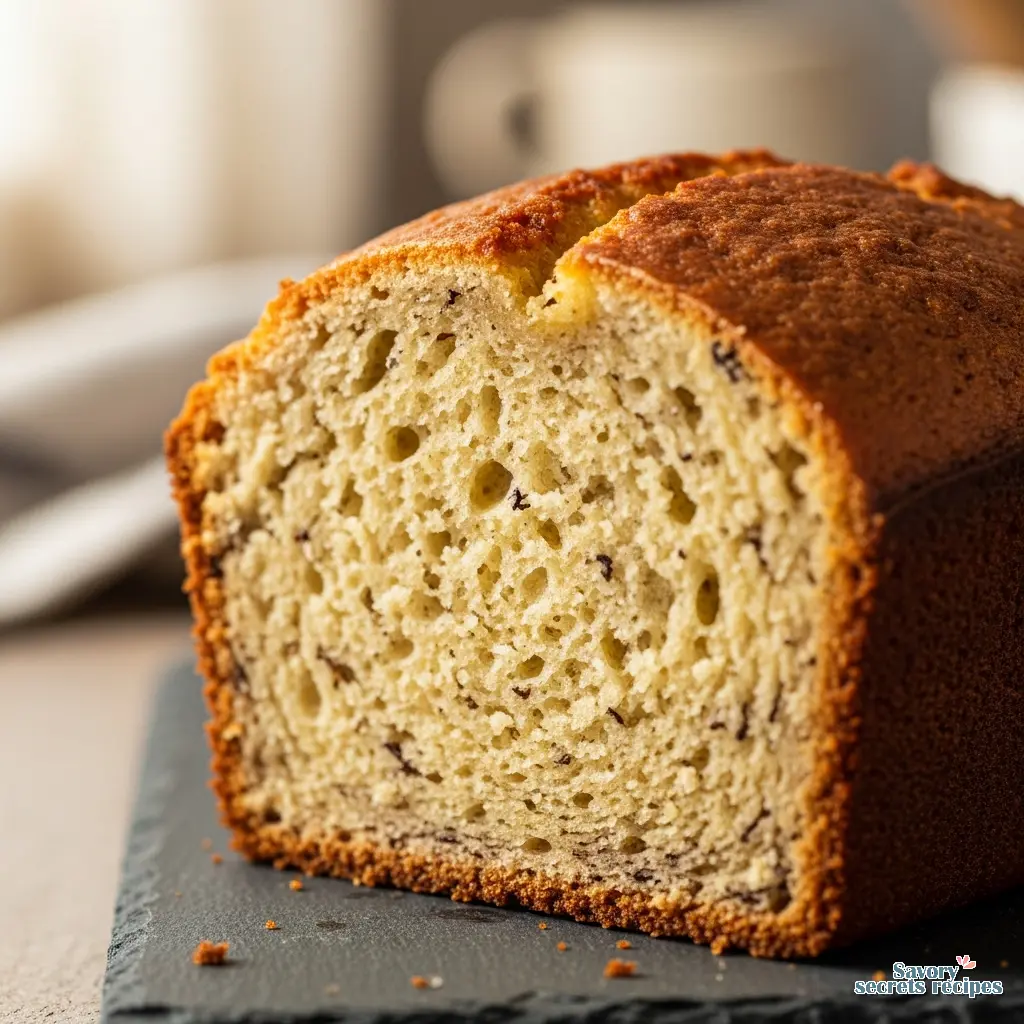
Add your dry ingredients to the wet. Stir gently with a spatula or wooden spoon. Stop mixing the second the last streak of white flour disappears. The batter should look lumpy. It shouldn’t be smooth. If it looks like smooth pancake batter, you’ve gone too far.
I learned this the hard way early in my career. I tried to make a “perfectly smooth” batter for a photo shoot, and the resulting bread was tough and had tunnels running through it. Now, I embrace the lumps. Imperfection here means perfection later. Selecting the appropriate banana bread baking dish also plays a role in how evenly the heat distributes through the lumpy batter.
Variations & Substitutions
One thing I love about this recipe is how adaptable it is. It’s a canvas. Here are a few ways I’ve tweaked it over the years. This batter is quite versatile; for instance, adding bananas to muffin mix is a clever trick if you want to repurpose these flavors into a different format.
Flour Swaps
You can swap up to half of the all-purpose flour for whole wheat flour without changing the texture too much. It adds a nutty flavor that pairs well with the banana. I haven’t worked with that specific brand of gluten-free flour you might have in your pantry, though I’d imagine a 1:1 blend works fine here since the eggs and bananas provide so much structure.
Egg Replacements (Vegan Options)
Since this is already a banana bread butter free recipe, you’re halfway to vegan. To go all the way, you need to swap the eggs.
Flax Egg: Mix 1 tablespoon of ground flaxseed meal with 3 tablespoons of water. Let it sit for 5 minutes until it gels. This works surprisingly well.
Yogurt: You can also use ¼ cup of nonfat Greek yogurt or a plant-based yogurt per egg. It makes the bread slightly denser but incredibly moist.
Flavor Boosters
I almost always add cinnamon. It just smells like home. But don’t sleep on nutmeg or even a pinch of cardamom if you want to feel fancy. And if you have unsweetened applesauce, you can swap half the oil for applesauce to make it lighter. It changes the texture slightly makes it a bit more “cakey” but it’s a solid option.
Common Mistakes & How to Fix Them
Mistake: The bread is gummy or rubbery.
Solution: You overmixed the batter. Next time, mix just until the flour disappears. Lumps are your friends.
Mistake: The center is raw but the top is burning.
Solution: Your oven might be running hot, or the sugar is caramelizing too fast. Tent the loaf with foil after 30 minutes to protect the top while the center finishes baking.
Mistake: The loaf is dry.
Solution: You likely measured the flour by scooping the cup into the bag, which packs it down. Always spoon the flour into the measuring cup and level it off, or better yet, weigh it.
Mistake: The banana flavor is weak.
Solution: Your bananas weren’t ripe enough. If they are yellow, they are just starch. Wait for the spots!
Storage: The Paper Towel Trick
This is a trick I picked up from a caterer years ago, and it’s a game-changer for banana bread butter free loaves. Because of the oil, this bread is very moist. If you store it in an air-tight container immediately, the top can get sticky and soggy.
Room Temperature: Place a paper towel in the bottom of your container, put the loaf on top, and place another paper towel on top of the loaf before snapping the lid shut. The paper towel absorbs excess humidity while keeping the bread soft. It stays fresh for about 4 days.
Freezing: This bread freezes beautifully. I like to slice it first, then wrap individual slices in plastic wrap and then foil. That way, you can pull out a single slice for breakfast without thawing the whole loaf. It lasts about 3-4 months in the freezer.
FAQ: Your Questions Answered
Final Thoughts
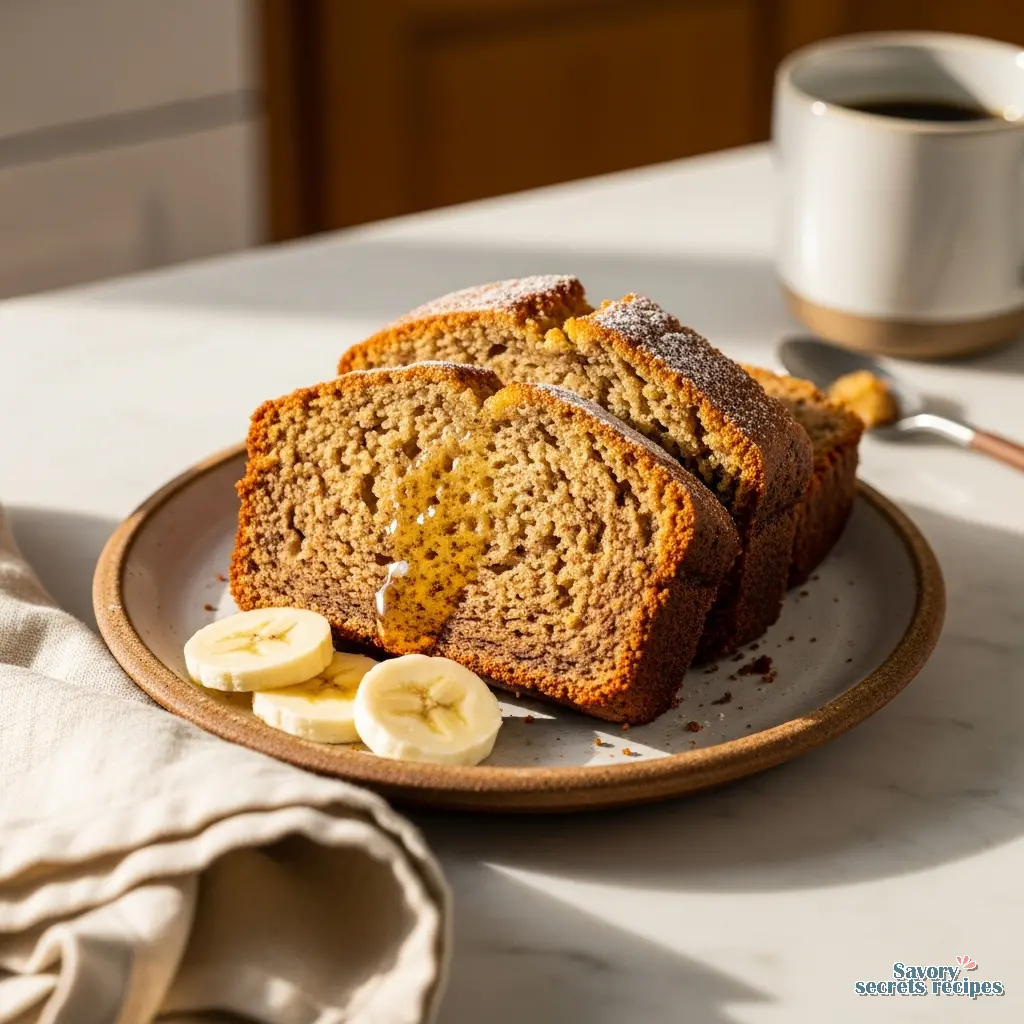
There is something deeply satisfying about pulling a loaf out of the oven, smelling that caramelized banana and cinnamon, and knowing you created something delicious out of ingredients that were about to be thrown away. It’s a small win, but on a busy week, I’ll take it.
When you take that first warm bite, you’ll see what I mean about the oil. It’s not a compromise; it’s just a different way to get to a delicious destination. I’d love to hear how yours turns out, especially if you try any of the mix-ins. For more inspiration, check out my Pinterest boards where I collect all my favorite pantry experiments.
Happy baking.
Reference: Original Source