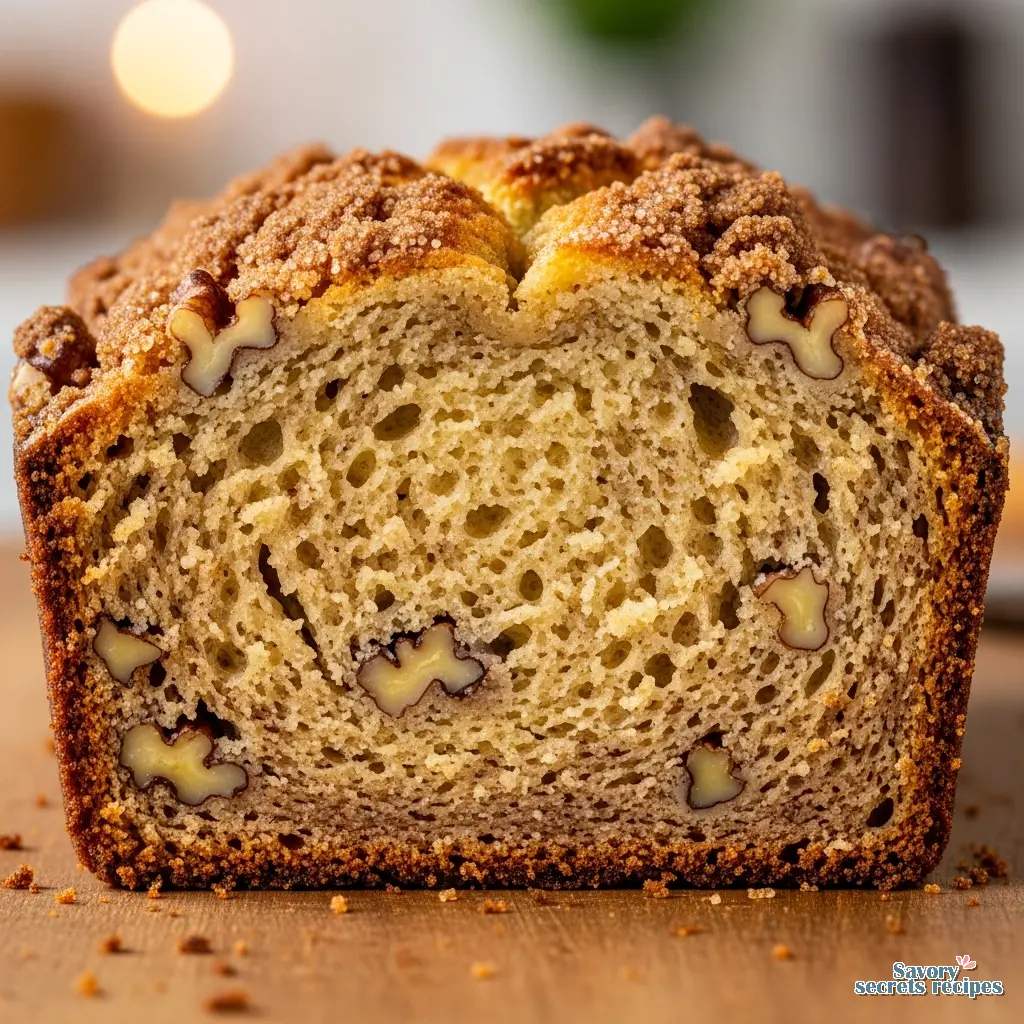
Tender Banana Bread Recipe with Cake Flour
Ingredients
Method
- Preheat the oven to 320°F (160°C) for dark metal pans or 350°F (175°C) for light metal pans. Grease a 9-inch loaf pan and line it with parchment paper.
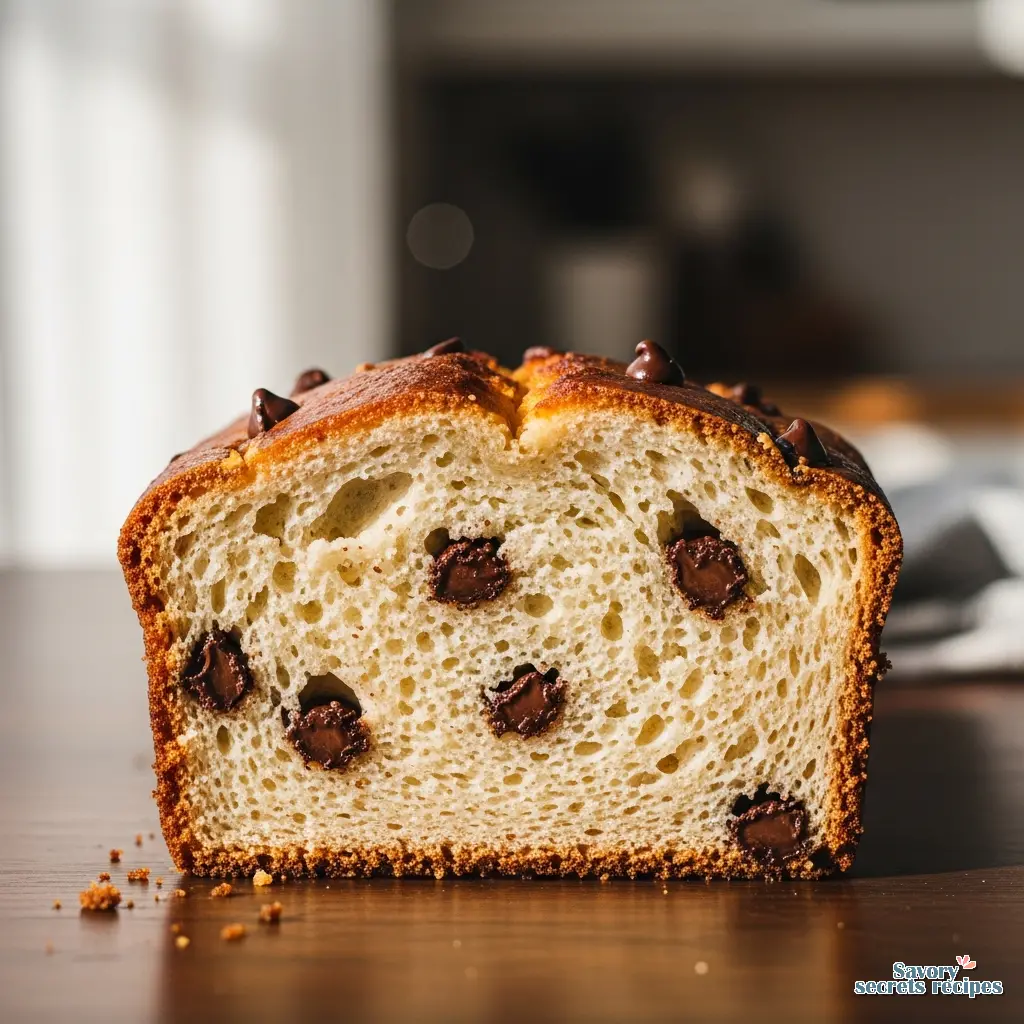
- Sift the cake flour, baking soda, and salt into a bowl. If using mix-ins, toss the walnuts with a small amount of the flour mixture in a separate bowl and set aside.
- Cream the softened butter and sugar in a large bowl. Mix in the eggs, banana, yogurt, milk, and vanilla until well combined.
- Stir the dry ingredients into the wet mixture until just combined. Fold in any mix-ins and transfer the batter to the prepared loaf pan.
- Bake for 1 hour and 15 minutes, checking for doneness with a skewer. Let the loaf cool in the pan for 5 minutes, then transfer to a wire rack to cool completely.
Nutrition
Notes
The Brown Banana Realization
Here’s the thing about bananas. They sit on your counter, turning slowly from yellow to spotty to an alarming shade of black, and they stare at you. It’s like a ticking clock in the kitchen. In my house in Dearborn, especially during these long Michigan winters, that smell of ripening fruit eventually fills the whole downstairs. It reminds me of my teta’s kitchen on Friday mornings, though she was usually baking manaeesh, not sweet breads. But the principle is the same: nothing goes to waste.
Last week, I had three bananas that were past the point of no return. I opened the pantry to grab the all-purpose flour and realized I was out. Completely empty. All I had was a box of cake flour I’d bought for a birthday cake two months ago. I hesitated. Could I make banana bread made with cake flour? Would it hold up? Or would it collapse into a sad, gummy pudding? If you have fewer fruits available, a banana bread recipe with two bananas is a great alternative for smaller batches.
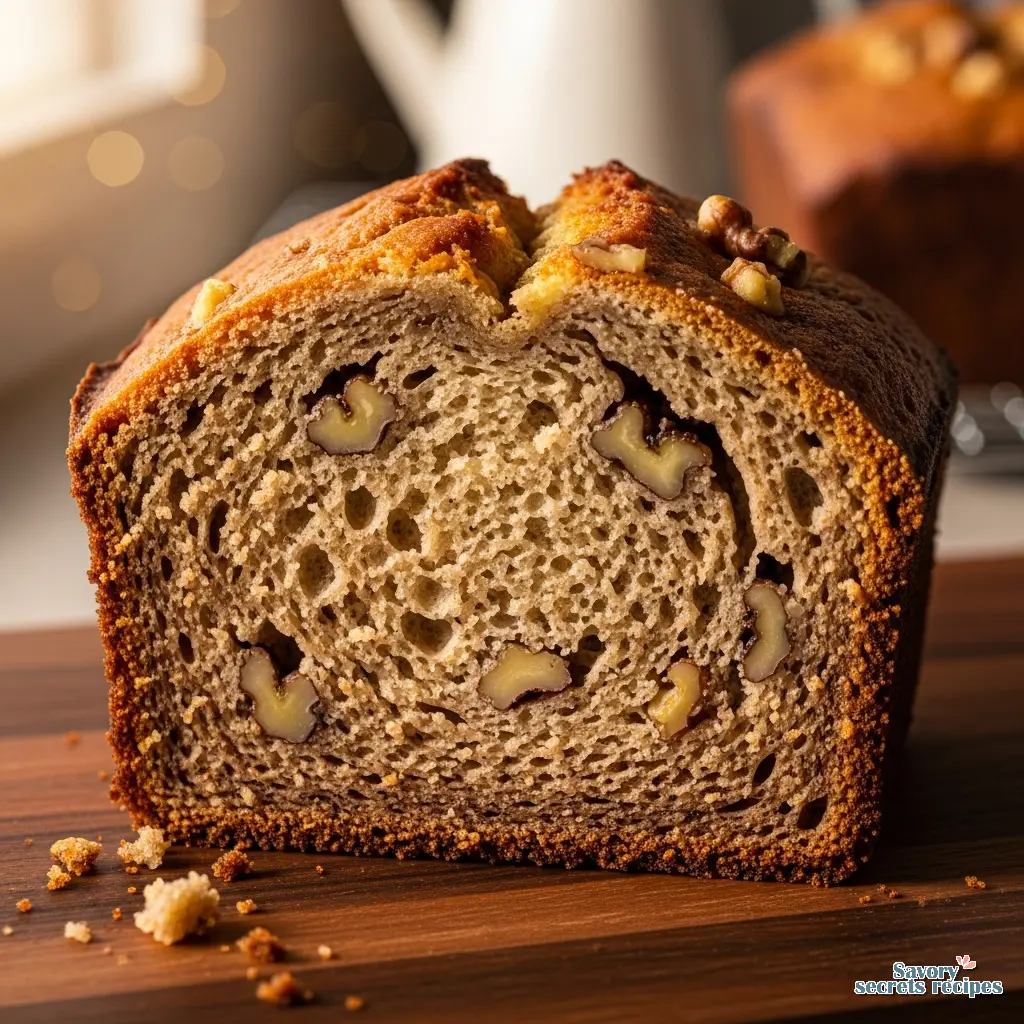
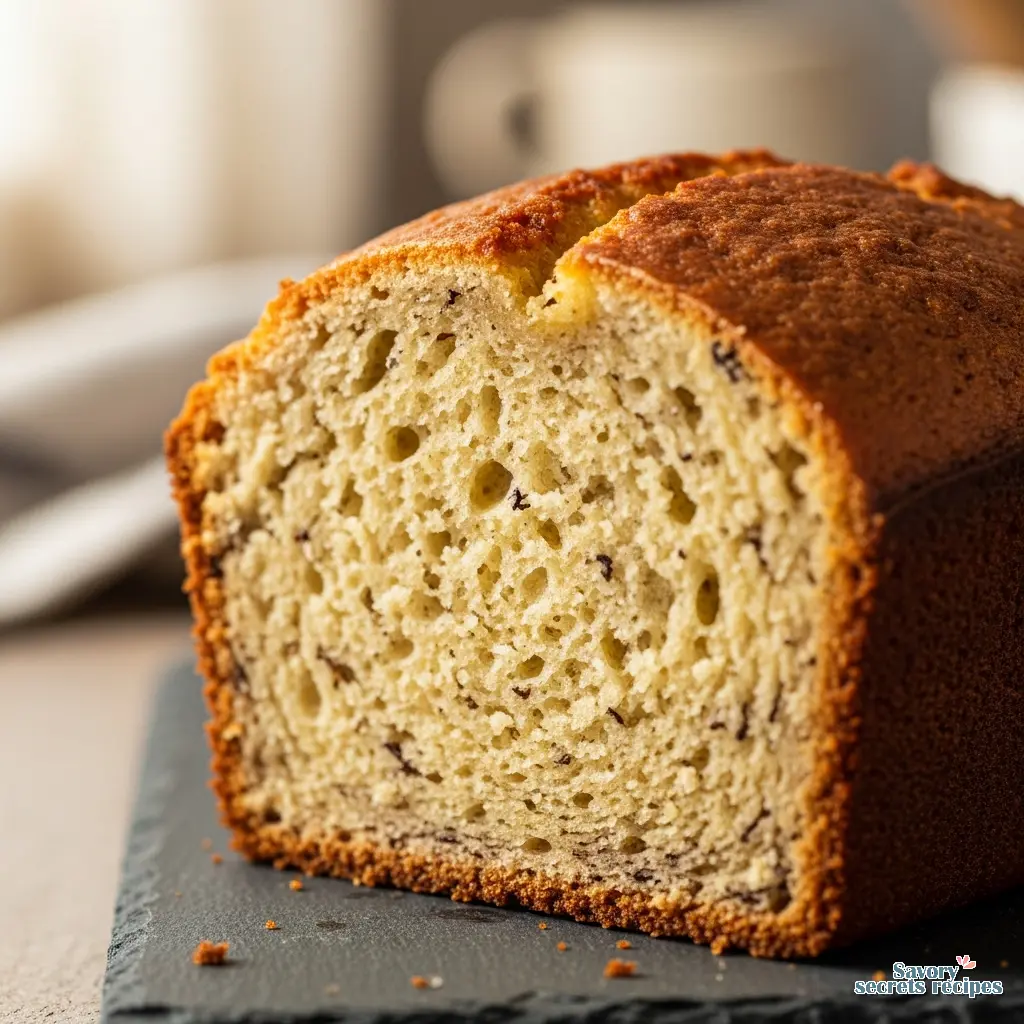
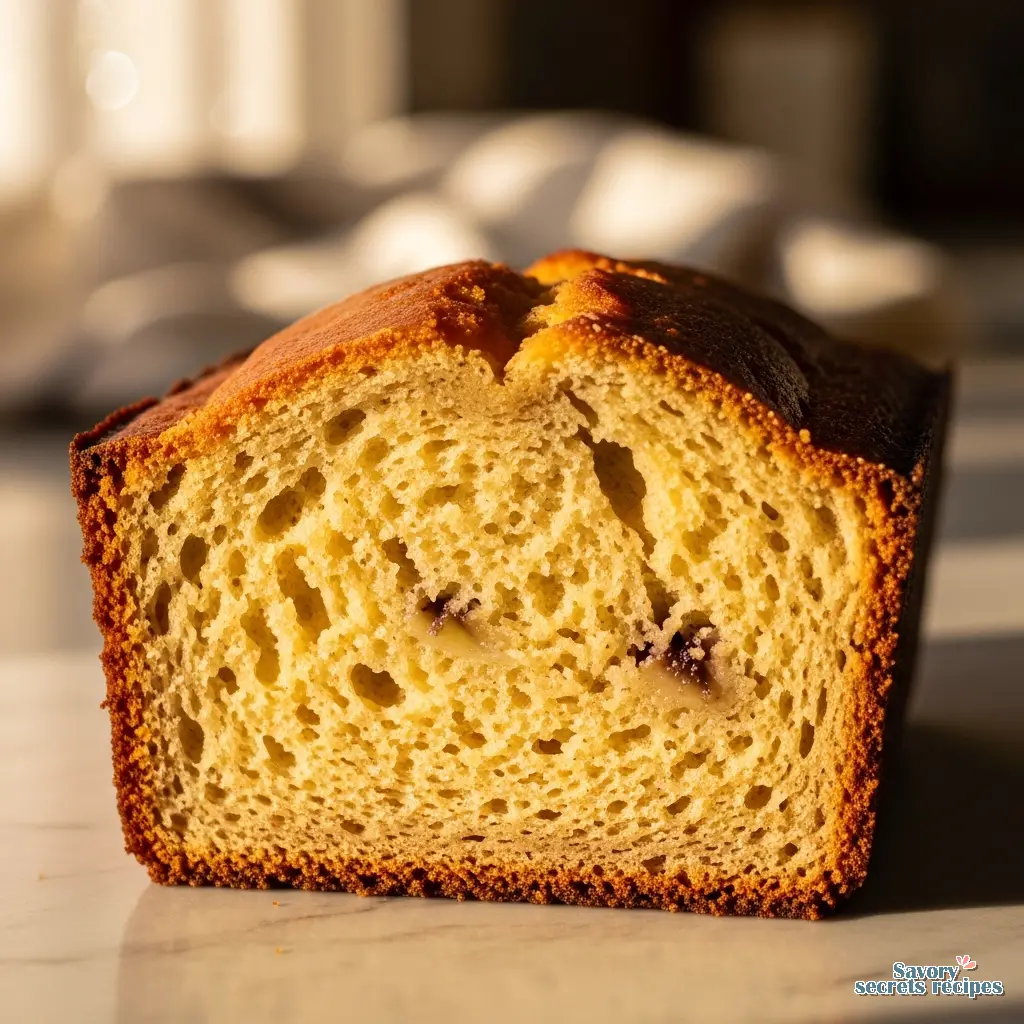
I decided to dial it in and try it. And honestly? I’m never going back. The result wasn’t just a substitute; it was a completely different experience. We’re talking about a velvety texture that melts in your mouth, lighter than the dense bricks we’re used to, but still holding that classic structure. If you’ve been chasing that bakery-style crumb, this is the move.
The Science: Why Cake Flour Works
Let’s walk it back a second and talk about why this swap matters. It’s not just about using what you have; it’s about protein content. Standard all-purpose flour usually sits around 10-12% protein. That protein is what forms gluten when you mix it with liquid. Gluten gives bread its chew, which is great for sourdough but not always what you want in a quick bread.
Cake flour, on the other hand, is made from soft wheat and has a much lower protein content, usually around 5-8%. It’s also often chlorinated, which changes how the starch absorbs water and fat. When you use cake flour for banana bread, you are limiting gluten development right from the start. Less gluten means a more tender crumb. It means a loaf that feels delicate rather than heavy.
However, and this is important, cake flour absorbs liquid differently. Because it’s finer, you can’t just swap it cup-for-cup by volume without thinking. If you scoop it directly, you might end up with too much or too little. Measuring by weight is the only way to be sure, but if you don’t have a scale, the spoon-and-level method is your best friend. Trust the process here.
3 Ways to Ripen Bananas Fast
If you’re craving banana bread made with cake flour but your bananas are still bright yellow, don’t panic. You don’t have to wait three days. I’ve tested a few methods to speed this up because, let’s be real, patience isn’t always my strong suit when I want breakfast.
1. The Oven Method (The Best for Baking)
This is the one I use most. Preheat your oven to 300°F. Place your unpeeled bananas on a baking sheet lined with parchment paper. Bake them for about 15 to 20 minutes. The skins will turn completely black. It looks terrifying, I know. But inside, the fruit gets soft and sweet. Let them cool before you peel them, or you’ll burn your fingers. I learned that the hard way. Once your fruit is prepped, make sure you have the right banana bread pan ready for the batter.
2. The Paper Bag Trick
If you have 24 hours, toss the bananas in a brown paper bag with an apple. The apple releases ethylene gas, which triggers the ripening process. It’s slower than the oven but faster than the counter. It works, but it requires some planning.
3. The Microwave (Emergency Only)
Poke holes in the peel and microwave for 30 second intervals. I’m not totally sure about this one. In my experience, it softens the banana but doesn’t really develop the sugars the same way heat does. It works for texture, but the flavor might be a bit flat. Use it if you must, but the oven is better.
The Fold: Where Texture Lives or Dies
When you are making banana bread made with cake flour, your mixing technique is everything. Because the flour is so fine, it can clump if you aren’t careful, but if you overmix it to get the clumps out, you develop gluten and lose that tenderness we’re aiming for.
I like to sift the cake flour with the baking soda and salt first. My dad used to say measuring by eye was fine, but with cake flour, sifting is non-negotiable. It aerates the flour and prevents those little dry pockets.
Once you add the wet ingredients to the dry, switch to a spatula. We are folding here, not beating. Scrape the bottom, pull it over the top. Turn the bowl. Repeat. You want to stop the second you don’t see streaks of flour. If there are a few tiny lumps from the bananas, let it do its thing. That’s flavor. Overmixing will give you a rubbery loaf, and nobody wants that.
No Cake Flour? No Problem (The DIY Substitute)
Maybe you’re reading this and thinking, “Tariq, I want the tender crumb, but I don’t have cake flour.” Fair enough. You can make a substitute that gets you 90% of the way there. It’s a simple ratio.
Take one cup of all-purpose flour. Remove two tablespoons of the flour and put them back in the bag. Replace those two tablespoons with cornstarch. Sift them together. Twice. The cornstarch inhibits gluten formation, mimicking the low protein of cake flour. It’s not exactly the same as the chlorinated stuff from the store, but it tracks. I’ve used this plenty of times when I didn’t want to run to the store in the snow. If you are really in a pinch for time and looking for the easiest possible route, adding bananas to muffin mix is another great shortcut for a quick treat.
Visual Troubleshooting: When Good Bread Goes Bad
Even with the best recipe, things can go sideways. I’ve had my share of failures. Here are the visual cues I look for to know what went wrong.
The Sinking Middle
If your banana bread made with cake flour looks beautiful in the oven but caves in the middle as it cools, it’s usually one of two things. Either it was underbaked inside (the toothpick test failed you), or you used too much leavening. Cake flour structure is more delicate; it can’t hold up a heavy rise if there’s too much gas. Next time, check the center temperature if you can it should hit around 200°F.
The Gummy Bottom
This is a classic. It happens when the moisture settles. It might mean your bananas were too big (extra moisture) or the oven temp was too high, cooking the crust before the inside could set. If you see the top browning too fast, tent it with foil. Don’t pull it out early.
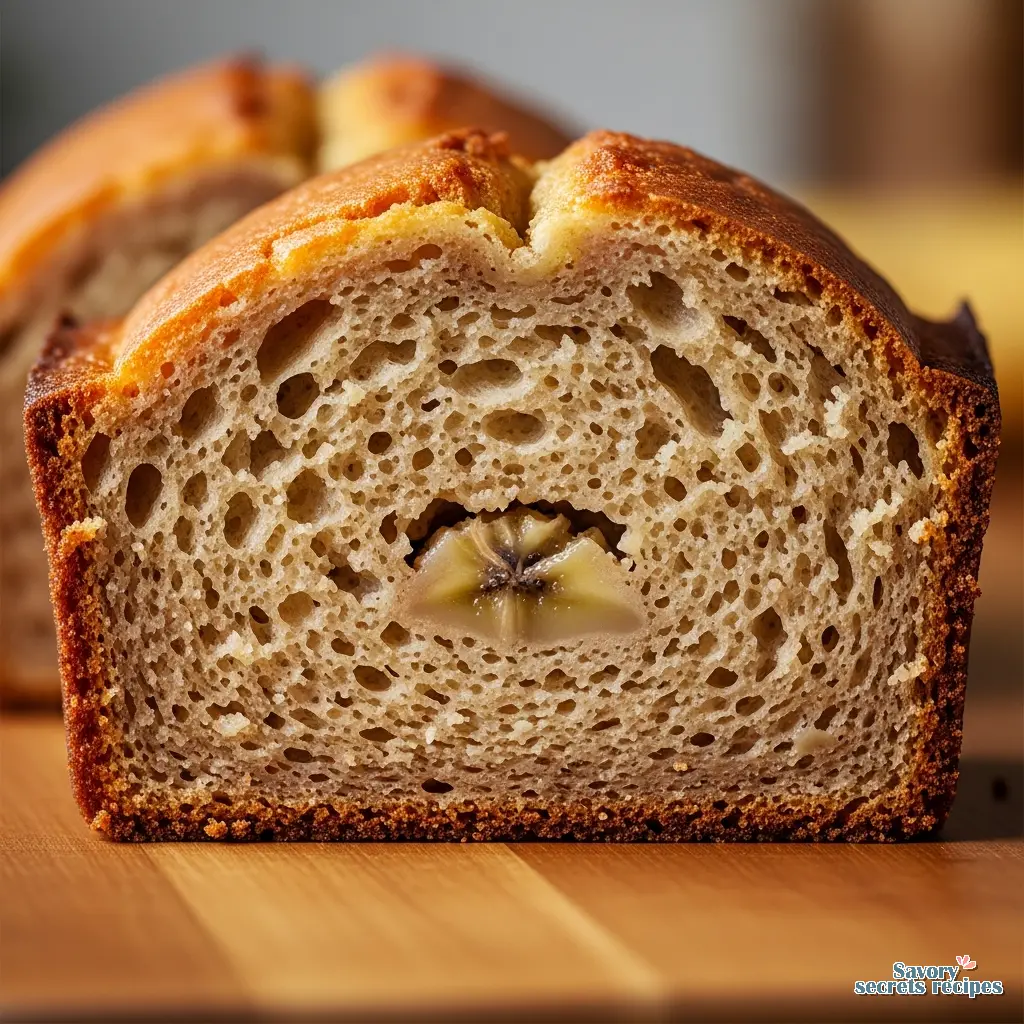
The Cracked Top
Actually, this is good. A crack down the center is normal. It means the batter is expanding and setting correctly. Don’t stress about this one. It’s rustic.
The Fridge vs. Counter Experiment
There is a lot of debate about where to store banana bread. So, I did a little test. I baked two loaves of banana bread made with cake flour. I put half of one in the fridge and left the other half on the counter in an airtight container.
By day two, the counter bread was still moist and soft. The flavor had actually improved banana bread is one of those things that tastes better the next day. The fridge bread? It had firmed up significantly. The cold temperature crystallizes the starch molecules (retrogradation), making it feel stale even if it isn’t.
However, by day four, the counter bread was starting to turn. The moisture makes it prone to mold, especially in a warm kitchen. The fridge bread, once I toasted a slice, came back to life. So here is the verdict: if you’ll eat it in 2-3 days, keep it on the counter. If you need it to last a week, fridge it, but you must reheat it to enjoy it.
Reheating: Bringing the Crumb Back to Life
Since we know the fridge dulls the texture, reheating is key. You’ve got options, but they aren’t all equal.
The Toaster (The Gold Standard)
This is the move. A slice of banana bread made with cake flour in the toaster gets you that contrast crispy edges, warm soft center. It caramelizes the sugars on the surface. Slather some salted butter on there while it’s hot. Solid.
The Microwave (The Quick Fix)
If you are in a rush, 10 to 15 seconds is all you need. Any more and it turns rubbery. It warms it up, but you lose the texture contrast. It makes the whole thing very soft, almost like pudding. My daughter loves it this way, but I prefer the crunch.
The Oven/Air Fryer
If you are reheating half a loaf, wrap it in foil and do 350°F for 10 minutes. It refreshes the whole loaf without drying it out.
Frequently Asked Questions
Storage & Serving: The Morning After
We’ve covered the fridge debate, but let’s talk about freezing. Banana bread made with cake flour freezes beautifully. I like to slice the whole loaf once it’s completely cool. Then I wrap individual slices in plastic wrap and toss them in a freezer bag. This way, I can pull out just one slice for breakfast without defrosting the whole block.
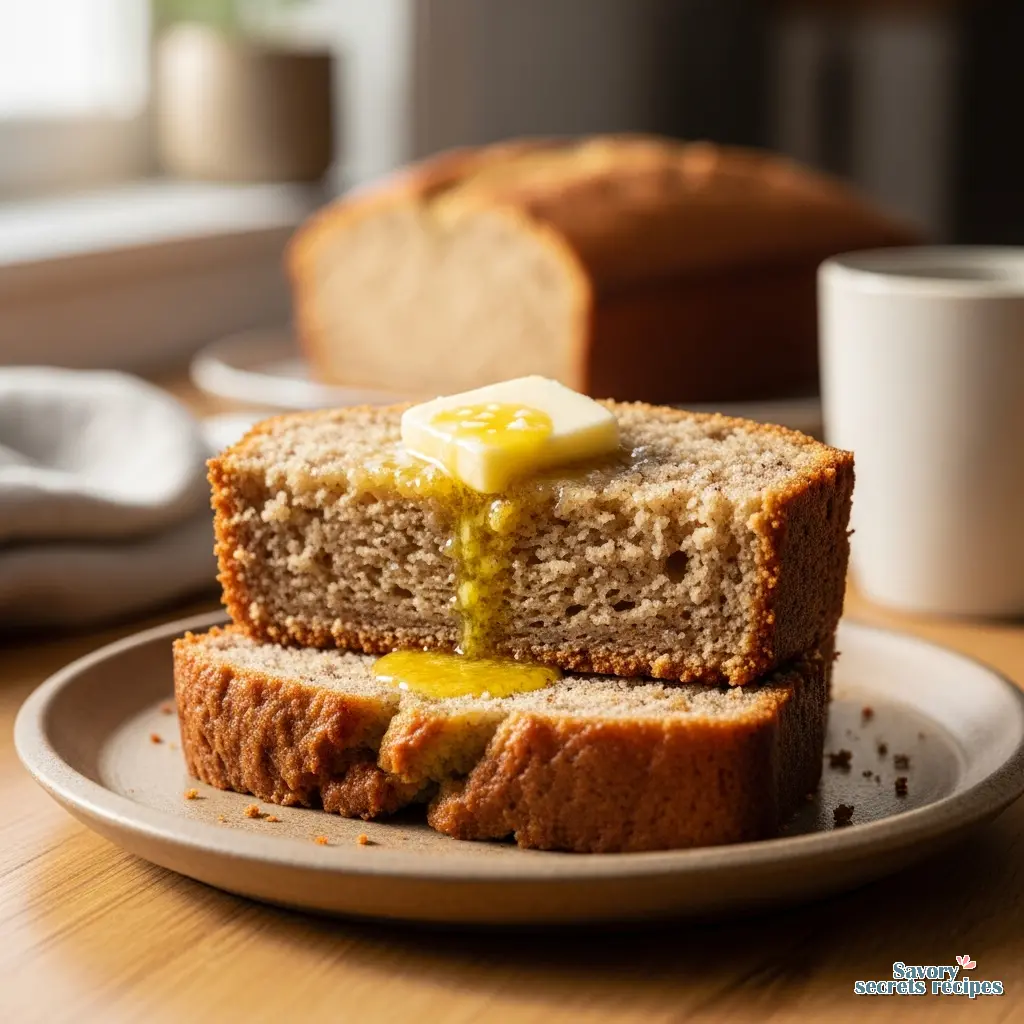
To serve, I’m a purist. I like it warm with a little salted butter. The salt cuts through the sweetness of the bananas and the brown sugar. My daughter likes a little cream cheese on hers, which is also a solid choice. If you want to get fancy for a brunch, you could toast it and drizzle a little honey or even make French toast out of it if the loaf has dried out a bit. That’s a weekend project worth trying. For an extra layer of texture, adding a banana bread topping like a cinnamon streusel can further elevate the final presentation.
Conclusion
Making banana bread made with cake flour isn’t just a substitution; it’s an upgrade. It takes a humble pantry staple and turns it into something that feels like it came from a high-end bakery. When you pull this tender masterpiece out of the oven and that smell hits you vanilla, caramelized banana, warm sugar it makes the cold weather outside feel a little less harsh.
Give this a shot next time you have those brown bananas staring at you. Dial in the mixing, watch the oven temp, and enjoy that first warm slice with a hot cup of coffee. You’ve earned it.
For more inspiration, check out my Pinterest boards where I save all my weekend baking experiments.
Reference: Original Source