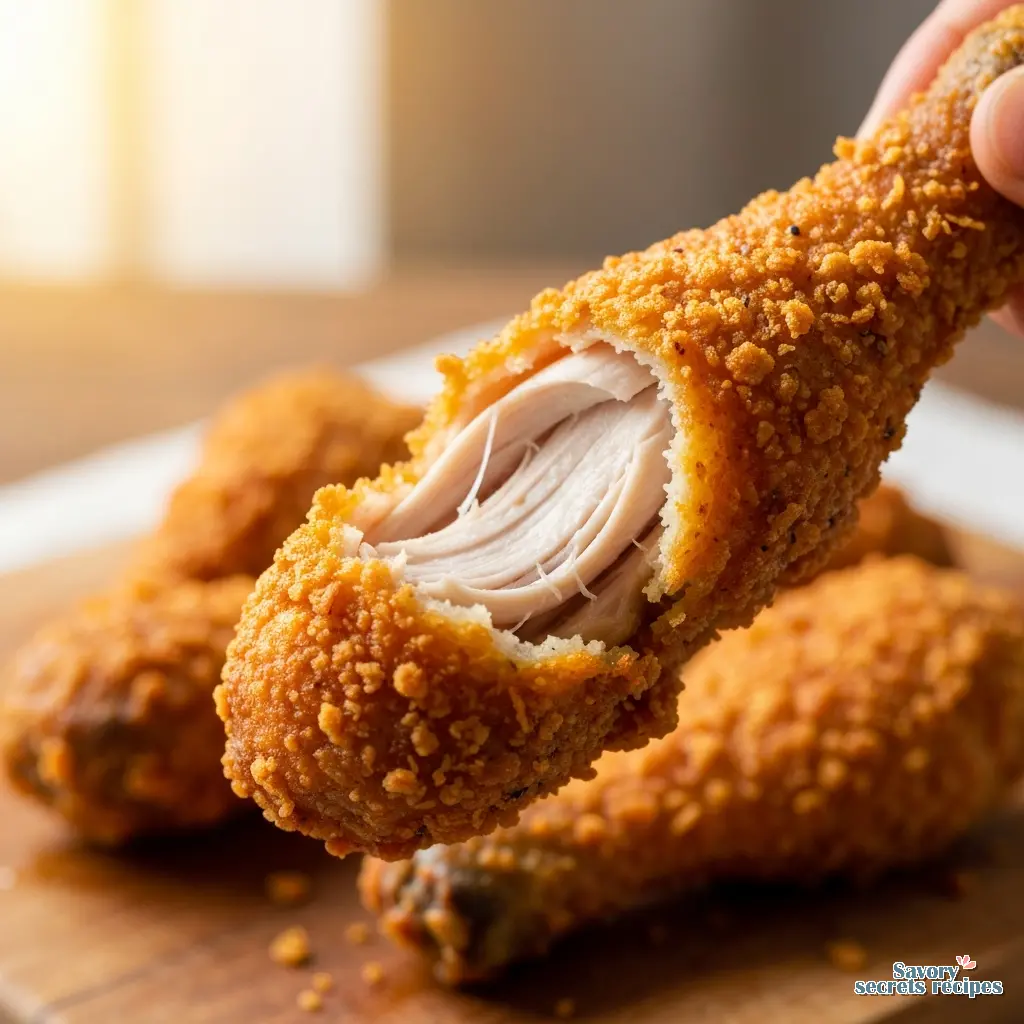
Crispy Fried Chicken Drumsticks Recipe
Ingredients
Method
- Mix flour, onion powder, garlic powder, paprika, chili powder, salt, and black pepper in a large bowl and set aside.
- Whisk milk, egg, salt, and pepper in a separate bowl and set aside.
- Dredge each chicken piece in the seasoned flour, dip into the milk mixture, and coat again with the flour.
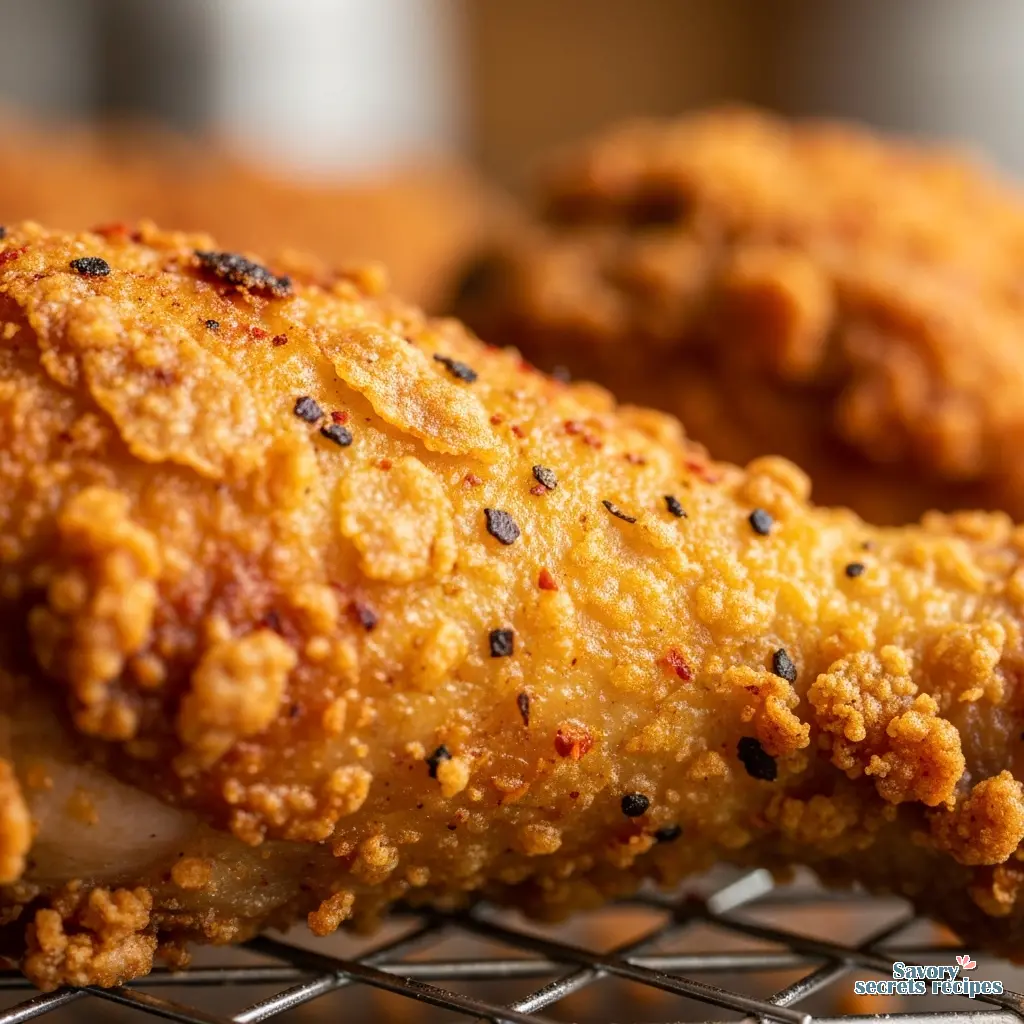
- Heat oil to 350°F. Fry drumsticks over medium heat, turning occasionally, until golden brown, crispy, and cooked through.
- Remove chicken from the oil and drain on paper towels to remove excess grease.
Nutrition
Notes
The Sound of Success: Why This is the Best Fried Chicken Drumsticks Recipe
Here’s the deal. You know that sound. That specific, shatter-glass crunch when you bite into a piece of fried chicken that’s been done right. It’s not a thud. It’s not a squish. It is a decisive snap that echoes in your head. That is what we are chasing today.
I remember the first time I tried to fry chicken drumsticks at home. I was maybe twenty, trying to impress a date, and I didn’t own a thermometer. I cranked the burner to high, dropped the cold chicken in, and watched the outside turn black while the inside stayed raw. It was a disaster. Not gonna lie, we ended up ordering pizza. But that failure stuck with me. It taught me that heat management is everything.
My grandfather Vicente, who ran a taqueria in San Antonio, used to tell me that cooking is about listening. “The oil talks to you, mijo,” he’d say. And he was right. When the oil is too cool, it’s quiet and sullen. When it’s too hot, it spits and pops aggressively. But when it’s in the sweet spot? It has a steady, rhythmic sizzle that sounds like rain.
This isn’t just another recipe for fried chicken drumsticks. This is a manual on how to control heat, manage moisture, and get that breading to stick like it was born there. We are going to use a specific blend of flour and cornstarch for the crunch, and we are going to trust our thermometers, not the clock. Because nobody wants to bite into a bloody bone.
The Science of the Dredge: Why Cornstarch Matters
Let’s talk chemistry for a second. Most people just use all-purpose flour and wonder why their crust gets soggy ten minutes after frying. The secret to the best fried chicken drumsticks recipe is cutting that flour with cornstarch. Here is why it works.
Flour contains gluten. When gluten gets wet and worked, it becomes chewy. That is great for bread, but terrible for fried chicken. You want crisp, not chew. Cornstarch has zero gluten. By mixing it into your dredge, you weaken the gluten network in the flour. This creates a coating that is brittle and shatter-crisp rather than tough.
I also use a little baking powder in my dry mix. When that baking powder hits the hot oil, it releases tiny bubbles of carbon dioxide. These bubbles expand the crust, creating microscopic nooks and crannies that increase the surface area. More surface area means more crunch. It is a small tweak that makes a massive difference.
Temperature Control: The Secret to Crispy Skin
If you take one thing away from this article, let it be this: Temperature is an ingredient. Managing the thermal mass of your oil is the most important part of any recipe for frying.
When you drop a cold drumstick into hot oil, the temperature of that oil drops instantly. If you start at 350°F and drop four heavy legs in, your oil might crash to 300°F. At that lower temperature, the chicken stops searing and starts absorbing grease like a sponge. That is how you get greasy, heavy chicken.
Here is my method for the best fried chicken drumsticks recipe:
- Heat the oil to 375°F first. We aim higher than our target cooking temp to account for the drop.
- Don’t crowd the pan. I know you want to finish faster, but crowding the pan is the enemy of crispiness. Leave at least an inch between pieces. The oil needs room to circulate.
- Maintain 350°F. Once the chicken is in, adjust your flame to keep the oil hovering around 350°F. If it dips below 325°F, crank the heat. If it creeps toward 375°F, back off.
Trust your thermometer. My grandfather could do it by feel, but he had forty years of experience. For the rest of us, a digital instant-read thermometer is non-negotiable.
Troubleshooting: Why is My Breading Falling Off?
This is the most common complaint I hear. You go to flip the chicken, and the entire crust slides off like a wet sock. Heartbreaking. Real talk, this usually happens for one of two reasons: moisture or impatience.
Common Mistakes & Fixes
Mistake: The chicken was too wet before dredging.
Solution: Paper towels are your best friend. Pat those drumsticks bone-dry before they touch anything. If there is water on the skin, the egg wash slides off, and the flour follows.
Mistake: You fried it immediately after breading.
Solution: Let it ride. Once you bread the chicken, place it on a wire rack and let it sit for 10 to 15 minutes. This allows the flour to hydrate and the gluten to form a glue-like bond with the protein. The breading needs time to “set.”
Mistake: You moved it too soon in the pan.
Solution: When you drop the chicken in, do not touch it for at least 3 minutes. The crust needs to harden before it can withstand the tongs. If you poke it while it’s soft, you’ll tear it.
The “Bloody Bone” Fear: Internal Temperature
Chicken breasts are done at 165°F. But drumsticks? They are dark meat. They have more connective tissue and fat. If you pull a drumstick at 165°F, it will be safe to eat, but the texture might be a little rubbery near the bone, and you might see that purple-red color near the joint that freaks people out.
For the best fried chicken drumsticks recipe, I take my dark meat to 175°F or even 180°F. I know that sounds high, but dark meat can handle it. At this temperature, the collagen melts into gelatin, making the meat silky and tender. The meat pulls cleanly off the bone, and that “bloody” look disappears. Trust me, nobody likes a chewy drumstick.
Oil Management: Cleanup and Disposal
After the feast comes the cleanup. Dealing with a pot of hot oil intimidates a lot of people, but it’s straightforward if you’re smart about it.
First, never pour oil down your sink. It will clog your pipes and ruin your plumbing. I learned that the hard way in my first apartment. The landlord was not happy.
Let the oil cool completely. This might take a few hours. Once it’s cool, set a funnel over the original bottle (or a clean jar) and line it with a cheesecloth or a coffee filter. Pour the oil through to catch the burnt flour bits. If you filter it well, you can reuse frying oil 3 or 4 times. Store it in a cool, dark place. If it smells rancid or looks dark and foamy, toss it. When you are finally done with it, seal it in a container and throw it in the trash.

Storage & Reheating: Keep the Crunch Alive
If you have leftovers (which is rare in my house), don’t ruin them with the microwave. The microwave excites water molecules, which turns your crispy crust into a soggy, rubbery mess. It is the enemy of fried food.
Store the cold chicken in an airtight container in the fridge for up to 3 days. When you are ready to eat, preheat your oven or air fryer to 375°F. Place the drumsticks on a wire rack set over a baking sheet (or in the air fryer basket). Heat for about 10 to 15 minutes. The circulating hot air will crisp the skin back up and warm the meat through. It won’t be quite as perfect as fresh out of the fryer, but it’s pretty close.
Frequently Asked Questions
Listen for the Crunch
Making the best fried chicken drumsticks recipe at home isn’t about having fancy equipment or secret ingredients. It’s about patience. It’s about watching your fire (or your electric burner) and respecting the process. When you pull that first drumstick out of the oil, golden and dripping, and you hear that sizzle fade into a crackle… that is the moment.
Let it cool on the rack for a few minutes. I know it’s hard to wait. But when you finally take that bite, and the crust shatters perfectly while the steam rises from the meat, you’ll know it was worth the effort. Serve it up with some coleslaw or mashed potatoes, maybe a little hot sauce if you’re feeling bold. For a truly indulgent side, I highly recommend pairing this with a baked mac and cheese with gruyere cheese. or even a simple canned collards recipe to add some traditional greens to the meal.
I share tons of variations on Pinterest if you want ideas for different spice blends or dipping sauces.
Now, go heat up that oil. You’ve got this.
Reference: Original Source