King Arthur Blueberry Muffin Recipe
Ingredients
Method
- Whisk together melted butter, eggs, almond milk, and vanilla extract in a medium bowl. In a larger bowl, whisk together flour, sugar, baking powder, cinnamon, and salt. Pour the wet ingredients into the dry ingredients and stir until fully combined, then gently fold in the blueberries until evenly distributed.
- Fill each cup of a greased 12-cup muffin tin 3/4 full with batter. Bake at 375°F for 30-35 minutes, or until a toothpick inserted into the center comes out clean.
Notes
The Gold Standard of Breakfast Baking
There is a specific moment in baking that I live for. It is not when the timer goes off. It is about three minutes before that. The smell shifts. It goes from smelling like “batter” to smelling like browned butter and caramelized sugar. That is when your hands know before your eyes do that the **blueberry muffins king arthur** recipe is doing exactly what it promised.
I remember standing on a wooden stool in my teta’s kitchen in Heliopolis, watching her fold butter into dough. She would tell me that patience is an ingredient. I was seven. I didn’t want patience. I wanted the cake. But now, in my Jersey City kitchen, I understand what she meant. Especially with these muffins.
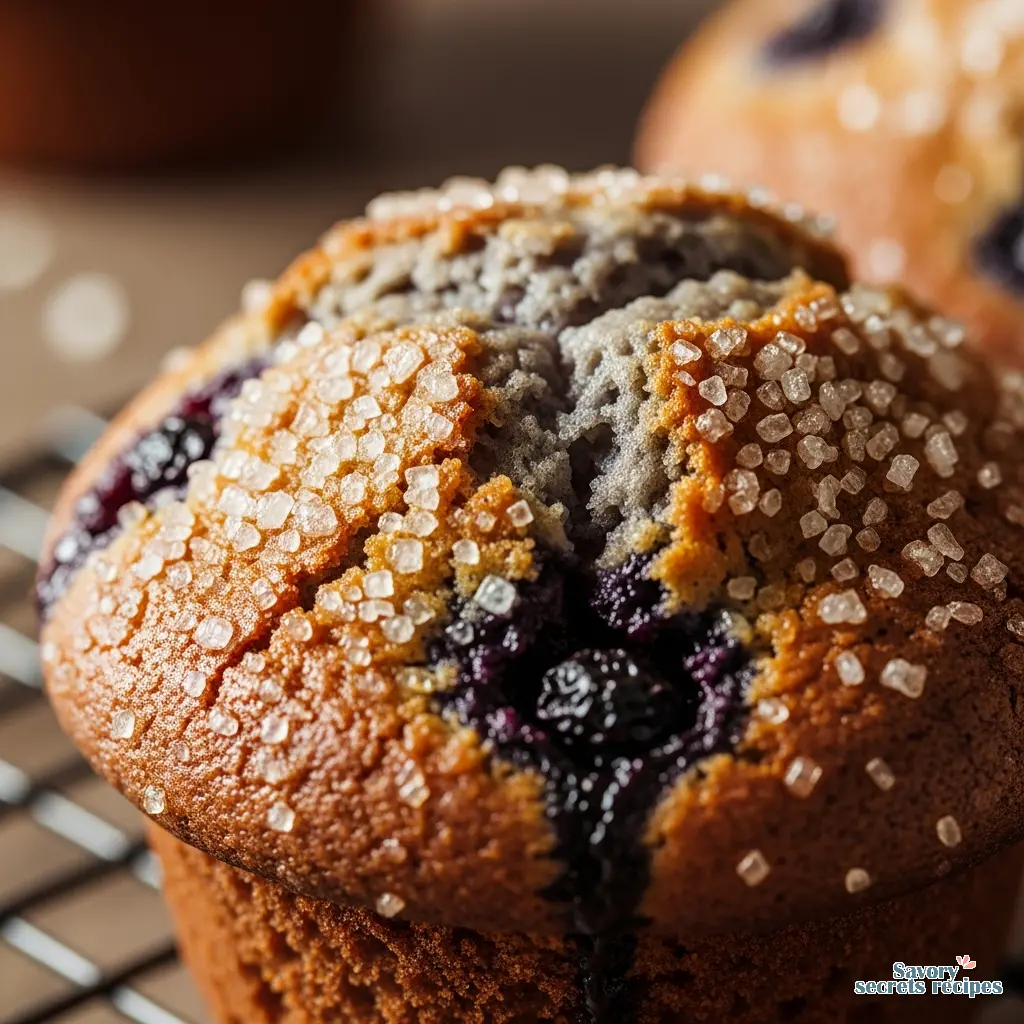
If you have ever been disappointed by a flat, gummy muffin that sticks to the liner, I get it. I have been there. You waste expensive butter and fresh berries, and the result is just… sad. It feels like a betrayal. But this recipe is different. It is built on a ratio that creates that famous “department store” muffin crown. You know the one. High, craggy, covered in sugar that crunches when you bite it.
We are going to break down exactly how to get that result. I need to test that assumption that bakery muffins are impossible at home. They aren’t. They just need the right technique.
Why This Recipe Works: The Science of the Crumb
Let me think through this for a second. What makes the **blueberry muffins king arthur** style so distinct? It comes down to the sugar-to-fat ratio and the mixing method.
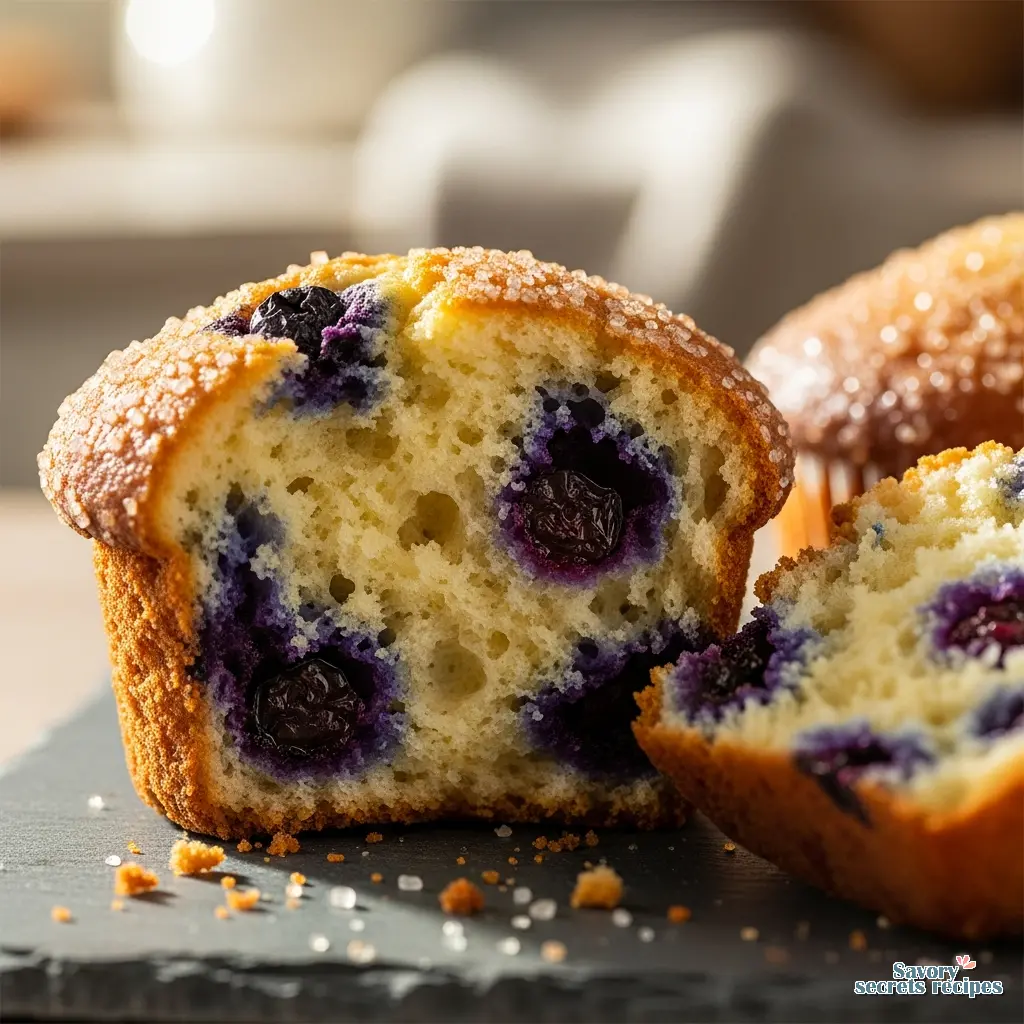
Most home recipes result in a cupcake without frosting. But this batter is thick. I mean, really thick. It should look more like a cookie dough than a cake batter. This density is crucial. It creates enough structure to hold up that massive amount of berries without them all sinking to the bottom.
Here is what I am noticing when I bake these:
* **The Emulsification:** We cream the butter and sugar until it is light and fluffy. This punches millions of tiny air holes into the fat. The baking powder expands these holes later. If you skip this or rush it, you get a dense brick.
* **The Berry Crush:** This is the detail that changes everything. We mash a small portion of the berries *into* the batter. This dyes the batter a beautiful violet color and distributes berry flavor in every single bite.
* **The Rest:** Letting the batter sit for just 10 minutes allows the flour to hydrate. It makes the difference between a tough muffin and a tender one.
Fresh vs. Frozen Berries: The Great Debate
I’m still working out the best approach for this depending on the season. In New Jersey, fresh blueberries in February are expensive and usually tart. Frozen berries are picked at peak ripeness. But they come with baggage.
If you just dump frozen berries into your batter, you will end up with gray, gummy muffins. The frozen fruit lowers the batter temperature, which affects the rise, and they release more water.
Here is how we handle it for the perfect **blueberry muffins king arthur** result:
1. **Do Not Thaw:** If you thaw them, they bleed. Keep them in the freezer until the exact second you are ready to fold them in.
2. **The Rinse Trick:** This tracks with what I’ve seen in professional kitchens. Place your frozen berries in a colander and rinse them with cold water until the water runs clear (or mostly clear). Then, lay them on paper towels and pat them dry gently. This prevents the “blue soup” effect.
3. **Baking Time:** Frozen berries chill the batter. You will likely need to add 5 to 8 minutes to the baking time. The dough will tell you when it’s ready. Press the center gently; it should spring back.
The Sugar Crust: Granulated vs. Sparkling
My daughter calls this “the crunch part” and eats it first. I can’t blame her. The signature of the Jordan Marsh-style muffin is that sugary, crisp top.
You have two options here.
* **Granulated Sugar:** This is traditional. It creates a thin, crackly glaze over the top. It is subtle but effective.
* **Sparkling (Coarse) Sugar:** This is the bakery style. The crystals are large and don’t melt in the oven. They stay white and crunchy.
I prefer the sparkling sugar. It adds a texture contrast that I think makes the muffin. It reminds me of the sesame seeds on the semit my father used to buy in Cairo that little bit of crunch against the soft bread.
Room Temperature Matters (Don’t Skip This)
I know. You want muffins *now*. Waiting for butter to soften feels like a lifetime. But temperature matters more than time here.
When your butter, eggs, and milk are all at room temperature (about 70°F), they form an emulsion. The eggs trap air inside the butter. If you use cold eggs with room temperature butter, the butter seizes up into little gritty lumps. Your batter will look curdled.
**Quick fix:** If you forgot to take the eggs out (I do this constantly), put them in a bowl of warm tap water for 10 minutes. For the milk, microwave it for 15 seconds. Just don’t overheat it.
Troubleshooting: Sinking Berries & Blue Crumb
I’ve received so many messages about berries sinking to the bottom. It is frustrating. You bite into the top and it’s just plain cake, then the bottom is a soggy fruit mess.
Here is the fix: **Toss the berries in flour.**
Take your measured berries and toss them with one tablespoon of the flour mixture from the recipe. This creates friction. The flour coating grips the batter, holding the berries in suspension while the muffin sets.
**The Blue Crumb Issue:**
If your batter turns entirely gray or green, it is a pH reaction with the baking powder, or you overmixed the berries.
* **Solution:** Fold gently. I mean *gently*. Use a rubber spatula and fold just until the berries are distributed. Do not use a mixer for this step.
Variations & Substitutions
I’m working through the variables for different dietary needs because I know not everyone can do the full dairy version.
* **Dairy-Free:** I have tested this with almond milk and a good vegan butter block (not the tub spread). It works. The browning is slightly less golden, but the texture holds up.
* **Oil vs. Butter:** This recipe relies on the creaming method for air, so butter is best. If you must use oil, the texture will be denser and moister, more like a quick bread. It won’t have that high, fluffy crown.
* **Whole Wheat:** You can swap up to 50% of the all-purpose flour for white whole wheat flour. If you use 100% regular whole wheat, they will be heavy. My teta would say they become “brick,” not cake.
Storage & Freezing: Keeping the Crunch
The tragedy of a great muffin is when the crunchy top turns soggy the next day. This happens because moisture migrates from the center of the muffin to the surface.
**Room Temperature:**
Store these in a container, but do not seal it airtight immediately if they are even slightly warm. I leave the lid cracked open for the first few hours. If you seal warmth in, you steam the crust. They keep for 3 days, but the crust is best on day one.
**Freezing:**
These freeze beautifully. Wrap them individually in plastic wrap, then put them in a zip-top bag. They last for 3 months. To reheat, unwrap and pop them in a 350°F oven for 10 minutes. This re-crisps the sugar top. The microwave will make them soft.
Frequently Asked Questions
Final Thoughts
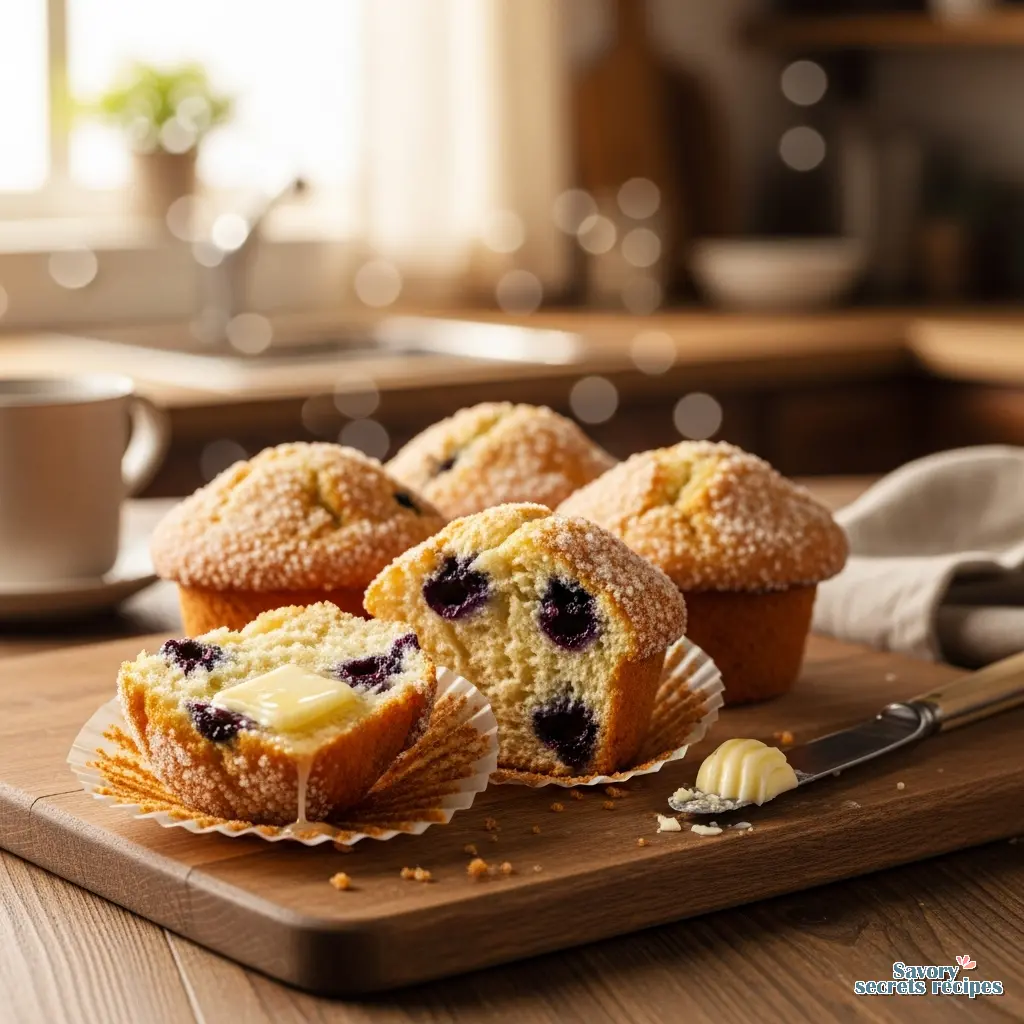
When you pull these **blueberry muffins king arthur** from the oven, give them five minutes. I know it’s hard. But the structure needs to set. Then, take that first bite while the butter is still warm and the sugar crunches against your teeth.
It is a small victory, getting a bake this perfect. My daughter asked me yesterday if we could make “the crunchy ones” again this weekend. That is the only review I really need.
For more inspiration, check out my Pinterest boards where I collect all my favorite baking experiments.
Now, go preheat that oven. Your best muffins are waiting.
Reference: Original Source