


Make Tender Bread Flour Muffins with This Method
Ingredients
Method
- Weigh the flour or measure it by spooning it into a cup and sweeping off the excess. Combine all ingredients except the semolina or farina in a mixing bowl or the bucket of a bread machine.
- Beat the dough in a stand mixer using the flat beater paddle at medium-high speed for about 5 minutes until it is satin-smooth, shiny, and pulls away from the sides of the bowl. Alternatively, use the dough cycle of a bread machine.
- Scrape the dough into a rough ball and cover the bowl. Allow the dough to rise for 1 to 2 hours until it is puffy.
- Prepare the griddles or frying pans by spraying them with non-stick vegetable oil spray if they are not well-seasoned. Sprinkle the cooking surfaces heavily with semolina or farina.
- Gently deflate the dough and divide it into 16 pieces. Shape each piece into a smooth ball and flatten them to a diameter of 3 to 3 1/2 inches.
- Place the muffins directly onto the cold griddle or onto a baking sheet heavily sprinkled with semolina or farina. Sprinkle the tops of the muffins with additional semolina or farina.
- Cover the muffins with parchment paper and let them rest for 20 minutes until slightly puffed.
- Cook the muffins over low heat for 7 to 15 minutes per side until the crust is golden brown and the internal temperature reaches 200°F. If the muffins brown before they are fully cooked, finish them in a preheated 350°F oven for approximately 10 minutes.
- Remove the muffins from the heat and let them cool thoroughly. Split the muffins with a fork rather than a knife to preserve the internal texture.
Nutrition
Notes
The “Pantry Emergency” That Changed My Baking
It happens to the best of us. Honestly, it happened to me just last Wednesday. You get that sudden craving for something sweet and comforting. You check the pantry for all-purpose flour, and the jar is empty. But then you see it. That bag of high-protein flour you bought for pizza night three months ago. It sits there, staring at you. And you wonder, can I make bread flour muffins?
The short answer is yes. The long answer is that you might actually prefer them. I know I do.
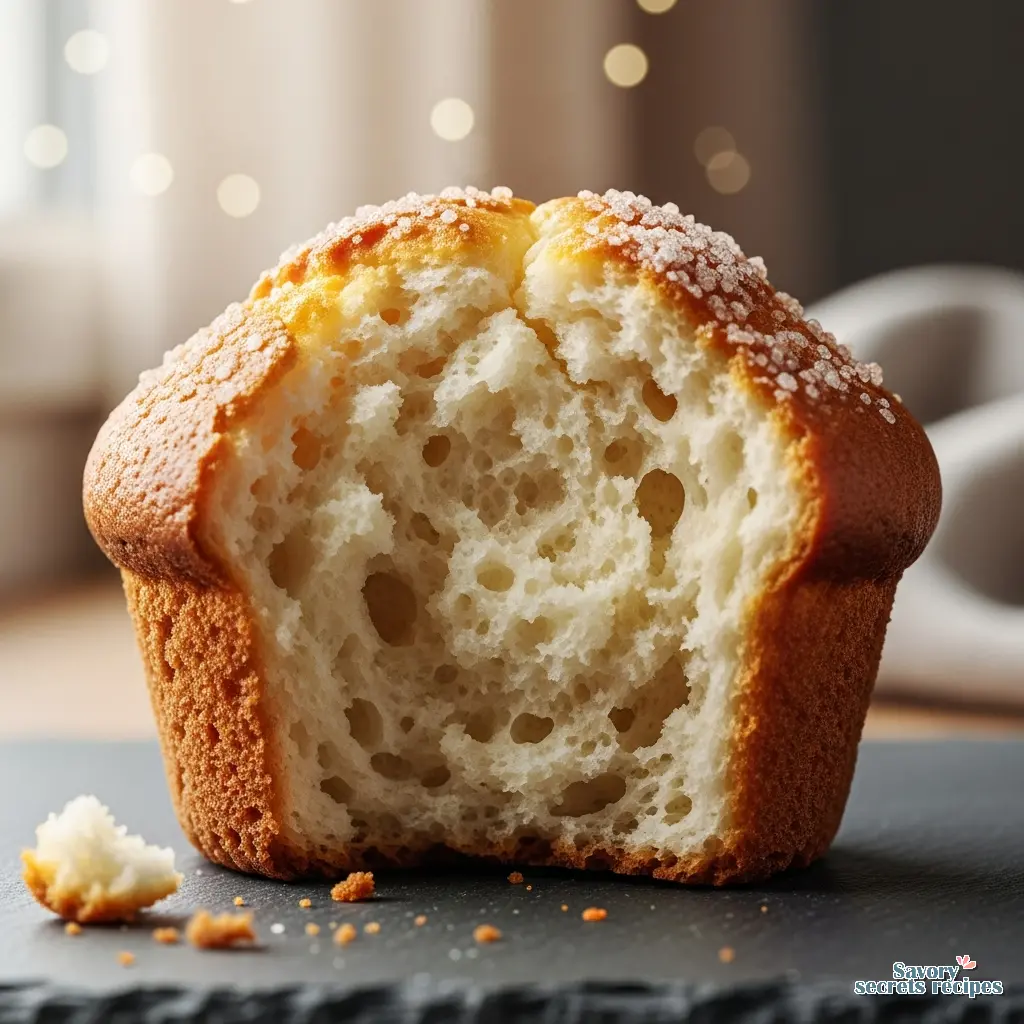
Most home bakers panic when they have to swap ingredients. I get it. Baking is chemistry, and messing with the formula feels risky. But here is the secret. Using bread flour isn’t just a desperate substitution. It is a technique upgrade. If you treat the batter right, bread flour muffins come out with incredible structure. They get those tall, bakery style domed tops that everyone loves but rarely achieves at home. The crumb is slightly chewier, more substantial. It feels professional.
We are going to walk through exactly how to do this. No dry, tough rocks here. Just perfectly tender muffins that hold their shape. Since we are in the middle of these cooler LA winter months, it is the perfect time to turn the oven on and warm up the kitchen.
Why Bread Flour Works (The Science Part)
Let’s talk about why this swap changes the game. It comes down to protein. Standard all-purpose flour usually sits around 10 to 12 percent protein. Bread flour? It is robust, sitting closer to 12 to 14 percent. That might sound like a small difference, but in baking, small numbers mean big changes.
Protein creates gluten. Think of gluten as a stretchy net. When you mix flour with liquid, that net forms. In bread, you want a strong net to trap yeast gas and create chew. In cakes, you want a weak net for tenderness. Muffins sit somewhere in the middle. This is why some bakers prefer using banana bread with cake flour when aiming for a lighter, more delicate crumb.
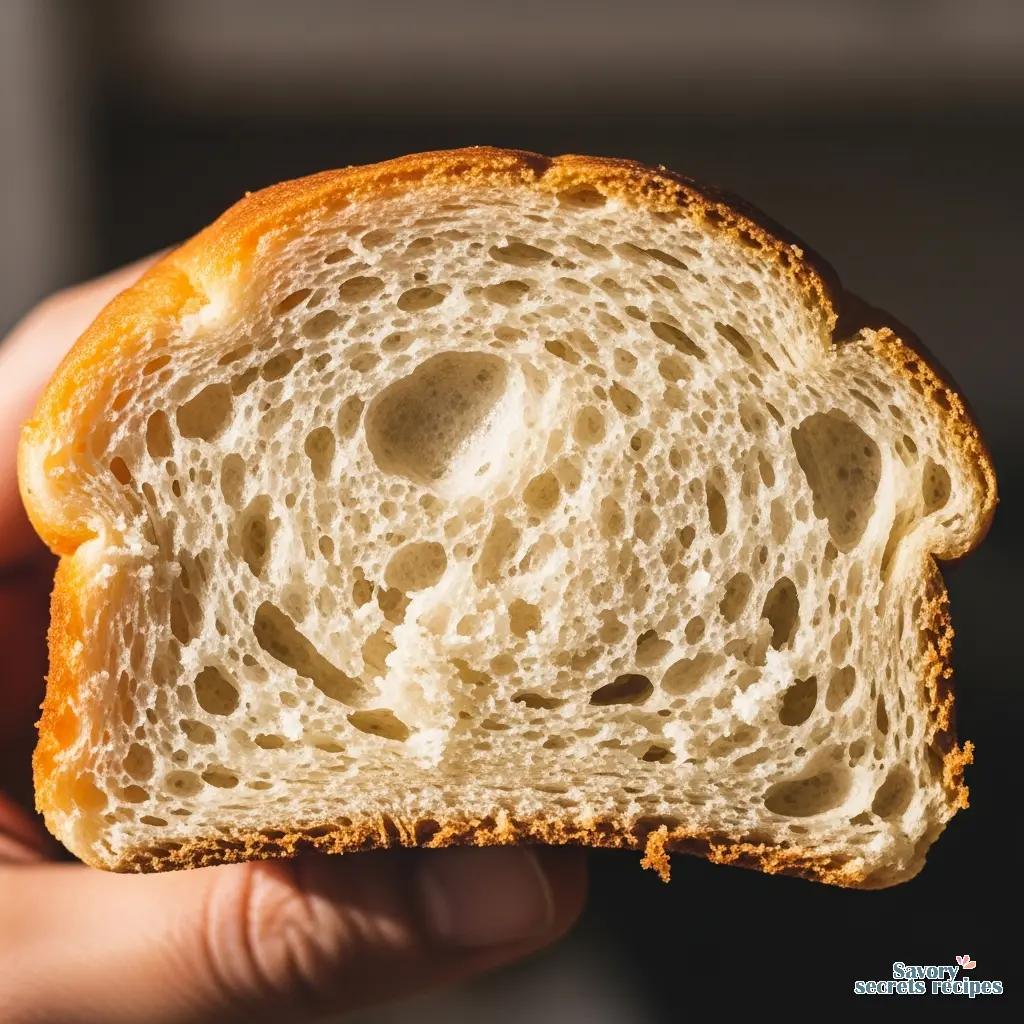
When you use bread flour for muffins, you are building a stronger net. This structure is what allows the muffin to rise high and keep that shape without collapsing as it cools. That is how you get the “mushroom top” look. However, there is a catch. If you work that net too much by over-mixing, it gets tight and tough. That is why the mixing technique I’m about to show you is non-negotiable.
Also, bread flour is thirsty. It absorbs more liquid than all-purpose flour. If you just swap it 1:1 without thinking about hydration levels, your muffins will be dry. We have to adjust for that.
The Moisture Strategy: Butter vs. Oil
I have tested this dozens of times. When dealing with the higher protein content of bread flour muffins, fat choice matters more than ever. Some recipes swear by butter for flavor. Others insist on oil for moisture. I say, why choose?
Here is what works best:
- Butter: You need it for flavor. Oil-only muffins can taste bland or greasy. Melted butter gives you that rich, bakery aroma.
- Oil: This is for texture. Oil is 100% fat and stays liquid at room temperature. It coats the flour proteins and prevents them from getting too tough. It keeps the crumb soft for days.
I use a blend. Usually half melted butter, half neutral oil (like canola or vegetable). If you want to get fancy, you can use a mild olive oil, but it changes the flavor profile. This combo ensures your muffins have the structure from the bread flour but the tender crumb of a cake.
The “Just Combined” Technique
This is the part where most people mess up. I mean, it is easy to do. You want to make sure everything is mixed, so you stir and stir. With all-purpose flour, you might get away with it. With bread flour? You are making rubber balls.
The goal is to hydrate the flour without developing the gluten. Here is my method:
- Whisk the dry ingredients thoroughly. Do this first. You want the leavening agents (baking powder/soda) and salt evenly distributed before any liquid touches them.
- Mix the wet ingredients separately. Make sure the egg is fully broken up and combined with the milk and fats.
- The Fold. Pour the wet into the dry. Switch to a silicone spatula. Do not use a whisk here. Fold gently. Scrape the bottom, fold over.
- The Stop Point. Stop stirring when you still see a few streaks of flour. Yes, really. They will hydrate in the oven. If the batter looks smooth, you have gone too far.
You want the batter to look lumpy and ugly. Ugly batter makes beautiful muffins. Trust me on this.
Troubleshooting: Why Are My Muffins Tough?
If you pull your bread flour muffins out of the oven and they feel heavy or chewy, don’t panic. It is usually one of three things. I learned these the hard way, so you don’t have to.
Common Mistakes & Fixes
Mistake: Over-mixing the batter.
Solution: As mentioned above, count your strokes. 10 to 12 folds maximum. Leave the lumps.
Mistake: Not enough liquid.
Solution: Bread flour absorbs more water. If your batter is stiff like cookie dough, add a tablespoon of milk at a time until it is scoopable but thick.
Mistake: Cold ingredients.
Solution: If your milk or eggs are cold, they solidify the melted butter, making it hard to mix. Room temperature ingredients mix faster, meaning less stirring.
Variations That Actually Work
Once you have the base batter down, you can pretty much add whatever you want. The strong structure of bread flour is actually amazing for heavy mix-ins. It holds them up better than regular flour. For instance, adding bananas to muffin mix is much easier when you have a sturdy bread flour base to support the fruit.
Blueberry Lemon: Toss fresh blueberries in a teaspoon of flour before adding. This stops them from sinking. Add the zest of one lemon to the sugar and rub it in with your fingers before mixing. The oils release and the flavor is amazing.
Chocolate Chip: Use mini chips if you can find them. They distribute better. Because bread flour isn’t as sweet as cake flour, I like to use semi-sweet chips for balance.
Cinnamon Swirl: This is my favorite for breakfast. Mix brown sugar and cinnamon in a small bowl. Fill the muffin cup halfway, sprinkle the sugar mix, add more batter, and sprinkle again. Use a toothpick to swirl it slightly.
Storage and Freezing
Because of the oil content, these muffins stay moist for about 3 days at room temperature. I keep them in an airtight container, but here is a trick: put a paper towel in the container with them. It absorbs excess moisture and stops the tops from getting sticky.
For freezing, wrap them individually in plastic wrap and then put them in a zip-top bag. They last for 3 months easily. To reheat, I microwave them for about 15 to 20 seconds. They come out steaming and soft, just like fresh.
Frequently Asked Questions
Time to Bake
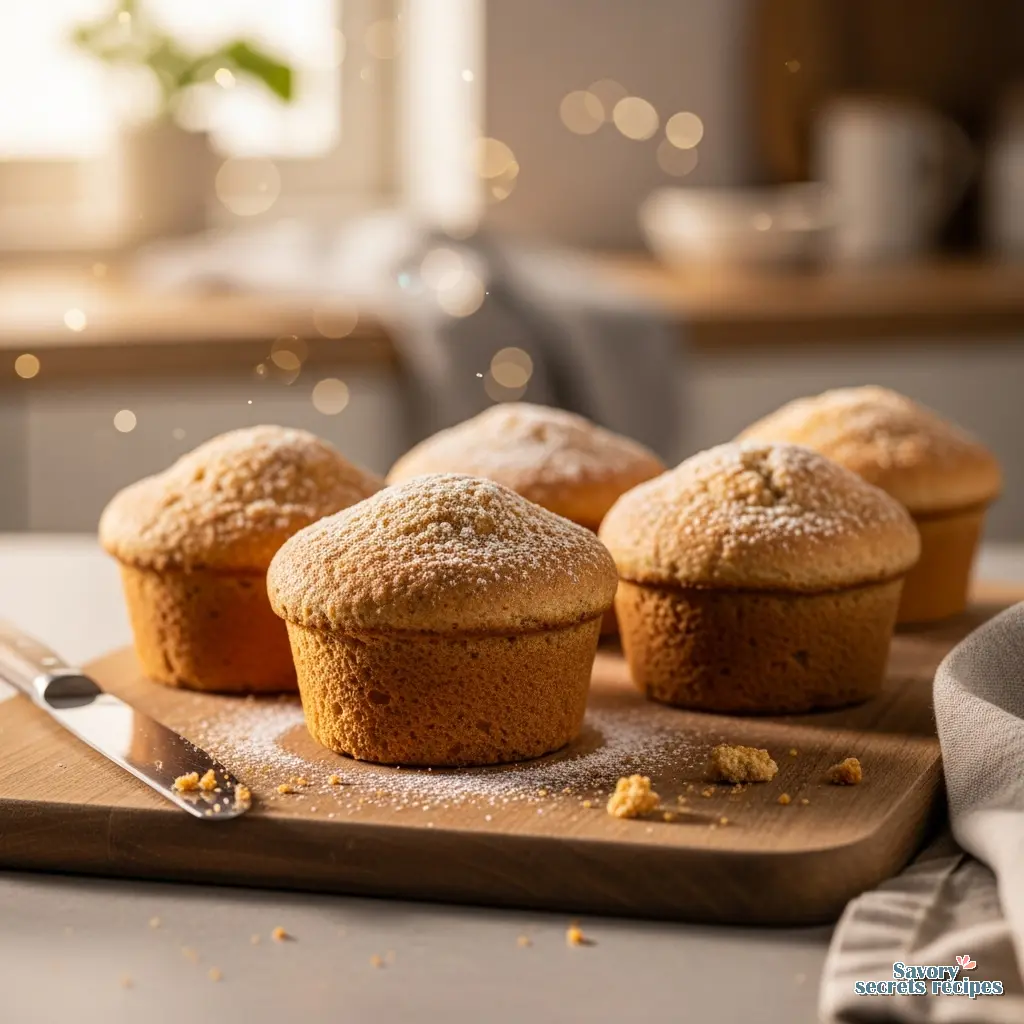
Baking should not be stressful. It should be the thing you do to de-stress. Using bread flour muffins as your new standard is one of those small changes that makes you feel like a better baker instantly. The structure is better, the rise is higher, and honestly, the chew is so satisfying.
So, grab that bag of flour from the back of the pantry. Preheat your oven. When you pull these out, golden brown and steaming, you might never go back to all-purpose. Let me know how they turn out. I love seeing what you guys create.
For more inspiration, check out my Pinterest boards where I save all my favorite baking experiments.
Reference: Original Source
Can you use bread flour for making muffins if the recipe calls for all-purpose?
Yes, absolutely. I do it all the time. Just remember that bread flour absorbs more liquid. You might need to add an extra tablespoon or two of milk to get the right consistency. The result will be taller and slightly chewier.
Why are my muffins tough when I use bread flour?
This is almost always due to over-mixing. Bread flour has more protein, which develops gluten quickly. Mix until the flour just disappears and leave the batter lumpy. If you mix until smooth, they will be tough.
What is the secret to bakery style muffins with high tops?
The secret is a combination of thick batter and high heat. Bread flour helps structure the dome. Fill your muffin tin almost to the top, and start baking at a high temperature (425°F) for 5 minutes before lowering it.
Can I mix bread flour and all-purpose flour?
You sure can. A 50/50 blend is actually a great middle ground. You get some of the height and structure from the bread flour, but the tenderness of the all-purpose. It is a great way to transition if you are nervous.
How do I prevent the muffins from sticking to the pan?
I always recommend using paper liners. If you don’t have them, grease the pan generously with butter or non-stick spray. Don’t forget to grease the top surface of the pan too, so the muffin tops don’t stick as they expand.


