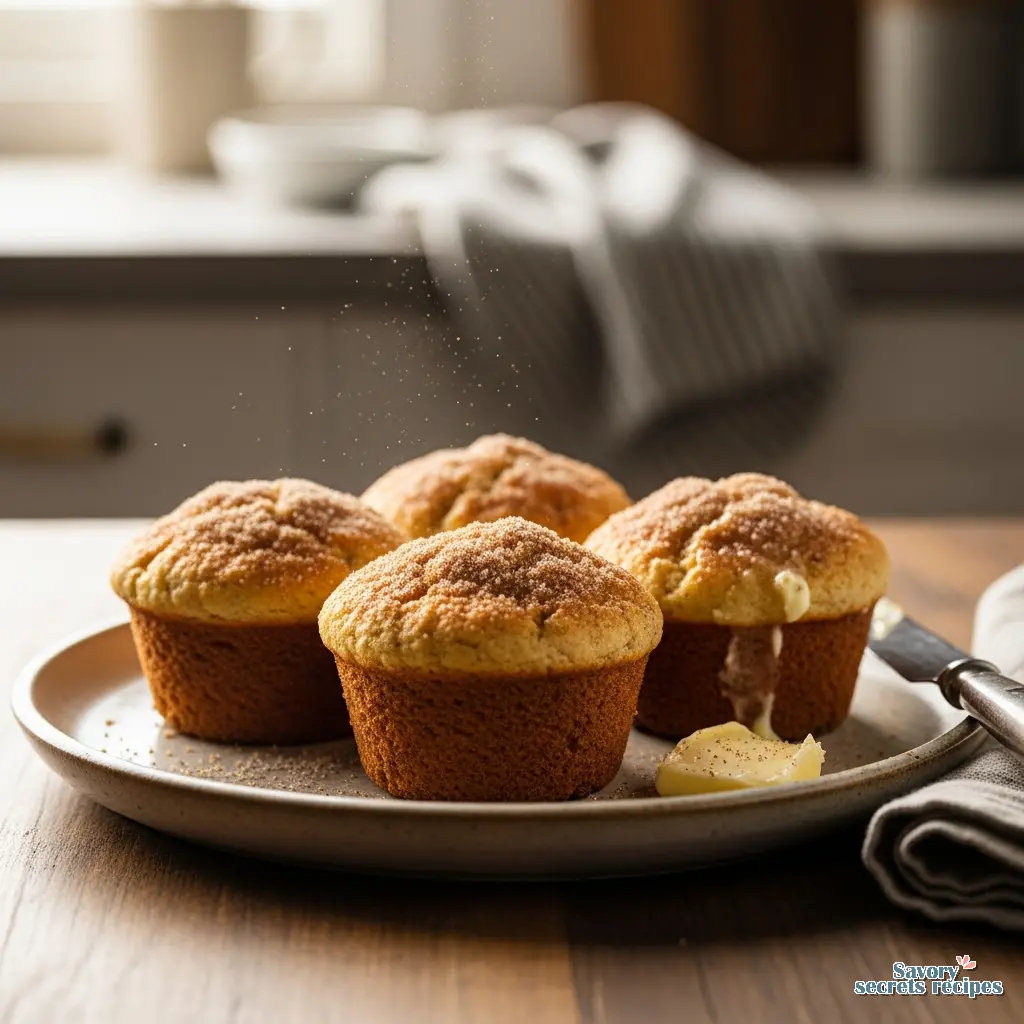
Cinnamon Breakfast Muffins Recipe for Your Muffin Brunch
Ingredients
Method
- Toast walnuts at 190°C/375°F (170°C fan) for 8 minutes. Cool and roughly chop. Whisk dry ingredients and wet ingredients in separate bowls. Combine wet ingredients and add-ins with the dry ingredients, mix, and fill a greased muffin tin. Bake for 25 minutes.
- Preheat the oven to 190°C/375°F (170°C fan).
- Place walnuts on a tray and toast for 8 minutes. Cool on the tray for 5 minutes, then roughly chop into 0.2-inch pieces.
- Grease a 12-cup standard muffin tin with oil or line with paper liners.
- Whisk the dry ingredients in a large bowl. Whisk the wet ingredients in a separate bowl until combined. Pour the wet mixture and add-ins into the dry ingredients. Mix with a wooden spoon until just combined, avoiding over-mixing.
- Divide the batter among the muffin cups, filling them until they mound above the rim.
- Bake for 25 minutes or until a skewer inserted into the center comes out clean.
- Cool the muffins in the tin for 5 minutes, then transfer to a wire rack for at least 5 more minutes. Serve with softened salted butter if desired.
Nutrition
Notes
- Nuts and fruit – use what you want! Almonds, macadamias, cashews, pecans, sultanas, apricots, mango, apple, or dried fruit mix. Chop large piece fruits. Use only nuts or only fruit, or nut free options like pepitas and sunflower seeds.
- Apple – Red apple is also fine, it’s just a little sweeter. Keep skin on for free nutrition.
- Coconut – Can be omitted, add an extra 1 tablespoon flour.
- Carrot – Recommend sticking with carrot for the vegetable so the batter and flavour isn’t altered too much. eg zucchini too watery, parsnip weird flavour, pumpkin and sweet potato too mushy.
The Morning Rush and the Muffin Rescue
I remember standing on a step stool in my grandmother Lalla Fatima’s kitchen, watching her test the syrup for chebakia. She would drop a tiny bit into cold water to check the texture, her face focused and serious. “Patience,” she’d tell me when I tried to rush the process. That lesson sticks with me, especially on chaotic Tuesday mornings here in Queens when patience is the last thing I have. You know the drill. It’s cold outside, the kitchen floor is freezing, and everyone is running five minutes late.
That is exactly why this breakfast muffins recipe exists. It isn’t just about food. It’s about survival. I’ve spent years trying to recreate that feeling of warmth and safety my grandmother created, but adapted for a modern life where we don’t have all day to bake. I need something that works when I’m half-awake and haven’t had my coffee yet.
This recipe is my “house special.” It’s the one I make on Sunday nights so that when the alarm goes off on Monday, half the battle is already won. Whether you are looking for a savory bite or a sweet start to the day, this base is forgiving. It’s designed for real kitchens, not photo studios.
Why Meal Prep Saves My Sanity
Let’s be honest. The idea of cooking a full breakfast every morning is a fantasy. I love cooking, obviously, but at 7 AM? Not happening. That’s where batch cooking comes in. By making a double batch of these muffins, you aren’t just making breakfast for one day. You’re buying yourself 20 minutes of extra sleep for the rest of the week.
I call this the “Freezer-Stash” strategy. Once these cool down on the wire cooling rack, I toss half of them into a freezer bag. They thaw perfectly. In fact, my nephew Omar, who is six and refuses to eat anything with “bits” in it, actually prefers them slightly chilled. Go figure. But for the rest of us, a quick zap in the microwave brings them right back to life.
The Science of the Perfect Rise
Here is where I get a little technical. I know, I know. But stick with me because this changes everything. You want that bakery style dome, right? The secret isn’t just the baking powder. It’s the heat shock.
Temperature is doing the heavy lifting here. I start my oven at 425°F. When you put the muffin tin in, that high heat hits the batter and causes the baking powder to react instantly. It forces the batter up before it has a chance to spread out. It creates that beautiful, tall structure we all want.
After five minutes, I drop the temp to 350°F. This lets the inside cook through without burning the outside. It’s a small tweak, but it makes a massive difference. That tracks with what I’ve seen in professional kitchens, and it works just as well at home.
The ‘Anti-Soggy’ Rule for Savory Muffins
If you are going the savory route with this breakfast muffins recipe, we need to talk about moisture. This is the part I love because it’s pure chemistry. Vegetables are mostly water. If you throw raw spinach or peppers into your batter, they will release that water while they bake.
The result? A soggy, sad muffin. Nobody wants that.
The fix is simple. Cook your veggies first. Sauté the peppers, onions, or mushrooms until they are dry. If you’re using frozen spinach, squeeze it. And I mean really squeeze it. Wrap it in a paper towel and wring it out until it’s bone dry. It sounds fussy, I know, but it’s the difference between a delicious breakfast and a damp sponge.
Technique: The ‘Don’t Overmix’ Rule
If there is one hill I will die on, it’s this: do not overmix your batter. When you mix flour with liquid, gluten starts to form. Gluten is great for bread. It’s terrible for muffins. We want tender, moist crumb, not chewy rubber balls.
You’re looking for that ribbon stage where the flour just barely disappears. It should look lumpy. Ugly, even. That’s perfect. If the batter is smooth, you’ve gone too far. I usually stop mixing when I can still see tiny streaks of flour. They’ll hydrate in the oven. Trust me on this. Give it a minute to settle, and the texture will be exactly what we’re after.
Liners vs. Grease: My Verdict
I’ve tested this every which way. Paper liners, silicone liners, cooking spray, butter. Here is what works in my kitchen.
For sweet muffins with fresh blueberries or streusel topping, paper liners are great. They make cleanup easy and they look cute. But for savory egg muffins or anything with cheese? Skip the paper. The cheese fuses to the paper and you end up eating half the wrapper. It’s a mess.
For savory versions, I grease the muffin tin thoroughly with oil or melted butter. And I mean thoroughly. I use a paper towel to spread it into every corner. Silicone liners are also a solid option if you bake a lot. They release like a dream. But if you’re sticking to the classic tin, just grease it well.
Customizing Your Morning
This is the fun part. You can take this base breakfast muffins recipe and spin it a dozen ways. I usually make two varieties in one batch because I get bored easily.
Sweet Variations
My go-to is apple cinnamon. I use chopped Granny Smith apples (keep the skin on for nutrition) and a lot of cinnamon. Or, try the classic banana nut. If you use overripe bananas, cut back the sugar slightly. Fresh blueberries are classic, but toss them in a little all-purpose flour before adding them so they don’t sink to the bottom.
Savory Options
Think “omelet in a muffin.” Feta and spinach is a winner. Or cheddar and jalapeño if you want a wake-up call. Just remember the anti-soggy rule. Pre-cook those veggies.
Common Breakfast Muffins Recipe Mistakes
Troubleshooting Guide
Mistake: The muffins are tough and rubbery.
Solution: You overmixed the batter. Next time, use a spatula and fold gently until just combined. Lumps are your friends.
Mistake: The fruit sank to the bottom.
Solution: The batter was too thin or the fruit was too heavy. Toss the fruit in a tablespoon of flour before folding it in. This gives it “grip.”
Mistake: The tops are soggy the next day.
Solution: You stored them while they were still warm. Let them cool completely on a wire cooling rack before putting them in a container.
Storage and Reheating for Freshness
I learned this trick from a bakery owner in Brooklyn. When you store muffins in an airtight container, line the bottom with a paper towel. Then, place another paper towel on top of the muffins before sealing the lid. The paper towels absorb the excess moisture that gets trapped inside. It keeps the tops from getting sticky.
For reheating, the microwave is fine for 30 seconds. But if you have an air fryer, pop them in at 300°F for 2 or 3 minutes. It crisps up the edges while warming the center. It’s a game changer. I mean, it really brings back that fresh-baked texture.
Frequently Asked Questions
Ready for a Better Morning?
When you pull these out of the oven tomorrow, take a second to appreciate the smell. It reminds me of those Friday afternoons in my grandmother’s kitchen, when everything felt possible. That’s the vibe we want to start the day with. Whether you are rushing out the door or actually sitting down for five minutes, you’ve got a solid, homemade breakfast ready to go.
I’d love to see how yours turn out. If you try a new flavor combination or find a trick that works in your oven, let me know. For more inspiration on variations, check out my Pinterest boards where I collect all my favorite flavor experiments. You’ve got this, breakfast is handled.
Reference: Original Source