Creamy Caramelized Cabbage Recipe
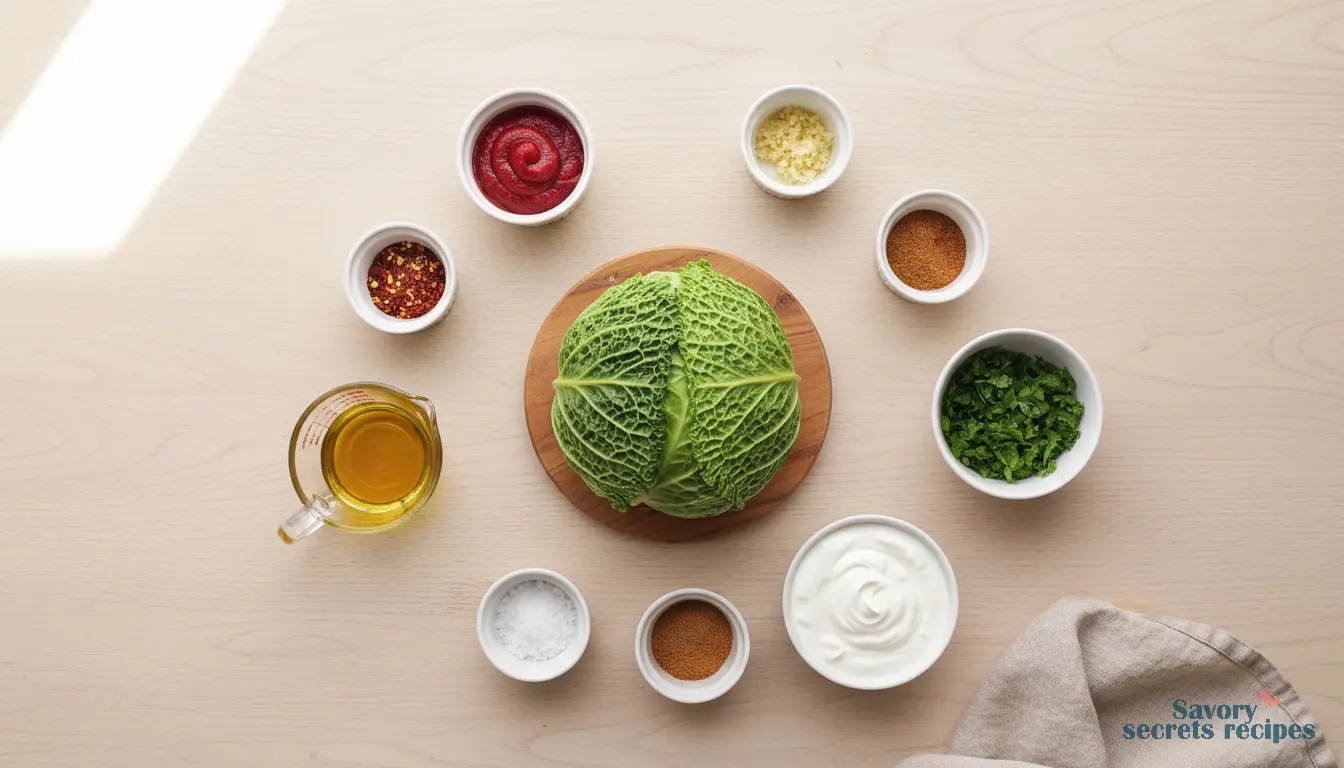
Ingredients
Method
- Preheat the oven to 350°F. Combine the tomato paste, garlic, coriander, cumin, and red pepper flakes in a small bowl.
- Cut the cabbage in half through the core. Then cut each half through the core into four wedges.
- Heat a quarter cup of oil in a large cast-iron skillet over medium-high heat. Add the cabbage to the pan cut side down, working in batches if necessary, and season with salt. Cook, turning occasionally, until lightly charred, about four minutes per side. Transfer the cabbage to a plate.
- Pour the remaining ¼ cup of oil into the skillet. Add the spiced tomato paste and cook over medium heat, stirring often, until the paste begins to separate and darken slightly, about 2–3 minutes. Add enough water to reach halfway up the sides of the pan (approximately 1½ cups), season with salt, and bring to a simmer. Nestle the cabbage wedges back into the skillet (they will have shrunk; some overlap is fine). Transfer the skillet to the oven and bake, uncovered, turning the wedges once halfway through, until the cabbage is very tender, the liquid is mostly gone, and the edges are caramelized, 40–50 minutes.
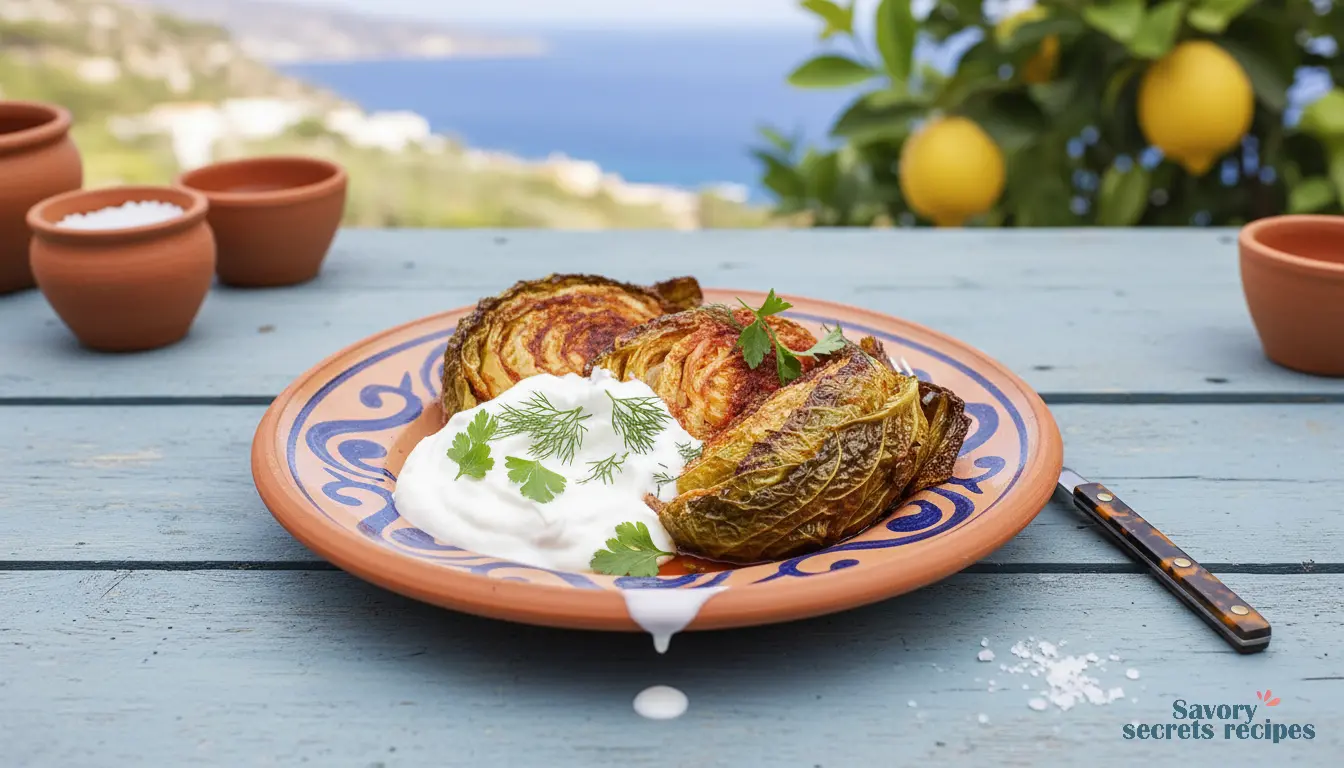
- Sprinkle dill over the cabbage and serve with yogurt on the side.
Notes
Why This caramelised cabbage Works
I remember the first time I tried to make caramelised cabbage. It was a Wednesday, maybe ten years ago, and I was determined to make a vegetable side that didn’t feel like an afterthought. I’d overcooked it into a sad, grey pile. The smell was… not good. I almost gave up on cabbage entirely. But then I thought about my grandmother’s kitchen in Casablanca, where she’d coax sweetness out of the most humble ingredients with nothing but time and a heavy pan. That’s the move right there. This recipe works because it applies that same patient logic. It’s not about fancy techniques. It’s about letting the natural sugars in the cabbage do their thing, slowly, until they transform into something deep, sweet, and savory. You’ll end up with a side dish that steals the show, and you’ll wonder why you ever boiled cabbage in the first place. Makes sense to me.
The Simple Science of Caramelization
Here’s what I’d do if I were explaining this to my daughter. Caramelization isn’t magic, it’s just sugar getting hot. Cabbage has natural sugars in it. When you cook it slowly in a bit of fat, those sugars heat up, break down, and recombine into new, deeper, sweeter flavors. That’s the good part. The trick is… and I learned this from testing… you need enough heat to start the reaction, but not so much that you burn the sugars before they can transform. It’s a balance. That’s why we start with a moderately hot pan to get some color, then lower the heat to let it happen gently. If you rush it, you’ll get bitter, burnt edges instead of that complex, nutty sweetness. Low and slow does the work for you.
Your Guide to Perfect caramelised cabbage
Let’s talk about the pan first. I’m partial to a cast iron skillet for this. It holds heat evenly, which is key for consistent caramelisation. But if you don’t have one, a heavy-bottomed stainless steel pan or even a large nonstick saucepan works. You might need a touch more oil with stainless steel, that’s all. Fair enough.
Prepping the Star Ingredient
Don’t worry about perfect knife skills here. For caramelised cabbage, you want pieces with lots of surface area. I usually cut the cabbage into wedges, then slice those wedges into thick shreds, about an inch wide. You’ll get some bigger pieces and some smaller ones, and that’s actually perfect. The variation gives you different textures in the final dish—some tender, some with a bit of bite. Just try to keep them somewhat uniform so they cook evenly. If you’re sensitive to spice, you can totally omit the red pepper flakes and use a pinch of ground black pepper instead. Taste as you go, adjust at the end.
The Cooking Dance
This is where you need to pay attention. You’ll heat the oil, then add the cabbage. It’s going to sizzle. It should sizzle. You’re not steaming it. You want that direct contact with the hot surface. Here’s a common hiccup: don’t crowd the pan. If you dump the whole head in at once, you’ll steam it. You want a single layer, or close to it. You might need to do this in two batches. I know it feels like an extra step, but it’s the difference between soggy and spectacular. Give it a few minutes undisturbed. You’ll hear the sizzle change, and you’ll start to smell that toasty, sweet aroma. That’s when you give it a stir. Now we’re talking.
Stovetop vs. Oven: A Quick Comparison
I almost always make my caramelised cabbage on the stovetop. You have more control, you can see and smell the changes minute by minute. But. If you’re someone who loves a hands-off approach, or you’re roasting something else for dinner, you can do this in the oven. Toss the cabbage with oil and spices on a large baking sheet. Roast at 400°F (200°C), stirring every 15 minutes or so. It’ll take longer, maybe 45 minutes to an hour, and you won’t get *quite* the same depth of flavor as the stovetop method, but it’ll still be delicious. It’s a great set-it-and-forget-it option for meal prep Sundays.
Tips for Perfect caramelised cabbage Every Time
These aren’t rules, just things I’ve picked up that make life easier.
Preparation Tips
Dry your cabbage after washing it. Any extra water will steam in the pan and work against the caramelization. A salad spinner is great, or just pat it dry with a clean kitchen towel. I suggested starting with the lesser amounts of spices in the recipe. You can always add more at the end, but you can’t take them out.
Cooking Tips
Be sure to taste the cabbage and add salt to taste. Salt isn’t just for seasoning here; it actually helps draw out moisture, which then evaporates, helping the caramelization along. If you don’t have a suitable skillet or braiser, use a large nonstick saucepan. If it’s not nonstick, you may need to use additional olive oil to prevent sticking. Don’t stir too often. Let it sit and develop those crispy, caramelized edges.
Storage & Reheating Tips
This caramelised cabbage is best served right after cooking, but it reheats beautifully. I suggest gently reheating it in a skillet set over medium-low heat. It’ll take a few minutes, but it helps revive some of the texture. Refrigerate in an airtight container for up to 4 days.
Variations & Substitutions
This recipe is a framework. Play with it.
Dietary Adaptations
This is naturally vegetarian, gluten-free, and low-carb. For a vegan caramelised cabbage, skip the Greek yogurt garnish or use a plant-based alternative. While fried cabbage with bacon is a more traditional dish in some cuisines, this version capitalizes on the natural flavors of the caramelized veggies and is plenty satisfying on its own.
Ingredient Substitutions
A medium head of savoy cabbage can be substituted for green cabbage—it’s a bit more tender and has beautiful crinkly leaves. White onion can be substituted for a bit of the cabbage if you want. Freshly grated nutmeg has fantastic flavor with cabbage, but feel free to substitute with bottled ground nutmeg. A pinch at the end is lovely.
Flavor Variations
For extra flavor, stir in additional fresh herbs at the end, such as oregano, thyme, dill or cilantro. If you love caramelized onions on a pizza or sandwich, why not swap in this cabbage mixture instead? So good! Or, make a popular grain bowl and mix in a ½ cup of the cooked caramelised cabbage for sweetness and texture. If you like a hint of creaminess, dollop some plain Greek yogurt or sour cream on top when serving.
Common caramelised cabbage Mistakes to Avoid
We’ve all been there. Here’s how to sidestep the common pitfalls.
❌ Mistake: Adding the cabbage to a cold pan or overcrowding it.
✅ Solution: Make sure your oil is shimmering hot before the cabbage hits the pan. Cook in batches if you need to. This ensures browning, not steaming.
❌ Mistake: Stirring constantly.
✅ Solution: Patience is key. Let it sit for a few minutes between stirs to develop those beautiful browned bits on the bottom of the pan.
❌ Mistake: Using too high heat.
✅ Solution: After the initial sear, reduce the heat to medium or medium-low. Caramelization is a slow dance, not a sprint. You want the sugars to transform, not incinerate.
❌ Mistake: Skipping the taste at the end.
✅ Solution: Always taste before serving. This is when you adjust the final seasoning—maybe it needs another pinch of salt, a squeeze of lemon, or a crack of black pepper. Build the layers, don’t rush the base.
How to Serve Your caramelised cabbage
This isn’t just a side dish; it’s a versatile component. Serve it as a side to almost any meat dish—it’s incredible with roasted chicken or seared salmon. For a vegetarian meal, arrange it on a thick layer of Greek yogurt, scatter with toasted almonds or pumpkin seeds and herbs. Top with crunchy coarse breadcrumbs toasted in olive oil for texture. Serve with lemon wedges or a drizzle of sherry vinegar if it needs more acid. It needs more acid? Then it needs more acid. That’s the good stuff.
Storing and Reheating caramelised cabbage
Got leftovers? Great. Let the caramelised cabbage cool completely, then transfer it to an airtight container. It’ll keep in the fridge for up to 4 days. To reheat, I really do prefer the skillet method over the microwave. Just warm it gently over medium-low heat, stirring occasionally. It brings back some of the texture and re-melts the savory glaze. You can also freeze it for up to 2 months in a freezer-safe container. Thaw in the fridge overnight before reheating.
Frequently Asked Questions
Wrapping It Up
When you make this caramelised cabbage, you’re not just making a side dish. You’re learning a technique that applies to so many vegetables. You’re turning something simple into something special with a bit of patience and attention. It’s the kind of dish that reminds me of my grandmother’s kitchen—unfussy, deeply flavorful, and made with care. Grab a head of cabbage on your next Trader Joe’s run and give it a shot. Let me know how it goes in the comments. I hear you if you’re skeptical, but trust me on this one. You’ve got this.
Can caramelised cabbage be made ahead of time?
Absolutely. You can cook the caramelised cabbage completely, let it cool, and store it in the fridge for up to 4 days. Reheat gently in a skillet. The flavors actually deepen overnight, making it a fantastic meal prep option for busy weeks.
Can I use another kind of cabbage?
For sure. Green and Savoy cabbage are my top picks for caramelised cabbage. Red cabbage works too, but it will bleed color and has a slightly earthier flavor. I’d avoid delicate varieties like napa or bok choy for this slow-cooking method.