


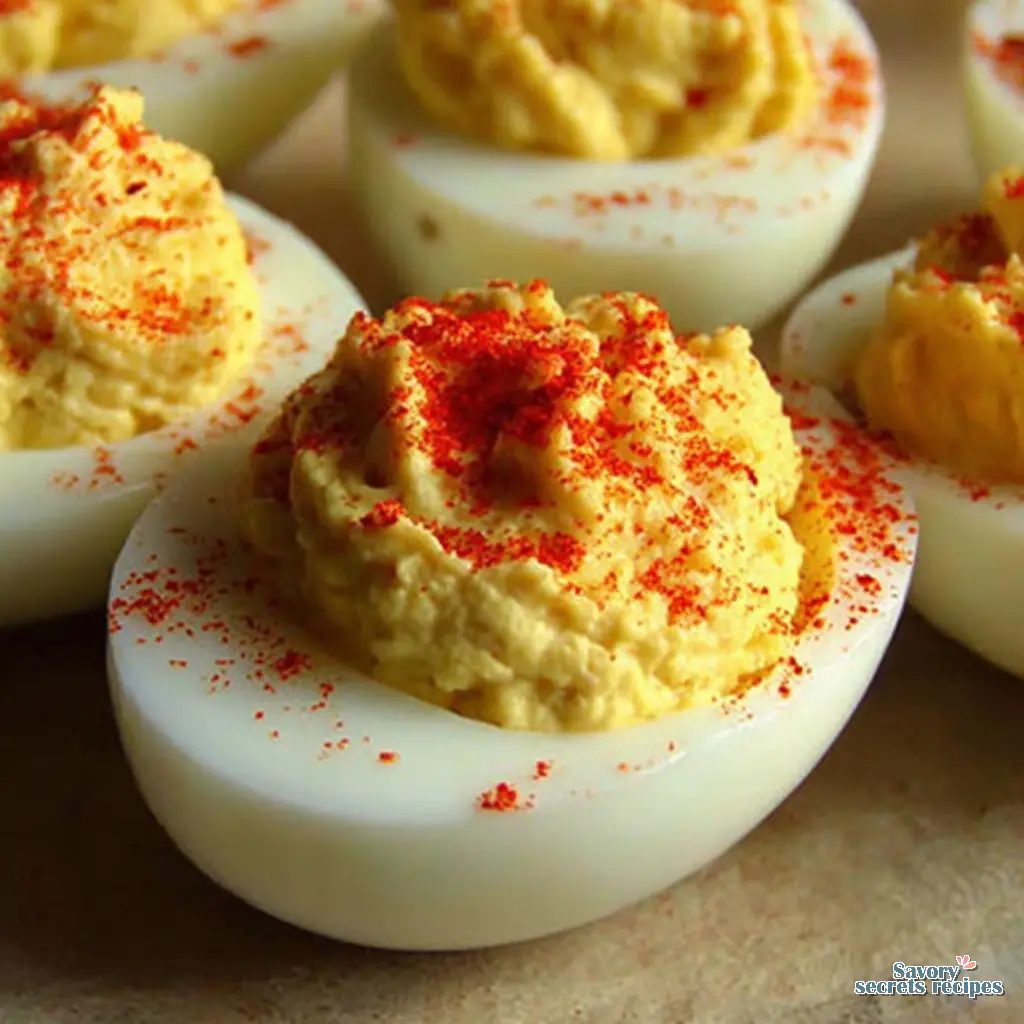
Classic Creamy Deviled Eggs Recipe
Ingredients
Method
- Place the eggs in a single layer in a saucepan. Cover the eggs with cold water by about one inch.
- Bring the water to a rolling boil over high heat. Once boiling, immediately remove the pan from the heat, cover it, and let it stand for exactly 12 minutes. This step helps prevent green rings.
- After 12 minutes, drain the hot water and immediately cover the eggs with ice water. Let them cool completely, about 15 minutes. This rapid cooling helps the shells release easily.
- Peel the cooled eggs. Slice each egg in half lengthwise. Gently scoop the yolks into a medium bowl. Place the empty egg white halves on a serving platter.
- Use a fork to mash the yolks until they are completely smooth and crumbly. This is key for a creamy texture.
- Add the mayonnaise, Dijon mustard, white vinegar, salt, and pepper to the mashed yolks. Mix thoroughly until the filling is completely smooth and creamy. Taste and adjust seasoning if needed.
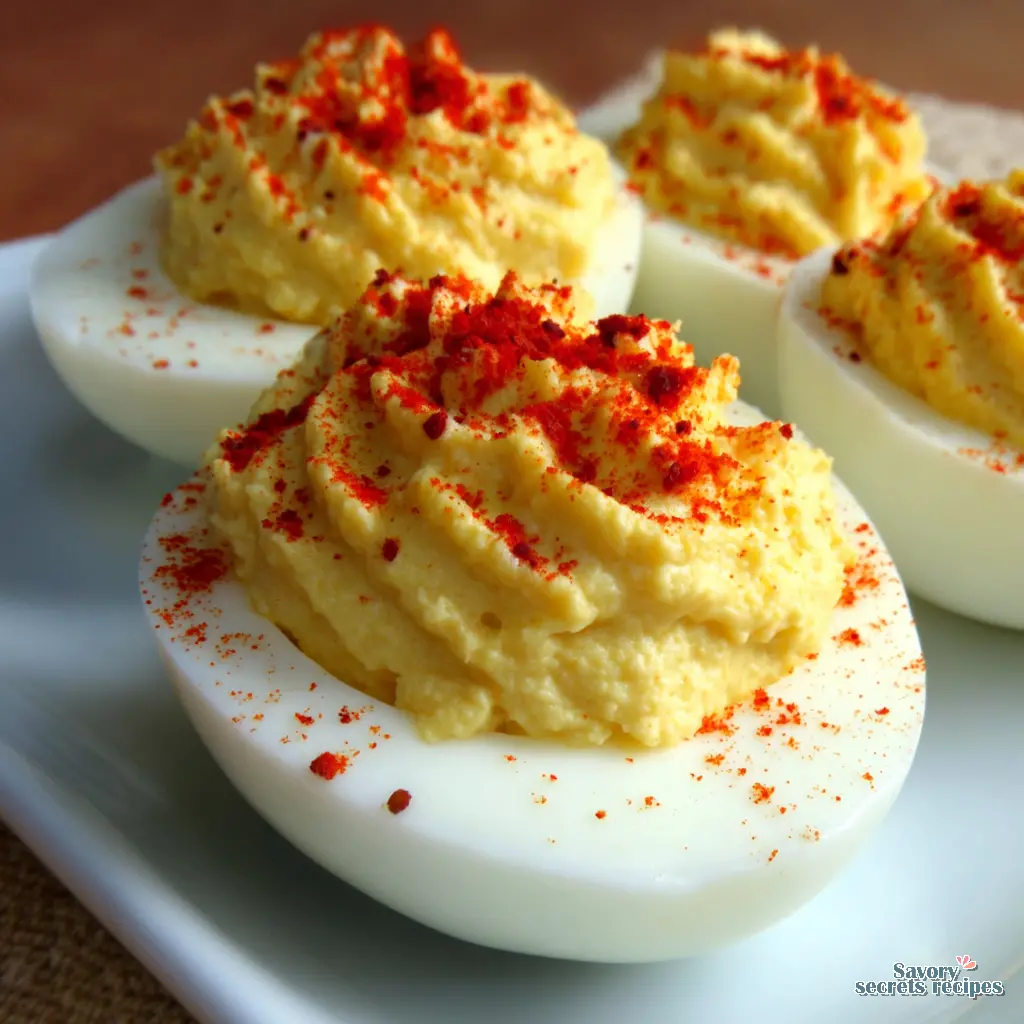
- Spoon or pipe the yolk mixture back into the hollowed-out egg white halves. Piping creates a more attractive presentation.
- Garnish each deviled egg half with a light sprinkle of paprika. Add chives or dill if you are using them.
- Chill the deviled eggs for at least 30 minutes before serving to allow the flavors to set.
Nutrition
Notes
The Only Appetizer You Really Need This Spring
I know the pressure of the Easter Sunday table. You want those stark white, perfectly smooth classic deviled eggs just like your grandmother used to make. Honestly, the peeling process used to give me so much anxiety. I’d end up with mangled whites and a lumpy filling that tasted fine but looked like a disaster. I mean, we’ve all been there. You’re standing in the kitchen, picking tiny shards of shell off a completely destroyed egg white, wondering why you volunteered to bring the hors d’oeuvre.
But I think I finally perfected the method. These classic deviled eggs are everything you remember from childhood potlucks. The filling is perfectly tender and that deep golden brown color, offset by a vibrant dusting of smoked paprika. It’s an American egg appetizer that never goes out of style. Let’s get into the exact technique for the ultimate crowd-pleaser.
Three Quick Wins for Perfect Eggs
Instead of making you wait, here are the immediate things I wish someone had told me years ago. First, use slightly older eggs. Fresh ones from the Santa Monica Farmers Market are amazing for poaching, but they will absolutely fight you during the peeling process. Buy your large eggs from Ralphs or Trader Joe’s about a week before you plan to boil them. If you are in a rush, you might prefer an easy deviled eggs recipe that simplifies the process.
Second, you absolutely need an ice bath immediately after cooking. It stops the cooking process instantly and prevents that awful green sulfur ring around the egg yolk. I probably ruined dozens of eggs before I started taking the ice bath seriously.
Finally, if you are making classic deviled eggs ahead of time, store the egg whites and the filling separately. Trust me on this. It keeps the creamy texture perfectly intact and stops the whites from getting rubbery on your appetizer tray.
The Science of the Perfect Egg (pH and Peeling)
Let’s talk about the perfect peel method. You know, boiling an egg seems simple until half the white sticks to the shell. The secret is actually just basic chemistry. Older eggs have a higher pH level. This higher alkalinity makes the inner membrane detach from the shell much easier. Adding a little baking soda to the boiling water also helps loosen the shell naturally.
My precise boiling time is simple but strict. I drop the eggs into boiling water for exactly one minute. Then, I turn off the heat, cover the pot tightly, and let them sit in the hot water for exactly 12 to 14 minutes. This yields a yolk that is just right. It’s cooked through but still beautifully creamy.
Then comes the most crucial step. Move them straight to an ice water bath. The rapid cooling shrinks the egg slightly inside the shell, creating a tiny pocket of air. Peeling eggs becomes a breeze. I had a peeling disaster years ago where I skipped the ice bath because I was in a rush. I lost half the batch to torn whites. Never again.
Tips for a Velvety, Smooth Filling
Getting the creamiest deviled egg filling is what separates a good appetizer from a truly memorable one. I love this part of the process. If you want a perfectly smooth filling texture, use a food processor. It whips the mayonnaise and yolks into absolute silk. But if you prefer a more rustic, chunky texture, simply mash them with a fork. Both ways are amazing.
The flavor balance is where classic deviled eggs really shine. A traditional American deviled egg recipe with mustard usually calls for yellow mustard. I think Dijon mustard offers a bit more depth of flavor, but yellow mustard gives you that nostalgic tangy bite. You also need a touch of acid. Apple cider vinegar is standard, but you can substitute pickle juice for vinegar for a really cool regional flavor profile.
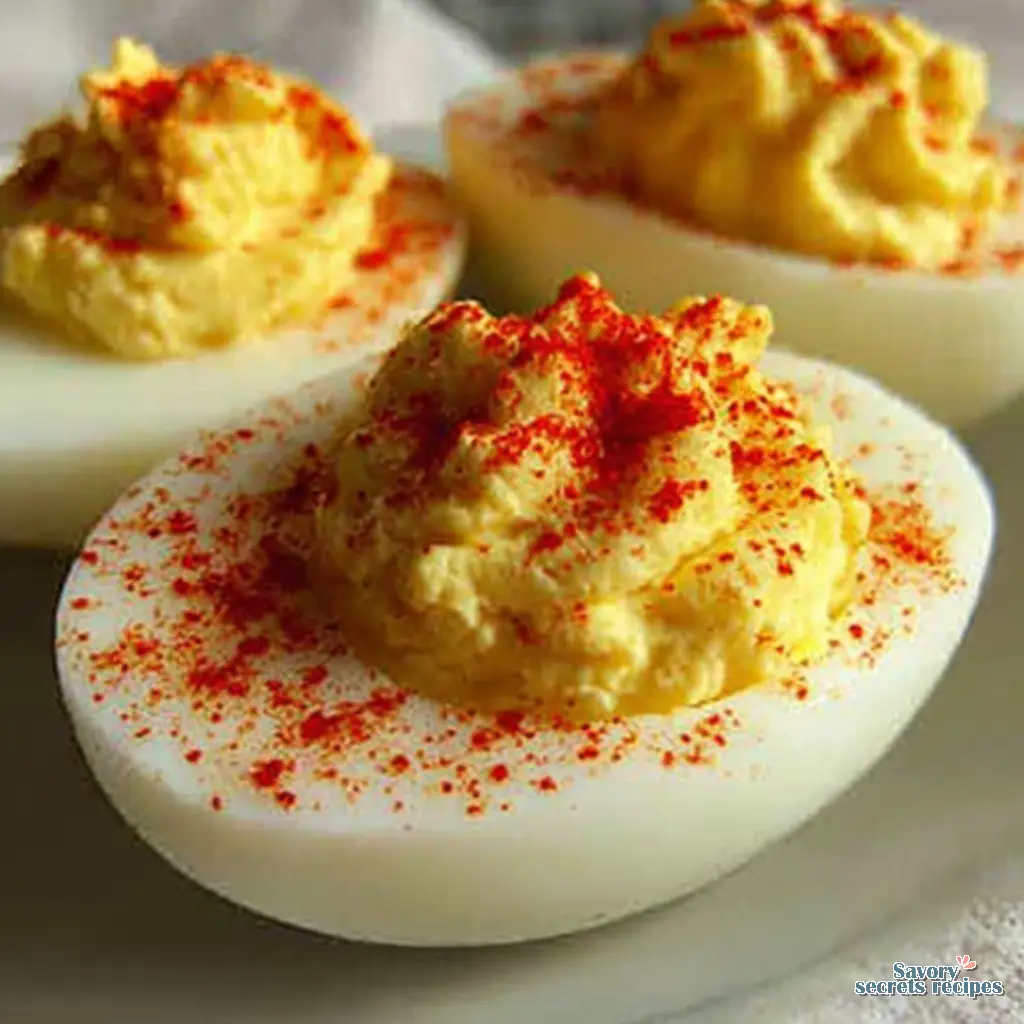
Just watch your vinegar measurements closely. A one teaspoon versus one tablespoon error will completely ruin the consistency. Add a pinch of salt and pepper to taste. You’ll know it’s ready when the color resembles a bright, sunny yellow and the texture holds its shape on a spoon.
Runny Filling Rescue Guide
We’ve all been there. You added a little too much pickle juice or vinegar, and now your filling is basically soup. Don’t panic. If your mixture is too loose, you can actually salvage your classic deviled eggs without tossing the whole bowl.
The easiest fix is to mash in a spare hard-boiled yolk if you happen to have an extra one. If you don’t have extra eggs, try folding in a teaspoon of instant potato flakes. They absorb moisture quickly without altering that classic flavor. I mean, you could also use a tiny bit of plain Greek yogurt instead of some mayonnaise next time to keep the base thicker from the start. It’s all about controlling the moisture.
Classic Flavor Variations
Once you master how to make classic deviled eggs for Easter brunch, you can play around with the flavors. I honestly love keeping it traditional, but sometimes a neighborhood potluck calls for something different.
Avocado deviled eggs are incredible. Just mash a ripe California avocado right into the yolk mixture for a beautiful green hue and extra creaminess. You can also try a spicy version with cayenne pepper, Cajun seasoning, or a drizzle of chili crisp topped with fresh chives. It brings a surprising heat that people really love.
Another amazing twist is the dill pickle variation. Just fold in finely chopped pickle relish and top with fresh dill. Some people even fry the egg whites before stuffing them. It adds a really interesting crispy texture that contrasts the velvety filling perfectly. It’s not traditional, but it is so good. These simple deviled eggs are always a hit when you need reliable party appetizer eggs for a large group.
Food Safety: The ‘2-Hour Rule’ for Buffets
This is something people often forget during holiday hosting. Classic deviled eggs look absolutely beautiful sitting on an appetizer tray, but they cannot sit out at room temperature all day. The golden rule for food safety with mayonnaise and eggs is the two-hour window.
If your dining room is particularly warm, or if you are hosting an outdoor spring gathering here in Los Angeles, you really need to cut that down to one hour. I always keep my platter chilled in the refrigerator until the very last minute before guests arrive. It ensures the filling stays firm and safe to eat.
Make-Ahead & Storage Guide
Preparing for a big holiday meal is stressful. You probably want to knock out some prep work early. You absolutely can make classic deviled eggs ahead of time. The real secret is to store the components separately.
Keep the empty cooked egg whites in an airtight container lined with a damp paper towel to prevent them from drying out. Put your creamy deviled eggs filling in a sealed piping bag or a ziplock bag. They will stay fresh in the refrigerator for up to two days. When you are ready to serve, just pipe the filling into the whites. It looks so professional and takes two minutes.
Also, don’t sprinkle the smoked paprika until immediately before serving. If you do it too early, the moisture in the fridge causes the red color to bleed into the filling, and it just looks messy.
Common Mistakes & Fixes
Mistake: Overcooking the eggs.
Solution: This results in a chalky texture, an unpleasant green ring around the yolk, and a strong sulfur smell. Stick to the 14-minute hot water soak off the heat, and always use an immediate ice bath.
Mistake: Using very fresh eggs.
Solution: Fresh eggs are a nightmare to peel. The shell will cling to the white and tear it. Buy your eggs at least a week in advance so the pH changes and the membrane loosens.
Mistake: Stirring the filling instead of mashing.
Solution: Simply stirring with a spoon leaves a lumpy texture. Use a fork to mash the yolks thoroughly before adding wet ingredients, or use a food processor for that silky, professional finish.
Frequently Asked Questions

Ready for the Party
I hope these classic deviled eggs make your spring table complete. Once you master the boiling and peeling technique, you’ll realize they are actually quite simple to pull off. Serve them chilled, right out of the fridge, and watch them disappear from the appetizer tray in minutes.
If you try this method and get that perfect, clean peel, let me know. I love hearing about your kitchen wins. I share tons of variations on my Pinterest boards if you want more ideas for your next gathering. Have a wonderful celebration, and happy cooking.
Reference: Original Source
Can I make classic deviled eggs ahead of time?
Yes, you definitely can. The trick is storing the boiled egg whites and the yolk filling separately in the fridge for up to two days. Keep the whites in an airtight container with a damp paper towel. Pipe the filling right before serving.
What’s the secret to getting the creamiest deviled egg filling?
For the absolute creamiest classic deviled eggs, use a food processor instead of mashing by hand. It whips the mayonnaise and yolks perfectly. Also, ensure your yolks are fully cooked but not chalky dry from overboiling.
How do I prevent the green ring around the yolk?
That green ring comes from a reaction between sulfur and iron when eggs are overcooked. To prevent it, don’t boil them aggressively. Let them sit in hot water off the heat, then immediately plunge them into an ice bath.
Why are they called ‘deviled’ eggs?
The term ‘deviled’ is an old culinary word from the 18th century. It was used to describe foods that were heavily seasoned, spicy, or zesty, usually prepared with mustard, pepper, or other bold spices used in classic deviled eggs.


