Cooking Grits with Chicken Broth for Savory Flavor
Ingredients
Method
- Bring the stock to a boil in a medium saucepan over medium heat. Stir in the grits and whisk constantly for 2 minutes to prevent clumping.
- Reduce the heat to a low simmer as the grits begin to thicken to prevent splattering, then whisk in the butter, cream, salt, and pepper.
- Continue cooking at a very low simmer until thickened, whisking occasionally for approximately 20 minutes depending on the grind; simmer longer if a thicker consistency is desired.
Nutrition
Notes
Why Your Morning Routine Needs an Upgrade
I still remember the first time I tried grits at a roadside diner just outside of Philadelphia. I was expecting something comforting, warm, maybe a little rich. What I got was a bowl of wet, flavorless sand that seemed to exist solely to hold up the eggs. It was disappointing, to say the least. For a long time, I just assumed I wasn’t a “grits person.” Learning more about what is grits and how they are processed helped me realize I just hadn’t found the right preparation method yet.
Then I started applying the same logic to grits that I use for my risottos and stocks. Why would we cook a grain in plain water and expect it to taste like anything other than… well, water? That tracks, right? The moment I switched to cooking grits with chicken broth, everything changed. It wasn’t just a texture thing anymore; it became about depth. It became about that savory, umami flavor that makes you want to go back for a second bowl before you’ve even finished the first.
In my experience, most home cooks are intimidated by grits because they fear the lumps or the time commitment. But honestly? It’s easier than you think. If you can stir a pot, you can make restaurant-quality grits. It just takes a little patience, the right liquid, and a willingness to ignore the “quick” instructions on the back of the box.
The Flavor Foundation: Broth vs. Water
Let’s get into the chemistry for a second. Grits are dried corn. Like pasta or rice, they are thirsty. They absorb whatever liquid they are cooked in. If you use water, you are diluting the natural corn flavor. It’s a wasted opportunity. When you are cooking grits with chicken broth, you are infusing every single grain with savory notes of roasted chicken, vegetables, and herbs from the inside out.
This is where it gets interesting. The collagen and gelatin in a good chicken stock (especially if you make your own or buy a high-quality bone broth) add a velvety mouthfeel that water just can’t replicate. It transforms the dish from a simple porridge into a complex side that can stand up to braised short ribs or blackened fish.
I tend to think of the broth as the primary seasoning. You aren’t just hydrating the corn; you’re seasoning it. However, a word of caution: store-bought broths vary wildly in sodium content. I always and I mean always recommend using low-sodium chicken stock. You can always add more salt later, but you can’t take it out once the grains have absorbed it. Trust the process on this one.
Choosing Your Grain: Stone-Ground is Non-Negotiable
If you take nothing else away from this, please hear me on this: put down the instant grits. Just leave them on the shelf. Instant grits have been processed, precooked, and dehydrated to the point where they have very little corn flavor left. They are convenient, sure, but convenience isn’t always the point when we’re talking about flavor.
You want stone-ground grits. These are whole kernels of dried corn that have been ground between stones (traditionally), leaving the germ and hull intact. This gives you that speckled texture and a robust, corn-forward flavor. They take longer to cook usually 45 to 60 minutes but the payoff is massive. Old fashioned grits are a decent middle ground if you can’t find stone-ground, but they still lack that specific textural bite that makes this dish special.
I usually pick mine up at Whole Foods or check the bulk bins at Sprouts if I’m doing a big shop. Bob’s Red Mill is a reliable brand you can find almost anywhere now.
The Science of Starch: Why Low and Slow Matters
My grandmother Thérèse used to say that a sauce is done when it’s done, not when the timer goes off. The same applies here. We are dealing with starch gelatinization. You want the corn granules to swell slowly and release their starches into the liquid to create that creamy suspension.
If you boil them aggressively on high heat, the outside of the grain cooks too fast, sealing off the center. You end up with a gritty, crunchy interior and a slimy exterior. Not appetizing. By keeping the heat low and maintaining a gentle simmer, you allow the liquid to penetrate all the way to the center of the grit. This releases the starch gradually, which thickens the chicken broth naturally without needing a ton of flour or cornstarch.
The Essential Ratio and Technique
Generally speaking, the golden ratio for stone-ground grits is 4:1. That is four parts liquid to one part grits. So, for every cup of grits, you need four cups of liquid. When cooking grits with chicken broth, I like to use 3 cups of broth and 1 cup of heavy cream or milk for the final cup, but we’ll get to the dairy later.
The Whisking Ritual
Here is where most people rush it and end up with lumps. You need to bring your chicken broth to a boil first. Once it’s boiling, slowly stream the grits into the pot while whisking constantly. Do not dump them in all at once. That is a recipe for disaster.
Whisk vigorously for the first 2 minutes. This keeps the grains separated while the initial swelling happens. After that, you can switch to a wooden spoon (I have a specific one I use just for this, similar to my deglazing spoon) and turn the heat down to low. Cover the pot. This traps the steam and helps the grits cook evenly.
Troubleshooting: The “Salt Alert” and Consistency
As I mentioned, chicken broth brings sodium to the party. Before you add a single grain of salt, taste your broth. If it tastes salty like a soup, you probably don’t need to add much more salt until the very end. If you are using unsalted stock (which gives you more control), you’ll need to season liberally. Grits are bland by nature; they need salt to wake up.
You’ll know it’s ready when the grains are tender with no crunch. If the liquid is absorbed but the grains are still crunchy, don’t panic. Just warm up a little extra broth or water and stir it in, letting it cook for another 10 minutes. It’s a forgiving dish if you just give it time.
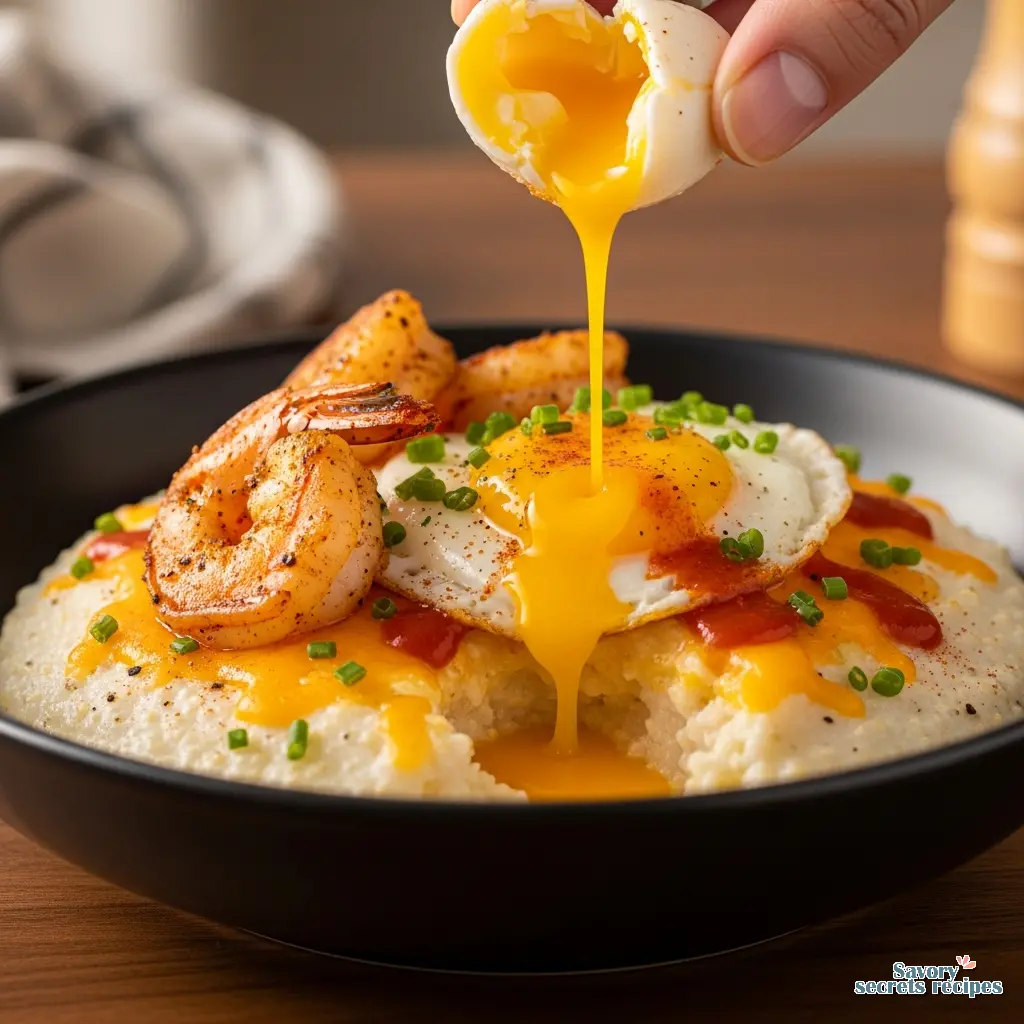
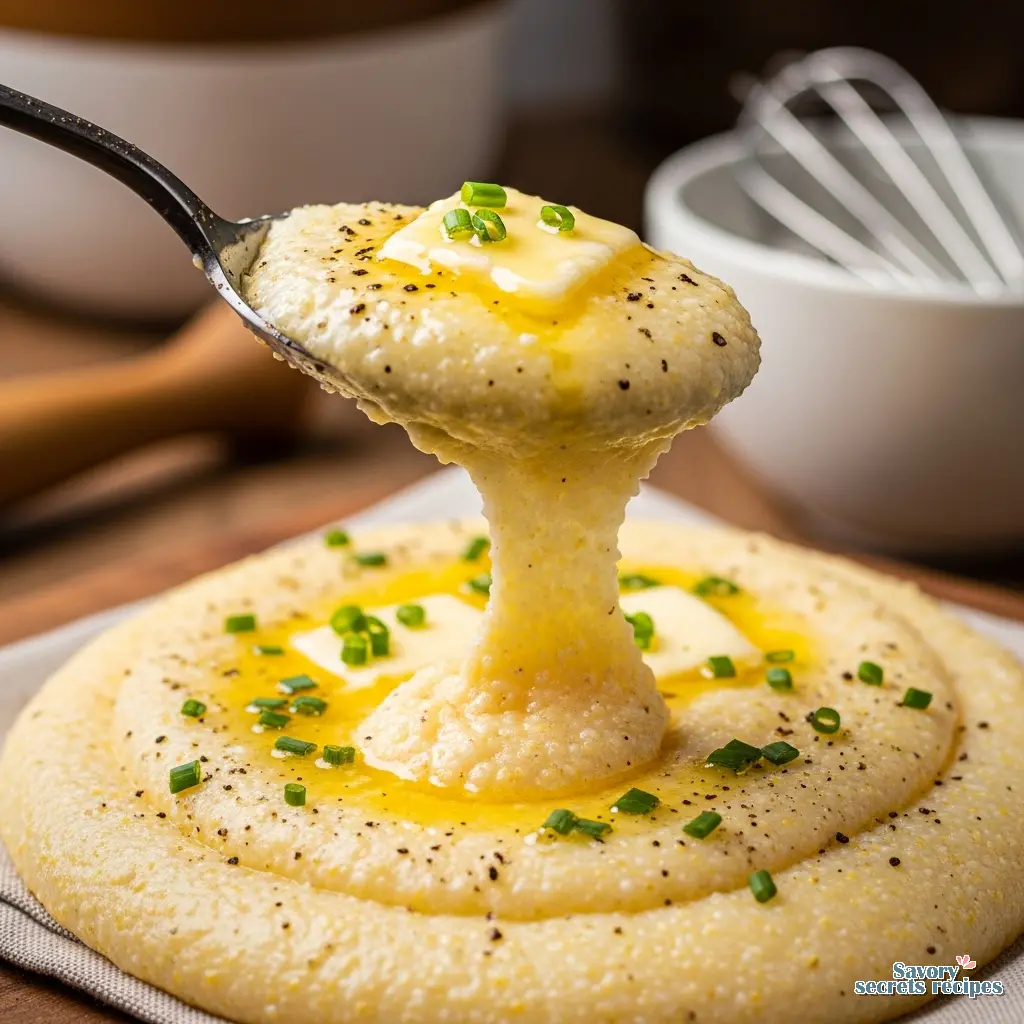
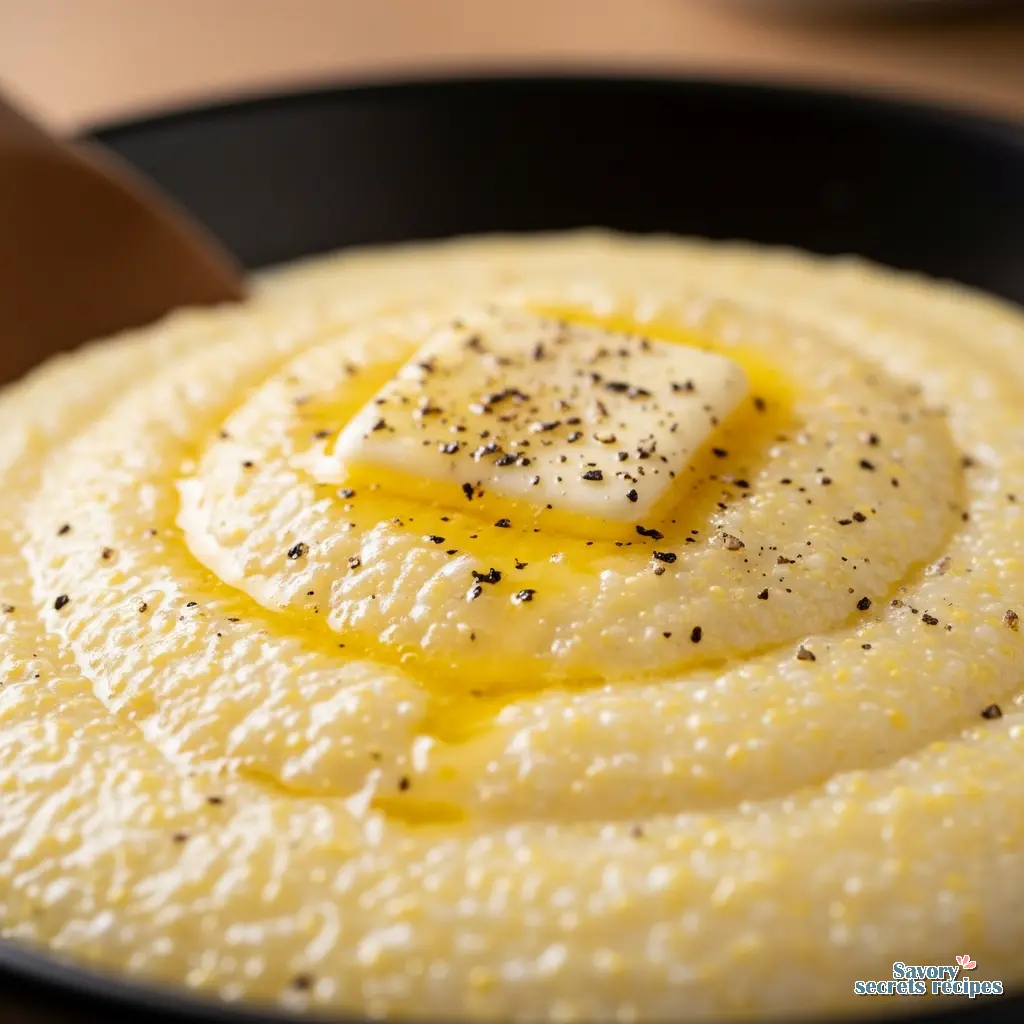
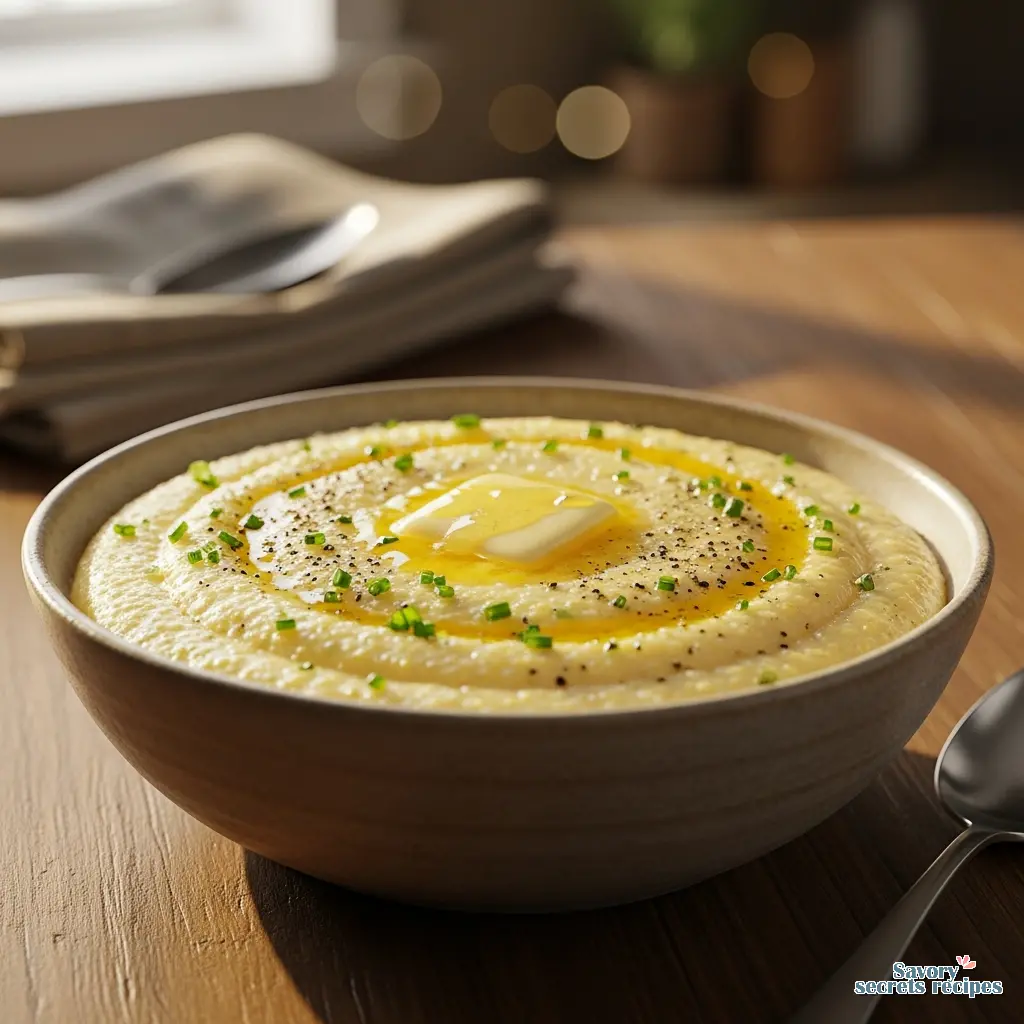
The Finish: Butter, Cream, and Cheese
This is the good part. Once the grits are tender and have absorbed that savory chicken broth, we finish them. In French cooking, we call this monter au beurre mounting with butter. We stir in cold unsalted butter right at the end. As it melts, it emulsifies into the hot liquid, giving the grits a glossy sheen and a rich mouthfeel.
I also like to add a splash of heavy cream here. It rounds out the sharp savory notes of the broth. If you are making cheese grits, this is the moment to fold in your sharp cheddar or smoked Gouda. Please, grate your cheese from a block. Pre-shredded cheese is coated in cellulose to prevent clumping, and it never melts quite right. You want smooth, not stringy.
Common Mistakes & Fixes
Troubleshooting Guide
Mistake: The grits are lumpy.
Solution: You likely poured them too fast or didn’t whisk enough at the start. You can try to whisk vigorously to break them up, or in an emergency, pass them through a coarse sieve (though that’s a pain to clean).
Mistake: The bottom of the pot is scorched.
Solution: The heat was too high or you didn’t stir often enough. Don’t scrape the bottom! Transfer the good grits to a clean pot and leave the burnt layer behind. The smoky taste might ruin the batch, but sometimes you get lucky.
Mistake: They turned out too thin/soup-like.
Solution: Just keep cooking them uncovered on low. The moisture will evaporate. Grits also thicken significantly as they cool.
Storage and Reheating
Leftover grits will solidify into a brick. That is just the nature of cornstarch. To store them, place them in an airtight container in the fridge for up to 5 days. I’ve heard some people freeze them, but I tend to think the texture gets a little grainy upon thawing. I’d avoid freezing if possible.
To reheat, do not just microwave the block. Place the grits in a saucepan with a splash of broth or milk. Break them up with a spoon and heat gently, whisking as they warm up to bring back that creamy texture. They will be almost as good as new.
Frequently Asked Questions
Final Thoughts
There is something deeply satisfying about taking a humble ingredient like corn and turning it into something luxurious just by changing the liquid you use. Once you try cooking grits with chicken broth, your water-only days are officially over. It’s a small change that yields massive results, and honestly, those are the best kind of cooking secrets.
Give this a try for your next Sunday brunch or even a cozy weeknight dinner side. I’d love to see how yours turn out. For more inspiration on how to elevate simple grains, check out my Pinterest boards where I collect all my favorite comfort food hacks.
Reference: Original Source