


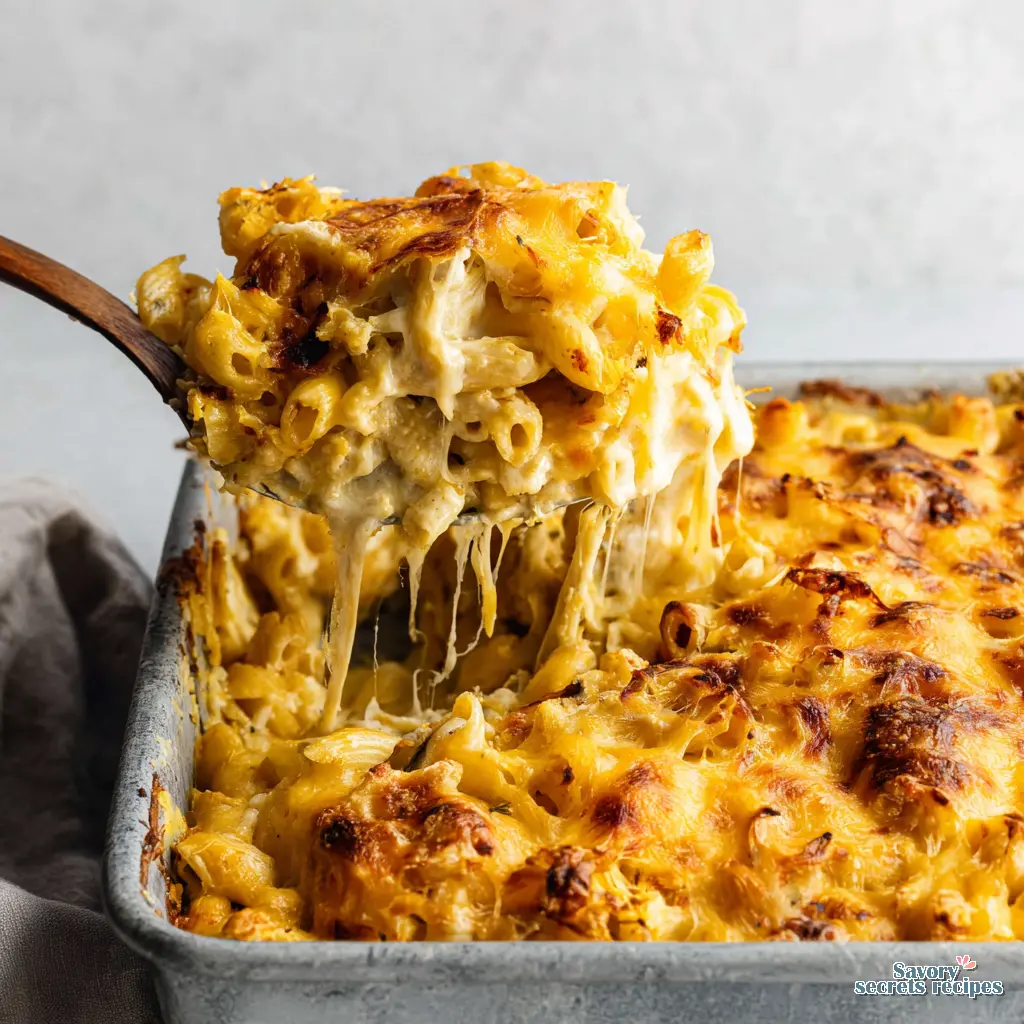
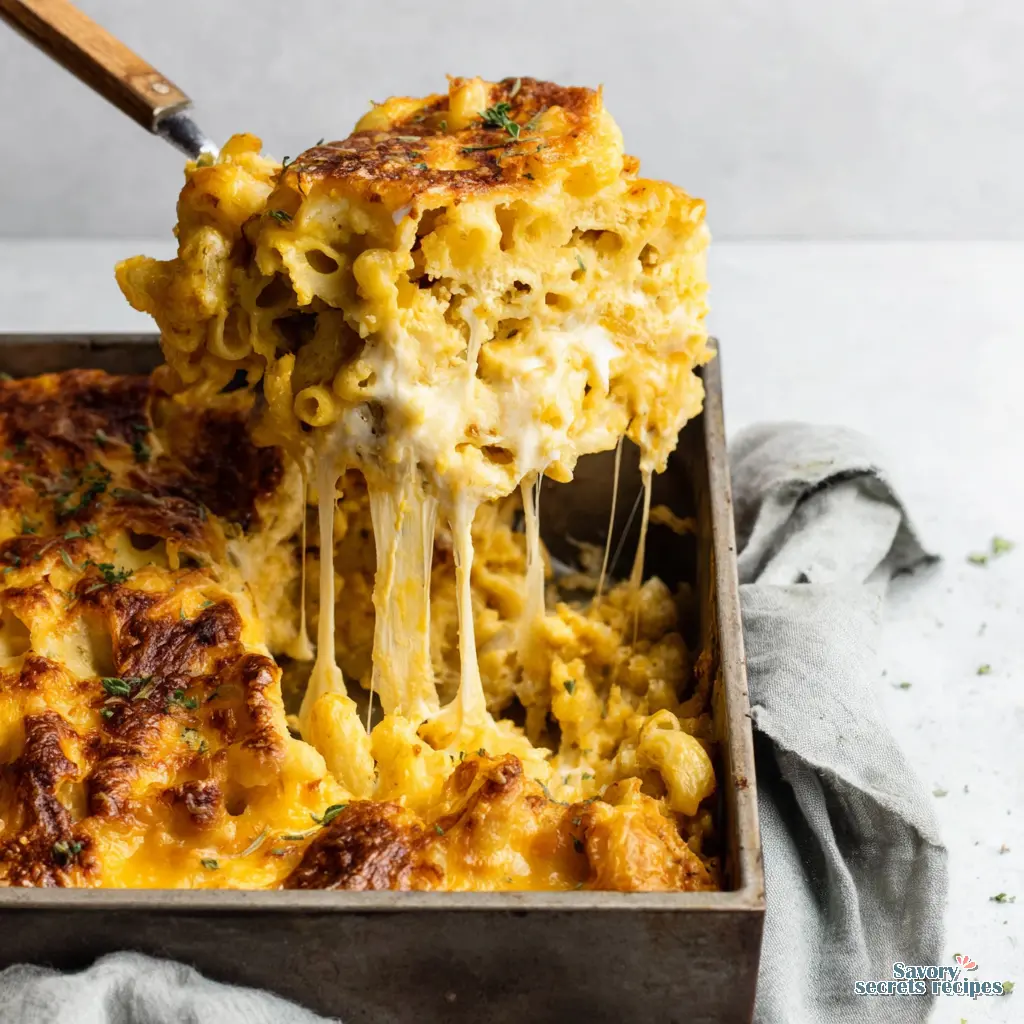
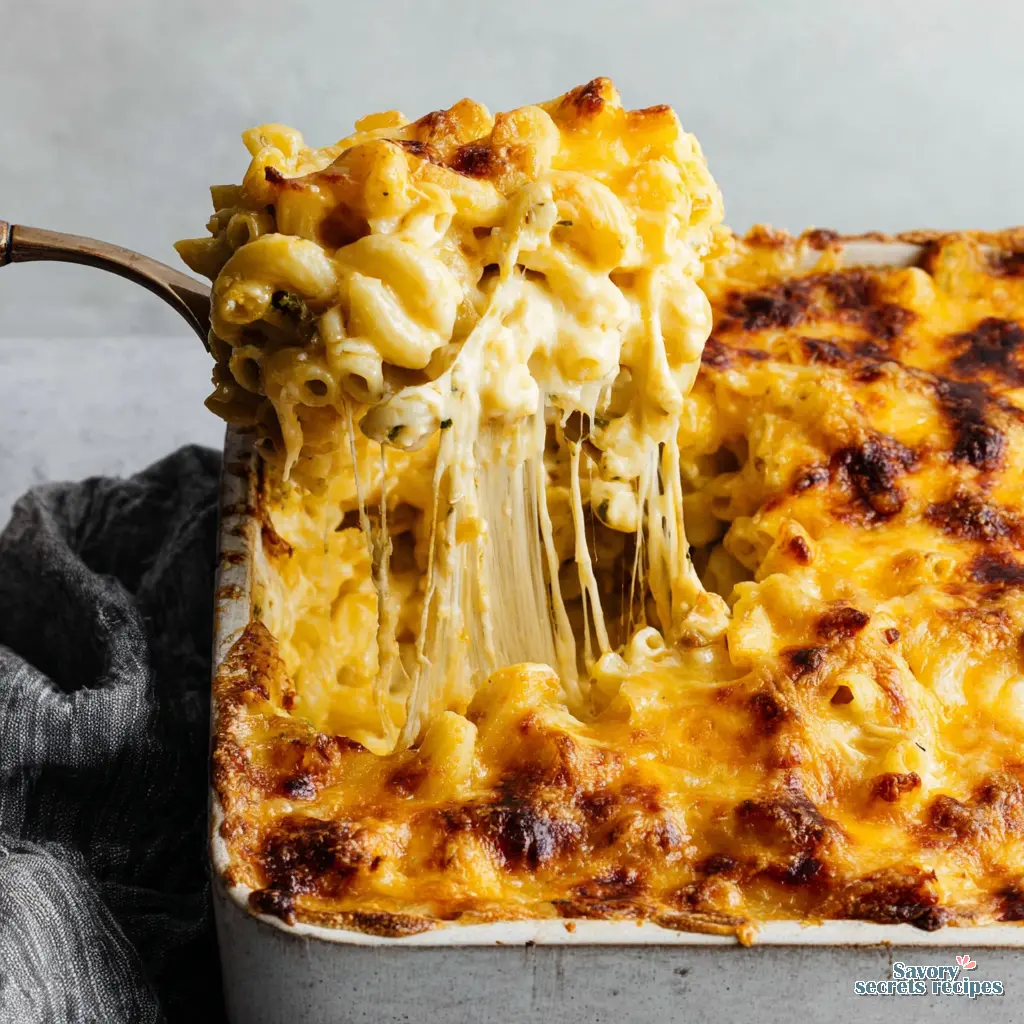
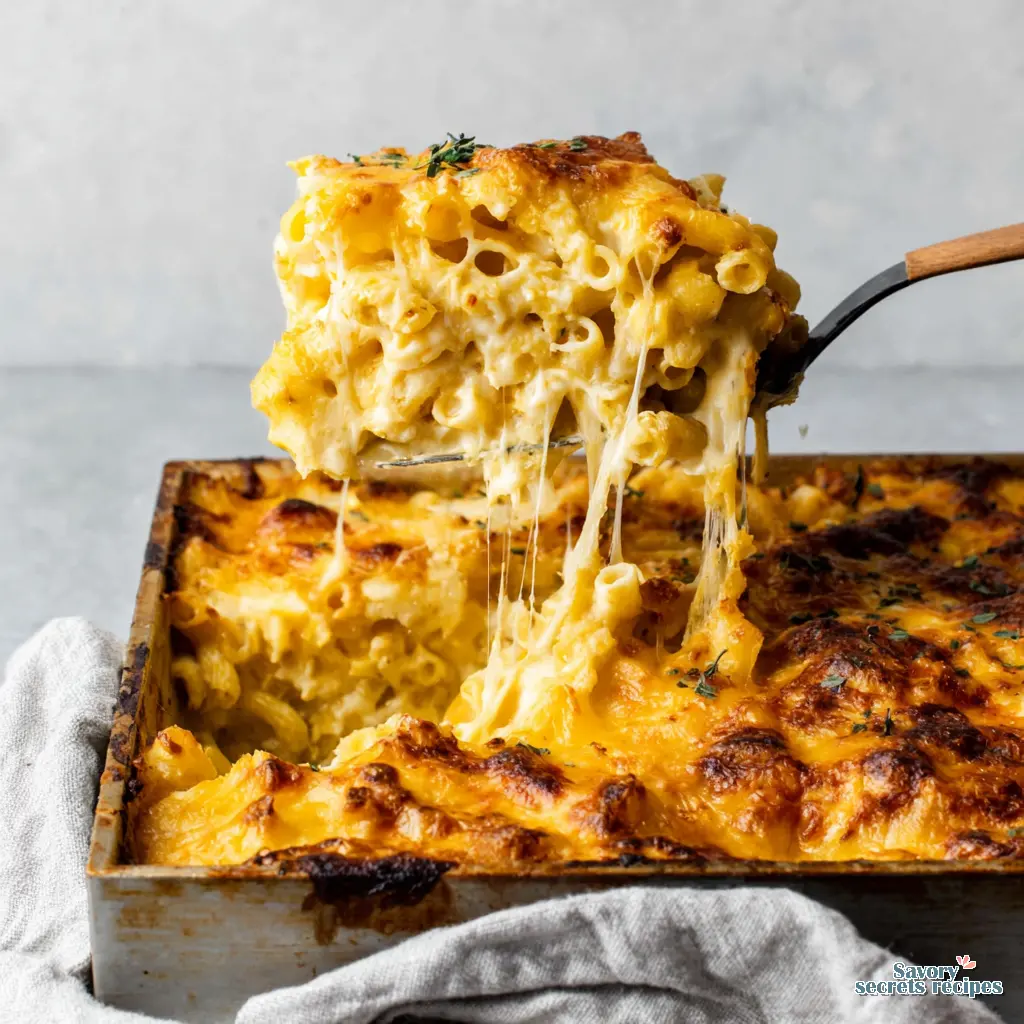
Creamy Gluten Free Baked Mac and Cheese
Ingredients
Method
- Preheat the oven to 400°F (204°C).
- Combine the whisked eggs, evaporated milk, mustard powder, salt, pepper, and Tabasco in a large bowl and mix until fully combined.
- Boil the pasta in a large pot of salted water according to package directions until al dente.
- Drain the cooked pasta and return it to the pot, then stir in the melted butter until evenly coated.
- Stir the milk and egg mixture briefly, then add it to the pasta.
- Stir half of the cheese mixture into the pot over medium heat until melted, then add the remaining cheese and continue stirring until fully incorporated.
- Grease a 9x13-inch baking dish with cooking spray.
- Transfer the macaroni and cheese to the baking dish, top with additional cheddar cheese if desired, and bake for 20 to 25 minutes.
- Cover the dish with aluminum foil if the top browns too quickly and continue baking.
- Serve and enjoy.
Nutrition
Notes
- My top tip for the best homemade mac and cheese is to shred your own cheese. Pre-shredded cheese contains anti-clumping preservatives that prevent the cheese from melting smoothly.
- I also always rinse my pasta with cold water after draining it to keep it from cooking longer and getting mushy.
- Add a layer of gluten-free breadcrumbs to the top if you like. Sometimes I do half and half, and I always use my favorite crusty gluten-free load from the store or my gluten-free breadcrumbs recipe.
The Secret to Perfect Gluten Free Baked Mac and Cheese
My teta Samira taught me to bake in her Cairo kitchen every summer until I was sixteen. She would wake me at dawn to start the dough for feteer, insisting the cool morning air made better layers. I learned patience from those early mornings. I learned that ratios matter. And honestly, that same patience is exactly what you need for a perfect gluten free baked mac and cheese.
I remember my very first attempt at making a gluten free mac and cheese recipe. It was a gritty, mushy disaster. I wanted to cry. Managing a household with dietary restrictions is already exhausting enough without feeling like your special meals take twice as much effort and fail half the time. We just want a normal, comforting dinner that everyone can eat together.
Let me think through this. The problem with most store-bought versions is that they either cost a small fortune or taste like cardboard. I swore I would figure out how to make that exact texture of a classic, Southern-style baked pasta dish without the wheat. It took me a ridiculous number of test batches. I logged every single failure in my notebook. But once you understand how gluten-free starches behave in the oven, everything changes. This gluten free baked mac and cheese is so creamy, so structurally sound, and so deeply comforting that your family will not even realize it is gluten-free. Perfect. Worth it. Trust me.
Why This Gluten Free Mac and Cheese Recipe Actually Works
I’ve been there. You boil the noodles, they look completely fine in the pot, and then they turn to absolute mush in the casserole dish. It is beyond frustrating. The emotional toll of seeing your kids excited for a comfort food meal, only to push mushy pasta around their plates, is real.
Here is what I am noticing about gluten-free pasta. It lacks the structural protein that wheat has. When it sits in a hot cheese sauce in the oven, it acts like a sponge. It absorbs all the liquid and completely loses its bite. The secret weapon here is the Al Dente rule. You absolutely must undercook your pasta by at least two to three minutes. It will feel too firm when you drain it. That is exactly what you want.
We are also going to use a cold water rinse right after draining. I know traditional Italian grandmothers would gasp at rinsing pasta, but this is different. Rinsing stops the cooking process immediately and washes away the excess surface starch that makes gluten-free noodles gummy. It is a mandatory step for any baked mac and cheese gf version.
The Science of GF Pasta: Preventing the Mush
This is where most recipes skip the detail. You cannot just grab any random box from the store and expect it to hold up to a 30-minute baking time. I am working through the variables here, and I have found that the base ingredient of your pasta dictates your success.
Let us compare the options. Corn-based pastas tend to hold their shape the best in the oven, but they can sometimes have a slightly grainy texture. Brown rice noodles, like Jovial, offer the closest texture to traditional wheat pasta. They have a pleasant chew and do not disintegrate easily. Chickpea pastas are packed with protein, but they foam heavily in boiling water salt and can overpower the delicate cheese flavors.
For the absolute best gluten free pasta for baked mac and cheese, I strongly prefer a high-quality brown rice pasta or a dedicated corn and rice blend like Barilla GF. The dough will tell you when it is ready. Watch the pot closely. Gluten-free pasta goes from perfect to destroyed in about sixty seconds. Give it your full attention.
How to Make a Gluten Free Roux for Mac and Cheese
The roux is the foundation. It is the heartbeat of your cheese sauce. If you mess this up, the whole dish feels heavy and broken. I know making a roux without wheat flour sounds intimidating, but I promise it is easier than you think. You just need to know what to look for.
Melt your unsalted butter over medium heat. Watch for the shimmer in the butter. Once it is bubbling, whisk in your gluten-free flour. You can use a high-quality 1:1 baking blend or make a cassava flour roux. Cassava is actually brilliant here because its starchy nature creates an incredibly silky texture. The trick is to let the flour mixture cook for a full minute. I learned this the hard way. Gluten-free flours often have a raw, slightly beany taste. Cooking the roux until it smells nutty and looks like wet sand eliminates that completely.
Now, we start the cheese sauce whisking. Pour your whole milk in slowly. (I prefer my milk slightly warmed, it prevents the roux from seizing up). Whisk constantly. You will feel the rhythm in your wrist. Then add the evaporated milk. This is my favorite trick for a richer, creamier base that resists breaking in the high heat of the oven. Add your dry mustard powder, a pinch of smoked paprika, and a tiny dash of cayenne pepper. The smell shifts right before it is done. It goes from smelling like warm milk to smelling rich and complex. That is when you know the sauce is ready for the cheese.
Visual Troubleshooting: Fixing a Broken Sauce
Mistake: The sauce gets too thick, too fast.
Solution: Gluten-free starches absorb liquid aggressively. If your whisk is leaving deep trails that do not close immediately, lower the heat and whisk in a splash of warm milk until it smooths out.
Mistake: The cheese clumps into a greasy ball.
Solution: Your heat was too high when you added the cheese. Always turn the burner completely off before folding in your shredded cheese. The residual heat of the milk mixture is plenty to melt it.
Mistake: The sauce looks grainy.
Solution: This usually happens if you used pre-shredded cheese. The anti-caking starches ruin the melt. Keep whisking vigorously off the heat, and add a tiny splash of evaporated milk to help emulsify it.
The Cheese Selection Guide
Look, I will be honest. I am all for shortcuts on a busy weeknight. If you are rushing back from a Trader Joe’s run and just need to get dinner on the table, I will not judge you for using bagged cheese. But if you want that truly spectacular, restaurant-quality gluten free baked mac and cheese, you have to shred it yourself.
Pre-shredded cheese is coated in cellulose to stop it from clumping in the bag. That same powder stops it from melting smoothly into your sauce. Your hands know before your eyes do. Grating a block of sharp cheddar cheese takes exactly three minutes, and it fundamentally changes the texture of the dish.
For the ultimate flavor profile, I use a specific blend. Sharp cheddar provides the classic tangy backbone. Monterey jack brings the incredible melting quality and the perfect cheese pull. A little shredded Velveeta acts as an emulsifier, keeping everything silky smooth. And a dusting of parmesan crust on top gives you that irresistible savory bite.
Cracker vs Breadcrumb Toppings
Texture contrast is non-negotiable for me. A creamy casserole needs a crunchy lid. I have seen this go both ways, and people have strong opinions on the best topping. Many traditionalists swear by a classic baked mac and cheese with breadcrumbs to achieve that perfect golden crust.
Panko gluten free crumbs are fantastic. They are light, airy, and when tossed with a little melted butter, they toast up into beautiful golden, craggy peaks. They give you a very traditional, uniform crunch.
On the other hand, crushed gluten-free sea salt crackers offer a buttery, slightly denser crunch that feels very nostalgic and Southern. I actually prefer the crackers. They absorb just a tiny bit of the cheese oils from the surface, creating this incredible hybrid texture right at the boundary of the pasta and the topping. Whichever you choose, do not skip it. That textural disruption is what makes the dish.
Storage, Freezing, and Reheating Baked Mac and Cheese GF
Leftovers are tricky. Gluten-free pasta is notorious for turning hard and dry in the fridge. The starch retrogrades, which is just a fancy way of saying it locks up and loses its moisture. But do not panic. You can totally save a cooked batch properly.
Store your leftovers in an airtight glass container for up to four days. When it is time to reheat, you have to add moisture back in. The microwave is fine for a quick lunch. Just splash a tablespoon of whole milk over the pasta, cover it loosely with a damp paper towel, and heat in short 30-second bursts. Stir gently so you do not break the delicate noodles.
For the best results, use your oven or air fryer. I am still working out the absolute best approach for every single air fryer model, but generally, 300°F for about eight minutes works wonders. Add a splash of milk, wrap the portion in foil so it steams slightly, and then open the foil for the last two minutes to recrisp that beautiful topping. It brings the gluten free baked mac and cheese right back to life.
Frequently Asked Questions
Bringing It All Together
There is nothing quite like pulling a heavy, bubbling casserole dish out of the oven, especially during these mild spring evenings when we can leave the kitchen windows open. The smell of the toasted butter and sharp cheddar fills the house. It is pure comfort.
even gluten-free. It has that same nostalgic, gooey pull that we all remember from childhood. It is a dish that does not ask you to compromise, and in my house, that is the greatest gift a meal can give.Mix-Ins and Flavor Swaps
I am a purist most days, but sometimes you want to shake things up. If you want to sneak some greens in for the kids, steamed broccoli florets are a classic choice. They catch the cheese sauce in all those little trees. For a grown-up version, I love swapping half the cheddar for a smoky Gouda or a sharp Gruyere. It adds a sophisticated depth that makes this feel like a fancy bistro side dish. Since we are keeping things pork-free, try adding some shredded rotisserie chicken or even seasoned ground turkey to turn this into a one-pan dinner. It is hearty, filling, and saves you from doing extra dishes. If you are looking for another way to save time on cleanup, you might also enjoy a convenient crockpot baked mac and cheese.
If you like a little heat, whisking in some chopped canned green chiles or a teaspoon of red pepper flakes into the sauce adds a nice kick. It cuts through the richness of the Monterey Jack beautifully. You could even use Pepper Jack cheese for a built-in spice level that isn’t too overwhelming for the little ones.
What to Serve with Your Mac
This is a heavy, rich dish, so I usually balance it out with something bright and crisp. A simple garden salad with a sharp lemon vinaigrette works wonders. I also love serving this alongside garlic-roasted green beans or charred brussels sprouts. The bitterness of the greens cuts through the fat of the cheese perfectly. If you are doing a full Sunday spread, it pairs beautifully with a roasted chicken or even a simple pan-seared steak. The golden crust of the mac and cheese looks stunning next to a bright pile of steamed asparagus or a zesty slaw.
The Make-Ahead Schedule
I’ve had many people ask if they can prep this the night before. Here is my honest take. You can, but you have to be careful. If you want to prep 24 hours in advance, make the sauce and boil the pasta, but store them separately in the fridge. Mix them and add your topping right before you slide the dish into the oven. This prevents the noodles from drinking up all that liquid gold while they sit overnight. While this recipe is designed for a family-sized dish, the techniques also apply if you are making a smaller baked mac and cheese for two.
If you only need a two-hour head start, you can fully assemble the dish, but do not bake it. Keep it covered on the counter if your kitchen is cool, or in the fridge if it’s a warm day. Just remember that a cold ceramic dish needs an extra five to ten minutes in the oven to get those bubbles moving. Watch for the edges. When they start to sizzle and turn dark gold, you’re in business.
Expert Notes & Data Insights
After testing dozens of variations and looking at how different starches react under heat, the data is clear: moisture management is the single most important factor in gluten-free baking. Traditional wheat pasta releases starch that helps thicken a sauce, but gluten-free pasta tends to shed starch that can make a sauce feel heavy or slimy if not rinsed properly. This is why the cold water rinse is a non-negotiable step for a clean mouthfeel.
Our use of evaporated milk provides a concentrated protein and fat structure that mimics the “cling” of a traditional roux without the graininess often found in GF flour blends. Most successful home cooks find that a 1.5 to 1 sauce-to-pasta ratio is the sweet spot for a bake that stays creamy after thirty minutes in the oven. If you use a glass baking dish, it will hold heat longer than metal, so you might want to pull it out two minutes early to prevent the bottom from overcooking. Trust your nose and your eyes more than the timer. When it smells like toasted cheese and the center is wobbling just slightly, it is perfect.
Can this gluten free mac and cheese recipe be prepared ahead of time and baked later?
You can assemble it a few hours ahead and keep it in the fridge. However, gluten-free pasta absorbs liquid quickly. For the absolute best texture, I highly recommend boiling the pasta and making the sauce right before baking. It keeps the dish from drying out.
What is the best way to reheat leftovers of baked mac and cheese gf without losing the texture?
The secret is adding moisture back. Splash a tablespoon or two of whole milk over the cold pasta. Cover the dish tightly with foil and bake at 350°F until bubbling. The foil traps the steam, softening the noodles and bringing the creamy sauce back to life.
How do you make a gluten free roux for mac and cheese that stays smooth and creamy?
Temperature matters more than time here. Cook your 1:1 gluten-free flour in butter for a full minute to remove the raw taste. Then, slowly whisk in warm milk. Using warm milk instead of cold prevents the starches from seizing up and clumping into a paste.
What is the best gluten free pasta for baked mac and cheese that won’t get mushy?
I strongly prefer brown rice pasta or a high-quality corn and rice blend. Brands like Jovial or Barilla GF hold their shape beautifully in the oven. The trick is to undercook the pasta by three minutes and rinse it with cold water immediately after draining.
Is regular Kraft mac and cheese gluten-free?
No, the standard blue box Kraft mac and cheese uses wheat pasta. However, Kraft does make a specific gluten-free version using brown rice and corn pasta. Always check the label carefully, but making this homemade gluten free baked mac and cheese is so much better anyway.
Can celiacs eat macaroni?
People with celiac disease can absolutely eat macaroni, as long as it is certified gluten-free. Traditional macaroni is made from durum wheat, which is unsafe. You must use pasta made from rice, corn, quinoa, or chickpeas. Always verify the packaging for cross-contamination warnings.


