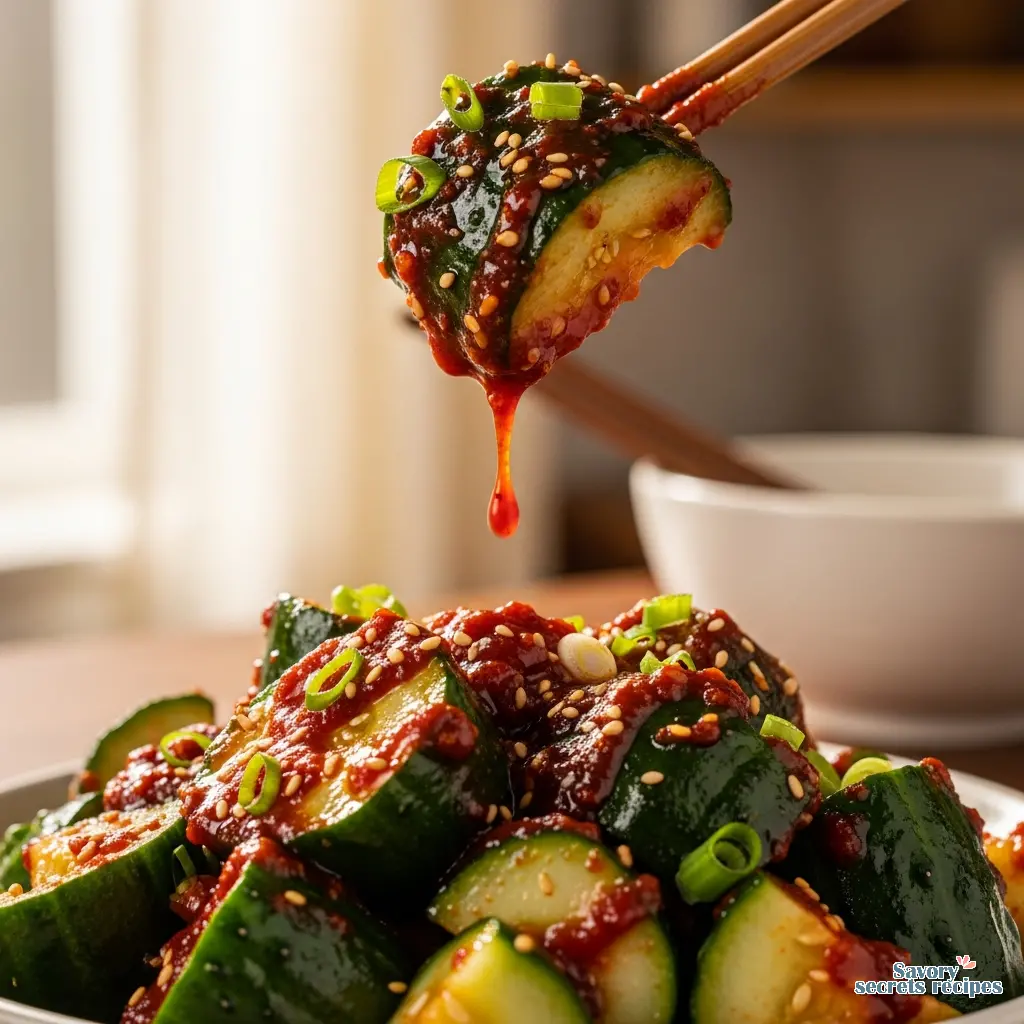
Simple Sugar Free Kimchi Recipe
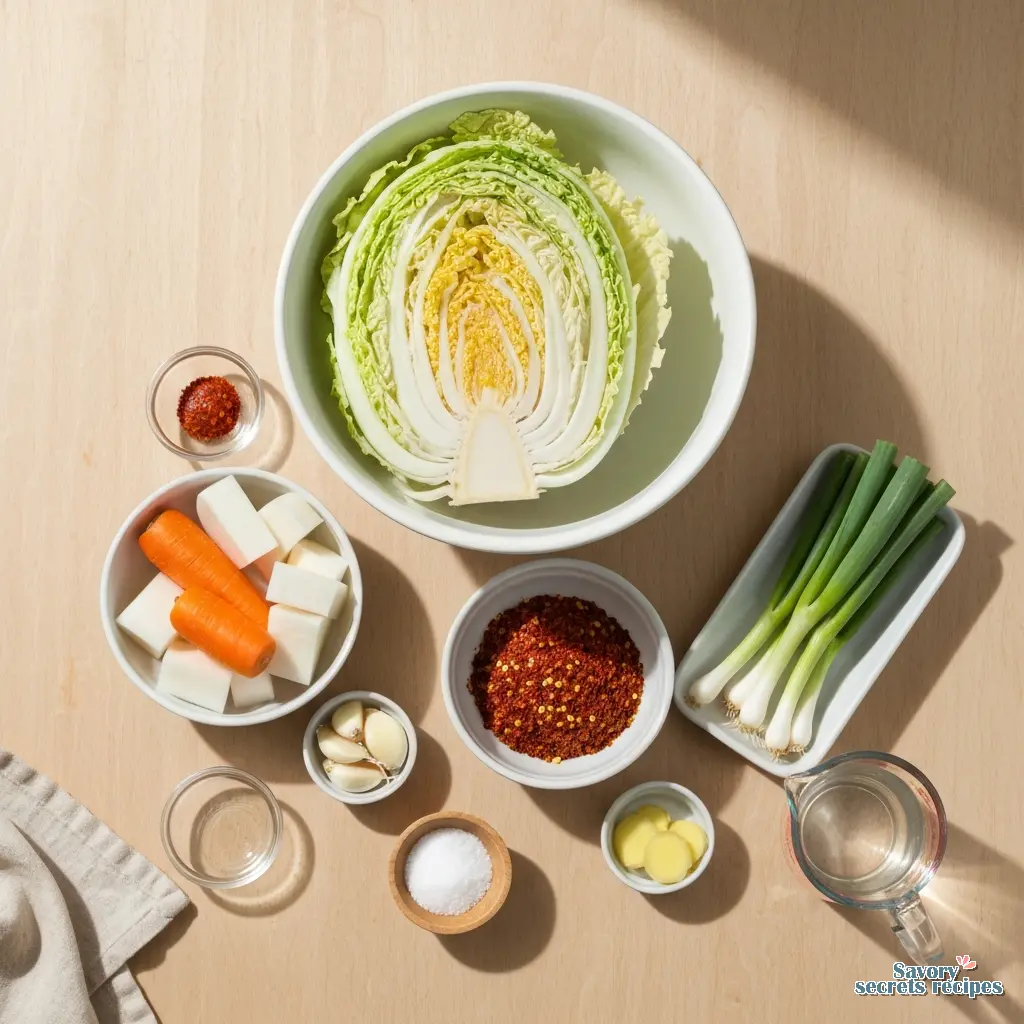
Ingredients
Method
- Mix the cabbage, daikon, and carrot in a large non-reactive bowl.
- Dissolve the salt in water and add it to the bowl. Stir to submerge the vegetables, then place a weighted plate on top and soak overnight.
- Drain the vegetables thoroughly and reserve the brine.
- Combine the garlic, ginger, scallions, and gochugaru with the vegetables and mix well. Pack the mixture into a quart-sized jar, pressing down to release enough brine to cover the vegetables, adding reserved brine if necessary.
- Place a freezer bag filled with reserved brine into the jar to keep the vegetables submerged. Cover the jar loosely to allow gas to escape.
- Ferment in a dark, room-temperature location for 4 to 7 days, then transfer to the refrigerator.
Notes
Why You Don’t Actually Need Sugar for Kimchi
Ever checked a kimchi label at the grocery store and been shocked by the sugar content? I have. I remember standing in the aisle at my local market in Oakland, reading the back of a “healthy” probiotic jar, and seeing cane sugar listed right after the cabbage. It felt like a betrayal. We turn to fermented foods for gut health, yet here we are, spiking our insulin just to get some probiotics.
The truth is, making no sugar kimchi isn’t just a dietary hack for the keto or diabetic crowd; it’s actually closer to how this staple was made before modern processing took over. My grandmother in Taipei didn’t measure sugar by the cup. She understood that vegetables have their own sweetness. When you strip away the added sweeteners, you’re left with a flavor that is cleaner, sharper, and frankly, more interesting.
I know what you’re thinking. “Ava, won’t it be too sour?” or “Doesn’t the fermentation need sugar to work?” Let me think through this with you. While bacteria do need a carbohydrate source to produce lactic acid, napa cabbage, daikon radish, and carrots are packed with natural sugars. The Lactobacillus bacteria are perfectly capable of feasting on the glucose and fructose naturally present in the cell walls of the veggies. You don’t need to spoon-feed them white powder.
The Science of Sugar-Free Fermentation
Here’s what I’m seeing in the nutrition data: when you remove the refined sugar, you aren’t just cutting calories. You are changing the microbial environment of the jar. In a traditional recipe with added sugar or rice flour porridge, the fermentation kicks off aggressively. It’s like giving a toddler an espresso. The bacteria consume that easy fuel rapidly, leading to a very quick souring process.
With sugar free kimchi, the bacteria have to work a little harder to access the sugars bound up in the vegetable fibers. This results in a slower, more controlled fermentation. To be honest, I prefer this. It develops a depth of flavor that feels more complex and less one-note acidic. It also means your kimchi stays crunchy for longer because the cell walls aren’t breaking down as violently.
For those managing diabetes or strict low-carb diets, this distinction is critical. The final product has a negligible glycemic impact. Plus, without the added sugar masking the flavor, you can really taste the nuance of the gochugaru (Korean chili flakes) and the briny depth of the fish sauce (or soy sauce if you’re keeping it vegan).
Essential Equipment: Jars and Weights
You don’t need an earthenware onggi buried in your backyard to make this work (though if you have one, I’m jealous). However, the right tools make the difference between a delicious batch of homemade kimchi and a moldy science experiment.
I recommend using wide-mouth glass mason jars. They are easy to clean and easy to pack. But here is the non-negotiable part: fermentation weights. Keeping the vegetables submerged under the brine is the golden rule of fermentation. If oxygen touches the veggies, mold grows. It’s that simple.
If you don’t have glass weights, I’ve used a heavy duty ziplock bag filled with water, sealed tight, and shoved into the mouth of the jar. It pushes everything down effectively. Just make sure the bag is food-safe and won’t leak.
The Step-by-Step Salting Process
This is where most people panic, but trust me, you’ve got this. The salting stage is the most important part of the entire process. It draws out moisture to create the brine and softens the cabbage so it doesn’t snap when you pack it.
When I teach this, I always say: don’t be afraid of the salt. You will rinse most of it off later. You want to sprinkle coarse sea salt between the leaves of the cabbage, focusing on the thick white stems where the water hides. The leafy greens need less salt.
Let it sit for about two hours, flipping the cabbage halfway through. You’ll know it’s ready when you can bend a thick white stem all the way back and it doesn’t snap. It should feel rubbery and pliable. If it snaps, it needs more time. That said, don’t leave it for five hours or you’ll lose all the texture.

Visual Troubleshooting: Mold vs. Yeast
I get more emails about this than anything else. You open your jar after three days, and there’s a white film on top. Is it ruined? Probably not.
Kahm Yeast: This looks like a flat, white, powdery film. It’s not harmful, but it tastes gross. If you see this, just scrape it off carefully. It usually happens if the temperature is too warm or there’s too much surface area exposed to air.
Mold: Mold is fuzzy. It can be blue, green, black, or bright pink. It grows in raised tufts. If you see fuzzy mold, I’m sorry to say, you need to toss the batch. The spores have likely penetrated deeper than you can see. It hurts to throw away food, but food safety comes first.
To prevent both, keep everything submerged. I check my jars daily during the room-temperature phase, pressing down on the weights to ensure the brine is covering the veggies.
Instant Pot vs. Countertop Fermentation
I’m a bit of a traditionalist, so I usually stick to the countertop method. It feels more connected to the process. You put the jar in a cool, dark corner (away from direct sunlight) and let it do its thing for 2 to 5 days, depending on how warm your kitchen is. In Oakland, where my kitchen stays around 68°F, it usually takes about 3 days to get that perfect tang.
However, I’ve tested the Instant Pot method for those who are impatient (no judgment here!). You can use the “Yogurt” setting on low (boiled) for 24 hours. It works, but I find the flavor is a bit flatter. It lacks the complexity that develops over a few days of slow fermentation. But if you need sugar free kimchi for a dinner party tomorrow? It’s a solid option.
Probiotic Preservation: Cooking Without Killing the Good Stuff
We eat kimchi for the probiotics, right? But then we throw it into a boiling stew. Heat kills bacteria. It’s just physics. If you boil your kimchi in a soup for 20 minutes, you are eating delicious fiber, but the live cultures are gone.
Here is my workaround: add the kimchi at the very end. If I’m making kimchi stew (kimchi-jjigae), I’ll cook the broth with older, sour kimchi for flavor, but then I stir in a fresh scoop of raw kimchi right before serving. That way, you get the deep cooked flavor and the live probiotic benefits. It’s the best of both worlds.
Storage & Shelf Life
Once your kimchi tastes right to you usually when it has a pleasant sour smell and small bubbles are rising to the top move it to the fridge immediately. Cold temperatures slow down the fermentation but don’t stop it completely.
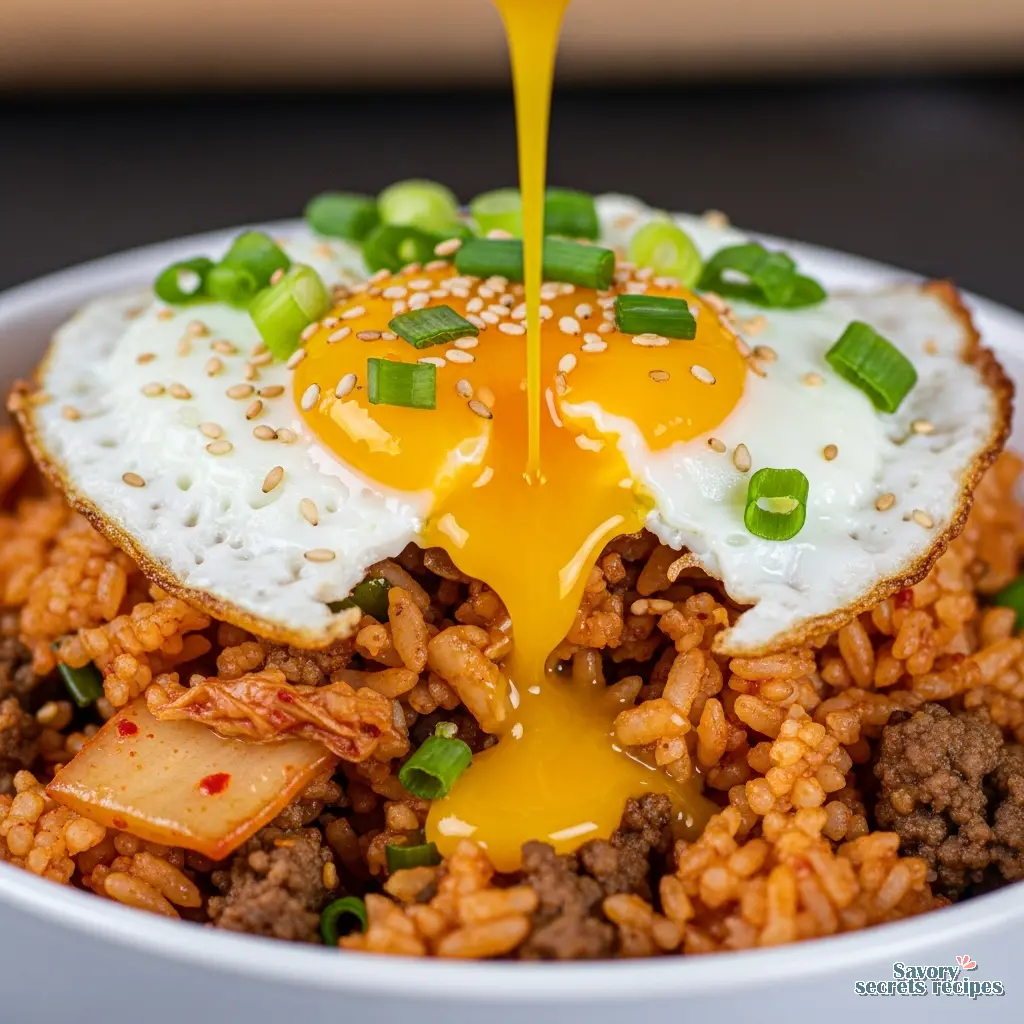
Your homemade batch will last for months in the refrigerator. In fact, it gets better with age. Fresh kimchi (first 2 weeks) is crisp and bright. Older kimchi (1 month+) is softer and much more sour. This older, “ripe” kimchi is actually superior for cooking stews and fried rice. I usually keep two jars going: one for fresh eating and one “vintage” jar for cooking. This extra-sour batch is precisely what you need to master a vegetarian soondubu recipe.
Frequently Asked Questions
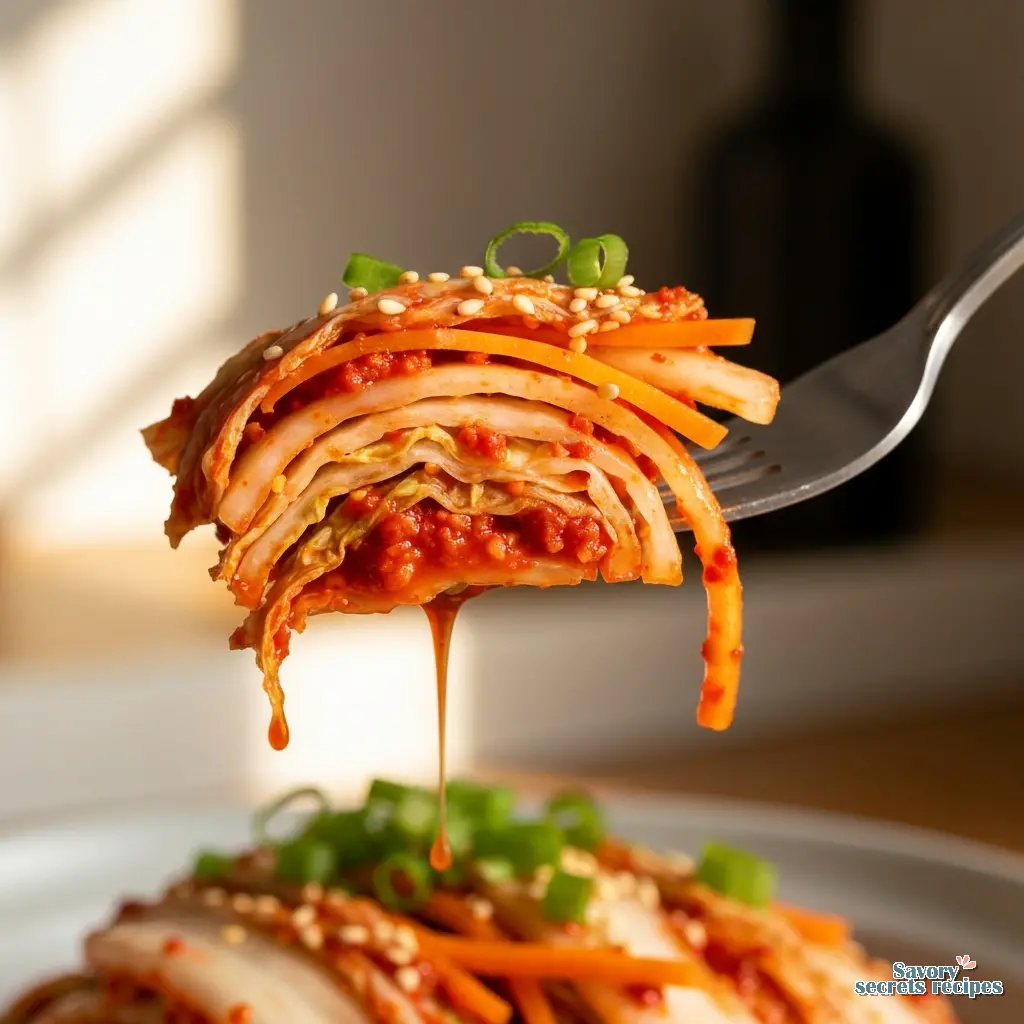
When you finally crack open that jar of chilled, homemade kimchi, take a second to appreciate it. You’ve created something alive, healthy, and completely free of the additives that clutter our food system. It’s a small act of rebellion in a jar. Plus, it tastes amazing on just about everything.
For more inspiration on healthy, traditional cooking, check out my Pinterest boards where I collect all my favorite fermentation experiments. Let me know how your batch turns out I love hearing your stories!
Reference: Original Source
Does kimchi have to have sugar to ferment?
Not at all. While traditional recipes often use sugar or fruit to speed up the process, the bacteria can feed perfectly well on the natural sugars found in the cabbage, radish, and carrots. It just might take a day longer to get going.
Can a diabetic person eat kimchi?
Absolutely. This no sugar kimchi recipe is ideal for diabetics. Fermentation naturally reduces the carbohydrate content of the vegetables, and without added sugar, the glycemic load is very low. It’s a flavorful, safe addition to a blood-sugar-conscious diet.
Why does my stomach hurt after eating kimchi?
It could be the sudden increase in fiber and probiotics. If your gut isn’t used to fermented foods, start small. Try just one tablespoon a day and work your way up. It’s potent stuff, and sometimes our microbiome needs time to adjust.
How do I know when my no sugar kimchi is ready?
Trust your nose and tongue. After about 2 days at room temperature, tap the jar. If you see bubbles rise, it’s active. Taste a small piece. If it’s tangy and tastes “ripe” rather than just salty raw cabbage, it’s ready for the fridge.
What can I use instead of fish sauce for vegan kimchi?
I swap fish sauce for soy sauce or tamari for a gluten-free option. For that ocean-y depth, I sometimes crumble in a sheet of toasted nori (seaweed) or use a splash of coconut aminos. It works beautifully.
Is it safe if the brine leaks out of the jar?
Yes, totally normal! As fermentation creates CO2, pressure builds up and can push liquid out. It’s a sign of a healthy, active ferment. Just place your jar on a small plate or in a bowl to catch any drips so you don’t ruin your counter.