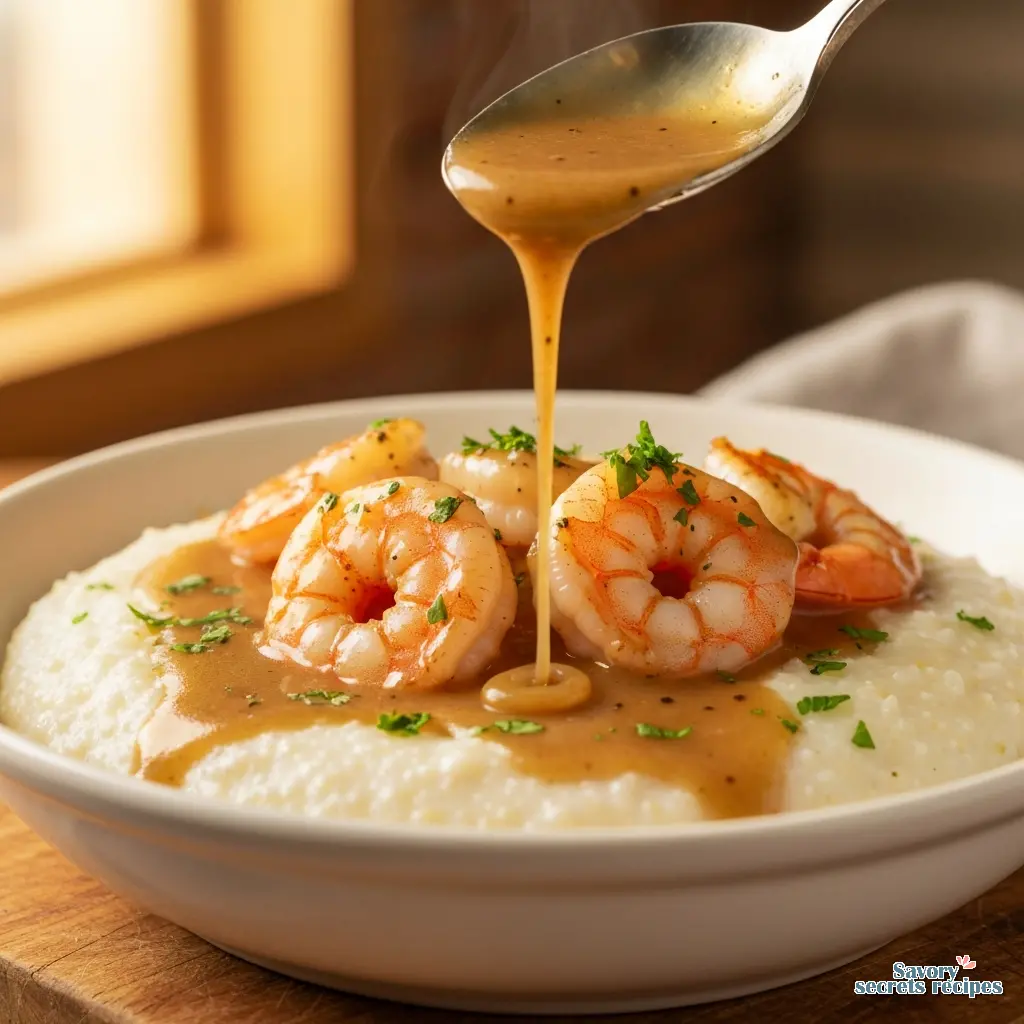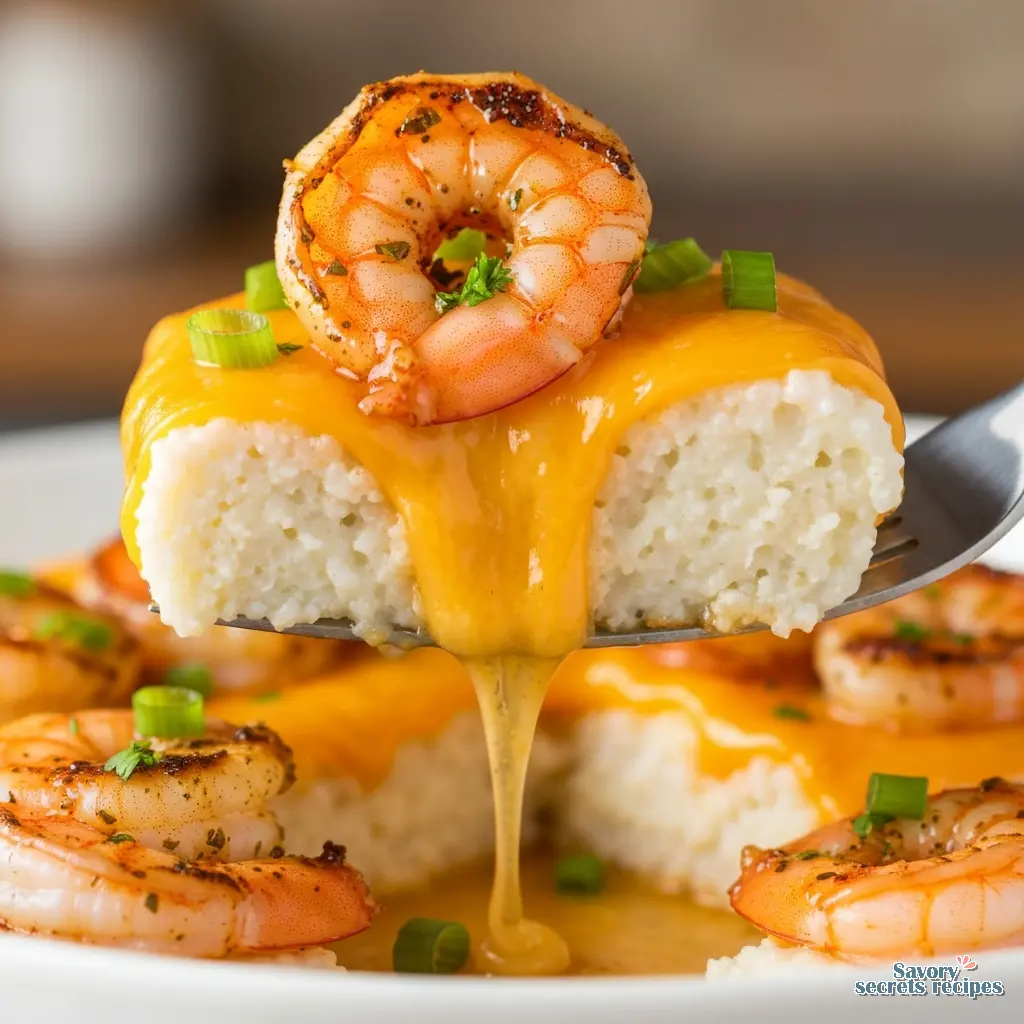
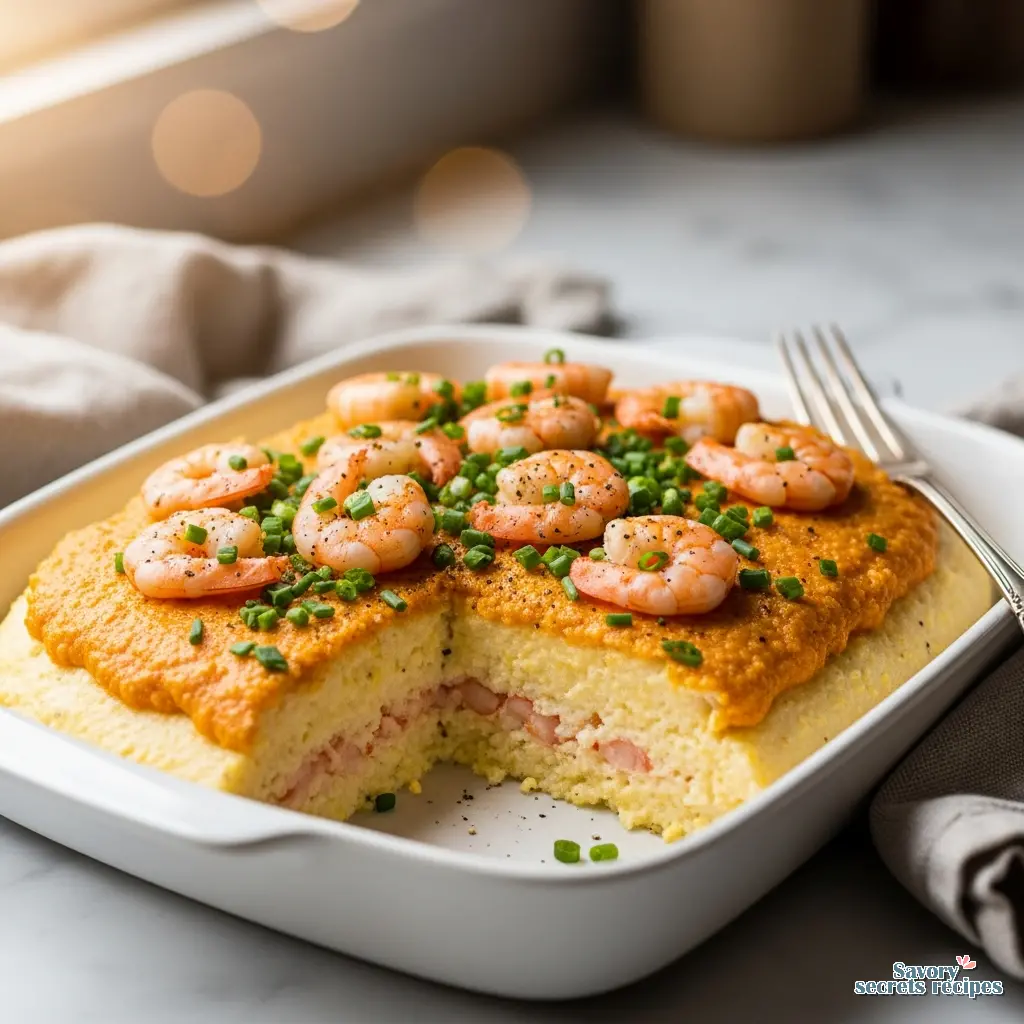
Southern Shrimp and Grits Dressing Recipe
Ingredients
Method
- Preheat the oven to 325°F. Grease an 11x7-inch baking dish with butter or cooking spray if not using a cast iron skillet.
- Heat a cast iron skillet over medium heat. Add 3 tablespoons of butter, diced celery, onion, red bell pepper, and minced garlic. Season with a pinch of salt and pepper. Sauté for about 8 minutes until the vegetables are tender and fragrant. Stir in the fresh thyme, 1 teaspoon salt, 1 teaspoon Old Bay Seasoning, and 1/2 teaspoon smoked paprika. Mix well and cook for one minute to bloom the spices.
- Pour 3 cups of seafood stock into the skillet and increase the heat to medium-high. Bring to a boil, then reduce to a simmer and stir in 1 cup of grits. Cook for 8-10 minutes, stirring occasionally, until the liquid is absorbed and the grits are tender. Stir in the parmesan cheese.
- Whisk together the remaining 1/2 cup of cooled stock, 3 eggs, and lemon juice in a large bowl. Temper the eggs by whisking in one cup of the hot grits mixture. Pour the egg mixture back into the skillet, whisking constantly for 30 seconds. Stir in the bread crumbs and shrimp. Spread the mixture evenly in the skillet or the greased baking dish.
- Dot the top of the mixture with the remaining 3 tablespoons of butter and sprinkle with Old Bay seasoning.
- Bake for 45-55 minutes until the shrimp are cooked and the mixture is set. Let rest for 10 minutes after removing from the oven. Top with diced chives and serve.
Notes
Why This Shrimp and Grits Dressing Belongs on Your Table
I am not going to lie, the first time I heard the words “shrimp and grits dressing” together, I had to pause. Growing up in Minnesota, dressing meant stale bread, sage, and enough butter to concern a cardiologist. It did not mean creamy stone-ground grits or succulent seafood. But then I tried it. And honestly? It changed my entire perspective on what a holiday side dish could be.
This is not just a casserole. It is comfort in a pan. Imagine the creamy, savory texture of your favorite breakfast grits, but baked until it develops a golden, crusty top that shatters when you spoon into it. It is savory, rich, and packed with tender shrimp in every bite. If you are looking to shake up your usual rotation or bring something to a potluck that will actually get eaten, this is the one.
Real talk, though. This recipe is a bit of a project. It is a “Sunday job,” as I like to call it. It reminds me of watching my grandma Evelyn in her kitchen, moving between pots with that quiet confidence that only comes from knowing exactly how the food is going to turn out. She would have loved this dish because it rewards a little bit of patience with a whole lot of flavor. Plus, it reheats like a dream, which is basically my love language.
The Science of Grits: Why Grind Matters
Here is the thing about grits. You cannot just grab any box off the shelf and expect this dressing to work. I learned this the hard way during a recipe test that ended in a gluey, sad mess. For a proper shrimp and grits dressing, the type of grit you use is the difference between “okay” and “game-changer.”
You want stone-ground grits. Not instant. Definitely not quick-cooking. Stone-ground grits still have the hull and germ of the corn, which gives them that speckled texture and a robust corn flavor that stands up to the heavy cream and cheese. Instant grits are too fine. They turn into a smooth paste that gets lost when you bake it. We want texture here. We want a bit of a bite.
When you cook stone-ground grits, they act like a sponge. They absorb the seafood stock and the butter, swelling up to become these little flavor bombs. If you use instant, they absorb the liquid too fast and then disintegrate. So, check the package. If it says “ready in 5 minutes,” put it back. You want the stuff that takes 20 minutes or more. Future you will thank you. Once you master the grit texture, you can also use these skills for a savory [grits and gravy recipe] on busy mornings.
The Secret to Texture: Tempering the Eggs
If there is one step you absolutely cannot skip or rush, it is tempering the eggs. This is the technical part, but do not panic. It is totally doable. The goal here is to combine your hot, cooked grits with raw eggs to create a custard-like consistency without scrambling the eggs. Nobody wants scrambled eggs in their dressing.
Here is how you do it. Whisk your eggs in a separate bowl. Then, take a ladle of your hot grit mixture and slowly I mean really slowly drizzle it into the eggs while whisking constantly. You are introducing the eggs to the heat gradually. Once the bowl feels warm to the touch, you can pour the egg mixture back into the main pot of grits. This creates that velvety, cohesive texture that holds the dressing together when you slice it.
My mom used to do this when making custards, and I remember thinking it looked like magic. It is just physics, really. By raising the temperature of the eggs slowly, you prevent the proteins from shocking and seizing up. It is a small step, but it is the secret to that professional, creamy interior.
Shrimp Sourcing: Fresh vs. Frozen
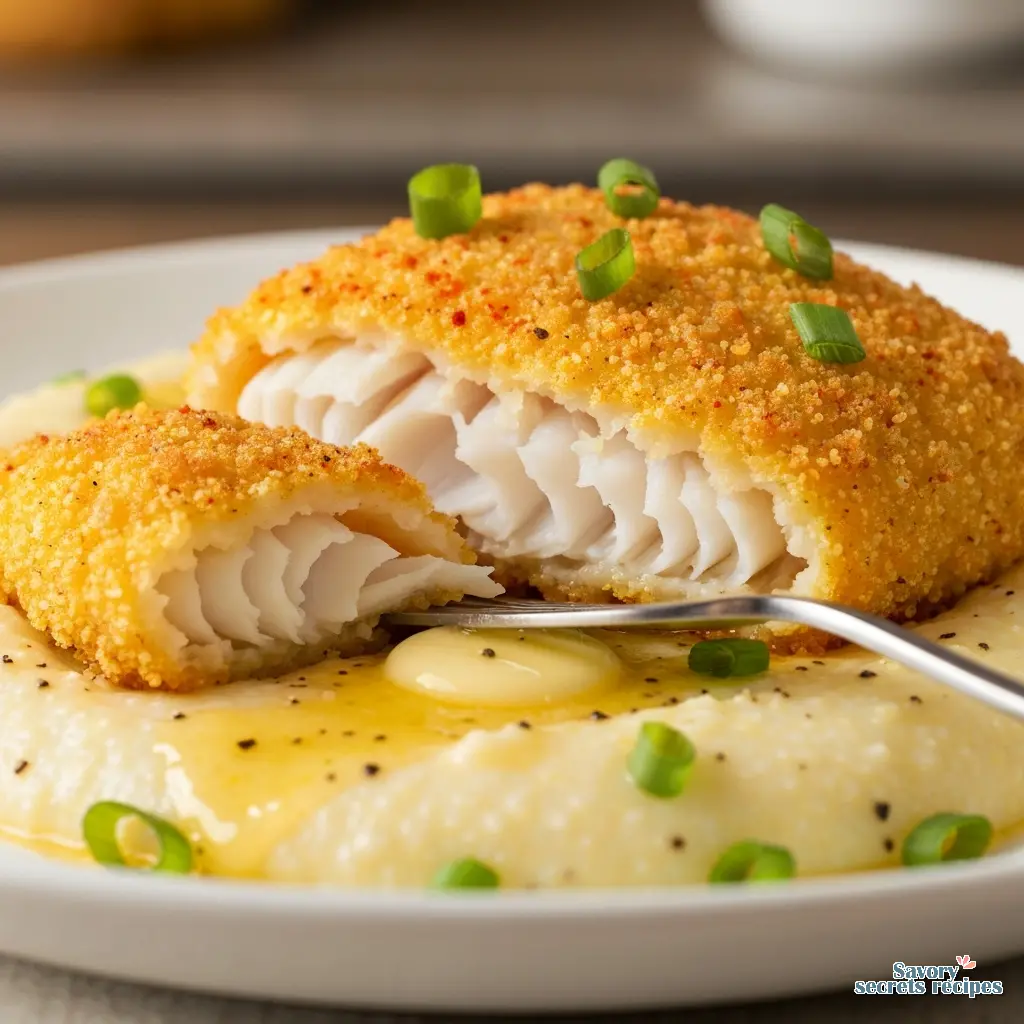
Living in the Midwest, I have had to make peace with frozen seafood. And you know what? It is often better than “fresh” seafood that has been sitting behind a glass counter for three days. For this shrimp and grits dressing, frozen shrimp is actually perfect. It is flash-frozen at the peak of freshness, which locks in the texture. If you enjoy this seafood combination, you might also find that [fried fish and grits] offers a similar satisfying crunch and flavor.
I usually buy a bag of raw, peeled, and deveined medium shrimp. It saves so much prep time. Just thaw them in a colander under cold running water for about 10 minutes. Pat them dry with paper towels before you cook them. This is crucial. If they are wet, they will steam instead of sear, and you will miss out on that beautiful color.
If you are lucky enough to have access to fresh, wild-caught shrimp, by all means, use them. The flavor will be incredible. But do not feel like you are compromising by using the frozen stuff. In a baked dish like this, with all the cheese and Creole spices, the difference is negligible. I think this works, but your mileage may vary depending on how picky your crowd is.

Visual Troubleshooting: Wet vs. Dry
Cooking with grits can be tricky because humidity and the age of the corn can affect how much liquid they absorb. You are looking for a specific consistency before you bake. When you mix the grits, stock, and dairy, it should look like a loose risotto. It should flow slowly when you tilt the pan, but it should not be watery.
If it looks too dry: If your spoon stands up straight in the pot and refuses to move, you need more liquid. Stir in extra chicken stock or even a splash of water, a quarter cup at a time. You want it to be pourable because it will firm up significantly in the oven.
If it looks too wet: If it looks like soup, do not panic. You can cook it a little longer on the stovetop to evaporate some moisture. Or, add a handful of extra cornbread crumbs or fine breadcrumbs. These will act as a binder and soak up the excess liquid. Just be careful not to overdo it, or you will lose that creamy texture we are aiming for.
Ingredient Substitutions & Variations
I am a big believer in using what you have. My grandma Evelyn never ran to the store for one missing ingredient; she improvised. Here are a few swaps that work well for this recipe.
The “Sausage” Element: Traditional recipes often call for pork-based sausages like andouille. Since we are keeping this pork-free, I love using a smoked turkey sausage or a spicy chicken andouille. You still get that smoky, savory depth without the pork. Just slice it into coins and brown it in the pan before adding your vegetables. It adds a nice textural contrast to the soft grits.
Cheese Swaps: The recipe calls for Parmesan, which adds a nice salty bite. But if you want a more traditional Southern vibe, sharp cheddar cheese is the way to go. It melts beautifully and gives you those gooey pockets of cheese. Gouda is another great option if you want something a little nuttier and smokier. I have even used a blend of whatever ends I had in the cheese drawer. It all tastes good melted.
Seasoning: If you cannot find Old Bay, you can easily make your own blend or use any cajun seasoning. Just watch the salt content. Some Cajun blends are very salty, so taste your grit mixture before you add the raw eggs. You can always add more salt, but you cannot take it out.
Make-Ahead Strategy
This is where the meal prep editor in me gets excited. You can absolutely do the heavy lifting for this dish a day in advance. In fact, I recommend it if you are serving this for a holiday meal. It takes the stress out of the big day.
Here is my system. Cook the grits and the shrimp mixture completely. Let them cool slightly, then combine them as the recipe directs. Pour the mixture into your baking dish and let it cool to room temperature. Cover it tightly with foil and pop it in the fridge. It will keep perfectly for up to 24 hours.
When you are ready to bake, pull it out of the fridge about 30 minutes before it goes into the oven. This takes the chill off and ensures it bakes evenly. You might need to add an extra 5 to 10 minutes to the baking time since it is starting from cold. Just watch for that golden brown crust and a slight wobble in the center.
Frequently Asked Questions
Storage & Serving
Leftovers are essentially gold in my house. Store any remaining dressing in an airtight container in the refrigerator for up to 3 days. I honestly think the flavors get better the next day as the spices have time to meld. To reheat, I prefer using the oven or a toaster oven at 350°F until it is heated through. The microwave works in a pinch, but you lose that crispy edge.
As for serving, this dish is rich. It is practically a meal on its own, but it pairs beautifully with something acidic or green to cut through the creaminess. A simple arugula salad with a lemon vinaigrette is perfect. Or, if you are doing the full Southern spread, braised collard greens or garlicky green beans are excellent companions. It is versatile enough for a holiday brunch or a cozy winter dinner.
When you pull this bubbling masterpiece out of the oven, give it a solid 10 minutes to rest. It needs that time to set up so you can get clean slices instead of a spoonable mash. Trust me, it is worth the wait.
I would love to hear how this turns out for you. Did you stick to the recipe or did you improvise with what you had? For more inspiration on how to organize your meal prep and keep your kitchen running smooth, check out my Pinterest boards where I save all my favorite weeknight wins.
Reference: Original Source