


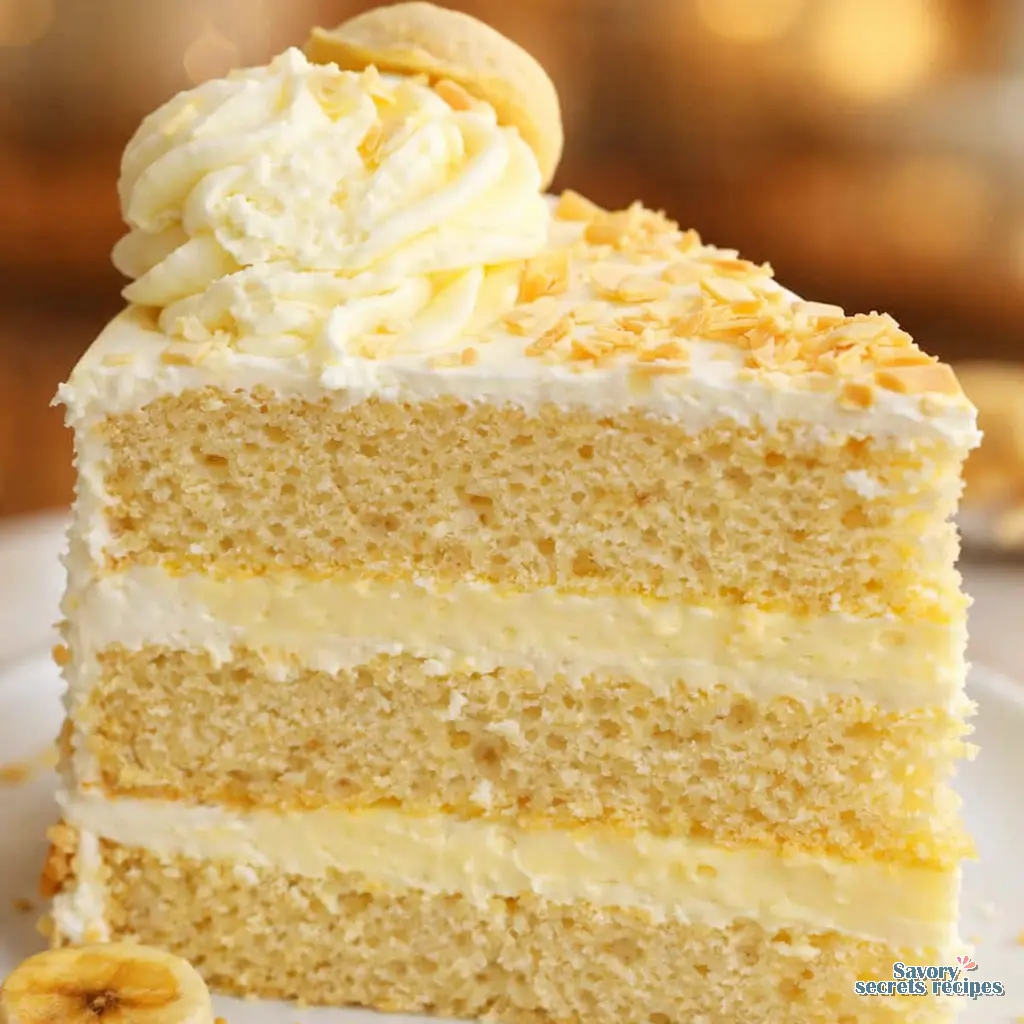
Three Layer Banana Cake with Cream Cheese Frosting
Ingredients
Method
- Preheat oven to 350 degrees and spray cake pans with pam baking spray.
- Follow the directions on the back of the cake box to make the batter.
- Divide the batter between the three pans and bake in the oven for 25-30 minutes or until a toothpick comes out clean.
- Once baked, allow to cool completely.
- Using a cake leveler, slice off the rounded tops to make the cakes leveled.
- Using a large mixing bowl, beat together the banana pudding and milk for about 5 minutes.
- Mix in the Sweetened condensed milk until smooth then mix in cream cheese until smooth.
- Fold in the cool whip until smooth4. Scoop the pudding into the piping bag.
- Using a standing mixer, beat all the frosting ingredients until creamy and stiff peaks.
- Scoop into the piping bag.
- Place one cake round onto the cake board.
- Using the cake frosting, pipe a thick outline around the edge of the cake. This will be the barrier to keep the pudding in the middle.
- Pipe pudding into the middle of the cake layer.
- Place the second cake layer on top of the first one. Repeat steps with the frosting and pudding with the second cake layer.
- Place the third cake layer on top.
- Using the remaining frosting, frost entire cake.
- Sprinkle the toasted coconut onto the bottom of the cake.
- Pour the caramel sauce into the squeeze bottle and squeeze it along the top edge of the cake that way the sauce drips down along the sides.
- Using the remaining frosting in the piping bag, pipe dollops of frosting along the top.
- Sprinkle with toasted coconut and place a Nilla wafer cookie against the frosting dollops. Sprinkle toasted coconut on top.
- Place in the fridge for 1 hour to allow the frosting to harden before cutting into slices and enjoying.
Nutrition
Notes
Forget Everything You Thought You Knew About Banana Cake
Let me think about that for a second. I know what you’re picturing. A homely loaf, maybe a bit dense, something you’d slice for a mid-morning cuppa. It’s a lovely thing, but it’s not a showstopper. That’s the idea I want to challenge. What if your soft banana sponge layer cake could be the star of the table? I’m talking about a proper celebration dessert, the kind that makes people go quiet when you bring it out. Picture a beautiful three-tiered creation, impossibly light sponge layered with the creamiest frosting, finished with a sprinkle of toasted nuts. It’s the perfect surprise for Mum this Mother’s Day, a cake that whispers “I made an effort” without you having to spend all day in the kitchen. This recipe is about that transformation. It’s about taking a humble ingredient and, well, letting it shine in a whole new way.
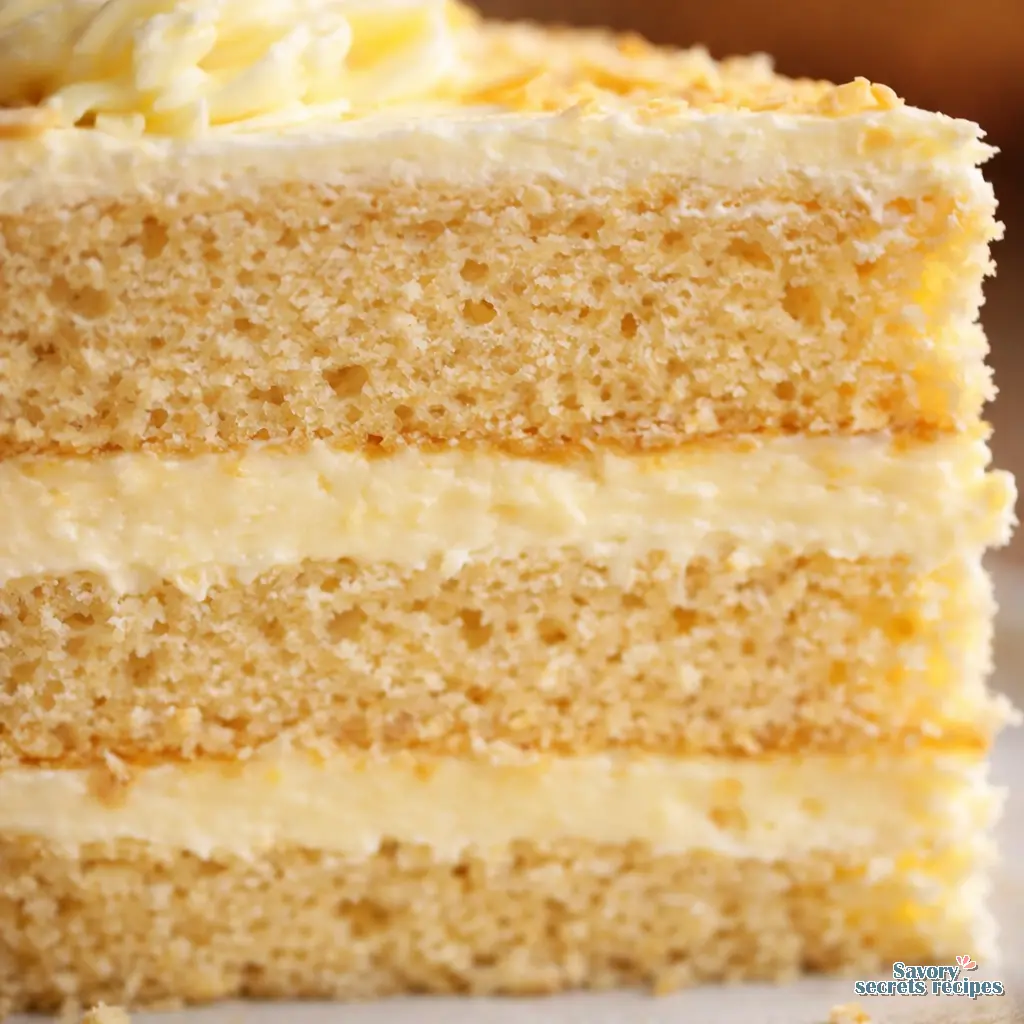
The Foundation: Why This Soft Banana Sponge Layer Cake Works
Here’s what I’ve found works when you’re aiming for lightness. A banana sponge isn’t a banana bread. That’s the first, most important distinction. One is a quick bread, often heavy and moist. The other is a proper cake, using what we call the sponge method. The goal is air. Lots and lots of tiny air pockets. You achieve that by creaming your butter and sugar until it’s pale and fluffy, which traps air, and by folding in your dry ingredients gently, so you don’t knock that precious air out. The bananas? They need to be VERY ripe. I’m talking nearly black, speckled all over. That’s not just for flavour, though the flavour is incredible. It’s because super-ripe bananas mash down into a smooth, almost liquid puree that integrates seamlessly into the batter without weighing it down. You’ll know they’re ready when the skin is dark and they feel super soft. That’s your signal. For a simpler, no-fuss version that still delivers incredible flavor, try our easy moist banana cake recipe.
Your Toolkit for Success
You don’t need loads of fancy gear, but a few things make life easier. For a start, you’ll want three 20cm (that’s 8 inch) sandwich tins. Lining them with parchment paper is non-negotiable, trust me on this. A good stand mixer or electric hand whisk is your best friend for the creaming stage. A flexible spatula for folding, a cake leveller or long serrated knife for trimming your layers flat, and a palette knife for frosting. A piping bag is nice for decoration, but you can manage with a spoon and palette knife if that’s what you’ve got. Oh, and room temperature ingredients. I can’t stress this enough. Cold butter won’t cream properly, and cold eggs can make your batter split. Just take everything out about an hour before you start.
Mastering the Method: The Science of a Light Sponge
This is where we get into the why. The creaming method. You beat the butter and sugars (I like a mix of caster and light brown soft sugar for depth) until it’s seriously pale and fluffy. This isn’t just mixing. You’re physically incorporating thousands of tiny air bubbles into the fat. Those bubbles expand in the oven’s heat, giving you lift. Then you add your eggs, one at a time, beating well after each. If you add them all at once, the mixture can split. It looks curdled. If that happens, don’t panic. Just add a spoonful of your weighed-out flour and beat it back together. The flour stabilises it. The mashed banana goes in next, then you fold in the dry ingredients and buttermilk. Folding is a gentle, figure-eight motion with your spatula, cutting down through the middle and lifting up. You’re just combining, not beating. Overmixing here develops the gluten in the flour, and that leads to a tough cake. We want tender.
The Frosting That Holds It All Together
What’s the best frosting for a banana layer cake? In my experience, it’s cream cheese frosting, but it needs to be sturdy. A runny frosting means sliding layers, and nobody wants that. The secret is cold, full-fat cream cheese and properly softened butter. Beat them together first, before you even think about the icing sugar. Then add the sugar gradually. If you throw it all in, you’ll get a dusty cloud all over your kitchen. I’ve learned this the hard way. A pinch of salt cuts the sweetness beautifully. For extra stability, some bakers add a little cornflour or use shortening instead of some butter. Your mileage may vary depending on your brand of cream cheese, but starting with everything at the right temperature is 90% of the battle. The result should be velvety, pipeable, and hold a peak.
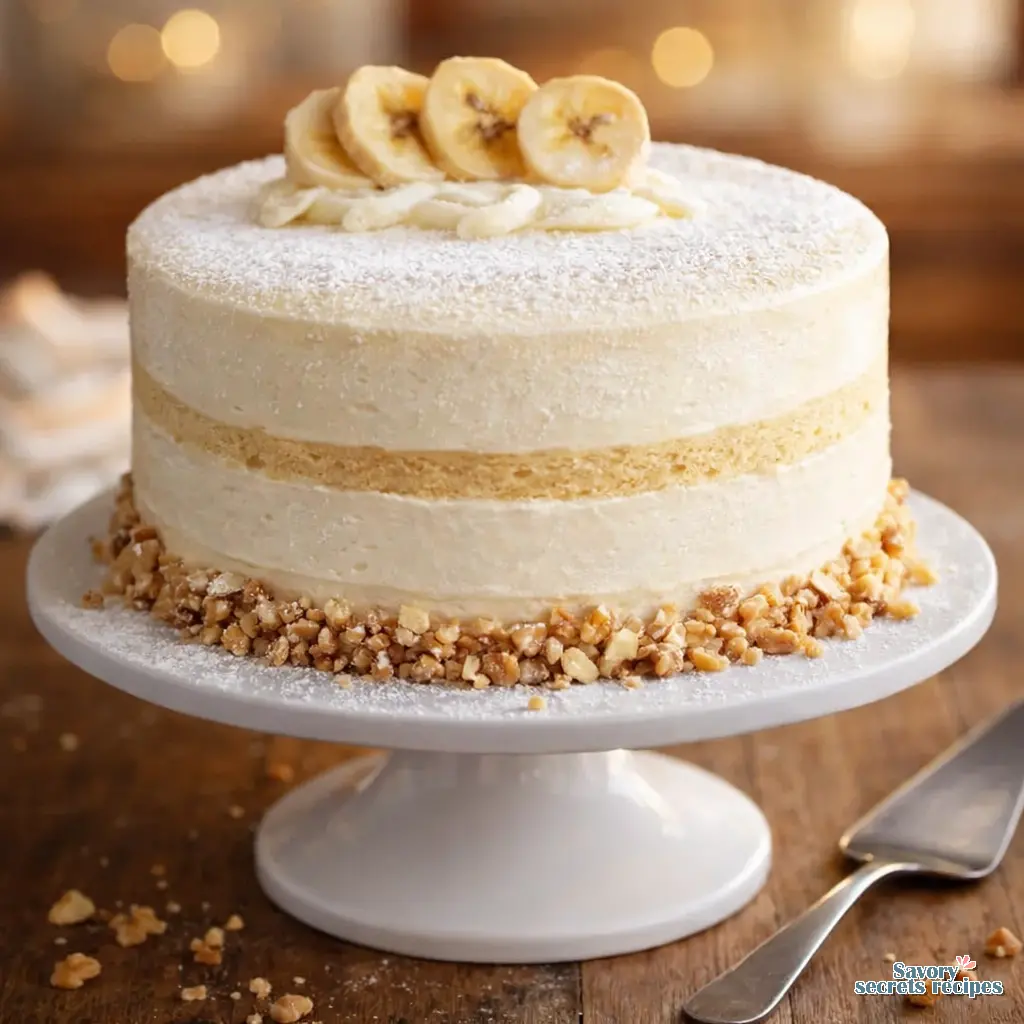
Assembly: Building Your Masterpiece
Once your cakes are completely cool, level them with a cake leveller or a serrated knife. A flat surface is crucial for stable stacking. Place your first layer on a cake board or plate. Spread a good dollop of frosting with your palette knife. Not too thin, you want a proper layer. Add the next cake and repeat. Now, the crumb coat. This is a thin layer of frosting all over the entire cake. It doesn’t need to be pretty. Its job is to trap any loose crumbs so they don’t mess up your final, smooth layer. Pop the whole thing in the fridge for at least 30 minutes to set. This chilling step is non-negotiable. Then, apply your final, thick layer of frosting. Use your palette knife, dipped in hot water and dried, to get that beautifully smooth finish. The satisfaction of that final swipe is genuinely exciting.
Common Mistakes & Fixes
Mistake: The cake is dense and heavy.
Solution: You probably overmixed the batter after adding the flour, or your bananas weren’t ripe enough. Mix until just combined and wait for those black speckles.
Mistake: The layers dome dramatically in the middle.
Solution: Your oven might be too hot, or you didn’t use baking strips (wet fabric strips wrapped around the tin). Levelling the cakes fixes the look, but for next time, try reducing the temperature slightly.
Mistake: The frosting is too soft and slides off.
Solution: Your cream cheese or butter was likely too warm. Everything must be cool. Chill the mixed frosting for 20 minutes before using if it seems loose.
Mistake: The cake is dry.
Solution: Overbaking is the usual culprit. Start checking a few minutes before the timer ends. A skewer should come out with a moist crumb, not completely clean.
Make-Ahead Magic and Clever Variations
Can I make this three layer banana cake ahead of time? Absolutely. You can bake the sponges up to two days in advance. Let them cool completely, wrap them tightly in cling film, and store them at room temperature. You can even freeze them for up to a month. Thaw overnight in the fridge. The frosting can be made a day ahead and kept in the fridge, just let it come to room temperature and re-whip before using. For variations, the world’s your oyster. Fold chopped walnuts into the batter for texture. Add a layer of salted caramel between the sponge and frosting. Swap the cream cheese frosting for a vanilla Swiss meringue buttercream for a less tangy option. Decorate with dried banana chips and more chopped nuts on top. It’s a fantastic birthday cake recipe, but honestly, it’s good enough for any afternoon tea stand.
Storing and Serving Your Soft Banana Sponge Layer Cake
Because of the cream cheese frosting, this cake needs to be refrigerated. It’ll keep beautifully for 2-3 days. The trick to keeping a banana layer cake moist is storing it in an airtight container. If you don’t have a cake carrier, invert a large bowl over it on the plate. Now, here’s a key tip: the texture is best at room temperature. Take it out of the fridge 2-3 hours before you want to serve it. That allows the sponge to soften up and the frosting to lose its chill. Serve it with a pot of good Earl Grey tea, or for a real treat, a cup of strong coffee. The contrast between the soft sponge, the creamy frosting, and a crunchy cup of coffee is just perfect.
Frequently Asked Questions
The Final Slice
I’m genuinely excited about this one. Baking this soft banana sponge layer cake feels like a real achievement. That moment when you pull back the first slice and reveal those perfect, even layers… it’s pure pride. It’s a recipe that teaches you so much about the sponge method and frosting stability, skills you’ll use again and again. Don’t be intimidated by the layer cake format. Break it down into stages: bake the sponges one day, assemble the next. You’ve got this. I’d love to see your creations, so if you give it a go for a birthday or just because, share a picture. For more baking inspiration and celebration dessert ideas, you can always browse my Pinterest boards. Now, go put the kettle on and preheat that oven. Your masterpiece awaits.
Reference: Original Source
Can I use frozen bananas for this soft banana sponge layer cake?
Yes, absolutely. Thaw frozen bananas at room temperature until completely soft. You’ll find they release quite a bit of liquid. Drain this off before mashing, otherwise your cake batter might be too wet. The flavour from frozen, super-ripe bananas is fantastic.
How do you make a banana sponge cake light and airy?
It’s all in the technique. Cream your butter and sugar thoroughly to trap air, use very ripe bananas for easy integration, and fold the dry ingredients in gently to avoid deflating the batter. Properly measured ingredients and not overbaking are also key.
What’s the best way to level cake layers without a cake leveller?
A long, serrated bread knife works perfectly. Place the cooled cake on a flat surface. Hold the knife horizontally and use a gentle sawing motion, turning the cake as you go to keep the cut even. Go slowly, it’s easier than it looks.
My cream cheese frosting is too runny. Can I fix it?
Chill it in the fridge for 20-30 minutes, then beat it again. If it’s still too soft, you can gradually beat in a little more sifted icing sugar, a tablespoon at a time, until it thickens up. Make sure your cream cheese was full-fat and cold to start.


