


Creamy Chocolate Shake Recipe
Ingredients
Method
- Take everything into a blender jar.
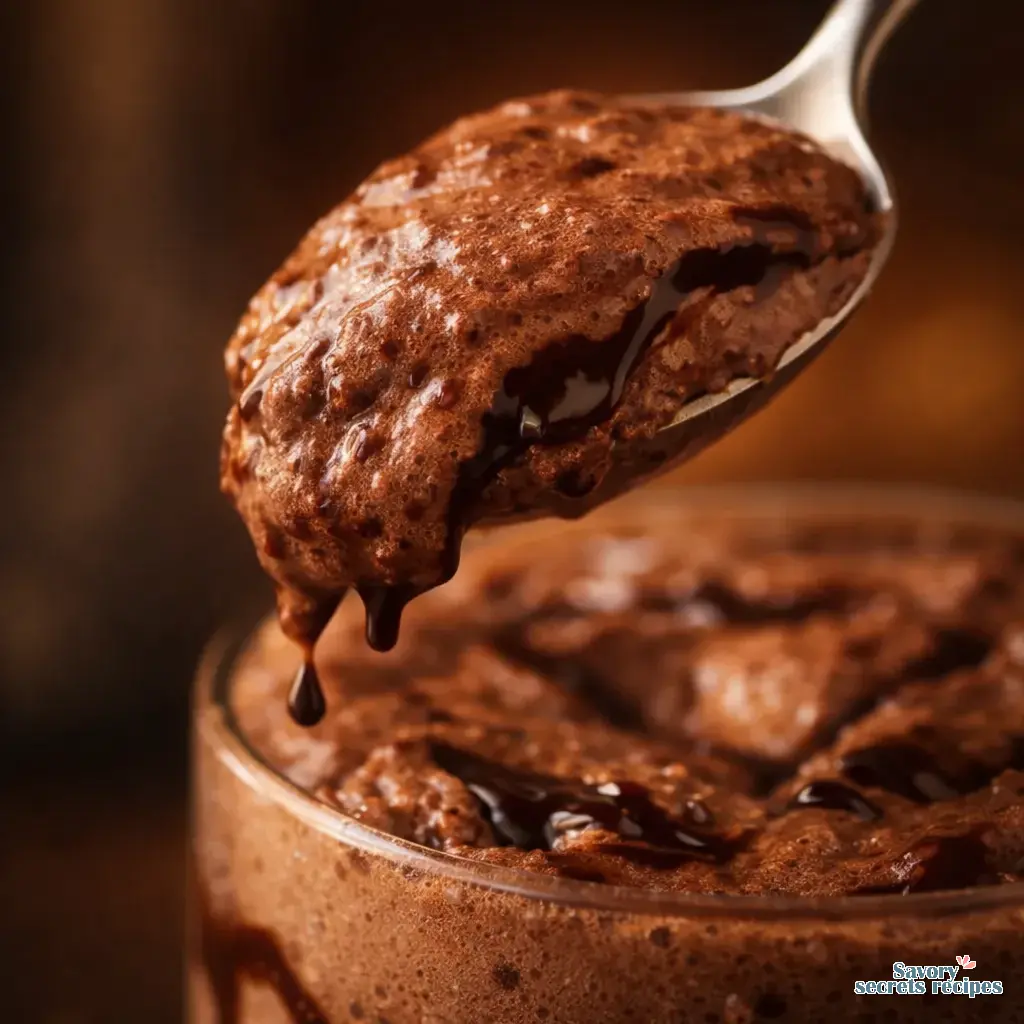
- Blend it till it is smooth, do not overblend otherwise it will be runny.
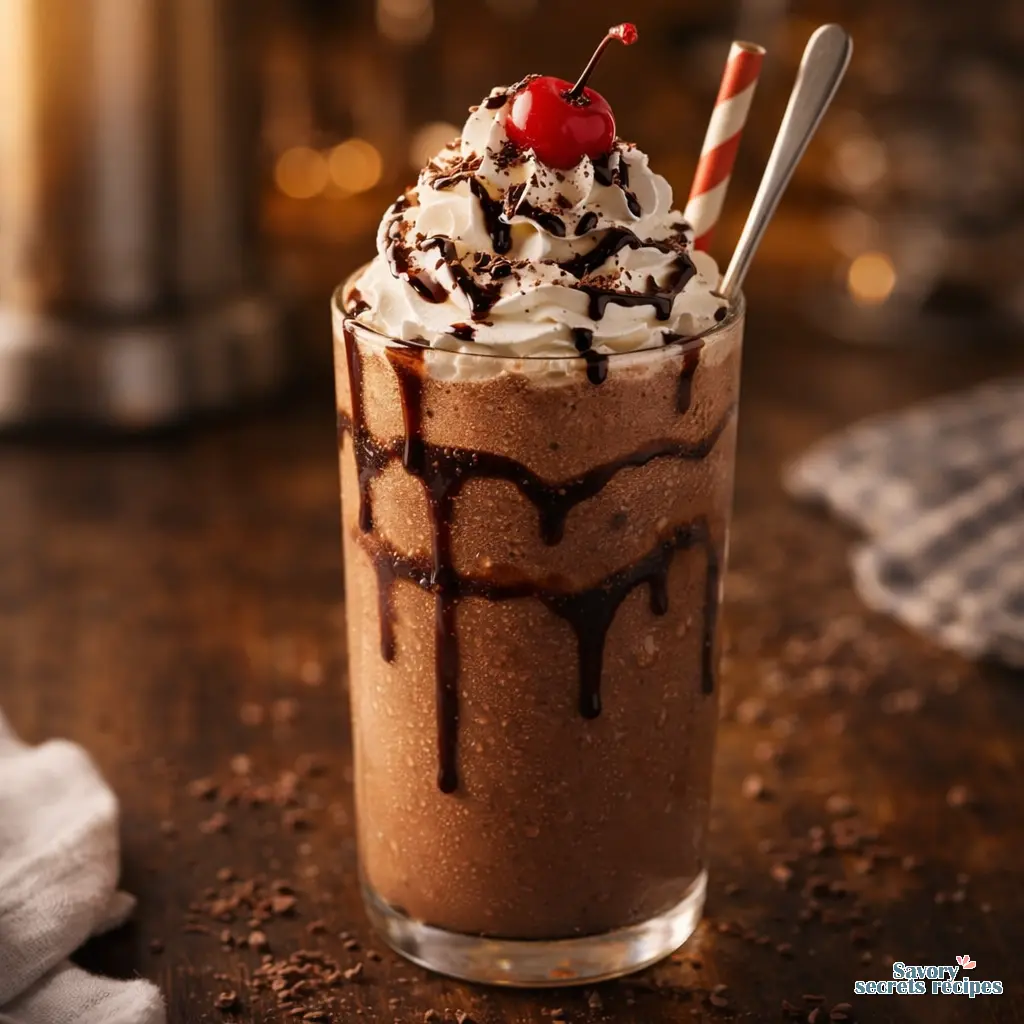
- Drizzle little chocolate syrup inside the glass.
- Pour the milkshake and serve immediately.
Nutrition
Notes
You’ve Been Making Milkshakes Wrong
I’ll be honest with you. For years, I thought a milkshake was just ice cream and milk. You’d scoop, you’d pour, you’d blend. The result was fine. Sometimes it was even good. But it was never that thing. You know the one. The thick chocolate shake you get at a proper diner or a steakhouse, the kind so dense the straw stands up on its own. The kind that feels like a luxury, not just a drink. I’d get one out somewhere and think, “Why can’t I make this at home?”
Turns out, I was missing the entire point. The secret isn’t a secret ingredient you can’t pronounce. It’s a fundamental misunderstanding of ratios, temperature, and fat. That tracks, honestly. In my world, if you want something rich and unctuous, fat is your friend. Making a truly thick chocolate shake is less about following a recipe and more about understanding a principle. Once you get it, you’ll never go back to the thin, melty versions. This is about building a dessert with structure. A shake you eat with a spoon.
The Science of the Spoonable Shake
Let’s talk about why most homemade shakes fail. It’s usually two things: too much liquid and not enough fat. Milk is mostly water. When you add it to ice cream, you’re introducing a melting agent. You’re diluting the very thing that gives the shake its body. The goal isn’t to make a cold drink. It’s to make a frozen custard that’s just soft enough to blend.
That’s where the heavy cream comes in. This is the single biggest shift. You’re not using milk to thin the ice cream. You’re using heavy cream to enrich it. The high fat content in the cream emulsifies with the fat in the ice cream. It creates a richer, more stable base that resists turning watery. Think of it like building a sauce. You wouldn’t add water to a hollandaise. You’d add more butter. Same idea here. The cream is your butter.
The other half of the equation is cold. Everything, and I mean everything, needs to be as cold as possible. Your glass should live in the freezer. Your ice cream should be firm, straight from the freezer, not softened on the counter. That initial blast of cold in the blender is what keeps the ice cream from turning to soup before it turns to shake. Temperature is data, texture is truth. If your ingredients start warm, you’ve already lost.
Equipment & The Blender Battle
You don’t need a commercial blender, but you do need a decent one. A high-speed blender with a strong motor makes this easier. The ice cream is hard, and you’re asking the machine to churn it with cold, thick cream. A weak blender will just spin the top layer and create an air pocket, what folks call cavitation. Nothing for it but to stop and stir.
This is where a blender tamper becomes your best friend. If your blender came with that plastic plunger thing, use it. While the blender is running on low, use the tamper to push the mixture down into the blades. You’re not stirring. You’re guiding. You’re helping the machine do its job without adding more liquid. If you don’t have a tamper, pulse. Pulse a few times, stop, scrape down the sides with a spatula, then pulse again. It takes a little longer, but it works. The goal is a smooth, homogenous blend with zero lumps, but you want to stop the second you get there.
Which brings me to the most common mistake: overblending. You blend it till it’s smooth, do not overblend otherwise it will be runny. The friction from the blades creates heat. Heat melts ice cream. You’re walking a very fine line between perfectly emulsified and chocolate soup. As soon as it moves as one thick mass in the blender, it’s done. That’s what you’re after. Any longer and you’re undoing all your work with the cold and the fat.
Ingredient Notes & Shopping
Not all ice cream is created equal. For a thick chocolate shake, you want a premium chocolate ice cream. Look at the fat content. The higher, the better. More fat means a richer, denser end result. I tend to grab a good quality brand from the freezer aisle at Ralphs or even Costco if I’m making a batch. Avoid anything labeled “light” or “low-fat.” That’s just working against you.
The heavy cream is non-negotiable. Don’t try half-and-half or whole milk here. You need the 36-40% milkfat. It’s the structural backbone. For the chocolate, I like using a good chocolate syrup for that classic diner flavor, but you could melt down good dark chocolate too. Your mileage may vary. The syrup blends in easier when everything is cold, that’s worth noting. For a more traditional approach using milk, see our classic homemade milkshake recipe.
And about those frozen glasses. This isn’t a garnish trick. It’s thermal management. A room-temperature glass will start melting your masterpiece the second you pour it in. A glass from the freezer buys you time. It keeps that perfect, spoonable consistency from the first sip to the last. It’s the difference between a great shake and the best thick chocolate shake you’ve ever had.
Common Mistakes & Fixes
Mistake: The shake is too thin and runny.
Solution: You almost certainly over-blended or used too much liquid. Next time, use the heavy cream as written and stop blending the second it’s smooth. If it’s already thin, you can try blending in another small scoop of rock-hard ice cream.
Mistake: The blender is stuck, just spinning air at the top.
Solution: This is cavitation. Stop the blender. Use a tamper to push the mixture down. If no tamper, pulse in very short bursts, scraping down between each.
Mistake: It’s not chocolatey enough.
Solution: Use a richer chocolate ice cream or add an extra tablespoon of chocolate syrup at the start. You can also add a spoonful of cocoa powder, but blend it with the cream first to avoid a chalky texture.
Mistake: The shake melts instantly in the glass.
Solution: Your glass wasn’t frozen. This is a mandatory step. Put your serving glasses in the freezer for at least 30 minutes before you make the shake.
Variations & How to Think About Them
The base recipe is a formula. Once you’ve got the technique for a thick chocolate shake down, you can play. The key is maintaining the fat and cold principles.
Here I have added chocolate ice cream. Instead, vanilla ice cream or chocolate chip ice cream will do. If making for adults, coffee ice cream is a good substitution. Just know that if you use a lighter base, the final color and flavor will change. That’s fine. It’s still going to be luxuriously thick.
Chocolate Banana Milkshake: Add a frozen banana. This actually helps with thickness. The banana adds body and a creamy texture. Just make sure the banana is frozen solid, not just refrigerated.
Now, about making a chocolate milkshake without ice cream. This is a different beast. You can skip the ice cream and add a little more cream and some frozen bananas. But let’s be clear: this will be a thick, creamy chocolate banana drink. A good one. But it won’t have that specific ice cream richness. It’s a simple chocolate milk, not a shake. For a true thick chocolate shake without ice cream, you’d need to make a custard base and churn it, which is a whole other project.
For a vegan chocolate milkshake, the principle stays the same. Substitute full-fat coconut milk or a very rich almond milk for the heavy cream, and use a premium vegan vanilla ice cream. Omit the whipping cream, obviously. The fat content in good coconut milk can mimic the mouthfeel you’re after. Solid.
Serving, Storage & The Straw Test
You’ve blended it. It’s perfect. Pour it immediately into your frozen glass. I like to drizzle a little extra chocolate syrup inside the glass before pouring for garnish. It’s optional, but it looks great. Top with whipped cream if you want. I usually do.
Now, the moment of truth. The Straw Test. Take a standard drinking straw and try to stand it up in the center of the shake. If it leans but stands, you’re in good territory. If it topples over immediately, it’s probably a bit too thin (still tasty, but not legendary). If it stands straight up, proud as can be, you’ve nailed it. That’s the one. You’ve made a thick chocolate shake that defies gravity.
As for storage, this isn’t really a make-ahead item. The joy is in the immediate, frosty perfection. If you absolutely must store leftovers, press plastic wrap directly onto the surface in the glass and freeze it for up to 24 hours. It’ll harden. To revive it, let it sit on the counter for 5-10 minutes, then re-blend for a few seconds. It won’t be quite the same, but it’ll be close. Honestly, it’s best enjoyed right away, whenever you feel like it, but it’s especially good during a warm LA spring evening when you want something indulgent.
Frequently Asked Questions
Go Make It
This isn’t a complicated recipe. It’s a mindset. Respect the fat. Worship the cold. Don’t rush the blend. When you get it right, when that straw stands tall in your glass, you’ll understand. It’s better than any drive-thru version. It’s a small, personal luxury. The kind of thing that reminds me of the satisfaction of getting a smoke ring just right, but a lot faster and sweeter.
Give it a shot this weekend. Grab your ingredients from Trader Joe’s or Ralphs, freeze your glass, and take your time. And when you do, I’d love to see it. For more indulgent ideas and twists on classics, check out my Pinterest boards. Now we’re talking.
Reference: Original Source
What’s the secret ingredient for making a thick chocolate shake like Wendy’s?
It’s not one secret ingredient, it’s a method. The biggest shift is using heavy cream instead of milk. The high fat content emulsifies with the ice cream fat, creating that dense, spoonable frosty texture. That, and keeping everything ice-cold, gets you that classic thickness.
What’s the best way to thicken a milkshake if it’s too runny?
If it’s already blended, add another small scoop of rock-hard ice cream and blend just until incorporated. For next time, use less liquid (stick to heavy cream) and don’t over-blend. The heat from the blades is usually the culprit for a runny thick chocolate shake.
Can I make a thick chocolate shake without a blender?
You can, but it’s a workout. You’d need to let the ice cream soften just enough to whisk it vigorously with the cream and syrup. It’s hard to get it perfectly smooth, and you risk melting it. A blender, even a cheap one, gives you the control and power you need for the right consistency.
How do I store leftover creamy chocolate shake to keep it thick?
Press plastic wrap directly onto the surface in the glass and freeze for up to a day. It’ll harden solid. To serve, let it thaw for 5-10 minutes, then re-blend briefly. It won’t be *quite* as perfect as fresh, but it’s your best bet for saving a thick chocolate shake.


