Best Vanilla Cupcakes from Scratch
Ingredients
Method
- Preheat oven to 350°F (175°C). Line a cupcake pan with liners. In a medium bowl, whisk together flour, baking powder, baking soda, and salt, then set aside. In a separate bowl, beat eggs and sugar until pale and thickened. Slowly mix in oil and vanilla extract. Alternately add dry ingredients and buttermilk, beginning and ending with dry ingredients, and mix until just combined. Fill liners two-thirds full. Bake for 18–20 minutes or until a toothpick inserted in the center comes out clean. Cool the pan on a wire rack for 5–10 minutes, then transfer cupcakes directly to the rack to cool completely.
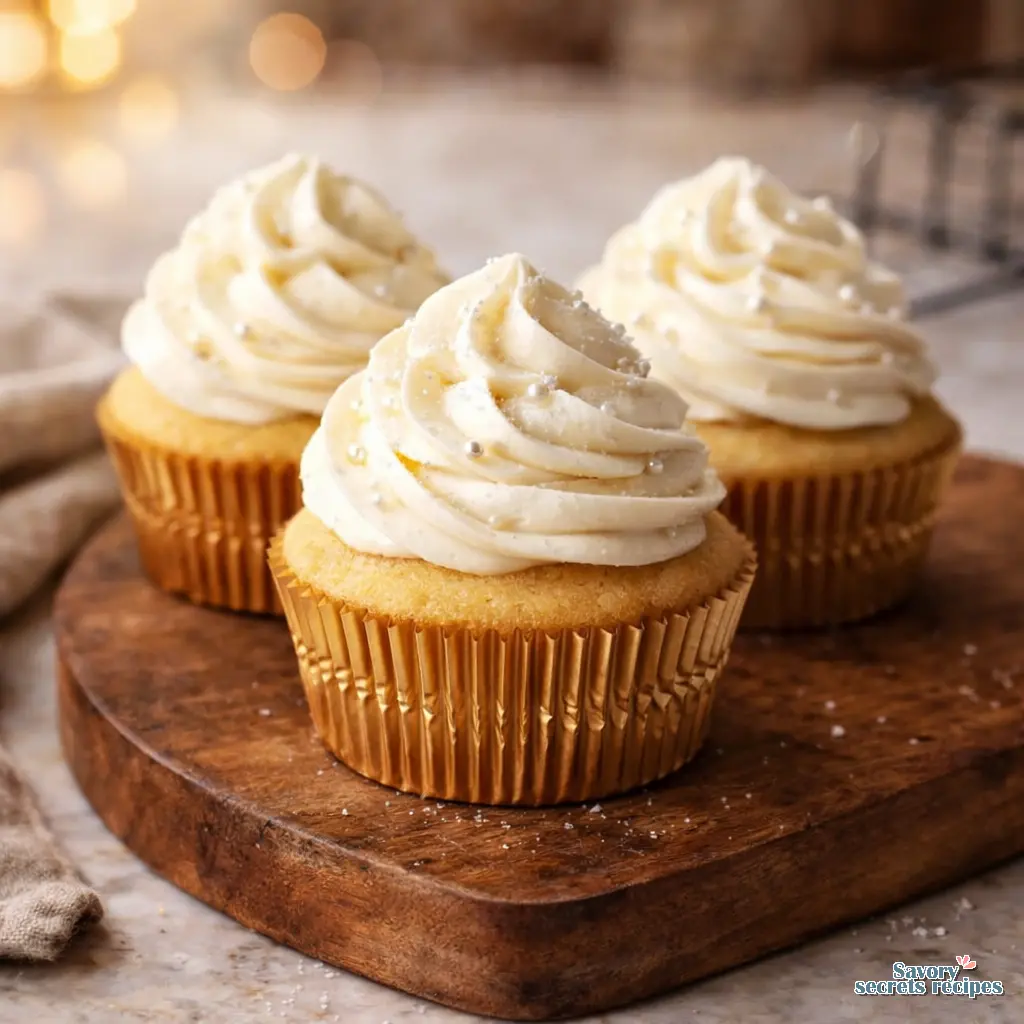
- Frost with preferred buttercream. Mix butter and shortening together. Add powdered sugar and enough cream to reach desired consistency, then add a dash of vanilla extract.
Nutrition
Notes
The Quest for Bakery-Quality Vanilla Cupcakes from Scratch
Let’s be clear about this right from the start. Making vanilla cupcakes from scratch that actually taste like a bakery is the hardest baseline test for any baker. Chocolate hides a multitude of sins behind cocoa powder. Carrot cake relies on physical moisture from vegetables. But a classic vanilla cupcake? It exposes everything about your technique. With holiday party season in full swing and December schedules getting chaotic, you need a foolproof foundation.
I’ve struggled with dry, dense, or shrinking cupcakes more times than I care to admit. I once ruined an entire week’s worth of recipe testing because my home oven was running twenty degrees hot. Twelve batches, all overbaked. I was so focused on timing that I forgot to verify the most basic variable. That’s when I realized that baking isn’t magic. It’s math you can eat. My grandmother Zoya taught me that in her Brighton Beach kitchen, standing with her arms crossed while I calculated percentages on paper. Today, we’re applying that exact precision to the best vanilla cupcakes you’ll ever bake.
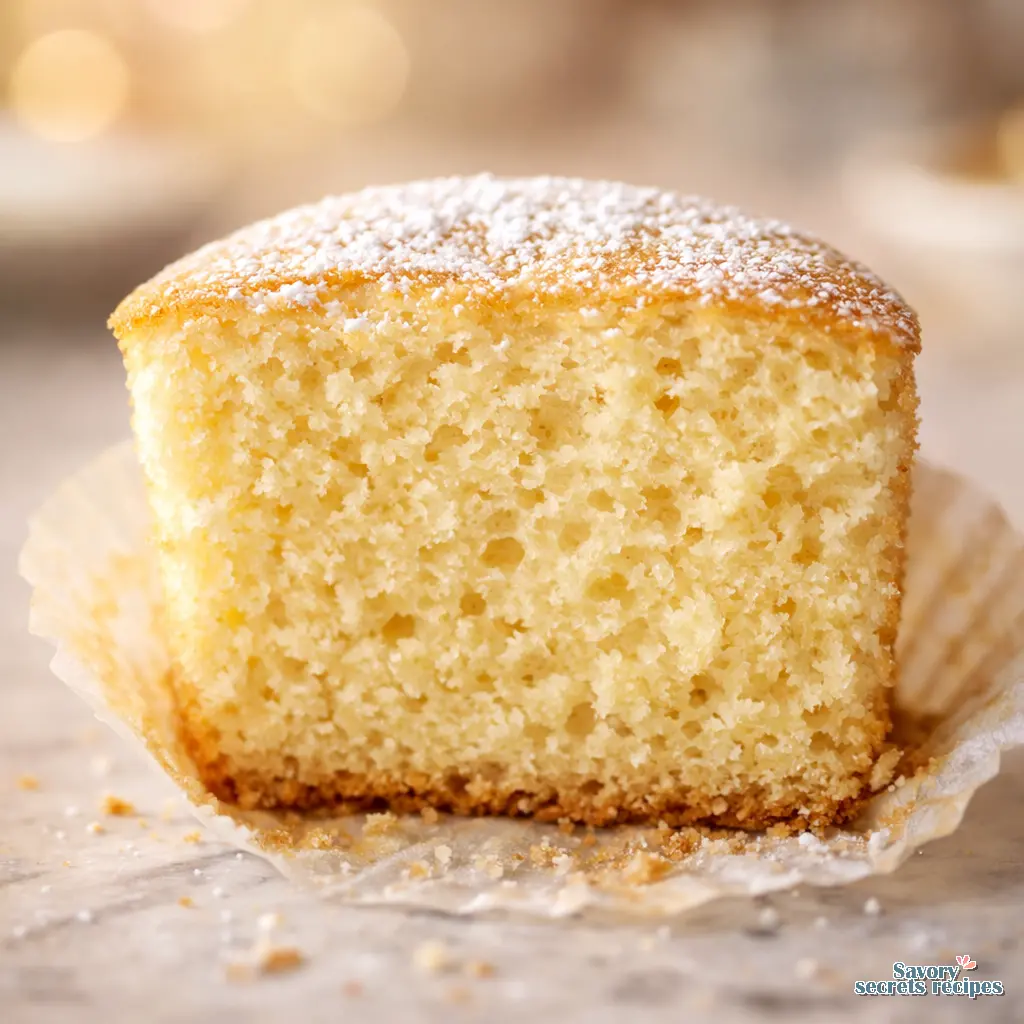
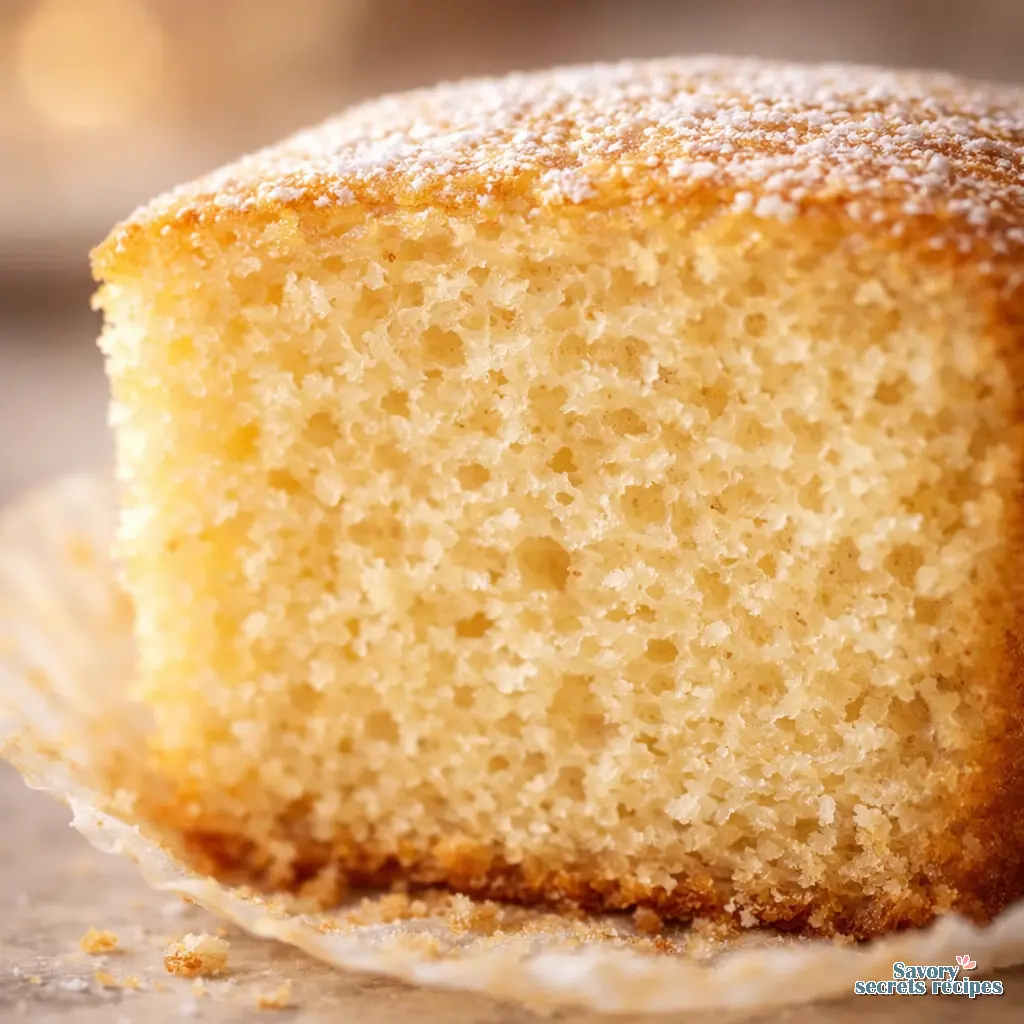
This recipe solves the dry crumb problem permanently. We’re not guessing on this one. You’ll get flat tops perfect for a piping bag, a moist texture that lasts for days, and a crumb structure that shatters beautifully when you take a bite. Worth it. Trust me.
The Science of Moisture: Why These Don’t Dry Out
Temperature matters here. I need you to show me your process, and it starts with ingredients. Using cold eggs or whole milk is the fastest way to ruin your batter. When you use room temperature eggs and milk, they emulsify properly. This traps air during the mixing process, which expands in the oven and gives you that bakery style lift. De-chill mixing bowls by running them under warm water if your kitchen is freezing. We live in Chicago, and my kitchen gets drafty in winter, so I never skip this step.
The secret to a moist texture lies in the fat structure. While unsalted butter provides the classic flavor we all want, butter solidifies at room temperature. That means a pure butter cupcake feels dry the next day. To fix this, we use a combination approach. Adding a touch of vegetable oil keeps the crumb soft even when cold. Furthermore, we use buttermilk or a sour cream substitute like Greek Yogurt (2% or 5%) to tenderize the gluten strands. This is the correct instinct for creating vanilla cupcakes from scratch that don’t shrink or dry out.
Measuring All-Purpose Flour: A Non-Negotiable Step
My daughter Maya wanted to make cookies by herself last month. I set her up with a scale and a printed recipe. She got frustrated when the dough was too dry, and I had to stop myself from fixing it. Instead, I asked her what she thought went wrong. She’d packed the all-purpose flour into the measuring cup. We made a chart together showing the difference between scooped and spooned flour. She keeps it taped above her step stool now.
If you scoop your measuring cup directly into the flour bag, you’re packing up to 25% more flour into your batter. That’s a guaranteed path to dense, heavy cakes. Measure flour by weight using a scale to avoid dry cakes. If you absolutely must use volume, spoon the flour into the cup and level it off with a knife. This isn’t being fussy. It’s the difference between a heavy muffin and a delicate vanilla cupcake from scratch.
Vanilla Type Comparison: Paste, Extract, or Bean?
I’ll admit I don’t fully understand why some people can’t taste the difference between real vanilla and artificial. It’s so obvious to me that I struggle to write for that audience. For classic vanilla cupcakes, the flavor profile relies entirely on this one ingredient.
Pure vanilla extract is your reliable workhorse. It provides a clean, familiar flavor that cuts through the sweetness of granulated sugar. Vanilla bean paste is my personal favorite for vanilla cupcakes from scratch. It gives you those beautiful little black specks in the crumb structure and a slightly more complex, concentrated flavor. If you’re using whole vanilla beans, scrape the seeds of one pod into your granulated sugar and rub them together with your fingers before mixing. The friction releases the oils. That incredible buttery smell when it bakes is unmatched.
Visual Troubleshooting: Common Mistakes & Fixes
Mistake: Overfilling the cupcake liners.
Solution: Do not overfill liners. Keep them 2/3 to 3/4 full. If you fill them to the top, the batter spills over the edges, loses the support of the pan, and sinks in the middle. Use a cookie scoop for even distribution.
Mistake: Overmixing the batter after adding flour.
Solution: Stop the mixer the second you no longer see dry flour streaks. Over-beating develops gluten, resulting in tough, tunnel-filled cakes. Scrape down the sides and bottom of the bowl frequently to ensure even mixing without overworking.
Mistake: Stopping the mixing process midway.
Solution: For aeration-based recipes using the creaming method, you must cream the butter and sugar until pale and fluffy (about 3-4 minutes). Don’t leave batter sitting on the counter. Bake immediately after mixing so the baking powder doesn’t lose its lifting power.
Preventing Cupcake Liners from Peeling
There is nothing more frustrating than baking perfect vanilla cupcakes from scratch only to watch the liners peel away from the sides as they cool. This usually happens because of excess moisture trapped between the cake and the wrapper.
To prevent this, remove the cupcakes from the muffin tin immediately after baking. Let them sit in the pan for exactly two minutes, just until you can safely handle them, then transfer them to a wire rack. If you leave them in the hot pan, they steam themselves. Cool cupcakes completely before frosting to prevent melting. Check doneness with a toothpick. You want moist crumbs attached, not wet batter. Also, avoid cheap, highly waxed liners. Standard paper or foil-lined paper grips the cake much better.
High-Altitude Baking Adjustments
I taught a class in Denver last year and had to completely re-evaluate my ratios. If you live above 3,000 feet, lower air pressure means your leavening agents work too fast. The bubbles expand rapidly, then collapse, causing your vanilla cupcakes from scratch to sink.
To fix this, decrease your baking powder by 1/8 to 1/4 teaspoon. Increase your oven temperature by 15 to 25 degrees Fahrenheit to help the batter set faster before the air bubbles over-expand. You might also need an extra tablespoon of whole milk, as liquids evaporate much faster at higher elevations. Document what you changed. That’s how you learn.
Storing and Freezing Vanilla Cupcakes from Scratch
Storage dictates texture. Keep your unfrosted vanilla cupcakes from scratch in an airtight container at room temperature for 2 to 4 days. If you’ve already frosted them with American Buttercream or Swiss Meringue Buttercream, they can stay at room temperature for a day or two, provided your kitchen isn’t overly hot. If you must refrigerate them, they’ll last 3 to 5 days, but you absolutely must bring them to room temperature for 30 minutes before serving. Cold butter equals a hard, unappealing cake.
If you’re meal prepping for a busy week, freeze the unfrosted cupcakes. Wrap each one individually in plastic wrap to prevent freezer burn, then place them in an airtight bag. They’ll keep for 2 to 3 months. Thaw frozen cupcakes in the fridge overnight, or unwrap them and let them sit on the counter for an hour. They taste just as fresh as day one.
Frequently Asked Questions
Your Next Baking Project
You’ve got this. Once you understand the basic mechanics of temperature, aeration, and precise measurements, baking stops being intimidating. Even when they’re not perfect, homemade vanilla cupcakes from scratch are still pretty great. Serve them with a glass of cold milk or a strong cup of coffee, and watch how quickly they disappear from your kitchen counter.
I genuinely love the problem-solving aspect of recipe development, and seeing you master this classic makes it all worthwhile. If you’re looking to experiment with variations like adding crushed Oreos or fresh strawberries, browse my Pinterest boards for endless inspiration. Grab your scale, check your oven temperature, and let’s bake.
Reference: Original Source
Why is my batter so thin?
A thin batter usually means your liquid-to-flour ratio is slightly high, which actually helps create a moist texture. As long as you measured your all-purpose flour correctly by weight, don’t panic. The high hydration ratio ensures your vanilla cupcakes from scratch stay tender for days.
Can I make this as a cake?
Yes, you can absolutely bake this vanilla cupcakes from scratch batter in cake pans. This recipe yields enough batter for two 8-inch round pans. Bake at 350°F for 30-35 minutes. Watch the windowpane test, not the clock. Check for doneness when the edges pull away slightly.
How long will these cupcakes keep?
Stored properly in an airtight container, homemade vanilla cupcakes will stay soft at room temperature for up to 4 days. If frosted, keep them out of direct sunlight. Never store them in the fridge unless your frosting requires it, as refrigeration dries out the crumb structure rapidly.
Can I use oil instead of butter?
You can substitute oil for butter, and it actually improves the cold storage texture because oil stays liquid at room temperature. However, you’ll sacrifice that rich, bakery style butter flavor. I prefer using a hybrid approach: mostly butter for flavor, with a tablespoon of oil for lasting moisture.
Can I make this with whole eggs?
This recipe specifically uses large eggs in their entirety. Some white-cake recipes call for only egg whites to keep the color pale, but whole eggs give these classic vanilla cupcakes a more velvety texture and richer flavor. Just ensure they are truly at room temperature before mixing.
Why do cupcakes sink in the middle?
Cupcakes sink primarily when liners are overfilled. The batter rises above the muffin tin, loses structural support, and collapses. It can also happen if your baking powder is expired, or if you open the oven door too early, letting out the steam that helps them spring up.
What is a room temperature egg?
A room temperature egg feels neutral to the touch, neither warm nor cool. If you pull them straight from the fridge, place them in a bowl of warm (not hot) water for 10 minutes. Cold eggs will shock your room-temperature butter and break your batter’s emulsion.
Can I freeze cupcakes?
Absolutely. Freezing is the best way to preserve vanilla cupcakes from scratch. Wrap unfrosted cupcakes tightly in plastic wrap to lock in moisture, then place them in a freezer bag for up to 3 months. Thaw them at room temperature for an hour before frosting.
Can I make the frosting ahead of time?
Yes, buttercream frosting can be made up to a week in advance and stored in the refrigerator. Before using, let it sit on the counter until it reaches room temperature, then re-whip it in your stand mixer for a few minutes until it’s perfectly smooth and spreadable again.