Ingredients
Method
- Preheat the oven to 350°F (175°C) and grease a 9x13 inch (23x33 cm) baking pan.
- Combine flour, baking powder, cinnamon, and salt in a large bowl. In a separate bowl, beat eggs and sugar until light and fluffy, then whisk in oil and milk. Stir in pumpkin puree and vanilla extract.
- Transfer 1 1/2 cups of the pumpkin batter to a separate bowl and mix in cocoa powder until smooth.
- Pour half of the pumpkin batter into the prepared pan, add dollops of chocolate batter, and swirl gently with a knife. Top with the remaining pumpkin batter and swirl again lightly.
- Bake for 30-35 minutes, testing for doneness with a toothpick.
- Cool the cake in the pan for 10 minutes, then transfer to a wire rack to cool completely before serving.
Nutrition
Notes
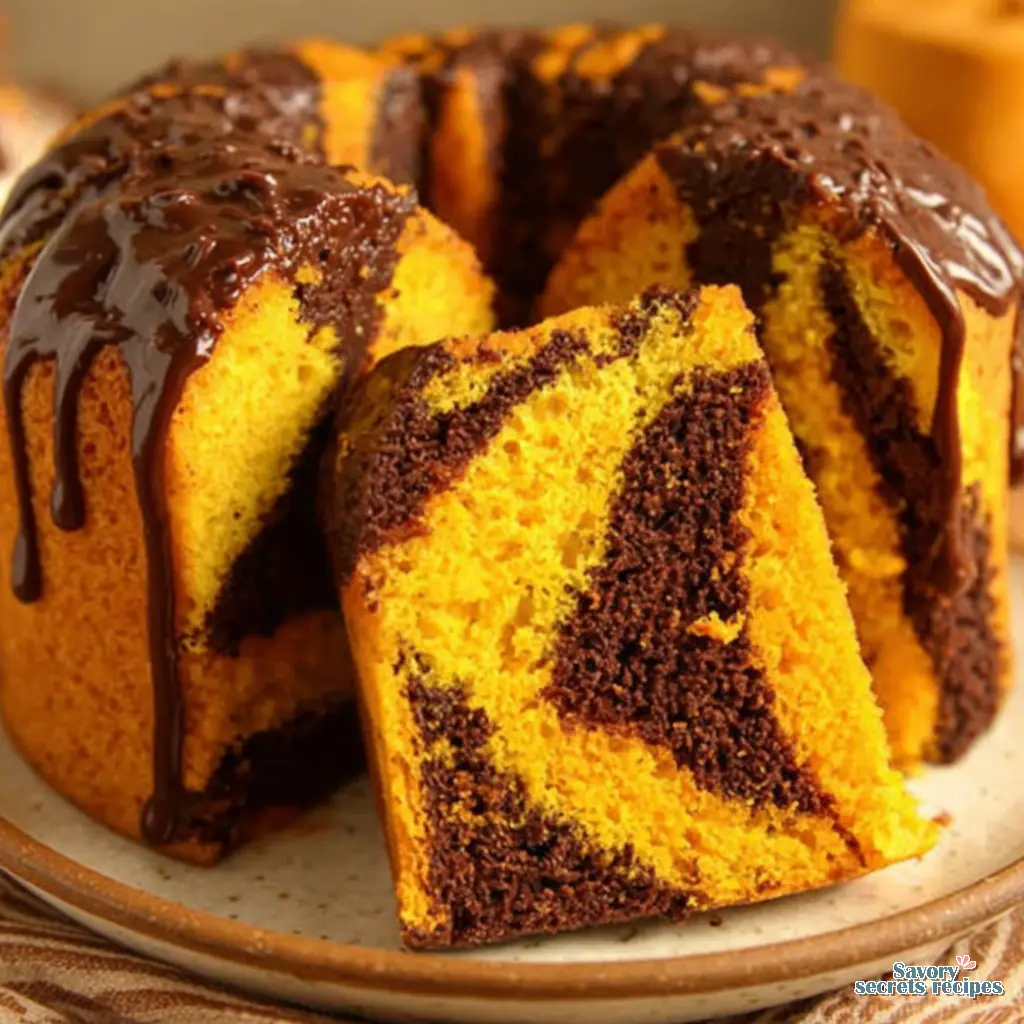
The Best Pumpkin Chocolate Marble Cake
It’s mid-December in Los Angeles. Temps finally dropped to about 60 degrees, which means we can actually turn our ovens on without turning the apartment into a sauna. I was thinking about my grandmother Elaine this morning while prepping my kitchen. We had this huge apricot tree in our Pasadena backyard that fruited heavily one summer. She taught me to arrange the picked fruit by ripeness, moving from pale yellow to deep orange. I learned color gradients before I learned fractions. That’s probably where my obsession with visual contrast started.
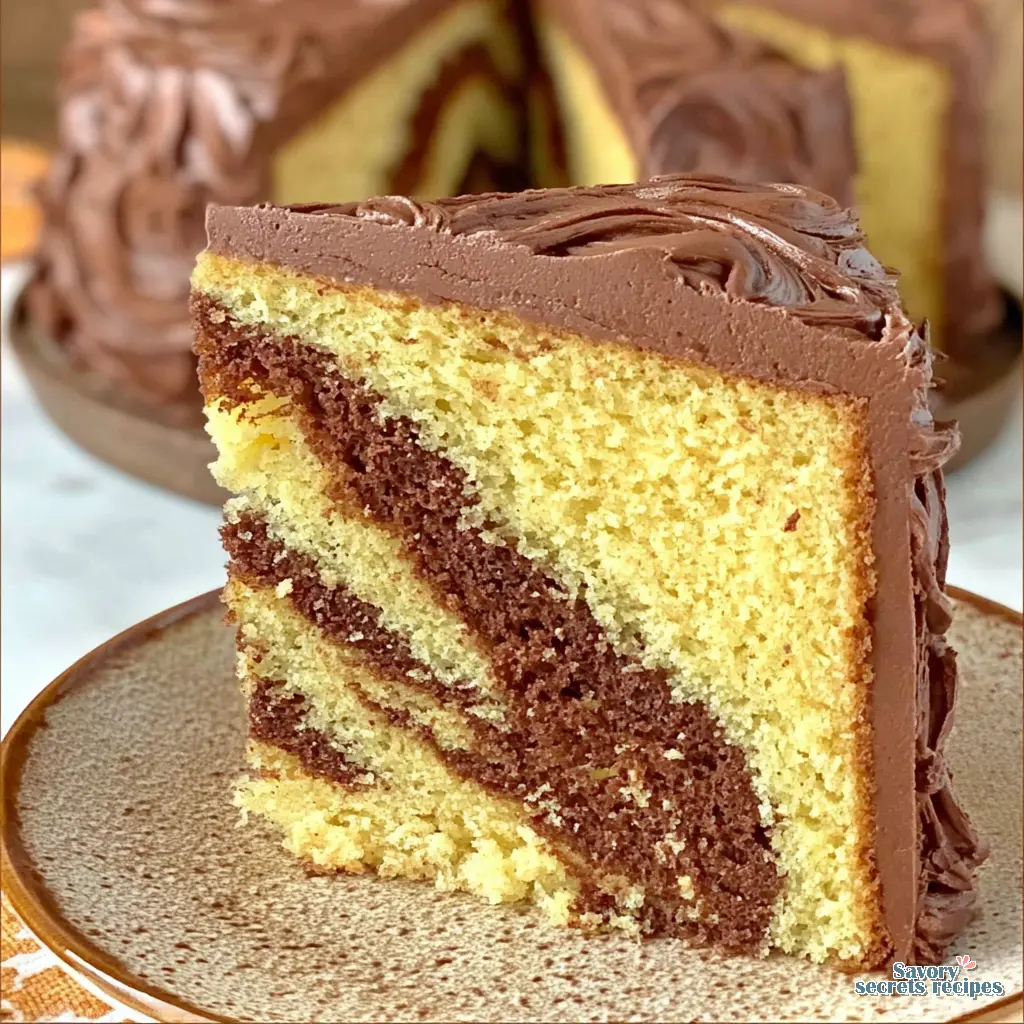
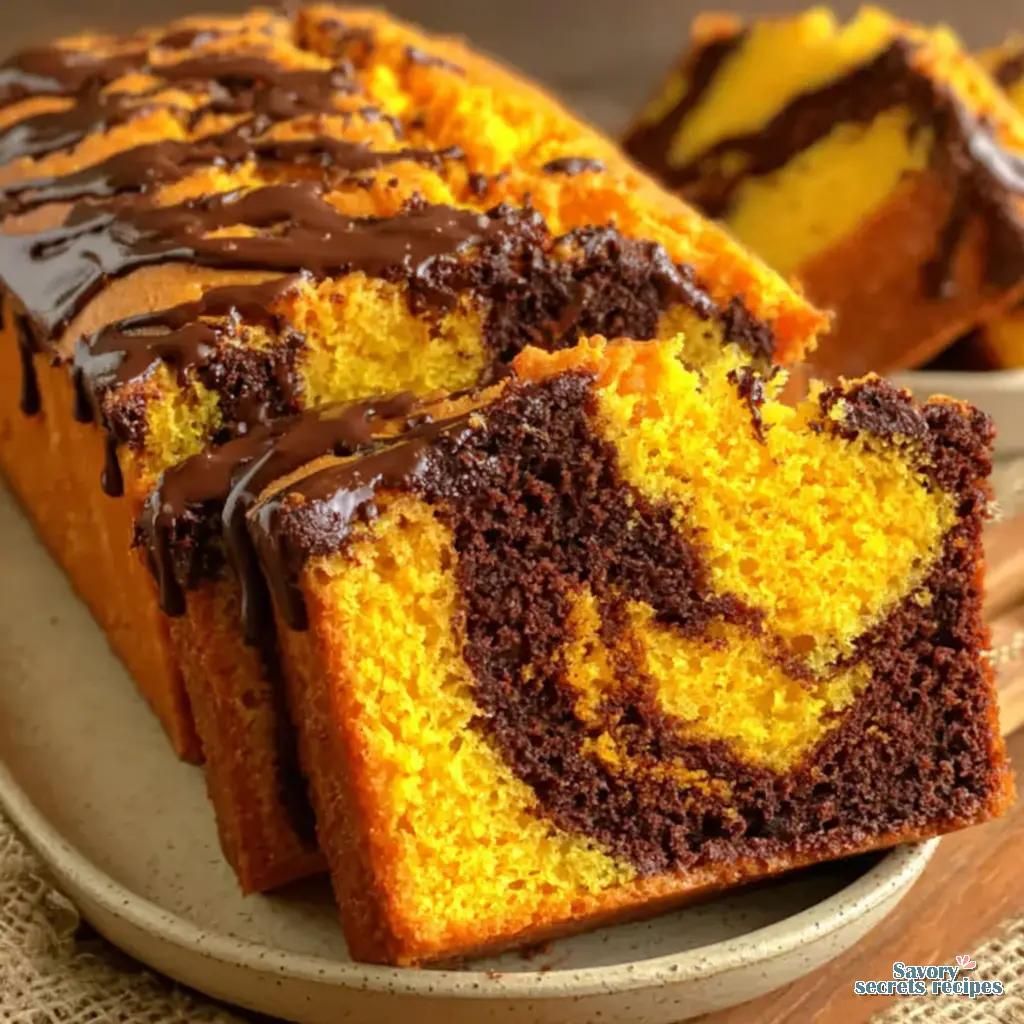
That same contrast is exactly why a pumpkin chocolate marble cake works so beautifully. You get the vibrant, earthy orange of the pumpkin puree sitting right next to the deep, rich dark chocolate. It’s a clean read. When you slice into it, your eye knows exactly where to land. Plus, the smell of warm spices hitting the cocoa powder in a hot oven is just pure fall baking magic. I know some marble cakes look better than they taste, but we’re going to build in layers of actual flavor here. Trust me on this one.
Essential Ingredients for a Clean Read
I see a lot of bakers grab whatever is cheapest in the baking aisle. I mean, you could do that, but your mileage may vary. If you want that perfect pumpkin chocolate marble cake, you need to be a little picky about your base components.
First off, you absolutely need 100% pure pumpkin puree. Do not grab the pumpkin pie filling by mistake. The pie filling has added sugars and stabilizers that will completely throw off our moisture balance. For the chocolate side, I always reach for Dutch-process cocoa. It gives you a much deeper color and a smoother flavor profile. A photographer I assisted under, Marcus, used to say the camera sees differently than you do. Regular cocoa bakes up a bit reddish and pale. Dutch-process gives you that striking, almost black-brown contrast against the orange.
You’ll also need a solid blend of cinnamon, nutmeg, and cloves. I prefer grating the nutmeg fresh if I have the time. It really brings out the earthy notes in the pumpkin.
The Science of Pumpkin and Chocolate
Let’s talk about the one-batter method. You make a single spiced pumpkin batter, then you split it. Here is the real secret. Do not split it exactly in half. If you do a 50/50 split, the chocolate completely overpowers the delicate pumpkin flavor. It’s not quite there yet visually, either.
You want to take just one-third of your batter and mix in the bloomed cocoa powder. Blooming the cocoa in a little warm water before folding it in is crucial. It hydrates the starches and releases the flavor compounds. Splitting the batter so only a third is chocolate ensures the pumpkin remains the star of the show. If you use too much chocolate batter, the visual contrast gets lost. It just looks too muddy.
How to Make the Perfect Marble Swirl
I once over-styled a soup early in my career. Too many garnishes, too much height. It looked busy and confused. The same thing happens when people try to marble a cake. They panic and over-mix.
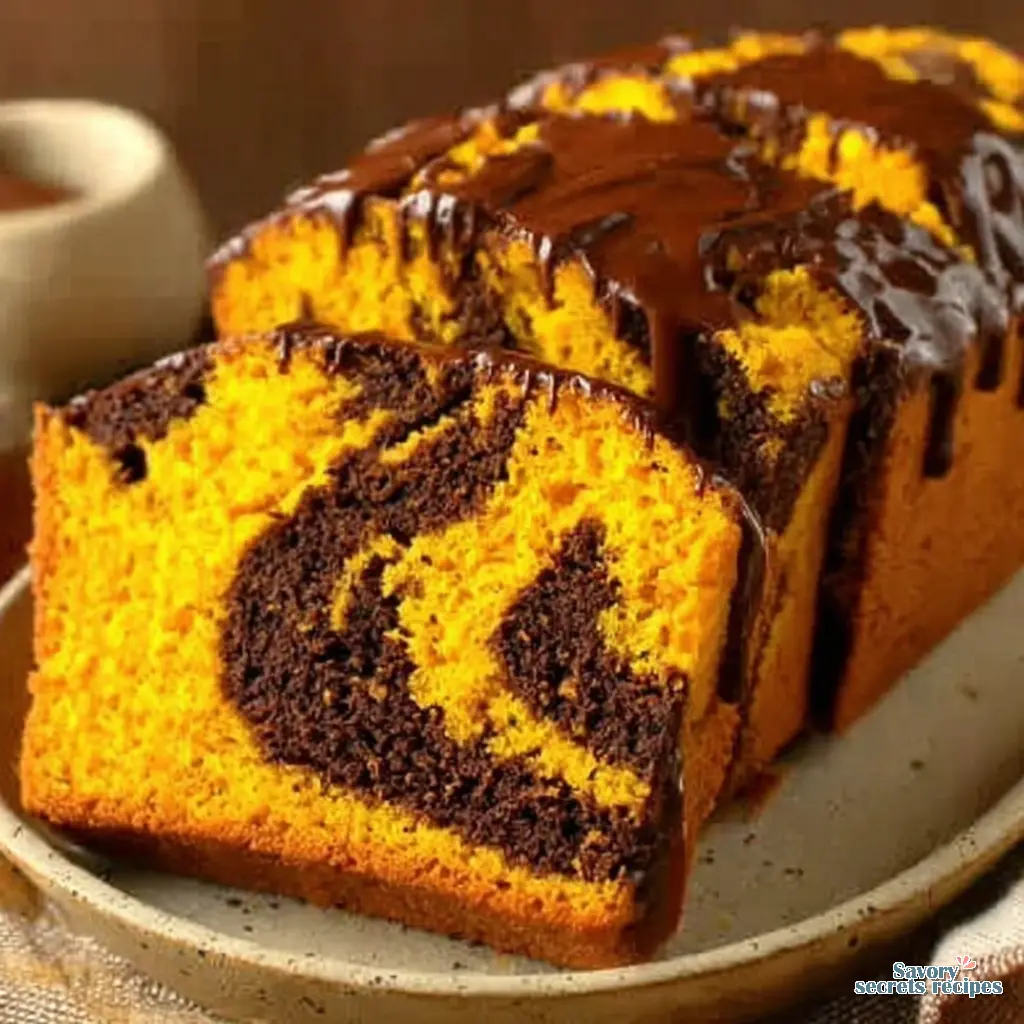
To get those beautiful, distinct swirls in your pumpkin chocolate marble cake, you need to pull back a bit. Alternate scooping the orange and brown batters into your prepared loaf pan. Then, take a butter knife or a wooden skewer. Plunge it straight down into the batter and draw a continuous figure-8 pattern from one end of the pan to the other. Do this exactly twice. That’s it. Stop touching it. If you keep swirling, you’ll blend the colors together and lose that perfect contrast.
Pan Variations for Your Pumpkin Chocolate Marble Cake
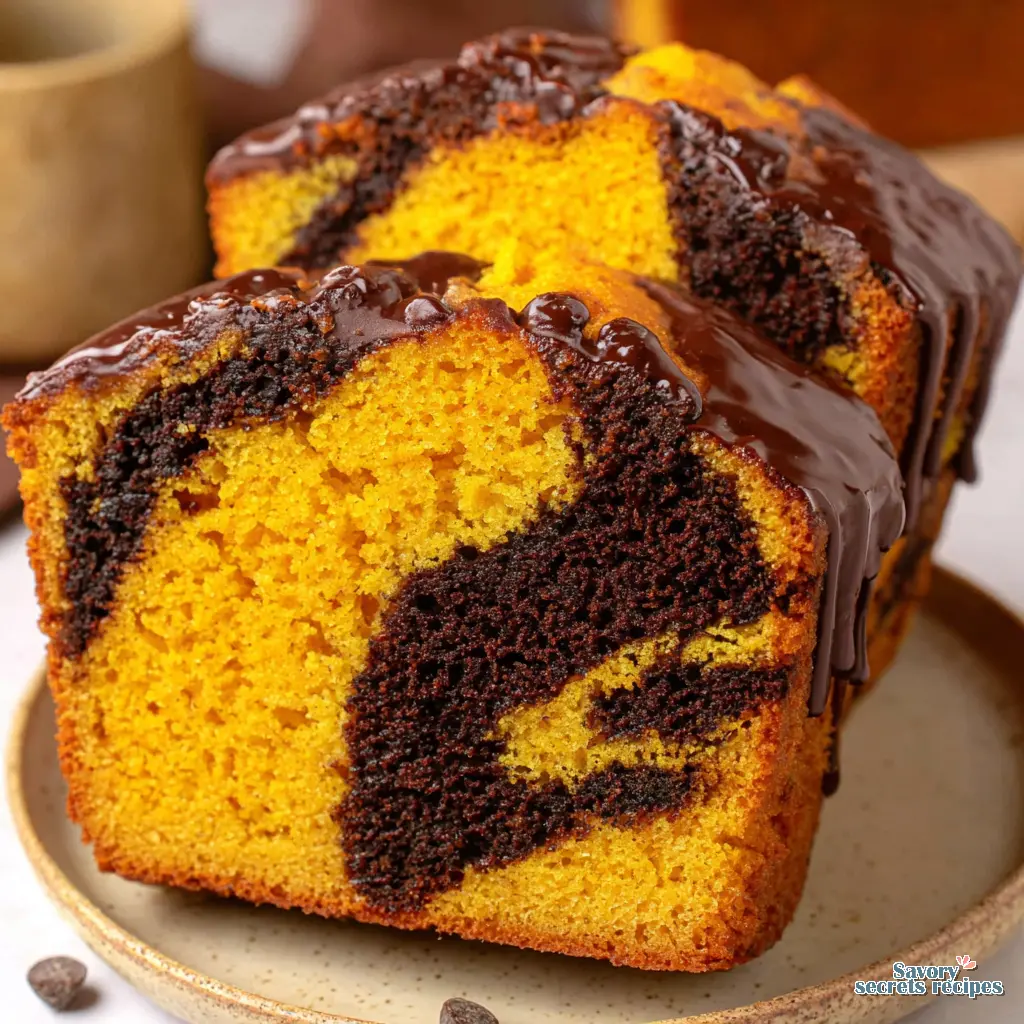
Most people bake this in a standard 9×5 loaf pan. That’s my go-to for a casual Sunday morning when Dash is waiting for his walk and I need something efficient. But you can absolutely adapt this.
If you want to bake this pumpkin chocolate marble loaf in a Bundt pan instead, you’ll need to double the recipe to fill a standard 10-cup Bundt. The baking time will increase to about 55 to 65 minutes. Just rely on the toothpick test. Insert it into the center. If it comes out with a few moist crumbs, you’re good. If you’re doing round cake layers for a more formal dessert, divide the batter between two 8-inch pans and start checking them around the 30-minute mark.
Visual Troubleshooting: Sinking, Gumminess, or Dry Crumb
I genuinely love the problem-solving of making brown food look appealing. But sometimes the bake itself goes wrong. Here are the most common issues I see when testing this recipe.
Common Mistakes & Fixes
Mistake: The center of the cake sinks after cooling.
Solution: You likely underbaked it or opened the oven door too early. Pumpkin adds a lot of moisture. Let it bake fully, and don’t check it until at least 45 minutes have passed.
Mistake: The texture is gummy instead of fluffy.
Solution: This usually happens if you over-mixed the batter once the flour was added. Mix just until you can’t see dry flour streaks anymore. Build in layers gently.
Mistake: The swirl looks like a muddy brown mess.
Solution: You over-swirled. Remember the rule. Two figure-8 motions with a knife. That’s it.
Brown Butter Frosting and Decorating
A good glaze or frosting acts like the perfect prop in a photo shoot. It just ties everything together. I highly recommend a brown butter frosting or a simple maple glaze for this.
If you’re making brown butter frosting, you have to let the brown butter re-solidify before mixing it into your buttercream. I learned this the hard way. I tried to whip liquid brown butter once, and it just broke into a greasy mess. Let it sit in the fridge until it’s the consistency of soft room-temperature butter. Then whip it. If you want to get fancy with buttercream stripes on a round cake, use a cake scraper designed for stripes to get clean lines on the exterior. It’s a bit of extra work, but the visual payoff is incredible.
72-Hour Prep Schedule for Holidays
I cook for our friend group once a month. My biggest rule is never doing everything on the same day. You can easily break this pumpkin chocolate marble cake down into a stress-free schedule.
Three days out, make your brown butter and let it chill. Two days out, bake the cake layers or loaf. Let them cool completely, wrap them tightly in plastic wrap, and leave them at room temperature. The day before, make your frosting and ganache. Store the frosting in an airtight glass container in the fridge. On the day you serve, bring the frosting to room temperature, re-whip it in a stand mixer to restore the fluffy consistency, and gently heat the stored ganache in 15-second microwave intervals until it’s ready for that perfect curtain drip.
Storage and Freezing Instructions
Pumpkin-based cakes hold moisture incredibly well, which is great for storage. If you’re keeping it at room temperature, wrap the unglazed cake tightly in plastic wrap. It’ll stay fresh for about three days. Honestly, I think the flavor of the warm spices actually deepens on day two.
If you need to freeze it, wrap the completely cooled cake layers in plastic wrap, then slip them into a freezer-safe bag. They’ll keep for up to two months. When you’re ready to serve, let the cake thaw overnight in the fridge, then bring it to room temperature before adding your maple glaze or ganache. It’s the perfect make-ahead seasonal dessert.
Frequently Asked Questions
Final Thoughts
There’s nothing quite like pulling this out of the oven on a Sunday afternoon. The smell alone makes the whole process worth it. I love how forgiving this recipe is, and it really does deliver that perfect visual contrast I’m always chasing. Serve it with a hot cup of coffee, and you’ve got the ultimate cozy kitchen atmosphere.
If you end up making this pumpkin chocolate marble cake, I’d love to see how your swirls turn out. I share tons of visual variations and styling ideas on my Pinterest boards if you want a little extra inspiration for your fall baking.
Source: Health & Nutrition Research
Can I make the cake layers ahead of time?
Absolutely. You can bake the layers, let them cool completely, and wrap them tightly in plastic wrap. They’ll hold perfectly at room temperature for up to two days. If you need more time, pop those wrapped layers into the freezer for up to two months. Just thaw overnight before frosting.
How long does the brown butter frosting last?
Your frosting will last up to two weeks in the fridge if you store it in an airtight glass container. When you’re ready to use it on your pumpkin chocolate marble cake, let it sit on the counter until it reaches room temperature, then re-whip it in your stand mixer to get that fluffy texture back.
How do I get the perfect swirl without mixing colors?
The trick is restraint. Alternate dollops of your pumpkin and chocolate batters in the pan. Then, take a butter knife and draw a continuous figure-8 pattern through the batter exactly twice. If you keep swirling, the colors will blend into a muddy brown and you’ll lose that beautiful contrast.
How do I fix the consistency of refrigerated ganache?
Ganache firms up significantly in the fridge. To get it back to that perfect pouring consistency for a curtain drip, microwave it in short 15 to 20-second intervals. Stir gently between each burst. You want it warm and fluid, but not hot enough to melt your buttercream frosting.