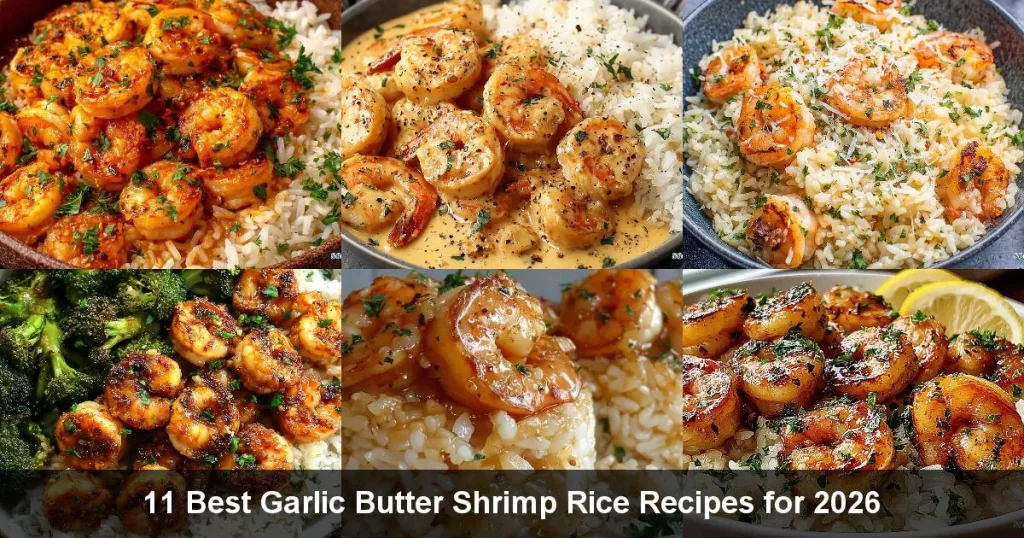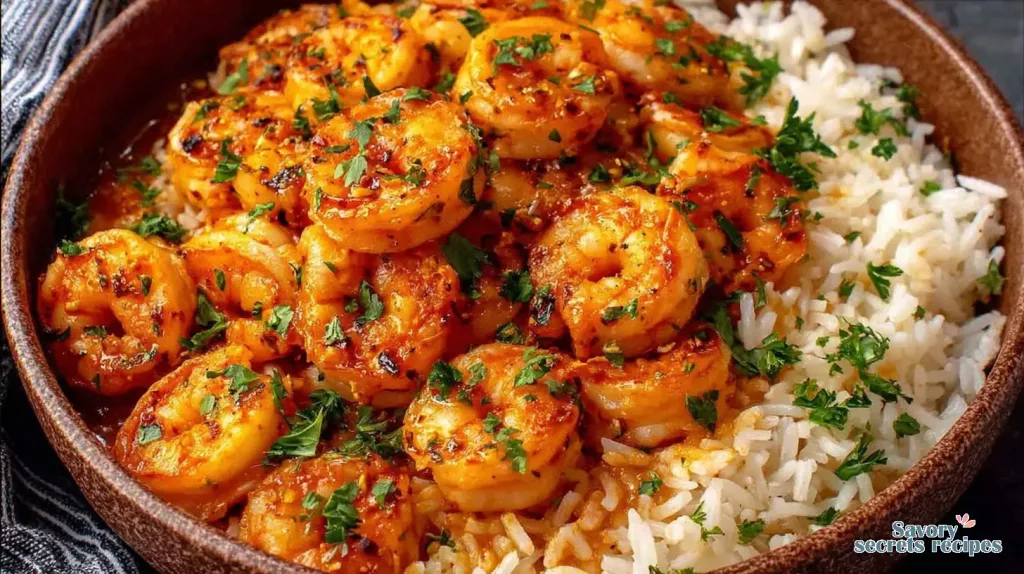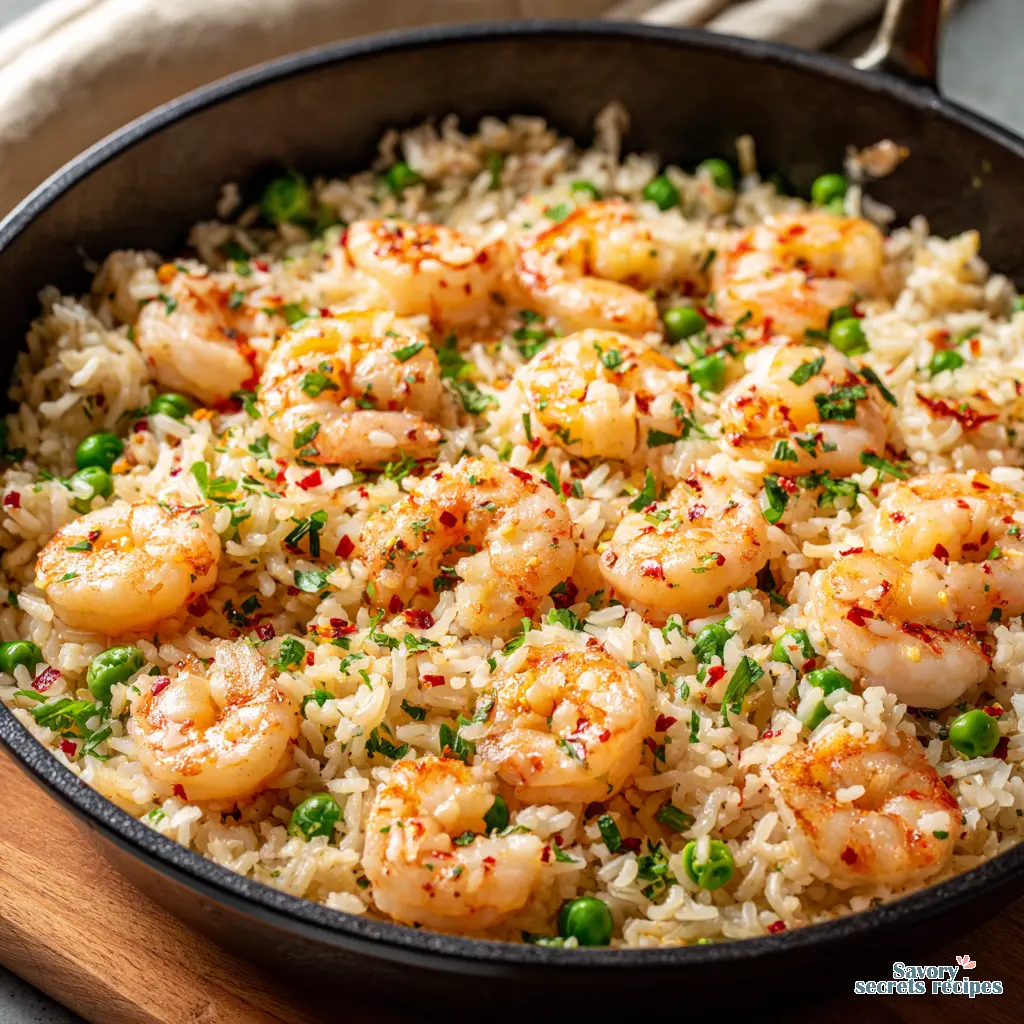
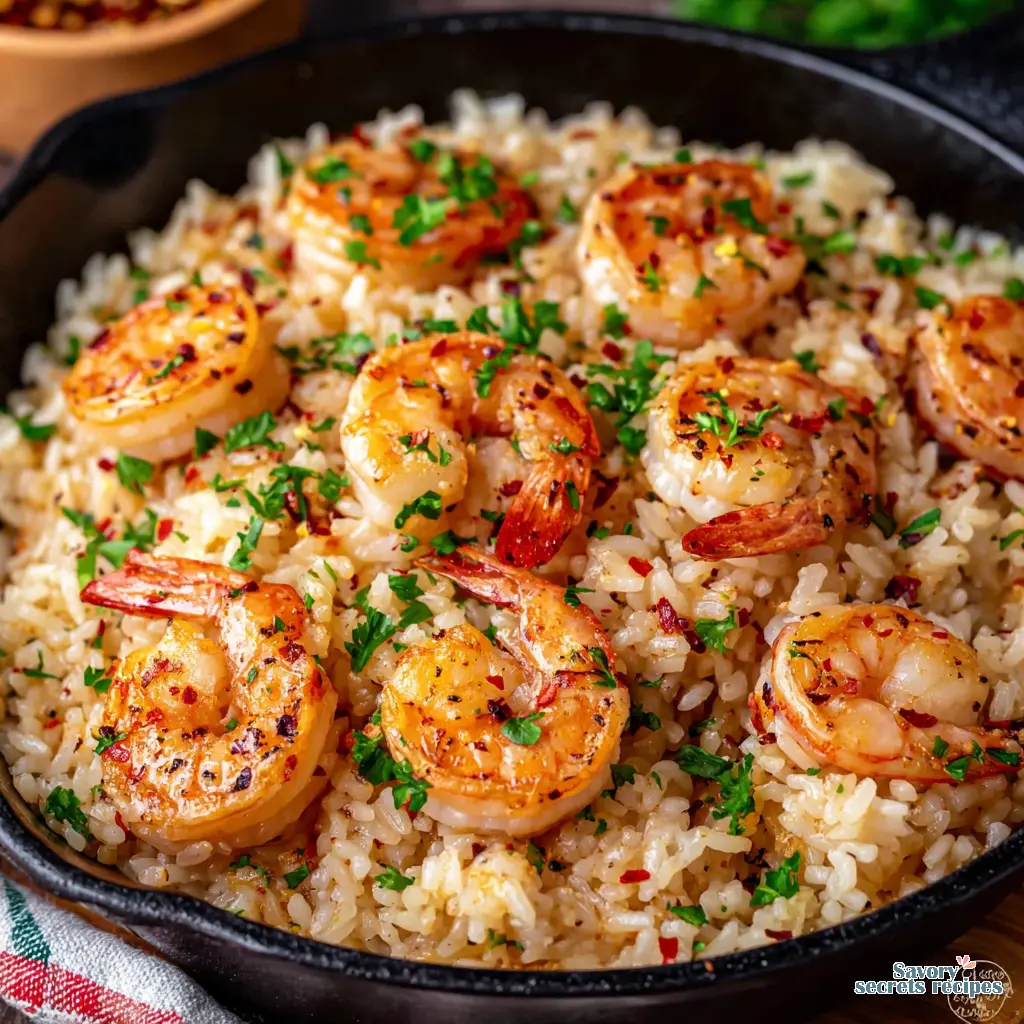
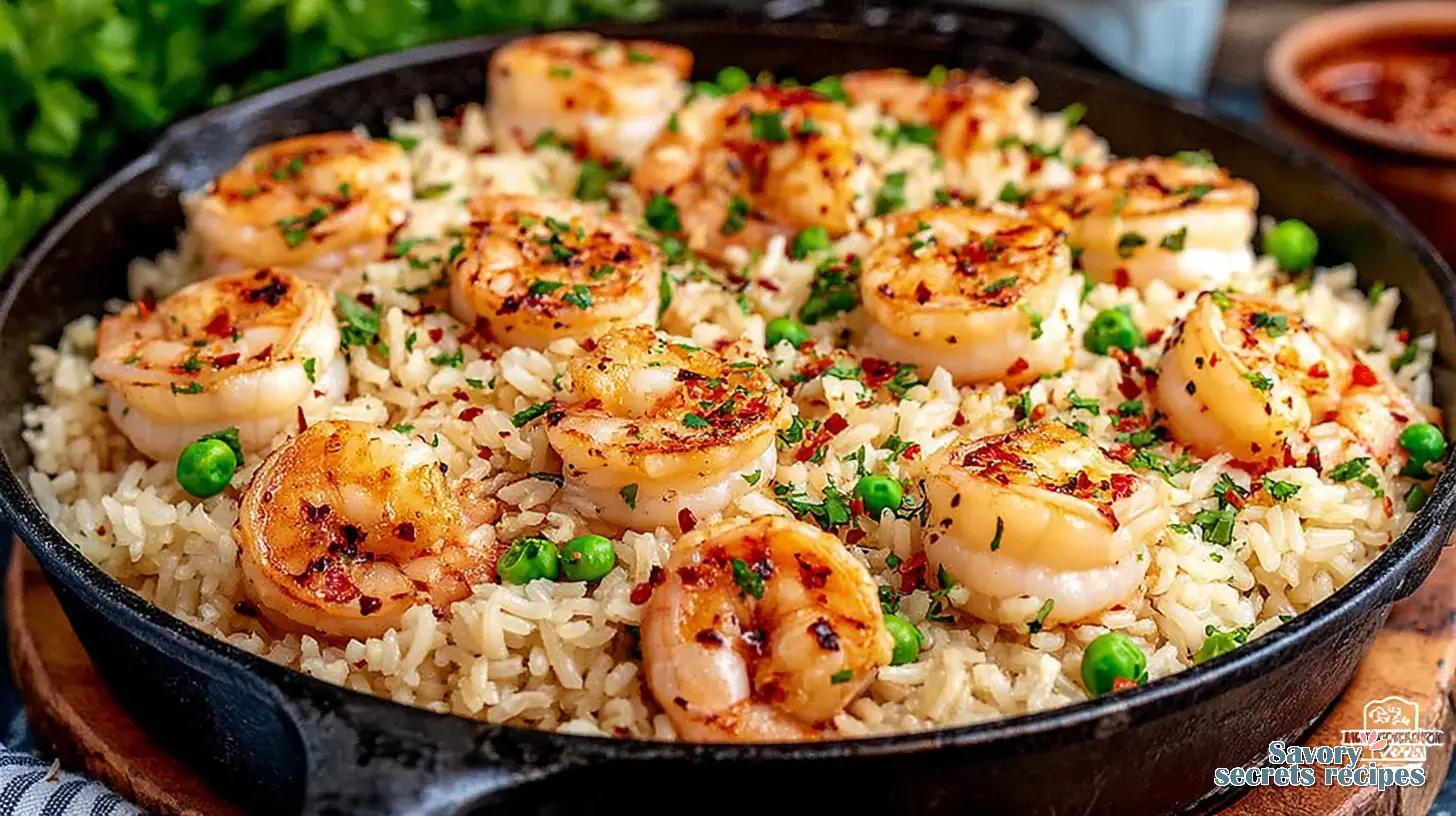
One Pan Garlic Butter Shrimp with Rice
Ingredients
Method
- Melt 2 tablespoons of butter in a large skillet over medium heat.
- Add garlic and red pepper flakes; sauté for 1-2 minutes until fragrant.
- Add shrimp and season with salt, pepper, and paprika; cook for 3-4 minutes until shrimp are pink.
- Remove shrimp from skillet and set aside.
- In the same skillet, add rinsed rice and stir to coat with butter and garlic.
- Pour in chicken broth and bring to a boil; reduce heat to low and cover.
- Cook rice for 15-18 minutes or until liquid is absorbed and rice is tender.
- Stir in thawed peas and reserved shrimp; cook for an additional 2-3 minutes until heated through.
- Remove from heat, stir in remaining butter and parsley, and serve warm.
Nutrition
Notes
Why This Garlic Butter Shrimp Rice Skillet Works
You know that feeling on a Wednesday night. It’s 6:15, everyone’s hungry, and you’re staring into the fridge hoping for inspiration to strike. I’ve been there more times than I care to admit. That’s exactly why this garlic butter shrimp rice skillet became a non-negotiable in my weekly rotation. It’s the kind of meal that looks like you put in way more effort than you actually did. All things considered, it’s a solid performance across the board.
In practice, it solves the big weeknight dinner problems. One pan means minimal cleanup. The shrimp cooks fast, so you’re not waiting forever. And the flavor? It’s exactly what you want to see from a simple ingredient list. The garlic butter sauce isn’t just a coating, it gets cooked right into the rice, creating this incredible depth. This might be personal preference, but I think that’s where the magic happens. It reminds me of Sunday afternoons at my Opa’s house, that specific smell of browning butter and garlic filling the kitchen. Good browning takes patience, but here it’s built right into the process.
Equipment Choices: Cast Iron vs. Stainless Steel
Let’s talk skillets. The tool should disappear in your hand, and your choice here matters. I tested this in both a well-seasoned 12-inch cast iron and a tri-ply stainless steel skillet. Results may vary depending on what you’ve got, but here’s the tradeoff.
The cast iron skillet is perfect for developing a fantastic fond, those browned bits at the bottom that create the sauce’s base flavor. It also goes stovetop to table beautifully, which is a nice touch. Your mileage may vary with heat retention, though. It holds heat so well that you need to be ready to pull it off the burner the second the shrimp are done, or they’ll keep cooking. The stainless steel option gives you more immediate control. You can adjust the heat faster. But, you’ll need to be a bit more generous with your fat to prevent sticking. Case in point, I used about a tablespoon more butter in the stainless pan. Both work. If you’re nervous about the shrimp sticking, go with the cast iron. If you want pinpoint heat control, stainless is your friend.
Just make sure whatever you use is oven-safe if your recipe calls for finishing in the oven, and has a handle that feels right. If the handle feels wrong, everything else suffers.
The Science of Toasting Rice & Building Flavor
This step sounds fancy, but it’s seriously simple. It’s also the secret to preventing mushy rice in your one pan dinner. When you toast the dry rice grains in the hot fat for a minute or two, you’re doing two things. First, you’re sealing the starch on the outside of each grain. That’s what helps them stay separate and fluffy later, instead of clumping together into a gummy mess. Second, you’re creating a nutty, almost popcorn-like flavor base. It only takes an extra 90 seconds, but it changes everything.
Then there’s the fond. After you sear the shrimp, you’ll have those delicious browned bits stuck to the pan. That’s pure flavor, just waiting to be used. Deglazing with your liquid, whether it’s chicken broth or vegetable stock, loosens all that goodness and dissolves it into your sauce. It’s the difference between a sauce that tastes like it’s on the food, and a sauce that tastes like it’s *of* the food. Let it do its work. Fair enough, it’s an extra step, but it’s the kind of design that makes sense once you taste the result.
Shrimp Buying & Prep: A Quick Guide
I get this question a lot. Fresh or frozen? For flavor, fresh is always best. But for convenience and often value, frozen shrimp is a fantastic option. I buy the big bag of frozen, peeled and deveined shrimp from Costco. Just make sure it’s completely thawed before cooking. I mean, completely. The best method is overnight in the fridge. If you’re in a pinch, seal the shrimp in a zip-top bag and submerge it in a bowl of cold water for 20 minutes. Change the water once. Don’t use warm water, it’ll start cooking the edges.
Here’s the critical part: dry the shrimp. Pat them thoroughly with paper towels. If they’re wet, they’ll steam instead of sear. You want that quick, hot sear that gives them a golden crust and keeps them juicy inside. I learned this the hard way testing a batch where I was in a rush. The shrimp simmered in their own liquid and turned out tough. Not good. Also, keep the tails on. It looks nicer for serving, and it saves you prep time. Removing tails adds a step that doesn’t really benefit the final garlic butter shrimp rice skillet.
Common Mistakes & Fixes
Mistake: Overcooked, rubbery shrimp.
Solution: Cook shrimp in two stages. Sear them just until pink and opaque, then remove them. They’ll finish cooking when added back at the end. They’re done when they curl into a “C” shape.
Mistake: Burnt, bitter garlic.
Solution: Garlic cooks fast. Add it off the heat for a second if your pan is too hot. You want it lightly golden and fragrant, not brown.
Mistake: Mushy rice.
Solution: Don’t skip toasting the rice. And use the right liquid ratio. For al dente rice with long grains like basmati, stick to the recipe. For softer rice, add an extra 1/4 cup of broth.
Mistake: Everything sticks to the pan.
Solution: Heat your pan properly before adding oil. And make sure your shrimp are dry. A hot pan and dry protein are your best friends against sticking.
Making It Your Own: Variations & Substitutions
This recipe is a fantastic foundation. To be clear, you can follow it exactly and get a great seafood rice skillet. But you can also tweak it. My daughter loves when I toss in a handful of peas or diced asparagus with the rice for a spring vegetable version. If you want a spicy kick, a pinch of crushed red pepper flakes when you cook the garlic does exactly what it promises.
Not a rice person? Fair enough. This garlic butter sauce is incredible over quinoa or even a short pasta like orzo. Just cook your grain separately and toss it in at the end. For a seafood medley, a few scallops added with the shrimp work beautifully. Just sear them quickly on each side. The key is to not overcrowd the pan, or you’ll drop the temperature and everything will stew. Clean as you go or regret it later, especially when working with multiple proteins. For a low-carb alternative, try our garlic butter shrimp with cauliflower rice.
Stovetop vs. Instant Pot: A Side-by-Side Look
I tested both methods because I know some folks swear by their pressure cookers. Here’s the breakdown. The stovetop method gives you more control over each stage. You develop the fond, you control the simmer, you get that toasted rice flavor. It feels more involved, but it’s where you build the deepest flavor.
The Instant Pot version is undeniably hands-off. You use the sauté function to sear the shrimp and toast the rice, then pressure cook everything together. It’s faster in terms of active time. The texture is different, though. The rice tends to be softer and more uniform. It’s still delicious, but it’s a different experience. If you’re after that rustic, restaurant-style texture with distinct grains, go stovetop. If your priority is a set-it-and-forget-it weeknight meal, the Instant Pot delivers. Worth noting. For detailed instructions, see our dedicated garlic butter shrimp rice Instant Pot recipe.
Serving, Storage, and Making It Ahead
When this garlic butter shrimp rice skillet comes off the heat, finish it with a big squeeze of fresh lemon juice and a handful of chopped parsley. The lemon brightens the rich butter, and the parsley adds a fresh note. It’s flavorful enough to stand alone, but it’s also quick enough for weeknights when paired with a simple side salad or some steamed broccoli from the farmers market.
For storage, let the skillet cool a bit, then transfer leftovers to an airtight container. It’ll keep in the fridge for up to 3 days. The butter will resolidify, that’s normal. Reheat gently in a skillet over low heat or in the microwave in short bursts. You can freeze it for up to 2 months, but the shrimp’s texture will change a bit upon thawing. For meal prep, you can measure your dry rice and spices ahead of time. I’d prep the shrimp the day of, though, to ensure it’s fresh.
Frequently Asked Questions
So there you have it. A garlic butter shrimp rice skillet that’s less about following rules and more about understanding how a few good techniques come together. When you serve this, that moment when the sizzling skillet hits the table, your family will love it. It’s the kind of reliable, impressive meal that makes weeknight cooking feel less like a chore and more like something you actually want to do. You’ve got this. Now go impress yourself.
For more one-pan inspiration and kitchen tool deep-dives, check out my Pinterest boards where I save all my tested ideas.
Source: Nutritional Information
What’s the best skillet to use for one pan garlic butter shrimp and rice?
A 12-inch oven-safe skillet is ideal. I prefer a well-seasoned cast iron for its heat retention and natural non-stick surface, but a heavy stainless steel skillet works great too. Just ensure it’s large enough to hold everything without crowding.
Can I use frozen shrimp for this garlic butter shrimp rice skillet recipe?
Absolutely. Just thaw it completely first, ideally overnight in the fridge. The most important step is to pat the thawed shrimp very dry with paper towels. If they’re wet, they won’t sear properly and can make the rice mushy.
How do I prevent the rice from getting mushy in a one pan meal?
Toast the rice in the hot butter or oil for a full 1-2 minutes before adding liquid. This seals the grains. Also, use the correct liquid-to-rice ratio and resist the urge to stir it once it’s simmering. Let the steam do the work.
What are some good side dishes to serve with garlic butter shrimp and rice?
It’s a complete meal on its own, but a crisp green salad with a lemon vinaigrette balances the richness. Simple steamed vegetables like asparagus or green beans, or some crusty sourdough bread to soak up the garlic butter sauce, are also perfect.
How long can I store leftovers of this seafood rice skillet?
Store cooled leftovers in an airtight container in the fridge for up to 3 days. Reheat gently on the stovetop with a splash of broth or water to loosen the sauce. I don’t recommend freezing, as the shrimp can become rubbery.
Do you have to rinse rice before cooking it in the skillet?
For this recipe, no. Rinsing removes surface starch, which can help prevent clumping. But since we’re toasting the rice first, that step achieves a similar goal. Using unrinsed rice here helps the sauce cling a bit better.
Can I use precooked shrimp?
I wouldn’t. Precooked shrimp will overcook and become tough when simmered with the rice. Using raw shrimp allows them to cook perfectly and absorb the garlic butter sauce, which is the whole point of the dish.
Is this garlic butter shrimp rice skillet a main dish or an appetizer?
It’s a full, satisfying main dish. The combination of protein, carbs, and fat makes it a balanced dinner. You could serve smaller portions as a hearty appetizer for a crowd, but it’s really designed as a center-of-the-plate meal.
How many people will this garlic butter shrimp and rice skillet serve?
As written, the recipe serves about 4 people as a main course. If you’re serving big appetites or want leftovers, you might want to double it. It’s also easy to scale down for two using a 10-inch skillet.
What’s the best way to mince garlic for this?
Fresh is best. Use a sharp knife and a steady cutting board. Smash the clove with the side of the knife first to loosen the skin, then give it a fine chop. A garlic press works, but it can create a paste that burns faster. Just watch it closely.