Bake the best b a banana bread recipe for perfect results
Ingredients
Method
- Preheat the oven to 350°F. Lightly coat an 8½x4½-inch loaf pan with nonstick vegetable oil spray and line it with parchment paper, leaving a generous overhang on the long sides. Whisk 1½ cups all-purpose flour, 1¼ tsp. baking soda, and ¾ tsp. Diamond Crystal or ½ tsp. Morton kosher salt in a medium bowl to combine.
- Beat 1 cup packed dark brown sugar, ⅓ cup mascarpone (or yogurt/sour cream), and 4 Tbsp. room-temperature unsalted butter in a large bowl using an electric mixer on medium-high speed until light and fluffy, about 4 minutes. Add 2 large eggs one at a time, beating to blend after each addition and scraping down the sides and bottom of the bowl with a rubber spatula as needed.
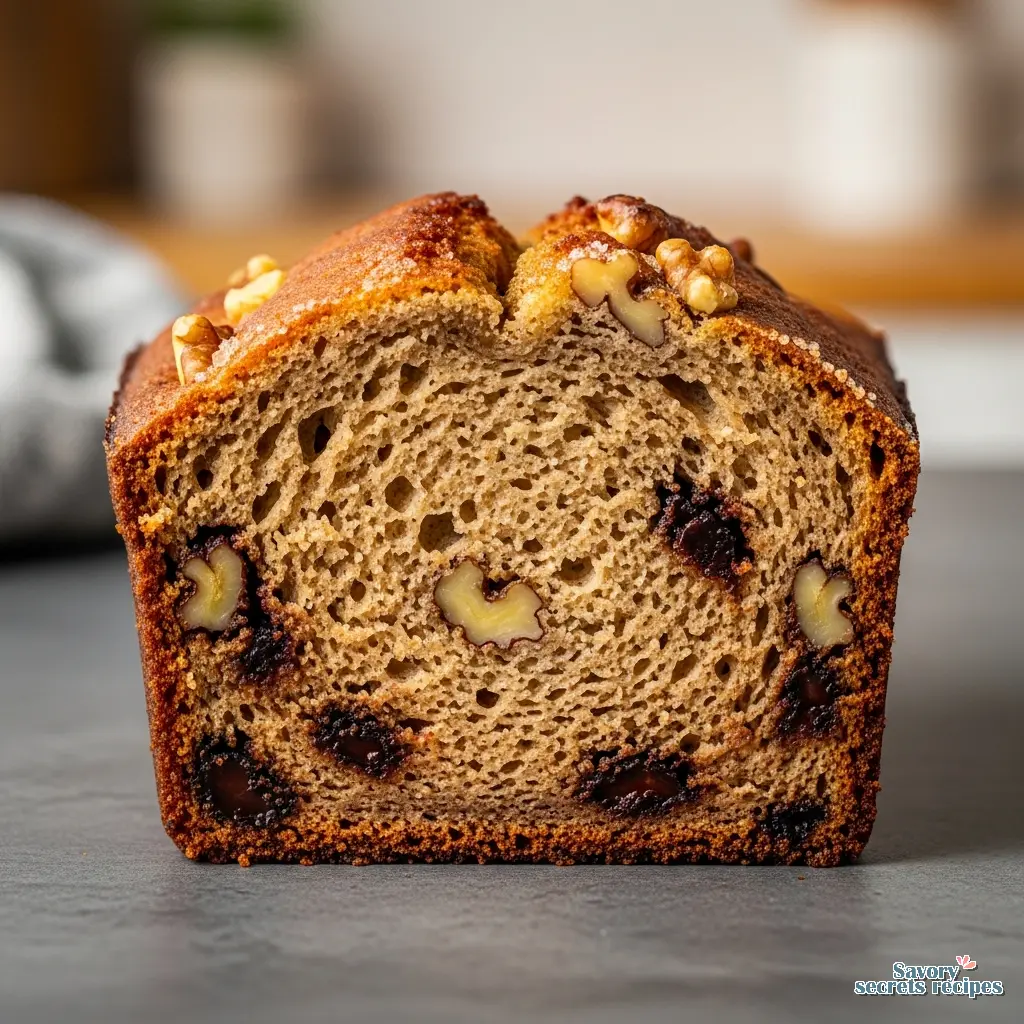
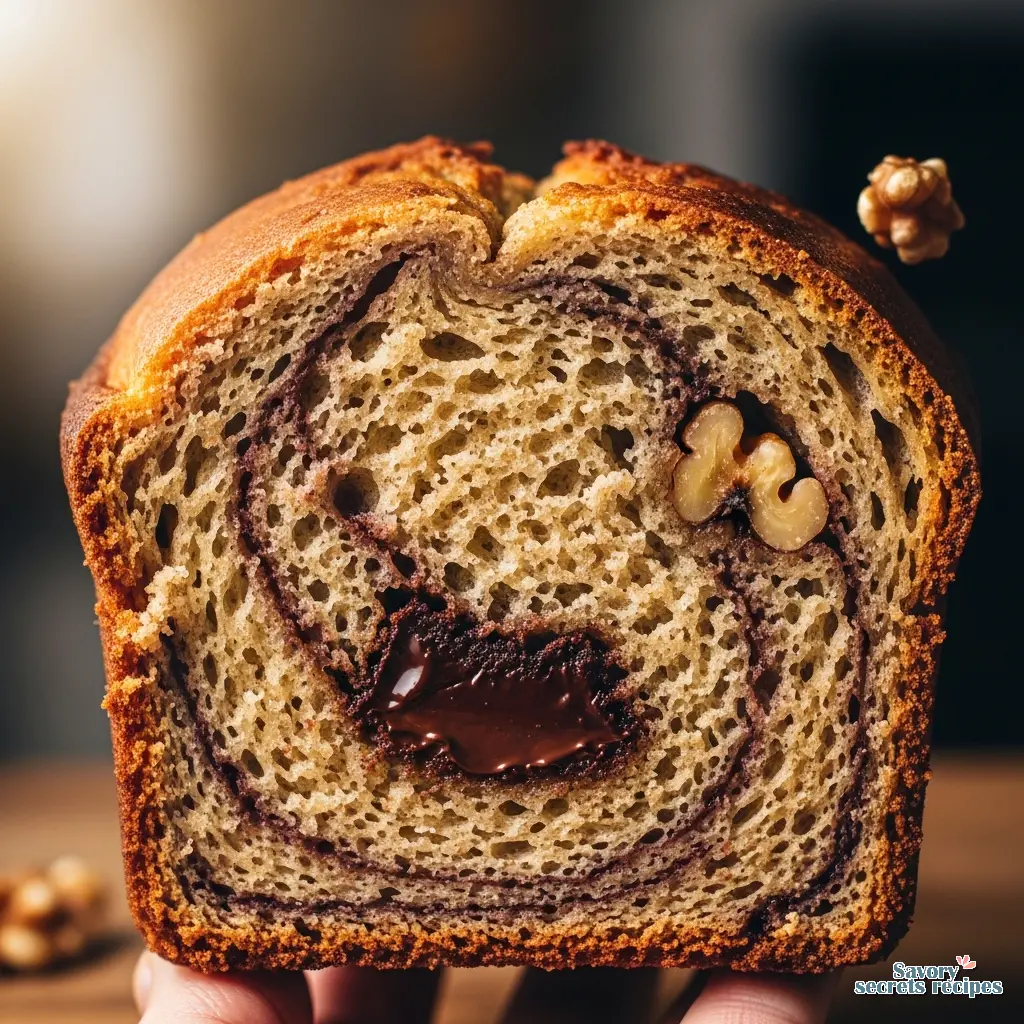
- Reduce the mixer speed to low, add the dry ingredients, and mix until just combined. Add 4 mashed ripe bananas and mix until just combined. Fold in ½ cup chopped chocolate and/or ½ cup chopped walnuts with a spatula, if using. Scrape the batter into the prepared loaf pan and smooth the top.
- Bake the bread for 60–65 minutes or until a tester inserted into the center comes out clean. Transfer the pan to a wire rack and let the bread cool in the pan for 1 hour. Turn the bread out onto the rack and allow it to cool completely before slicing.
Notes
Why This Recipe Actually Live Up to the Hype
I am generally skeptical of internet-famous recipes. In my line of work, I test equipment that claims to revolutionize the kitchen, and nine times out of ten, the classic tool works better. So when the b a banana bread started taking over my feed, I assumed it was just good marketing. I was wrong. That tracks, considering the source, but I needed to understand why. Given my background, I am always searching for the best banana bread recipe that balances science and flavor.
My Opa Klaus used to say that baking is just engineering with better smells. He was right. This recipe isn’t relying on magic. It relies on a very specific structural decision that separates it from the hundreds of other loaf cakes out there. Most banana breads are “quick breads” in the literal sense. You melt butter, mix wet with dry, and throw it in the oven. It’s fast. It’s easy. But it often results in a dense, oily crumb that feels heavy on the palate.
The genius of this b a banana bread lies in the technique. It treats the batter like a cake. You cream the butter and sugar. This introduces air. That air expands in the oven. The result is a structure that can support the heavy weight of the bananas and mascarpone without collapsing into a dense brick. It is a design choice that makes sense.
The Science of Texture: Creaming vs. Melting
Let’s look at the mechanics here. When you melt butter, you are separating the fat from the milk solids and water. It coats the flour proteins heavily, which inhibits gluten formation. This creates tenderness, sure, but it also creates density. In practice, this means your loaf might be moist, but it will lack that bakery-style lift.
This recipe asks you to cream room temperature butter with dark brown sugar. This is non-negotiable. When you beat these two together, the sharp edges of the sugar crystals cut into the butter, creating millions of tiny air pockets. In my testing, this aeration is the primary reason this loaf rises so beautifully despite being loaded with heavy ingredients like mascarpone and walnuts.
Worth noting: You need to cream it longer than you think. Most home cooks stop after two minutes. You want to go for a full five minutes until the mixture is pale and fluffy. It should look like light mocha frosting. If you rush this step, you are compromising the foundation of the bake. It reminds me of watching Opa sharpen his knives. If you don’t put in the work at the beginning, the end result just won’t cut it.
Ingredient Analysis: The Mascarpone Factor
You might be wondering if you really need mascarpone. It’s an expensive ingredient to buy just for one loaf. I get it. But from a chemical standpoint, it is doing heavy lifting here. Mascarpone is essentially high-fat cream cheese. It adds fat for richness, but more importantly, it adds acidity.
The recipe uses baking soda, not baking powder. Baking soda requires an acid to activate. The mascarpone (and the brown sugar) provides that acid. When they hit the heat, they react to create carbon dioxide gas, which gets trapped in those air pockets we created during creaming. This gives you the lift.
If you absolutely cannot find mascarpone, full-fat Greek yogurt or sour cream are acceptable substitutes. I have tested both. The sour cream version is slightly tangier, which I actually prefer, while the yogurt version is a bit lighter. But if you want the authentic b a banana bread experience, stick to the mascarpone. It provides a milky, rich backdrop that balances the aggressive sweetness of the bananas.
The Banana Ripeness Guide
This is where most people fail. I see it all the time. People buy yellow bananas on Tuesday and try to bake on Thursday. It doesn’t work. The starch hasn’t converted to sugar yet. You need bananas that look like they belong in the compost bin. I’m talking black skins, soft to the touch, and smelling intensely sweet.
If you use yellow or even spotty yellow bananas, your bread will lack depth. It will taste like flour and sugar, not banana. The fruit provides the primary moisture for the crumb. If the bananas are too firm, they won’t incorporate into the batter properly, leaving you with dry patches.
The 5-Minute Ripening Trick
If you have firm bananas and a craving that won’t wait, here is a workaround I use in the test kitchen. It is not perfect, but it gets you 90% of the way there.
Step 1: Preheat your oven to 300°F.
Step 2: Place your unpeeled bananas on a parchment-lined baking sheet.
Step 3: Bake for 15-20 minutes until the skins are completely black and the fruit is soft.
Step 4: Let them cool completely before peeling. The liquid that comes out is pure gold. Use it all.
Visual Troubleshooting: Why Your Loaf Sank
There is nothing more frustrating than pulling a beautiful loaf out of the oven, only to watch the center collapse five minutes later. I’ve been there. It usually comes down to two variables: temperature and time.
First, the pan matters. I prefer a light-colored aluminum loaf pan. Glass pans conduct heat poorly and unevenly. Dark non-stick pans get too hot too fast, burning the outside before the inside is set. If you are using a dark pan, reduce your oven temperature by 25°F. It’s a small adjustment that saves the bake.
Second, the “sunken middle” almost always means the internal structure wasn’t set. This b a banana bread is a dense, wet batter. It needs a long time to bake. The recipe says 60-65 minutes, but in my home oven, it often takes 75. Don’t trust the timer; trust the toothpick. It should come out clean, or with just a few moist crumbs attached. If you see raw batter, keep going. Tent it with foil if the top is getting too dark.
Storage & Freezing: Opa’s Philosophy
My Opa believed that wasting food was a moral failing. He also believed that bread tasted better the next day. In this case, he was right again. When you let this banana bread sit, the moisture redistributes. The flavors of the dark brown sugar and vanilla deepen. It becomes fudgier.
To store it, wait until it is completely cool. If you wrap a warm loaf, you trap steam, and that beautiful crackly crust you worked for will turn into mush. Once cool, wrap it tightly in plastic wrap. It keeps on the counter for about three days. After that, toast it.
For freezing, I slice the entire loaf first. Wrap each slice individually in plastic wrap, then put them all in a freezer-safe bag. This is a workflow thing. It means you can pull out a single slice for breakfast without thawing the whole block. Pop the frozen slice directly into the toaster. The sugars caramelize all over again, and the edges get incredibly crisp.
Frequently Asked Questions
Final Verdict
After testing this recipe multiple times, I can say it is one of the few internet phenomena that actually delivers on its promise. It is robust, well-engineered, and forgiving enough for a home kitchen. The mascarpone and the creaming method make a tangible difference in the final product. It is the kind of recipe that makes you look like a better baker than you might actually be.
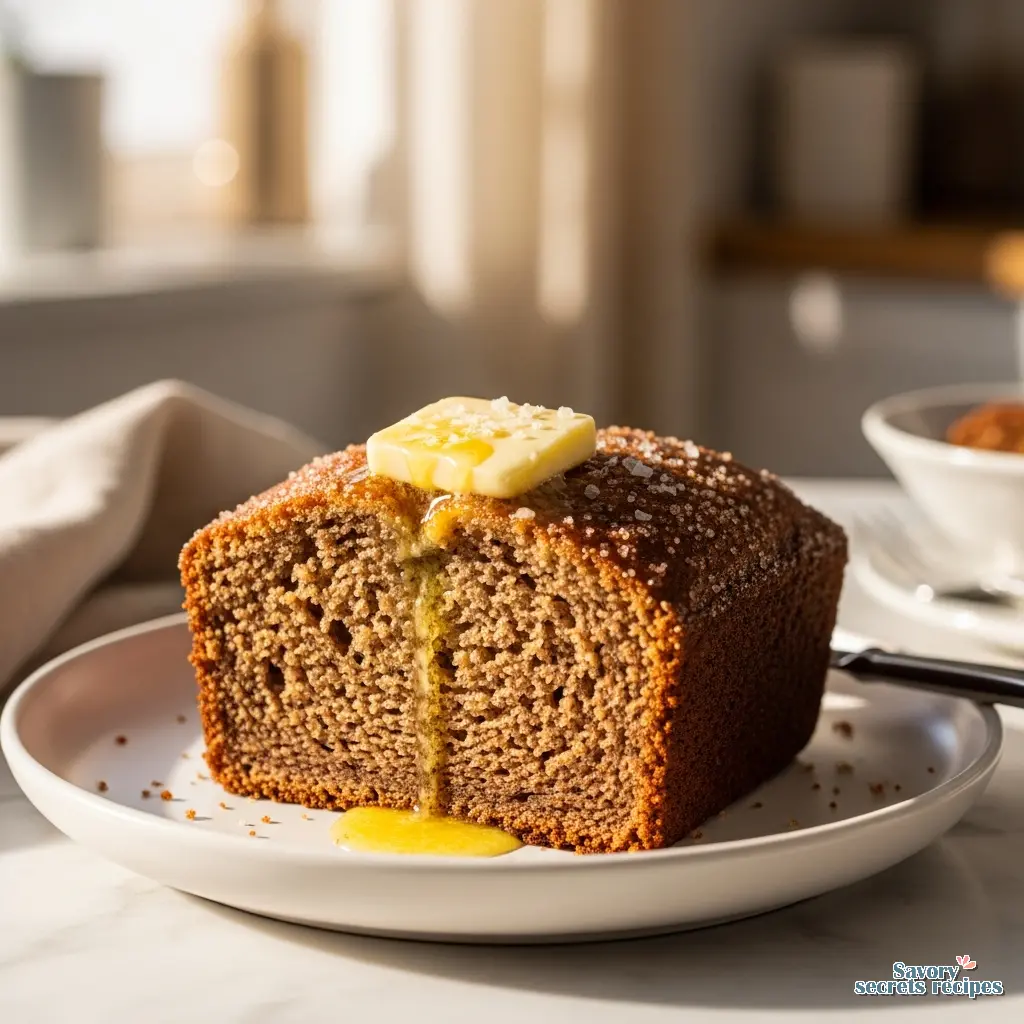
My advice? Make two loaves. One to eat warm with salted butter, and one to freeze for next week. You will thank yourself later. For more inspiration on how to organize your baking workflow, check out my Pinterest boards where I collect efficient kitchen tips.
Give this b a banana bread a shot. And clean as you go, or you’ll regret it when the sugar crash hits.
Reference: Original Source
Can I use green bananas for b a banana bread?
In practice, no. Green bananas lack the necessary sugar content and moisture. They will result in a dry, bland loaf. If you are desperate, use the oven-ripening trick I mentioned above, but natural overripe bananas are always superior for the best flavor profile.
What can I use if I don’t have mascarpone?
Full-fat plain Greek yogurt or sour cream are solid alternatives. They provide the necessary acidity and fat content. I’ve tested both, and while the flavor profile shifts slightly, the structural integrity of the b a banana bread remains intact. Just don’t use low-fat versions.
How do I get that crackly top?
The secret is simple: sprinkle raw sugar or granulated white sugar over the batter right before it goes into the oven. It doesn’t dissolve. Instead, it creates a crystalline crust that shatters when you slice it. It is a small detail that adds a professional finish.
Can I make these as muffins instead?
Yes, and it cuts the bake time significantly. Fill standard muffin tins about three-quarters full. Bake at 350°F for roughly 20 to 25 minutes. The texture will be slightly different more edges, less soft center but the flavor of the b a banana bread recipe holds up well.