


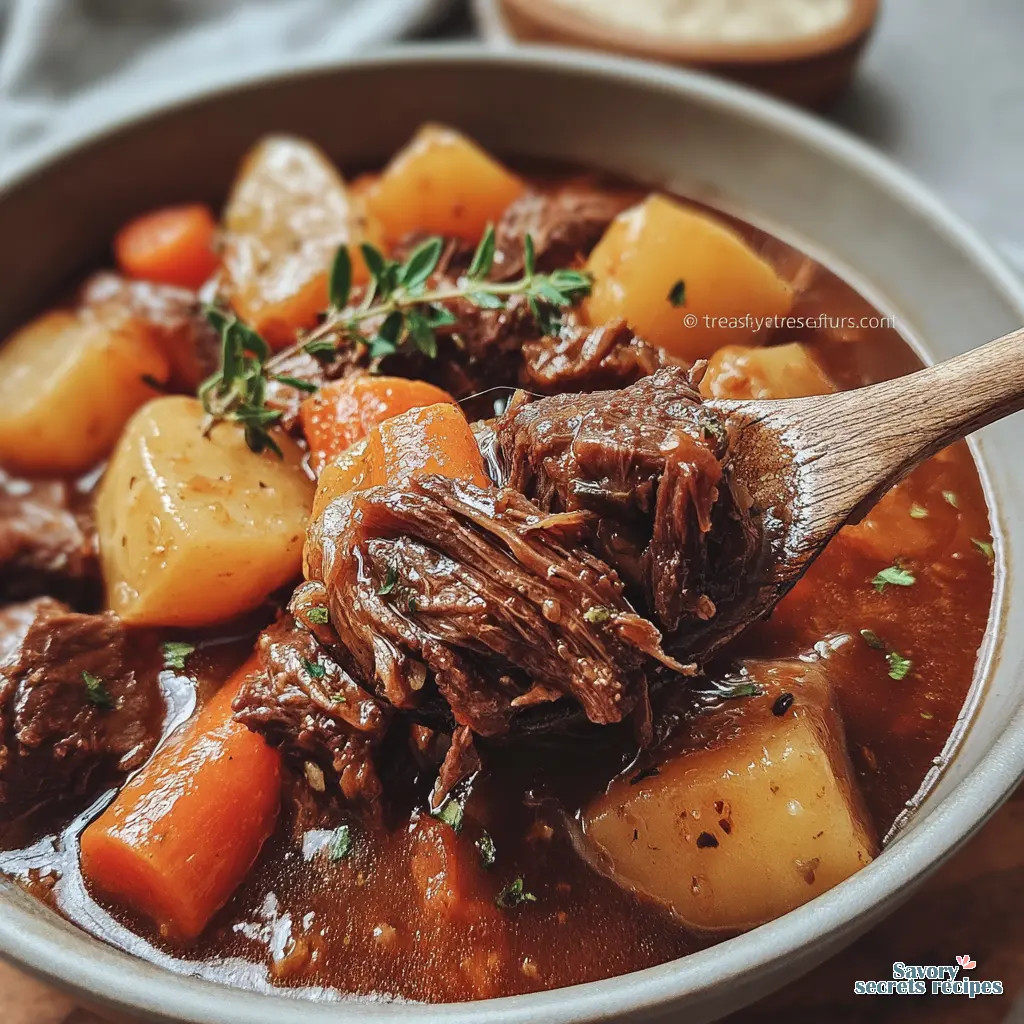
Tender Fall Harvest Homemade Beef Stew
Ingredients
Method
- Heat 1 tablespoon of avocado oil in a Dutch oven over medium-high heat. Toss the beef with flour and brown in batches until a golden crust forms.
- Set the browned beef aside. Add the remaining oil and sauté the diced onion for 2 to 3 minutes until soft and translucent.
- Add the carrots and celery and cook for 5 minutes, stirring occasionally. Stir in the garlic, paprika, and thyme, and cook for 1 minute.
- Stir in the tomato paste and cook for 2 minutes. Return the beef to the pot and add approximately 2 cups of beef stock.
- Bring the mixture to a simmer. Stir in the apple butter and apple cider vinegar. Cover the pot and bake at 325°F for 1.5 hours.
- Remove the pot from the oven. Add the squash, potatoes, and remaining stock. Stir the mixture and return to the oven, covered, for 1 hour.
- Remove the lid and return the pot to the oven for 30 minutes to allow the liquid to reduce and thicken.
- Remove the stew from the oven once the meat and vegetables reach your desired tenderness, then allow it to cool slightly.
- Season with salt and freshly ground black pepper to taste before serving.
- Garnish with chopped fresh parsley for added freshness, if desired.
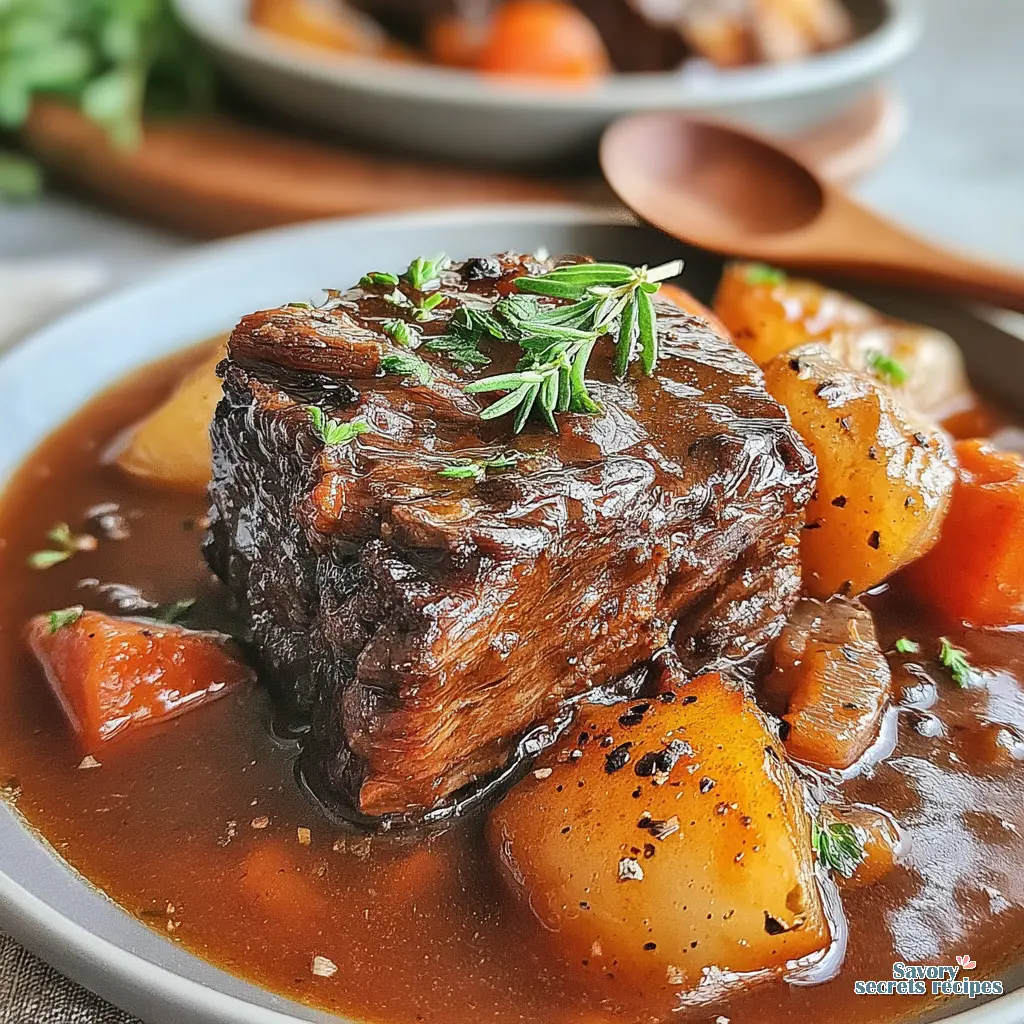
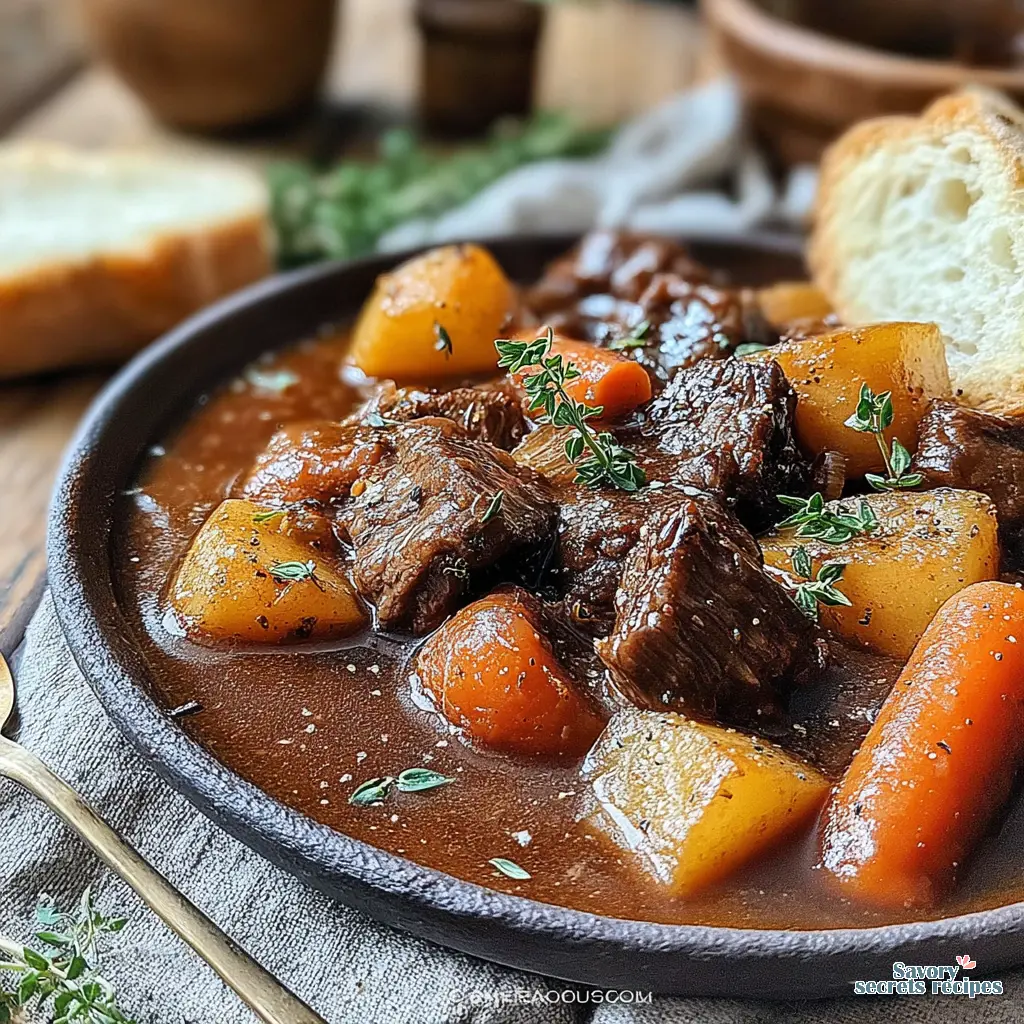
- Serve hot with crusty bread or buttered biscuits for a complete fall meal.
Nutrition
Notes
The Secret to Fork-Tender Beef Stew
Here’s the deal. We have all been there. You spend forty bucks on meat, chop vegetables for an hour, and let the pot simmer all afternoon, only to sit down to a bowl of tough, rubbery meat floating in a thin, watery broth. It is heartbreaking. Honestly, it makes you want to order pizza and call it a day.
I remember standing in my grandfather Vicente’s kitchen when I was a kid, watching him frown at a pot of soup that wasn’t thickening right. He didn’t panic. He just adjusted the heat and reached for his secret weapon. That is what we are doing today. I am going to walk you through the exact method to make a Beef Stew that is rich, velvety, and so tender you can cut the meat with a spoon. No more gray, chewy beef. No more bland broth. Just pure, stick-to-your-ribs comfort food that smells like home.
Why Chuck Roast is King (And Why You Should Ignore “Stew Meat”)
Let’s get real about the meat counter for a second. You will see packages labeled “stew meat” that look convenient. They are usually cut into nice little cubes, saving you five minutes of knife work. Do not buy them. Seriously, put them back.
Those packs are often a mix of scraps from different parts of the cow some lean, some tough, some that will never get tender no matter how long you cook them. It is a gamble, and in my experience, the house always wins.
For a proper Beef Stew, you need chuck roast. This cut comes from the shoulder of the cow, and it is loaded with connective tissue and fat. That might sound unappealing if you are grilling a quick steak, but for a long simmer? It is magic. As the stew cooks, that collagen breaks down into gelatin, which does two things: it keeps the meat moist and fork-tender, and it naturally thickens your broth, giving it that silky mouthfeel we are after.
Trust me on this. Buy a whole chuck roast and cut it yourself. You want big, 1.5-inch chunks. They shrink as they cook, and if you start too small, you end up with gravel. Big chunks mean juicy beef.
The Maillard Reaction: Searing for Flavor
If you have ever watched me grill, you know I am obsessed with the sear. That sizzle when meat hits a hot pan? That is the sound of flavor being born. It is called the Maillard reaction, and it is non-negotiable here.
A lot of recipes tell you to just dump everything in the pot and turn it on. That tracks if you want boiled meat. But if you want that deep, savory umami flavor, you have to brown the beef first. And I mean really brown it. You are looking for a dark, mahogany crust on at least two sides of every cube.
Pro-Tip: Do not crowd the pan. I know, I know. It is tempting to throw it all in at once to save time. But if you pack the beef in tight, the temperature drops, moisture releases, and the meat steams in its own juices. Steamed meat is gray and sad. Sear in batches. Give the meat room to breathe. It should sizzle aggressively, not hiss quietly.
It is okay if your kitchen gets a little messy or smoky (keep that fan on). The fond those brown bits stuck to the bottom of the pot is pure gold. That is where the flavor lives.
Building the Base: Deglazing and Aromatics
Once your meat is browned and set aside, you are left with a pot bottom covered in that dark, sticky glaze. Do not scrub that out. We are going to deglaze it.
In this recipe, we use a combination of beef stock and a splash of apple cider vinegar to lift those bits. The acid in the vinegar helps balance the richness of the beef and cuts through the fat just enough to brighten the whole dish. It is a trick I use in my barbecue sauces too. Acid wakes up the palate.
Then comes the mirepoix. That is just a fancy French word for onions, carrots, and celery. I like to sweat these in the beef fat left in the pot until they start to soften and smell sweet. This is also when I add the tomato paste. Here is a secret: let the tomato paste cook for a minute or two until it turns a brick-red color. This cooks out the raw, metallic taste and deepens the flavor profile.
Thickening Guide: Slurry vs. Potato Starch
Nobody wants soup when they were promised stew. The difference is the viscosity of the liquid. There are a few ways to get that velvety gravy texture, and honestly, people fight about which is best. I tend to think a combination works best.
First, dredging the beef in flour before searing helps. That flour cooks into the fat and creates a mini-roux right from the start. But sometimes, that is not enough.
If you open your pot after two hours and it looks thin, don’t worry. We can fix it. I like to use a cornstarch slurry. Mix equal parts cornstarch and cold water (maybe a tablespoon of each) in a small cup until it is smooth. Stir that into the bubbling stew about 15 minutes before serving.
Important: You must let the stew boil for at least a minute or two after adding the slurry. If you don’t, the cornstarch won’t activate fully, and your stew will have a chalky, raw flour taste. Let it bubble and watch it transform.
Also, the potatoes act as a natural thickener. As they cook, they release starch into the broth. If you want a really thick stew, smash a few of the potato chunks against the side of the pot and stir them in. It is an old campfire trick that works every time.
Slow Cooker & Instant Pot Conversions
I love my Dutch oven. There is something about the heavy lid and the way it radiates heat that feels like real cooking to me. But I get it. Sometimes you need to set it and forget it, or you need dinner in an hour, not three.
Slow Cooker Method: Follow the recipe for searing the beef and sautéing the veggies in a skillet first. Do not skip this! Then transfer everything to the slow cooker. Add the liquid but reduce the stock by about 1 cup, since the slow cooker doesn’t allow for evaporation like a pot does. Cook on Low for 7-8 hours or High for 3-4 hours.
Instant Pot Method: Use the “Sauté” function to brown the meat and veggies directly in the pot. Deglaze thoroughly (burn warnings are no fun). Add the rest of the ingredients, seal the lid, and cook on High Pressure for 35 minutes. Let it natural release for 10-15 minutes. If you quick release immediately, the meat can seize up and get tough. Let it ride for a bit.
Troubleshooting: Why Is My Meat Tough?
This is the number one complaint I hear. “Diego, I cooked it for an hour and it is like leather.”
Here is the hard truth: you probably didn’t cook it long enough. It sounds backward, right? You think cooking it longer will dry it out. But with chuck roast, the opposite is true. The collagen needs time and heat to break down. At one hour, the meat is just cooked and tough. At two hours, it starts to soften. At two and a half or three hours? That is the sweet spot right there. That is when it jiggles like Jell-O.
If your beef is tough, put the lid back on and simmer it for another 45 minutes. Trust the process. It will get there.
Frequently Asked Questions
Storage and Serving: The “Better Next Day” Phenomenon
You know how some things just taste better after a night in the fridge? Beef Stew is the champion of that. As it sits, the proteins in the meat relax and reabsorb some of the seasoned liquid. The flavors of the herbs, onions, and beef have time to meld together into something deeper and more complex.
So, if you can, make this on a Sunday for your Monday night dinner. Store it in an airtight container in the refrigerator for up to 4 days. When you reheat it, just add a splash of water or stock to loosen it up again.
For serving, you want something to soak up that incredible gravy. My go-to is a big slice of crusty sourdough bread or some warm dinner rolls. If you want to go full comfort food, serve it over mashed potatoes or egg noodles. It is a lot of carbs, but hey, we aren’t counting calories with stew.
When you finally take that first bite of fork-tender beef, and the warmth hits your chest, you will know exactly why we spent the extra time searing and simmering. It is not just dinner; it is a reset button for your week. Give this a shot, and let me know how it turns out.
For more inspiration on hearty meals, check out my Pinterest boards where I collect my favorite fire-cooking and comfort food ideas.
Reference: Original Source
Can I use ground beef instead of stew meat?
Technically yes, but it changes the dish entirely. It becomes more of a hamburger soup or “poor man’s stew.” It won’t have that shredded, pot-roast texture, but it is faster to cook. If you go this route, brown the ground beef hard to get some texture.
How do I thicken my beef stew if it is too runny?
Don’t panic. Mix 1 tablespoon of cornstarch with 1 tablespoon of cold water (that is a slurry) and stir it into the boiling stew. Let it bubble for 2 minutes. Alternatively, mash a few cooked potatoes against the side of the pot to release their starch.
Why is my beef still tough after cooking?
Real talk: you didn’t cook it long enough. Chuck roast needs time for the collagen to break down into gelatin. If it is tough, it needs another 30 to 45 minutes of simmering. Keep the lid on, keep the heat low, and be patient.
Can I freeze beef stew?
Absolutely. In fact, it freezes beautifully. Let it cool completely, then store it in airtight freezer bags or containers. It will keep for up to 3 months. Just thaw it in the fridge overnight before reheating gently on the stove.
What is the best way to reheat leftovers?
I prefer the stove top over the microwave. Put the stew in a pot over medium-low heat. You might need to add a splash of beef broth or water since it tends to thicken up in the fridge. Heat it until it is bubbling gently.


