


Instant Pot Classic Beef Chili Recipe
Ingredients
Method
- Set a 6-quart Instant Pot to Saute and select More. Add olive oil to the pot, then add the meat and cook until browned, breaking it up with a spatula as you stir.
- Add the onion and cook for 3 minutes or until softened.
- Stir in the garlic, tomatoes, tomato sauce, beef broth, chili powder, cumin, smoked paprika, cocoa powder, sugar, salt, pepper, and beans.
- Secure the lid and set the Instant Pot to the Chili/Beans setting or manual high pressure for 20 minutes. Release the pressure manually or allow it to release naturally.
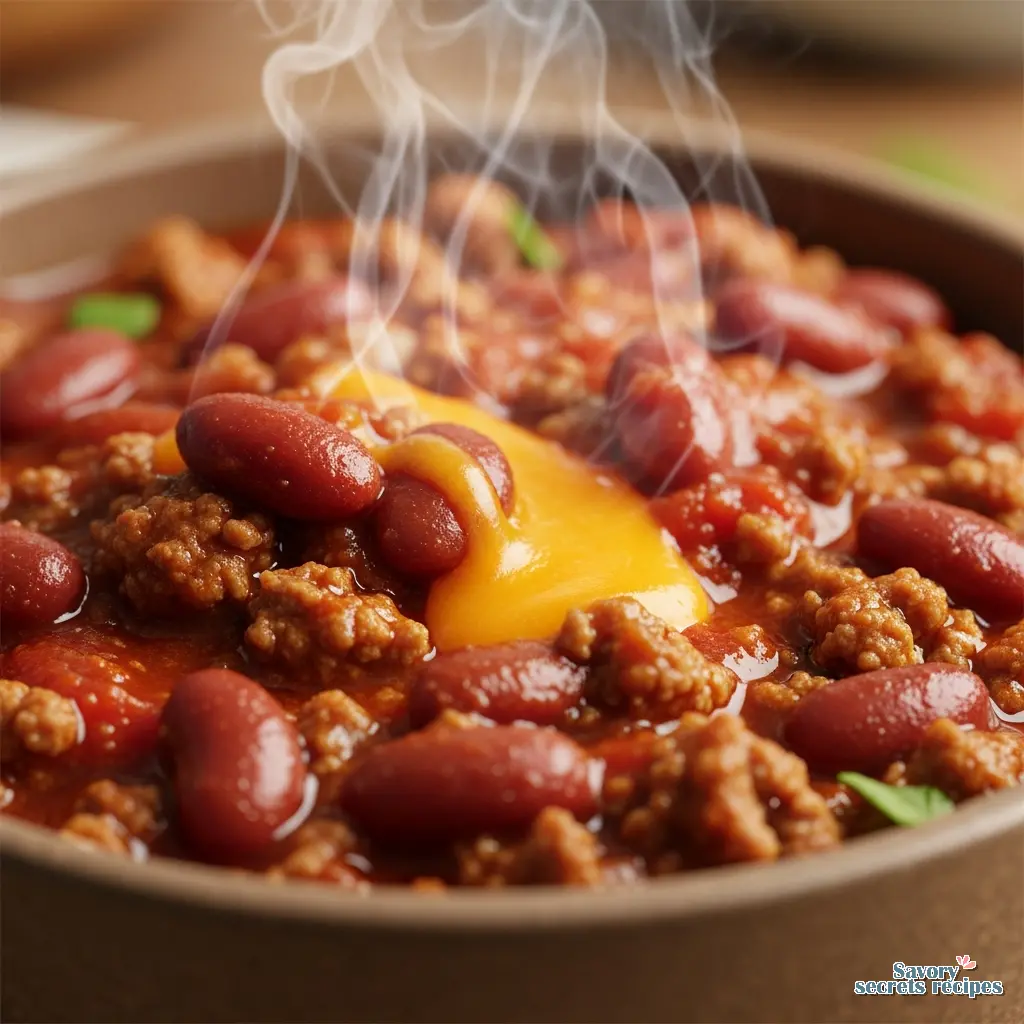
- Serve with assorted toppings.
Nutrition
Notes
Getting That All-Day Flavor Before the Kids Melt Down
It is 5 PM on a Wednesday. The kids are circling the kitchen island, you are staring at a package of ground beef, and decision fatigue is hitting hard. I know that exact panic. You just want a hearty, homemade dinner, but you definitely do not have time to stand over a stove for three hours.
You need a classic instant pot chili. But maybe you are hesitating. I get it. The hissing steam, the fear of the machine failing, or worse, that dreaded Burn notice flashing on the screen. Look, I will be honest. I ruined my first batch completely. I scorched the bottom so badly I had to soak the pot for two days. My wife just ordered takeout and handed me a spatula to start scraping.
I grew up watching my abuela Marta tend three pots at once on a two-burner camp stove in her garage every Saturday. She would have a pot of beans going since dawn. The whole driveway smelled like cumin and toasted garlic. She never measured anything. She just tasted with the same spoon all day. When I asked her how she knew the beans were done, she said you just listen to them. They tell you when they are soft. I still listen to my beans. But on a weeknight? We need the electric pressure cooker to do the heavy lifting. While the pressure cooker is great for speed, a classic crockpot chili recipe is still a wonderful way to prep dinner in advance.
We are going to get that thick, simmered-all-day texture in under an hour. You’ve got this. Let’s build some flavor.
Why This Classic Instant Pot Chili Actually Works
Most quick chili recipes taste flat. They taste like boiled meat and canned tomatoes because they rush the foundation. The secret to a classic chili recipe instant pot style is the Sauté function. This is non-negotiable.
If it doesn’t have color, it doesn’t have flavor. You want to use 85/15 or 90/10 lean ground beef. It has enough fat to carry the spices but won’t leave your dinner swimming in grease. Drop the beef and chopped yellow onion into the pot on Sauté mode. You’ll know it’s ready when the edges pull back and the meat gets a dark, crusty sear. That sizzle is exactly what you want to hear. You can also swap the beef for a healthy ground turkey chili if you prefer a leaner option.
Once the meat is browned, we add the garlic powder, chili powder, ground cumin, and a little cocoa powder. Yes, cocoa powder. It adds a rich, savory umami boost that makes people ask what your secret ingredient is. Let those spices bloom in the hot oil for about a minute until your kitchen smells incredible. That right there is your flavor base.
The Burn Notice Prevention Guide
This is where things usually go wrong. You throw everything in, seal the lid, and ten minutes later the pot starts beeping angrily. The Burn message is just the pot’s way of saying something is stuck to the heating element.
Here is how we fix it. After you brown the meat and bloom the spices, you have to deglaze the pot. Pour in about half a cup of your beef broth. Use a wooden spoon to scrape every single brown bit off the bottom of the stainless steel insert. Those brown bits are called fond, and they are pure flavor. If you leave them stuck to the bottom, the sensor trips. Scrape it clean, and you are golden.
Pro-Tip for Ninja Foodi Users
If you are making a Ninja Foodi chili recipe, the process is identical. Use the Sear/Sauté button on high for the meat, then switch to Pressure Cook on high. The Ninja tends to run a little hotter on the sauté function, so keep your spoon moving so the garlic does not turn bitter.
The Golden Rule of Tomato Layering
I know it sounds complicated, but this next step is actually the easiest part. Once your pot is deglazed, pour in the rest of your beef broth. Add your kidney beans and pinto beans. I like mixing bean types for better texture and visual variety. For those following a specific diet, a low carb keto chili provides all the comfort without the extra beans.
Now, pour your diced tomatoes and tomato paste right on top. Do not stir them. I repeat, step away from the spoon. Tomatoes contain a lot of sugar and they are thick. If they sink to the bottom of the pot, they will scorch during the pressure cook time. Just let them sit on top of the liquid like a blanket. The pressure cooker will do all the mixing for you while it boils. Trust me on this.
Pressure, Patience, and the Perfect Texture
Lock the lid. Set the valve to Sealing. Hearing that little beep when it locks is pure relief. Set it to High Pressure for 20 minutes. Now, go help the kids with their homework or just sit down for a minute.
When the timer goes off, resist the urge to flick that quick release valve immediately. Let it ride. You want a natural pressure release for at least 10 to 15 minutes. Quick releasing meat immediately after pressure cooking pulls the moisture right out of it, leaving it tough. Letting it sit allows the chili to calm down and the flavors to augment. If you enjoy a bit more heat, you might also like a spicy hearty beef chili with added peppers.
Visual Troubleshooting: Is it Too Watery?
When you finally open the lid, it might look a little separated or watery on top. That is completely normal. Give it a really good stir. Most of the time, it thickens right up as the starches from the beans mix with the broth.
But if it still looks too thin for your liking, we have a simple fix. Turn the pot back to Sauté mode with the lid off. Let it simmer and bubble for 5 to 10 minutes. The excess liquid will evaporate, leaving you with a thick, velvety broth. Taste it now, adjust from there. Maybe a pinch more kosher salt or a dash of smoked paprika. You’ll know it’s ready when it coats the back of your spoon.
Building the Ultimate Toppings Bar
A classic instant pot chili is really just a canvas for the toppings. This is how you make picky eaters happy. Set up a little station on the counter. I always include cool sour cream, sharp shredded cheddar cheese, and diced green onions. The contrast of the cold sour cream against the lava-hot chili is exactly right.
If you are hosting friends or watching the game, put out some avocado slices, jalapeños, and plenty of crunch factors like corn chips or tortilla strips. My kids love when I serve the chili in a bowl made of cornbread. Just bake your standard cornbread, scoop out the middle, and ladle the chili right in. Solid weeknight dinner right there. Another kid-friendly way to use these flavors is by whipping up a classic chili mac recipe for a cheesy twist. Leftovers also make an incredible topping for hot dogs, much like a classic chili dog sauce you’d find at a ballpark.
Storage, Freezing, and Next-Day Magic
Chili is one of those rare foods that actually tastes better the next day. The spices have time to settle and mingle. Store leftovers in an airtight container in the fridge for 3 to 5 days.
If you want to be a meal prep hero, double the batch. Just make sure you do not pass the Max Fill line on your pot, especially with beans, which tend to foam. Freeze the extra in Ziploc bags. Press them flat to push the air out, and stack them in the freezer like books.
Reheating from Frozen
When you need a lazy night dinner, pull a flat bag from the freezer. Run it under warm water just until it loosens from the plastic. Slide the frozen block into a saucepan over medium heat. Add a tablespoon of water to loosen the texture, cover it, and let it simmer until heated through. It is faster than ordering a pizza.

Frequently Asked Questions
Dinner is Served
When you set this pot on the table tonight, the whole house is going to smell incredible. You’ve got that deep, complex flavor of a classic instant pot chili without sacrificing your entire evening to the kitchen. The meat is tender, the spices are perfectly bloomed, and you didn’t even get a Burn notice.
Grab a bowl, load it up with cheese and sour cream, and enjoy your evening. You earned it. I share tons of variations and family favorites on my Pinterest boards, so come say hi over there if you want more weeknight wins.
Reference: Original Source
How do you make Instant Pot chili?
You start by browning lean ground beef and onions on the Sauté function. Deglaze the pot with beef broth, add your spices, beans, and layer the tomatoes on top without stirring. Pressure cook on high, then let the pressure release naturally.
How long does it take to cook chili in an Instant Pot?
Total time is usually around 45 minutes. You’ll spend 10 minutes sautéing the meat, 20 minutes cooking under high pressure, and about 15 minutes letting the pressure release naturally. It is much faster than the traditional stovetop method.
How do you thicken chili in an Instant Pot?
If your classic instant pot chili looks watery after cooking, stir it well first. If it is still too thin, turn on the Sauté function with the lid off. Let it simmer for 5 to 10 minutes until the excess liquid evaporates.
What if I get the Burn Notice?
Don’t panic. Hit cancel, quickly release the pressure, and open the lid. Scrape the bottom of the pot thoroughly to remove any stuck bits. Add a splash of water or beef broth if needed, then resume cooking. Always deglaze before pressure cooking to prevent this.
Can this classic instant pot chili recipe be doubled?
Yes, but check your pot size. You can comfortably double this in an 8-quart pot. In a 6-quart pot, you risk crossing the Max Fill line. Beans foam under pressure, so never fill the pot more than halfway when cooking them.
What is the Chili setting on the Instant Pot?
The ‘Bean/Chili’ button is just a pre-programmed setting that cooks at High Pressure for 30 minutes. I prefer using the Manual or Pressure Cook button set to 20 minutes for canned beans so they don’t turn into total mush.
Why is my classic instant pot chili watery?
Pressure cookers trap all the steam, so no liquid evaporates during the cooking cycle like it does on a stove. The tomatoes also release their juices. Just use the Sauté function at the end to boil off the extra moisture.
Can I use ground turkey instead of beef?
Absolutely. Ground turkey works perfectly in this classic chili recipe instant pot method. Just add a tablespoon of olive oil when sautéing, as turkey is leaner and might stick to the stainless steel insert without a little extra fat.
How do I store and freeze leftovers?
Refrigerate in an airtight container for up to 5 days. To freeze, ladle cooled chili into freezer-safe Ziploc bags, press out the air, and freeze flat. They thaw quickly and reheat perfectly on the stovetop for easy weeknight meals.


