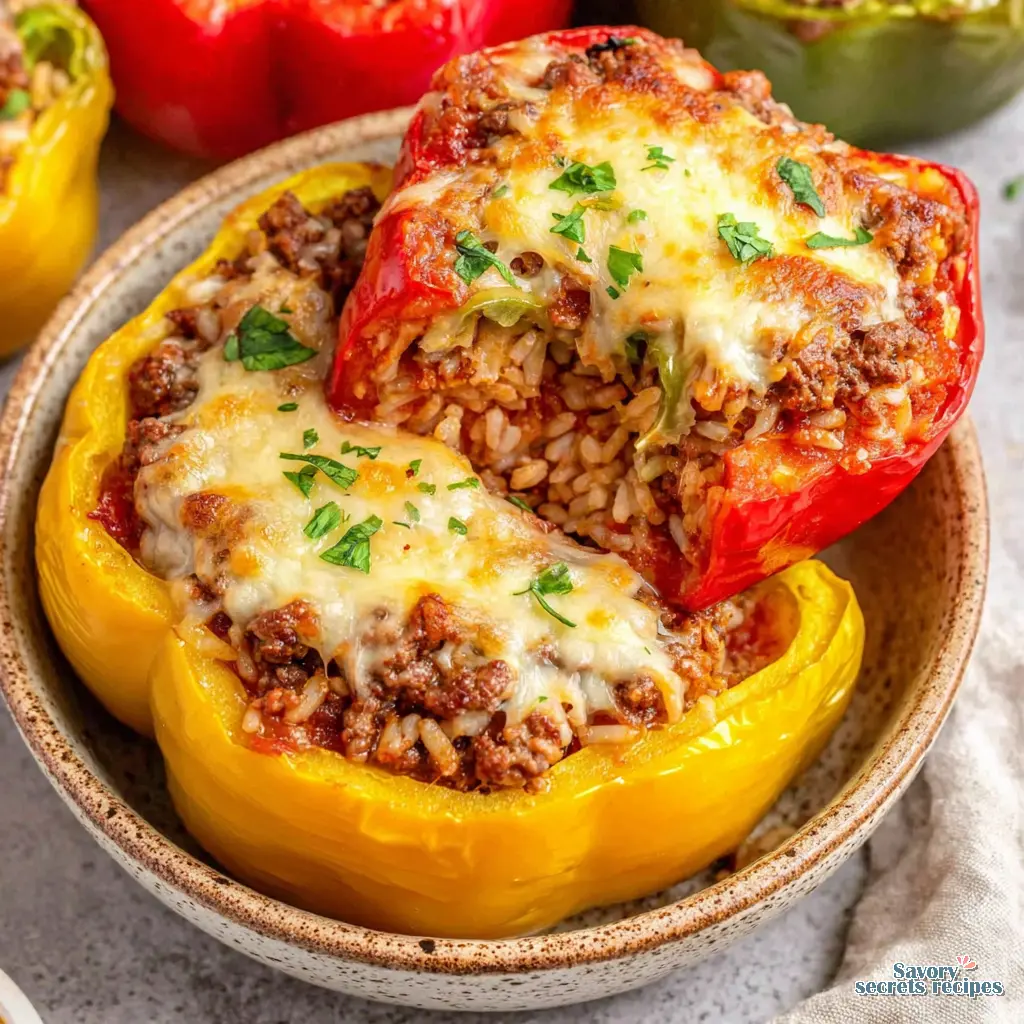
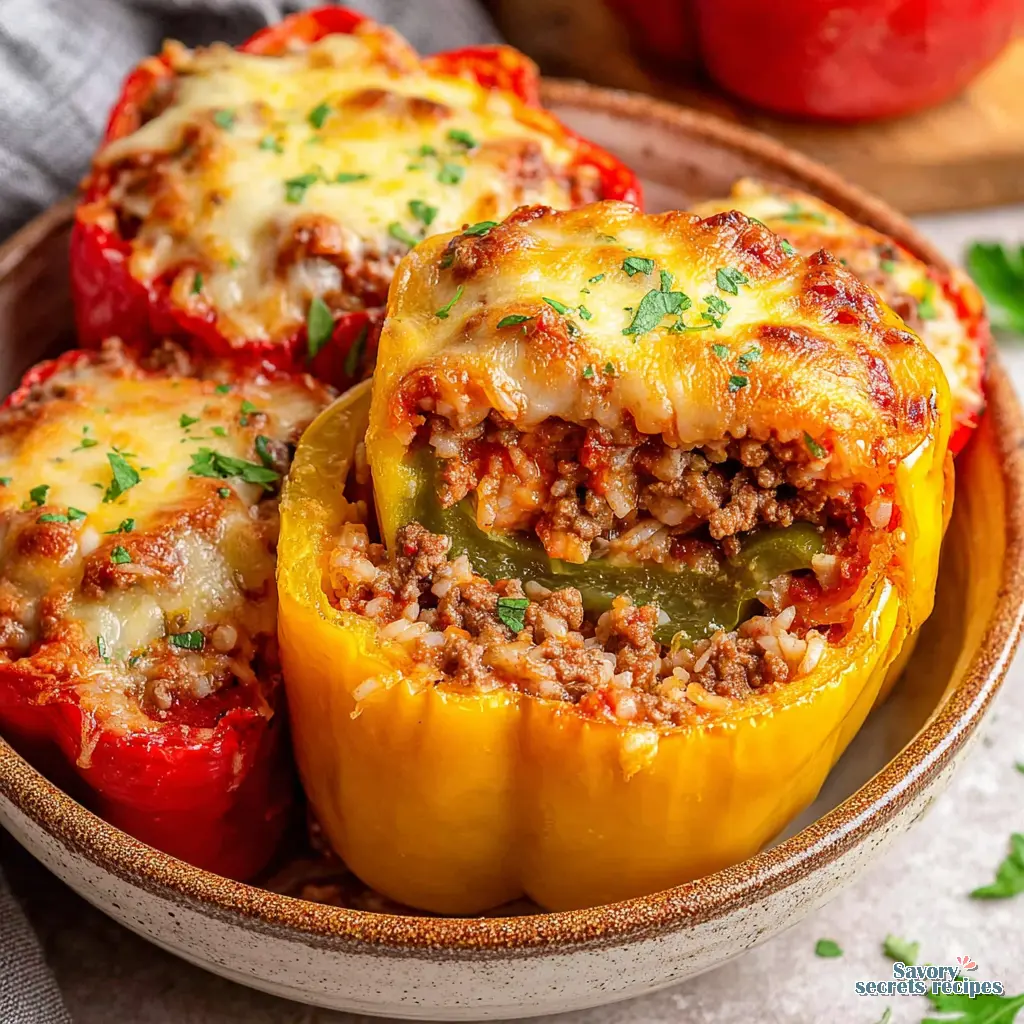
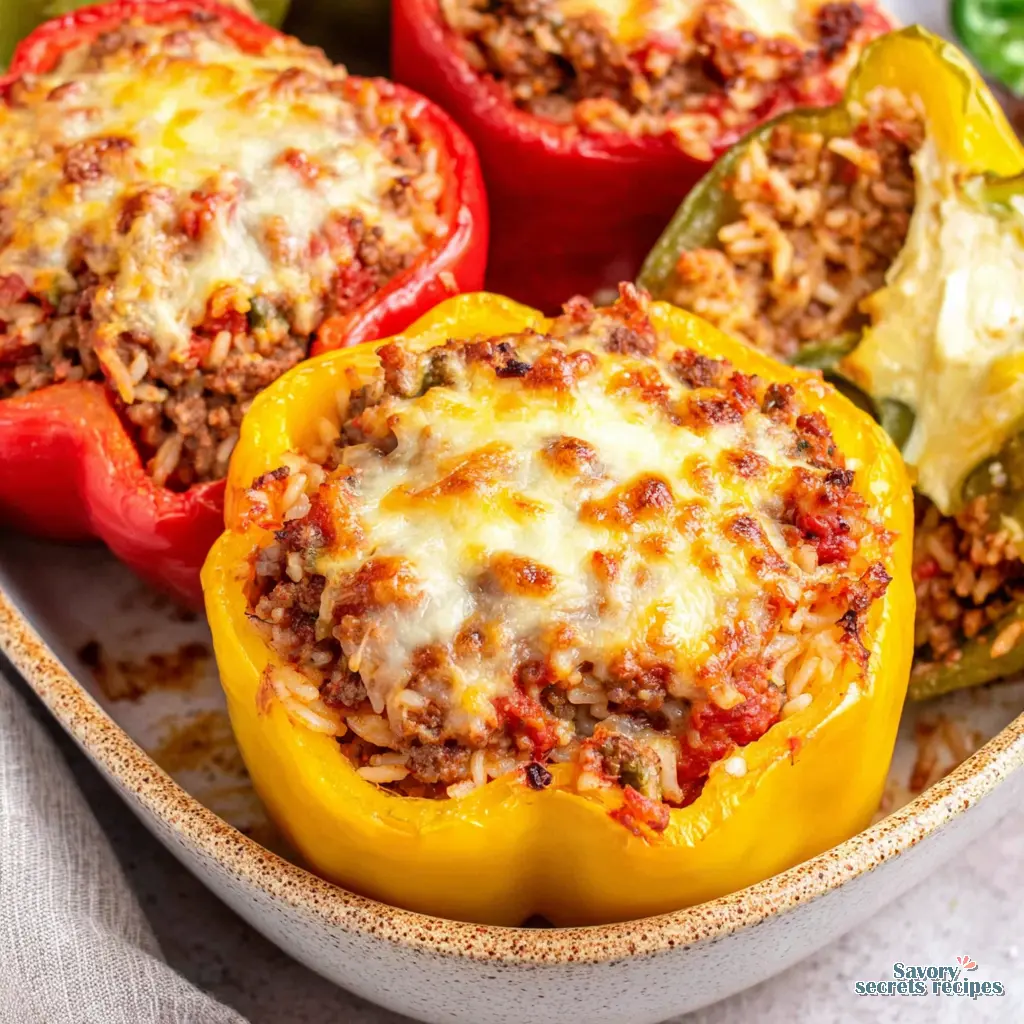
Traditional Stuffed Peppers with Rice and Tomato Sauce
Ingredients
Method
- Preheat the oven to 375°F (190°C).
- Arrange the bell peppers cut-side up in a baking dish or rimmed tray.
- Heat olive oil in a large pan over medium heat, sauté the onion for 5-7 minutes until translucent, then add garlic and cook for 1 minute.
- Add ground beef to the skillet and cook for 5-6 minutes until browned, breaking it apart with a wooden spoon.
- Stir in brown rice, tomatoes, tomato paste, oregano, and paprika, simmer for 4-5 minutes, and season with salt and pepper.
- Fill each bell pepper with the beef mixture and tap to pack the filling.
- Bake the peppers for 10-12 minutes until tender.
- Top each pepper with shredded cheese and bake for another 5-7 minutes until melted.
- Garnish with fresh parsley before serving.
Nutrition
Notes
The Sunday Dinner That Saves My Monday
There’s a very specific smell that takes me right back to my grandmother Evelyn’s kitchen in the middle of winter. It smells like simmering tomato sauce, minced garlic, and the sweet, earthy aroma of roasting vegetables. I grew up watching her pull fully assembled meals out of her garage freezer like magic tricks. She’d peel back the foil, read her own Sharpie notes on the masking tape, and dinner was handled. I didn’t realize until college that not everyone’s grandma had a freezer inventory system.
Now that I’m balancing work and a kindergartener’s schedule here in Los Angeles, I finally understand her method. Making stuffed bell peppers from scratch is exactly the kind of recipe that buys you time. With spring finally hitting the West Coast and Easter right around the corner, these vibrant peppers add a massive pop of color to the table. Plus, it’s an absolute lifesaver for weeknights. You prep them on Sunday, and dinner’s already halfway done for Tuesday. Future you will thank you.
I’m not going to lie, the first time you make homemade stuffed peppers, it might feel like a project. But I’ve figured out a few tricks over the years that make this a foolproof comfort food staple. Look, here’s the thing. You don’t need perfect knife skills. You just need to know how to set yourself up for success. Real talk, the biggest secret is leveling. If you slice a tiny, paper-thin bit off the bottom of each pepper, they’ll stand perfectly upright in your baking dish instead of tipping over and spilling that savory filling everywhere. Just be careful not to cut into the hollow center, or your juices will leak out.
That tracks right into my next favorite habit. Don’t throw away the pepper tops. Chop up the usable parts around the stem and sauté them right in the pan with your diced onions. It adds incredible flavor to the meat mixture and keeps your kitchen zero-waste. And if you’re trying to save a little money on your weekly Ralphs or Trader Joe’s run, grab green bell peppers. They’re usually cheaper than the red, yellow, or orange ones. Honestly kind of genius for budget meal prep.
Why This Classic Pepper Recipe Works Every Time
If you’ve ever ended up with a soggy, sad vegetable sitting in a pool of watery tomato sauce, I feel your pain. I think this works, but your mileage may vary. Actually, no, I know this works. The secret to perfectly tender-crisp stuffed bell peppers is skipping the boiling pot entirely. Do not pre-cook your peppers. Par-boiling just turns them to mush before they even hit the oven. Let the ambient heat of the oven and the steam from the filling do the work.
Speaking of the filling, you need the right ratio of ingredients. I highly recommend using 85/15 or 90/10 ground beef. It gives you the best fat-to-flavor ratio without making the long grain rice greasy. You want the rice to absorb the marinara and the beef juices, not swim in oil. I learned this the hard way after making a batch that turned out incredibly heavy. Now, I always look for canned diced tomatoes with short ingredient lists and absolutely no added sugar. The natural sweetness of the roasting peppers balances the savory filling beautifully. For a protein-packed meal, these ground beef stuffed peppers are an excellent choice for a hearty and easy pepper dinner.
The Science of Perfect Baking
This is a Sunday job, but it’s worth the Sunday afternoon. When you’re ready to bake, you need to cover the dish to trap the steam. But here’s a crucial tip I learned from a test kitchen colleague. Aluminum foil reacts with acidic foods like tomato sauce. If the foil touches the tops of your stuffed bell peppers, it can create a weird metallic taste. The fix is totally doable. Just place a sheet of parchment paper over the peppers first, then seal the dish tightly with foil. It protects your food and keeps the moisture locked in.
Also, ditch the baking sheet. Your stuffed bell peppers will bake much faster and more evenly if you place them directly in a 9×13 baking dish. The high sides of the dish help support the peppers, and the ceramic or glass conducts heat perfectly. You’re looking for an internal temperature of 160°F for the beef filling. I know some people think meal prep means eating dry, overcooked food, and maybe I’m too defensive about it, but a simple meat thermometer completely solves that problem. This ensures your baked stuffed peppers are cooked safely while remaining juicy and flavorful.
Variations for Different Diets
I love recipes that scale up or adapt without changing the core technique. If you’re feeding a crowd, you can actually cut a fourth pepper in half vertically to stretch the filling to eight servings instead of six. It’s a great trick for potlucks.
If you’re doing keto or just want a lighter meal, swap the white rice for cauliflower rice. It blends right in with the ground beef and tomato sauce. Just make sure to squeeze the excess moisture out of the cauliflower first. For a spicy kick, trade the shredded cheddar for Pepper Jack cheese and add a small can of diced green chiles to your tomato mixture. It adds a fantastic layer of heat.
Need these done faster? The air fryer is your best friend. Air fryer stuffed bell peppers take about half the time. Cook them at 360°F for 15-20 minutes. The dry heat caramelizes the cheese beautifully, giving it the color of peanut butter. Just keep an eye on them so the tops don’t burn.
Common Mistakes & Fixes
Mistake: The peppers fall over in the oven.
Solution: You forgot the leveling trick. Shave a tiny slice off the bottom of each pepper so they sit flat. Choose peppers that are uniform in height and width.
Mistake: The filling tastes metallic.
Solution: Your aluminum foil touched the tomato sauce. Always put a layer of parchment paper between the acidic food and the foil.
Mistake: The peppers are a watery, mushy mess.
Solution: You likely par-boiled them first. Skip the boiling step entirely. Raw peppers bake up perfectly tender-crisp in the oven.
Storing and Freezing Stuffed Bell Peppers (Meal Prep Magic)
I get unreasonably excited about a good storage container. If you’re making these for the week, let them cool completely before packing them up. They’ll stay fresh in an airtight container in the fridge for 4-5 days. It reheats like a dream in the microwave, but I honestly prefer popping them back in the oven at 350°F until warmed through to keep the texture intact.
If you’re freezing them, I’ve got a system. Freezing whole stuffed bell peppers works, but they can get a little watery when thawed because peppers naturally hold a lot of moisture. To prevent a giant block of ice, flash-freeze them individually on a baking sheet first, then transfer them to a freezer bag. They’ll keep for up to 3 months. Oh, and don’t forget to freeze your leftover tomato paste in tablespoon-sized dollops on a plate, then toss those in a bag too. Nothing goes to waste.
Frequently Asked Questions
Bringing It All Together
There’s something deeply satisfying about serving a complete meal contained inside one beautiful vegetable. It feels intentional, even on a chaotic Wednesday night. I usually pair these stuffed bell peppers with a simple side salad and some crusty sourdough bread to soak up any extra marinara sauce at the bottom of the bowl. It’s pure, nostalgic comfort food that doesn’t require you to spend your entire evening standing over a stove.
I genuinely love the feeling of opening a well-organized fridge and seeing these waiting for me. Grab some peppers on your next grocery run and give this method a try. You’ve got this.
If you’re looking for more weeknight lifesavers and meal prep strategies, I share tons of variations on my Pinterest boards. Come hang out there and let me know how yours turn out!
Reference: Original Source
Can I use a crock pot to make stuffed bell peppers?
You absolutely can. Assemble your stuffed bell peppers as usual, place them in the slow cooker with a little water or tomato sauce at the bottom, and cook on High for 2 to 3 hours. It’s totally doable and keeps your kitchen cool.
Do you need to cook peppers before stuffing them?
Please don’t. Par-boiling is a common mistake that leads to mushy vegetables. Raw peppers will soften perfectly in the oven while maintaining a tender-crisp texture that holds the savory filling without collapsing.
How do I store leftover homemade stuffed peppers?
Let them cool completely, then place them in an airtight container in the fridge. They’ll last for 4 to 5 days. I think they actually taste better the next day once the minced garlic and dried oregano have had time to meld.
Can I freeze traditional stuffed peppers with rice and tomato sauce?
Yes, they freeze beautifully for up to 3 months. Flash-freeze them whole on a baking sheet first so they don’t stick together. When you’re ready to eat, you can bake them straight from frozen, just add about 30 extra minutes to your cooking time.