


Authentic Southern Red Velvet Cake from Scratch
Ingredients
Method
- Preheat the oven to 350°F and grease and flour two 9-inch cake pans.
- Cream the butter and sugar for 5 to 7 minutes until the mixture is pale and fluffy.
- Beat in the eggs one at a time until the batter is smooth.
- Stir in the red food coloring, vinegar, and vanilla extract.
- Whisk the flour, cocoa, baking soda, and salt together in a separate bowl.
- Add the dry ingredients and buttermilk to the batter in alternating additions, mixing only until just combined.
- Divide the batter between the pans and bake for 20 to 25 minutes, then cool in the pans for 10 minutes before transferring to wire racks.
- Trim the cake tops slightly and crumble them for decoration, then let the crumbs dry at room temperature.
- Whisk the cold water and cornstarch in a saucepan over medium heat until thick to create the frosting base, then cool completely.
- Beat the butter and vanilla until light, add the cooled cornstarch mixture, and gradually beat in the confectioners’ sugar until fluffy.
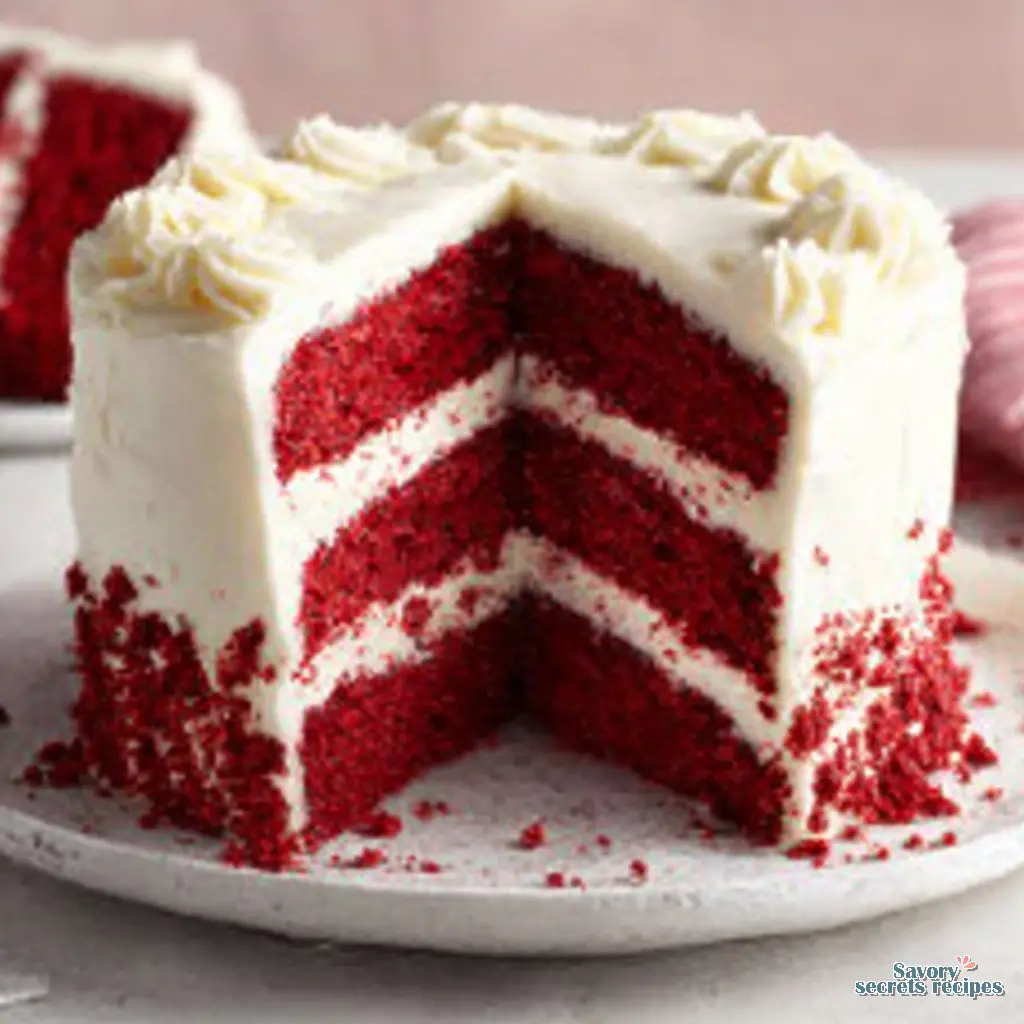
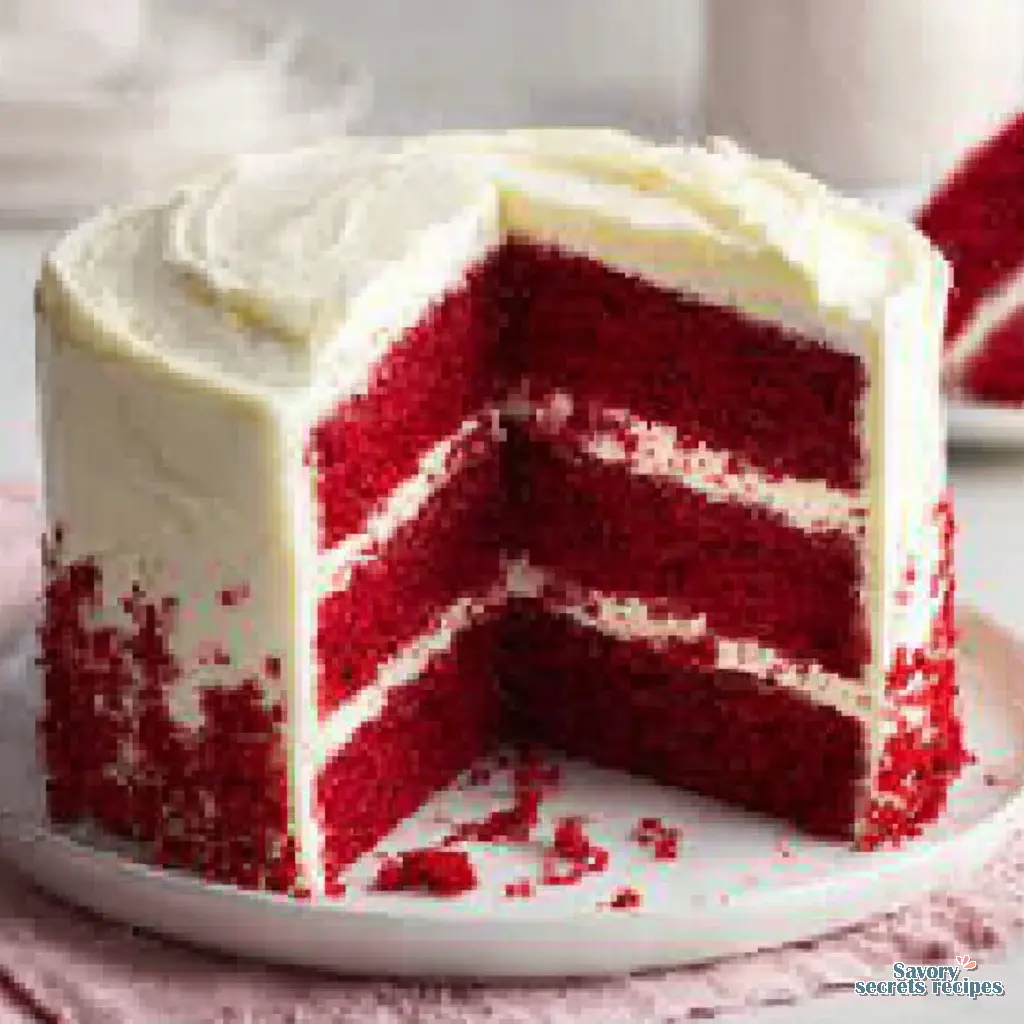
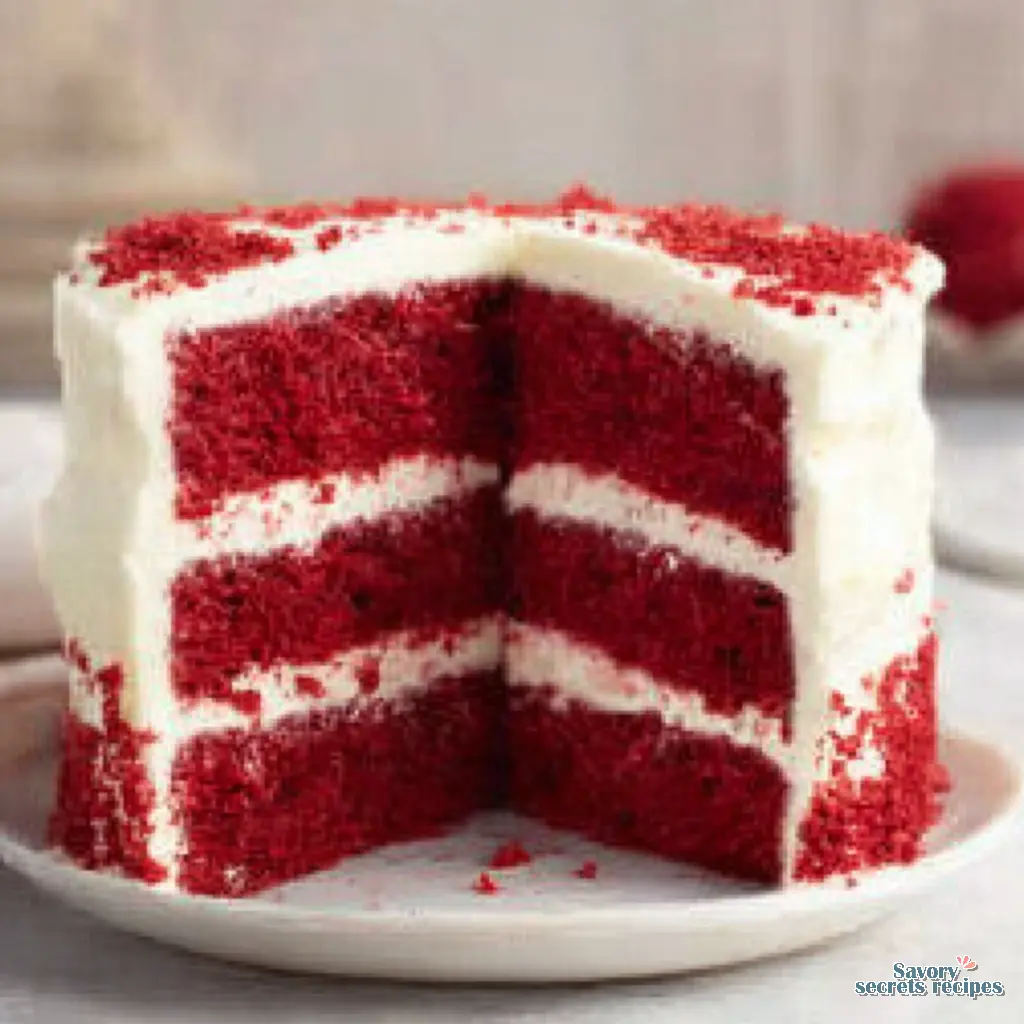
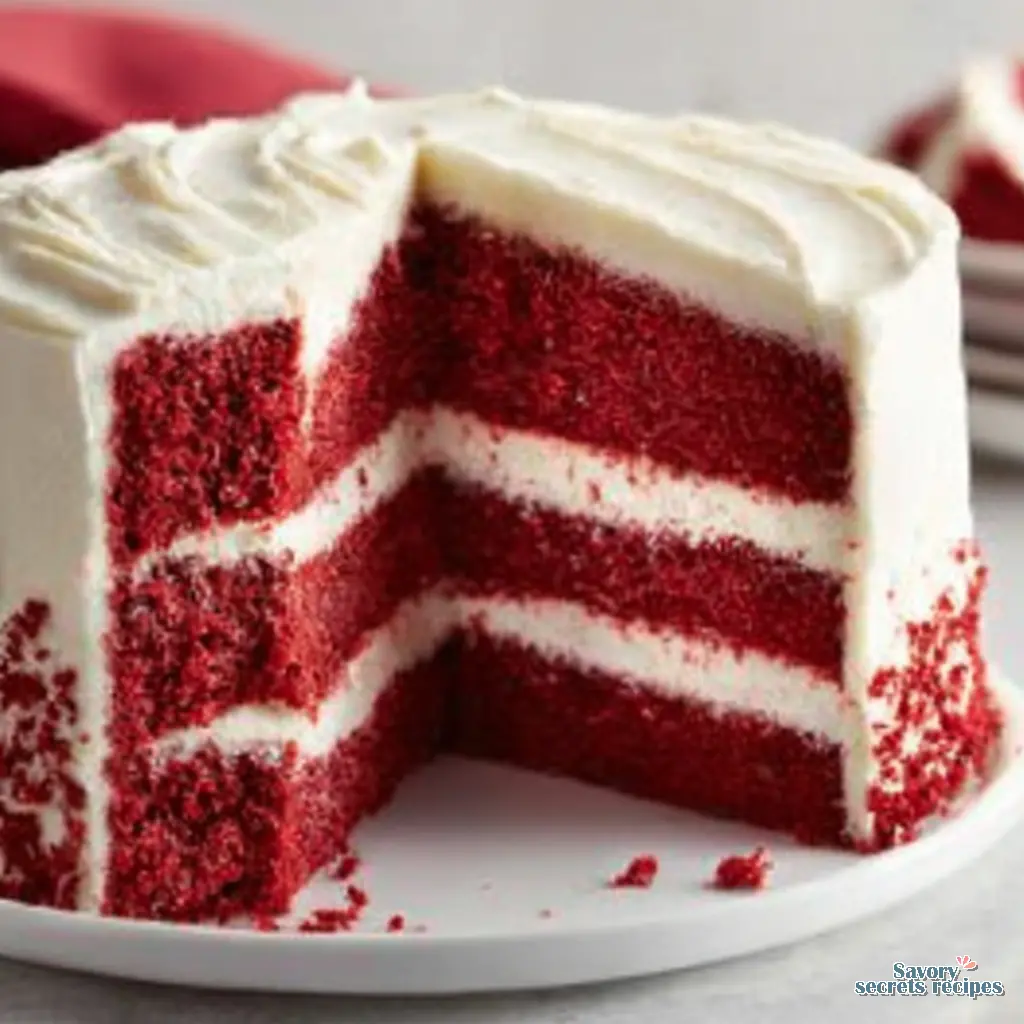
- Frost the cooled cake layers and coat the sides with the dried cake crumbs.
Nutrition
Notes
The Only Classic Red Velvet Cake You Will Ever Need
I remember standing on a step stool in my grandmother Lalla Fatima’s kitchen in Casablanca, watching her carefully monitor the temperature of honey for her pastries. She taught me that baking is never just about mixing ingredients. It is about timing, temperature, and respect for the process. Today, I apply those exact same lessons to this classic red velvet cake. I know this sounds complicated, but I promise it is easier than you think.
With holiday party season in full swing here in Los Angeles, and temperatures actually dropping to a cool 60 degrees, it’s the perfect time to turn on our ovens. This is the definitive recipe you want for those winter gatherings. Honestly, it’s also the only cake your Easter table needs later this spring. Many modern recipes just use red dye and a standard chocolate base. That tracks with what I’ve seen in bakeries lately, but it completely misses the point of a true Southern classic red velvet cake.
Before we start mixing, let me walk you through my three non-negotiable quick wins for this classic red velvet cake.
First, bring all your ingredients to room temperature. I mean everything. Your eggs, buttermilk, and butter must not be cold. If they are cold, the batter will curdle. Second, use a kitchen scale for precise metric measurements. I tend to find that measuring cups vary wildly, and the crystals will tell you everything if you just weigh them. Third, wrap your cake layers in plastic wrap while they are still warm. This locks in the moisture and gives you that perfect texture.
The Science Behind the Velvet Crumb
The texture should read smooth when you drag a spoon through the batter. That signature velvet crumb doesn’t happen by accident. Temperature is doing the heavy lifting here, but chemistry plays the biggest role. A true classic red velvet cake relies on a very specific chemical reaction.
We combine buttermilk, distilled white vinegar, and baking soda. When these three meet, they create a beautifully tangy aroma and thousands of tiny air bubbles. This aeration is what lifts the heavy cake flour, giving you a tight, velvety crumb structure that literally melts in your mouth. You’re looking for that ribbon stage when creaming butter and sugar, which sets the foundation for these bubbles to expand.
I taught a kids’ workshop last summer, and one girl asked why we couldn’t just use regular milk. Instead of just saying it wouldn’t work, I had her make a small batch with milk and one with buttermilk. Watching her taste the difference and understand the science was incredible. If you absolutely must substitute, you can use 1 cup of regular milk mixed with 1 tablespoon of white vinegar, but real buttermilk is always superior.
Natural Versus Dutch-Process Cocoa
Let’s talk about cocoa powder. This is the part I love because it explains so much about the history of this dessert. For an authentic classic red velvet cake, you must use natural, unrefined cocoa powder. Please don’t use Dutch-processed cocoa.
Dutch-processed cocoa has been treated with an alkalizing agent to neutralize its acidity. We actually need that natural acidity. The acidic unrefined cocoa powder reacts with the baking soda and the distilled white vinegar to create a reddish-brown tint naturally. Back before commercial food coloring existed, this chemical reaction is what gave the cake its original subtle red hue. That texture is exactly what we’re after. Today we use a bit of gel food coloring to boost the vibrancy, but the flavor profile still demands natural cocoa.
The Secret Ingredient Nobody Mentions
In my experience, though yours might differ, water just doesn’t do enough for chocolate-based cakes. Here is what works in my kitchen. I use plain prepared coffee instead of water. A light or medium roast works best.
You won’t taste the coffee at all. I know you might be skeptical. I definitely was the first time I tried it. But the coffee simply enhances the unrefined cocoa powder, deepening the mild chocolate flavor without overpowering the tangy flavor of the buttermilk. It’s so satisfying when it comes together. Give it a minute to settle into the batter, and you’ll smell exactly what I mean.
Pro-Tips for the Perfect Velvet Crumb
Let’s troubleshoot together to ensure your classic red velvet cake turns out flawlessly. Sifting your dry ingredients is non-negotiable. Sifting cake flour and cocoa powder removes lumps and aerates the mixture. If you skip this, you’ll find bitter pockets of dry cocoa in your baked layers.
Always grease your pans with shortening and dust them heavily with flour to prevent sticking. I learned this the hard way after destroying a beautiful layer cake. When mixing, whisk your buttermilk, vinegar, and gel food coloring together in a separate jug first. This lets you preview the final color. I prefer gel food coloring over liquid because it won’t thin out your batter. You only need about 8 drops of gel to replace 4 teaspoons of liquid dye.
Check for doneness at exactly 30 minutes. Ovens vary wildly, and overbaking is the fastest way to ruin a classic red velvet cake. Once baked, turn them out onto a cooling rack. Here is my favorite trick. Wrap the cake layers in plastic wrap while they are still slightly warm. This forces the steam back into the crumb, keeping it incredibly moist. This method ensures you achieve the signature moist red velvet cake texture every time.
Visual Troubleshooting Guide
I’m keeping an eye on it whenever I bake, and you should too. Sometimes things go wrong, and that is totally fine.
Common Mistakes & Fixes
Mistake: The batter curdles or breaks.
Solution: You likely used cold ingredients. Bring eggs, butter, and buttermilk to room temperature before starting.
Mistake: The cake turns out brown instead of red.
Solution: You either used Dutch-processed cocoa or forgot the vinegar. The acid is required to protect the red color during baking.
Mistake: The cake is dry and crumbly.
Solution: Overbaking or measuring flour with a cup instead of a scale. Always weigh your cake flour, and check the oven at the 30-minute mark.
The Make-Ahead Timeline & Cream Cheese Frosting
My daughter Salma and I have this Sunday tradition where we bake together. She has this amazing intuition for texture. We usually split this process over two days. On day one, we bake the layers, wrap them warm, and chill them in the fridge overnight. Chilling the layers makes them so much easier to stack and frost without crumbling.
On day two, we make the frosting. A classic red velvet cake demands a proper cream cheese frosting. Soften your cream cheese fully before mixing to avoid lumps. If it’s cold, you’ll never get it smooth. Beat the butter and cream cheese until completely unified, then slowly add your sifted confectioners sugar and a generous spoonful of vanilla bean paste. Use a turntable and an offset spatula for professional decorating results. Take a long 10-inch serrated knife to level your layers, saving those trimmed tops to crumble as a beautiful garnish.
Proper Storage for Your Classic Red Velvet Cake
My nephew Omar refuses to eat anything that looks dry, so storage is something I take very seriously. Because of the cream cheese frosting, a classic red velvet cake shouldn’t sit on the counter for days. It needs refrigeration.
Store the frosted cake in an airtight container in the refrigerator for up to 5 days. However, you must pull the refrigerated cake out at least one hour before serving. The butter in the cake and frosting solidifies in the fridge, and eating it cold completely ruins that velvet crumb we worked so hard to build. Let it reach room temperature. Right in that window, the texture becomes perfectly soft again.
If you want to freeze it, you absolutely can. Wrap individual slices tightly in plastic wrap, then place them in a freezer-safe bag for up to 3 months. Your mileage may vary depending on your freezer, but I find they thaw beautifully at room temperature overnight.
Frequently Asked Questions
Bringing It All Together
There’s nothing quite like the moment when you pull that first slice away and see the vibrant interior contrasting with the bright white frosting. It’s so satisfying. I hope you feel incredibly proud of what you’ve created in your kitchen today. A true classic red velvet cake is a masterpiece of baking science, and now you have the exact techniques to perfect it every single time.
Serve this at your next family Sunday dinner, or bring it to that upcoming holiday party. I promise, people will notice the difference. The texture, the tangy flavor, the perfect crumb. You’ve got this. I share tons of variations and baking tips on my Pinterest boards, so please come say hello and show me your beautiful cakes!
Reference: Original Source
Can I use gel food coloring instead of liquid in a classic red velvet cake?
Absolutely. I actually prefer gel coloring because it won’t thin out your batter. You’ll only need about 8 drops of highly concentrated gel food coloring to replace 4 teaspoons of standard liquid dye. Just whisk it into the buttermilk first to ensure it distributes evenly.
Do I have to use red food coloring?
You don’t have to use artificial dye. For a natural approach, you can substitute concentrated beet juice or beet powder. Keep in mind, natural alternatives will yield a more muted, earthy reddish-brown tone rather than a vibrant crimson, but the flavor remains fantastic.
How do I store my classic red velvet cake?
Because of the dairy-rich cream cheese frosting, you need to store it in the refrigerator. Keep it in an airtight container for up to 5 days. The most important thing is pulling it out an hour before eating so it returns to room temperature.
Can I freeze the cake layers?
Yes, freezing works beautifully. Wrap the unfrosted, slightly warm layers tightly in a double layer of plastic wrap. They’ll keep in the freezer for up to 3 months. Thaw them at room temperature while still wrapped to lock all that lovely moisture inside.
Can I leave out the cocoa powder?
I really don’t recommend it. The unrefined cocoa powder isn’t just for a mild chocolate flavor. It actually reacts chemically with the vinegar and buttermilk to help create that signature velvet crumb and subtle reddish tint. Leaving it out changes the entire structure.
Is a classic red velvet cake just a chocolate cake with red dye?
Not at all. A standard chocolate cake uses significantly more cocoa and lacks the tangy flavor profile. Red velvet relies on the specific chemical reaction between buttermilk, vinegar, and a small amount of natural cocoa to create its unique, tightly structured, velvety texture.
What if I don’t have buttermilk?
If you’re in a pinch, you can make a quick substitute. Mix 1 cup of regular whole milk with 1 tablespoon of distilled white vinegar or lemon juice. Let it sit for 5 minutes until it curdles slightly. Alternatively, an equal weight of sour cream works wonderfully.


