


Master Your Juicy Grilled Burger Secrets for Smoky Flavor
Ingredients
Method
- Slice and prepare all burger toppings and sauces.
- Spread softened or melted butter on the cut sides of the buns and toast them on a skillet or grill until golden brown.
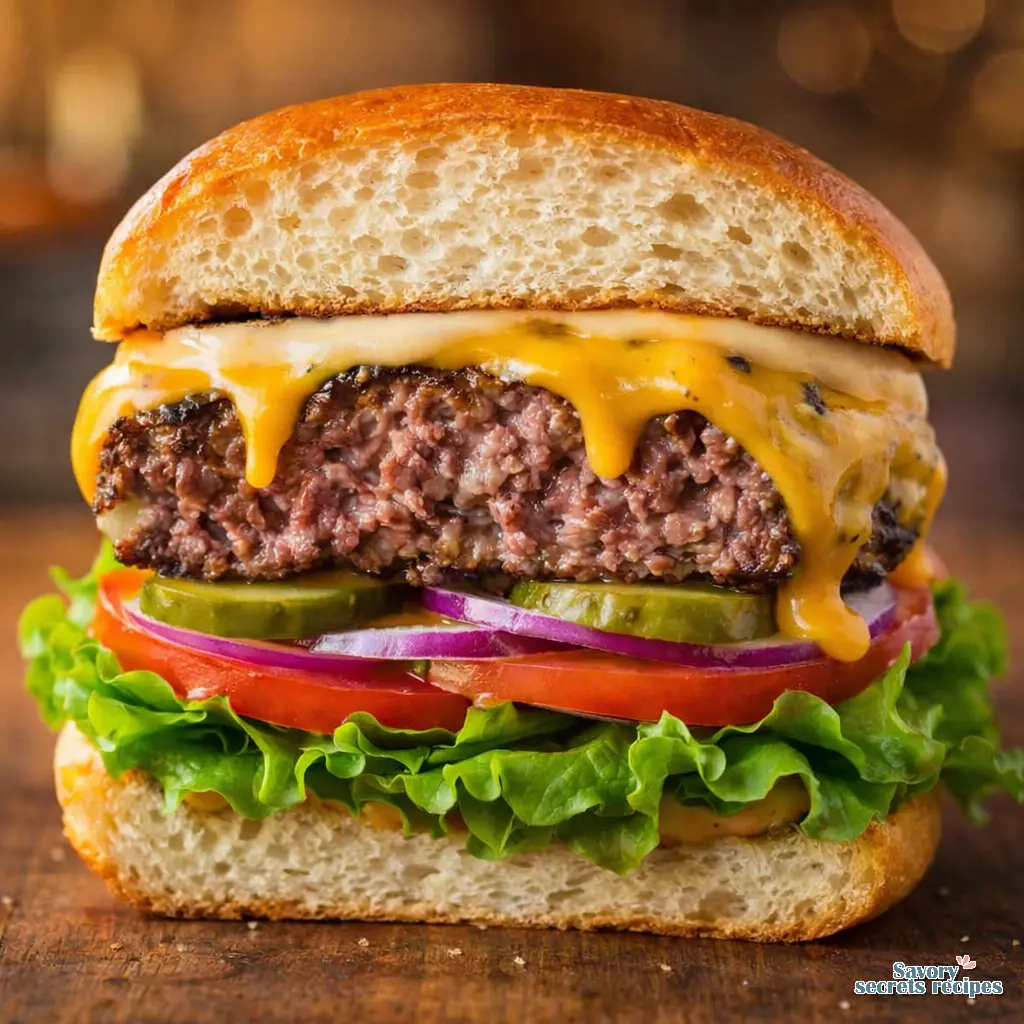
- Preheat the grill to medium heat. Divide the ground beef into six 1/3-pound portions and form patties approximately 1/2-inch thick and 1 inch wider than the burger buns. Season the patties generously with salt and pepper.
- Grill the patties covered and indent-side up for 3 to 5 minutes per side. Flip the burgers once juices accumulate on top and a sear forms. Add cheese during the final 1 to 2 minutes of grilling, cover, and cook until the internal temperature reaches 155°F. Rest the patties for 5 minutes before serving to reach a final temperature of 160°F.
Nutrition
Notes
- BBQ Aioli: 1/3 cup mayo + 1 tsp BBQ Sauce (we love sweet BBQ)
- Mustard Aioli: 1/3 cup mayo + 1 tsp yellow mustard
- Dijon Aioli: 1/3 cup mayo + 1 tsp dijon mustard
- Fry Sauce: 1/3 cup mayo + 1 Tbsp ketchup
The Secret to a Truly Juicy Cheeseburger Recipe
I was twelve when Uncle Raymond let me tend his offset smoker at the Goldsboro farmers market. He’d check the firebox every forty minutes, add a split of hickory, and never once opened the cooking chamber until four hours had passed. I learned patience before I learned chemistry. But honestly, it took me another twenty years to master a simple, juicy cheeseburger recipe. I’d serve my friends absolute hockey pucks. Dry, dense, completely overcooked.
I’d stand at the grill on a perfect spring afternoon, stressing out while the meat just shrank into little golf balls. Then I learned the cold water secret, and I realized I’d been fighting the meat instead of working with it. With Memorial Day right around the corner, we’re going to fix your burger game. Out here in Los Angeles, folks love their farm-to-fork salads, but a classic backyard burger still rules the weekend. No more performance anxiety at the grill. Just perfectly charred edges, a tender center, and that incredible smell of melting cheese. Let it ride, and let’s get into the details.
The Science of the Burger: Salt, Fat, and Heat
Fat is your friend until it isn’t. But for a juicy cheeseburger recipe, you absolutely need fat. Specifically, you want 80/20 ground chuck. I see folks at Ralphs or Trader Joe’s buying 90/10 lean beef and wondering why their burgers crumble on the grates. The meat will tell you when it’s ready, but it needs the right foundation. That 20 percent fat content is what bastes the meat from the inside out while it cooks.
Some folks swear by a panade (a mixture of breadcrumbs and milk) to keep things moist. That tracks for meatloaf. It really does. But for a classic burger, pure beef is the gold standard. We rely on the fat content and temperature control instead of fillers. Keep the meat cold until the exact moment it hits the heat. Warm hands melt the fat before it ever reaches the grill, leaving you with a rubbery texture. I tend to mix my seasonings gently in a bowl first, then fold the beef in without squeezing it.
Patty Handling Rules for the Perfect Sear
My older daughter has the touch for folding biscuit dough on Sunday mornings. She doesn’t overwork it. You need that same gentle touch here. Form the patties about one inch wider than your bun to account for shrinkage. Use a third of a pound per patty. A quarter pound is often just too flimsy and dries out too fast. Learning how to prepare a homemade beef burger correctly prevents the meat from becoming tough.
Here’s the absolute golden rule I learned the hard way. Press a thumbprint or a shallow dent into the center of each patty. As the meat cooks, the connective tissues contract. Without that dent, your beautiful juicy cheeseburger recipe turns into a swollen meatball. The indentation keeps it perfectly flat.
If you’re cooking indoors on a skillet because the weather turned, use an oil with a high smoke point. Avocado oil is solid. My mother fried chicken every Sunday, and the rule was simple: the oil had to shimmer but not smoke. The same applies to searing a burger. You want that high heat Maillard reaction (that beautiful brown crust) without tasting burnt oil.
Fire Management: Direct Heat, Indirect Heat, and Flare-Ups
Whether you use a charcoal grill or a gas grill, you need two zones. Direct heat for searing, and indirect heat for finishing. I prefer hickory briquettes or wood chips for that deep smoky flavor, though your mileage may vary. When you get flare-ups from the fat hitting the coals, don’t panic and throw water on it. Just slide the burger over to the indirect side. That’s your safe zone. Managing the flame ensures your american burger recipe results in a smoky, charred exterior without burning the bun.
Avoid moving the patties for four to five minutes. Let it ride. They need time to develop a crust so they don’t stick to the grates. And never, ever press down on the burger with your spatula. I know it sounds satisfying to hear that sizzle, but you’re just squeezing out the exact juices we’re trying to keep inside the meat.
Temperature is Data, Texture is Truth
I oversalted a brisket in 2014 for a family reunion. Used coarse salt but measured it like table salt by volume. Twenty people had to eat dry chicken I panic-grilled instead. I learned my lesson about timing and measurement that week. For your juicy cheeseburger recipe, salt only at the absolute last minute before cooking. Salting too early cures the meat and changes the protein structure, making it springy instead of tender.
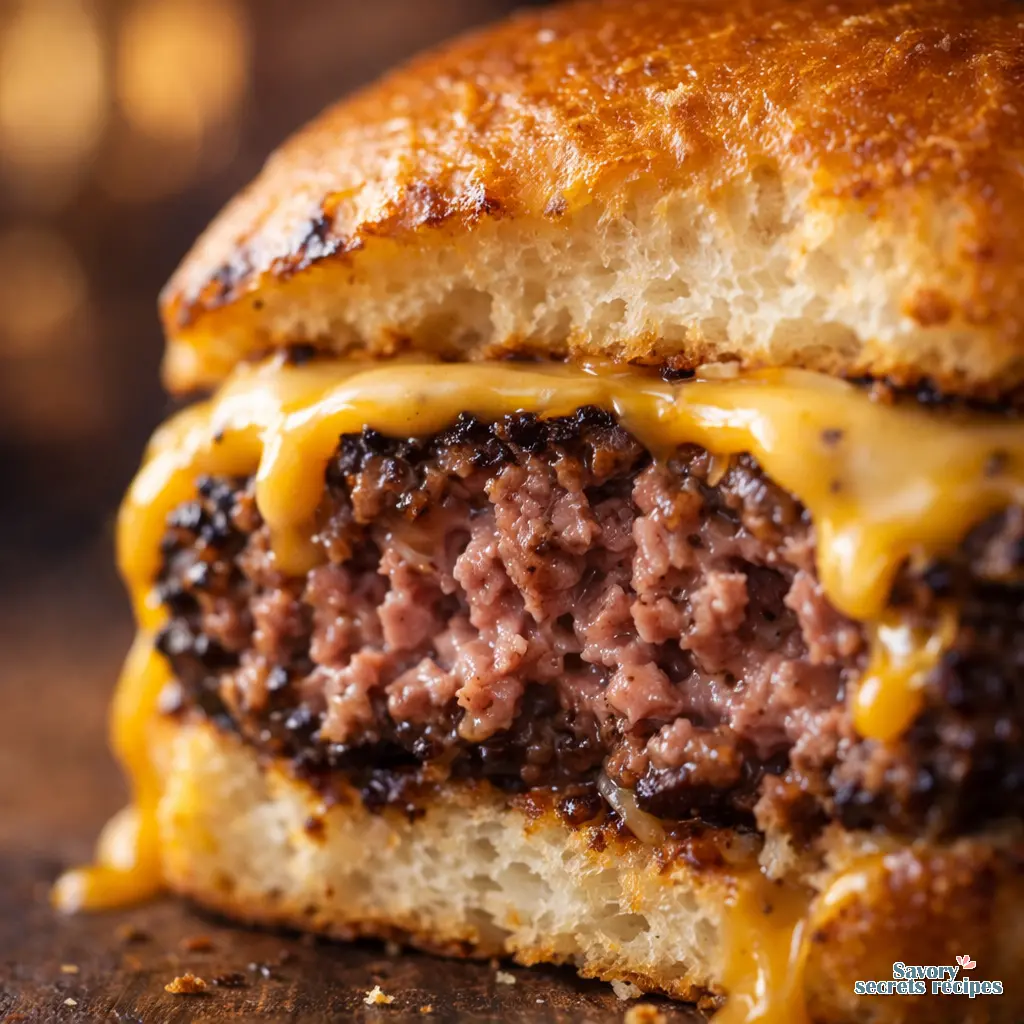
You really need a meat thermometer. Temperature is data, texture is truth. The USDA recommends 160 degrees Fahrenheit for safety, but if you grind your own high-quality meat and prefer medium, aim for 145 degrees. Add your cheese exactly one minute before the end of cooking. Medium cheddar is classic, but melted swiss is a great variation. You want it just starting to drape over the edges, looking like the color of peanut butter.
The Mandatory Rest Period
Nothing for it but to wait. Let the burgers rest for a full five minutes before serving. I know everyone is hungry, but this is non-negotiable. This rest period lets the muscle fibers relax and hold onto the juices. I’d rather rest a brisket for two hours in a cooler than slice it hot, and burgers need their rest too. This step is the final key to a successful easy burger dinner that everyone will enjoy.
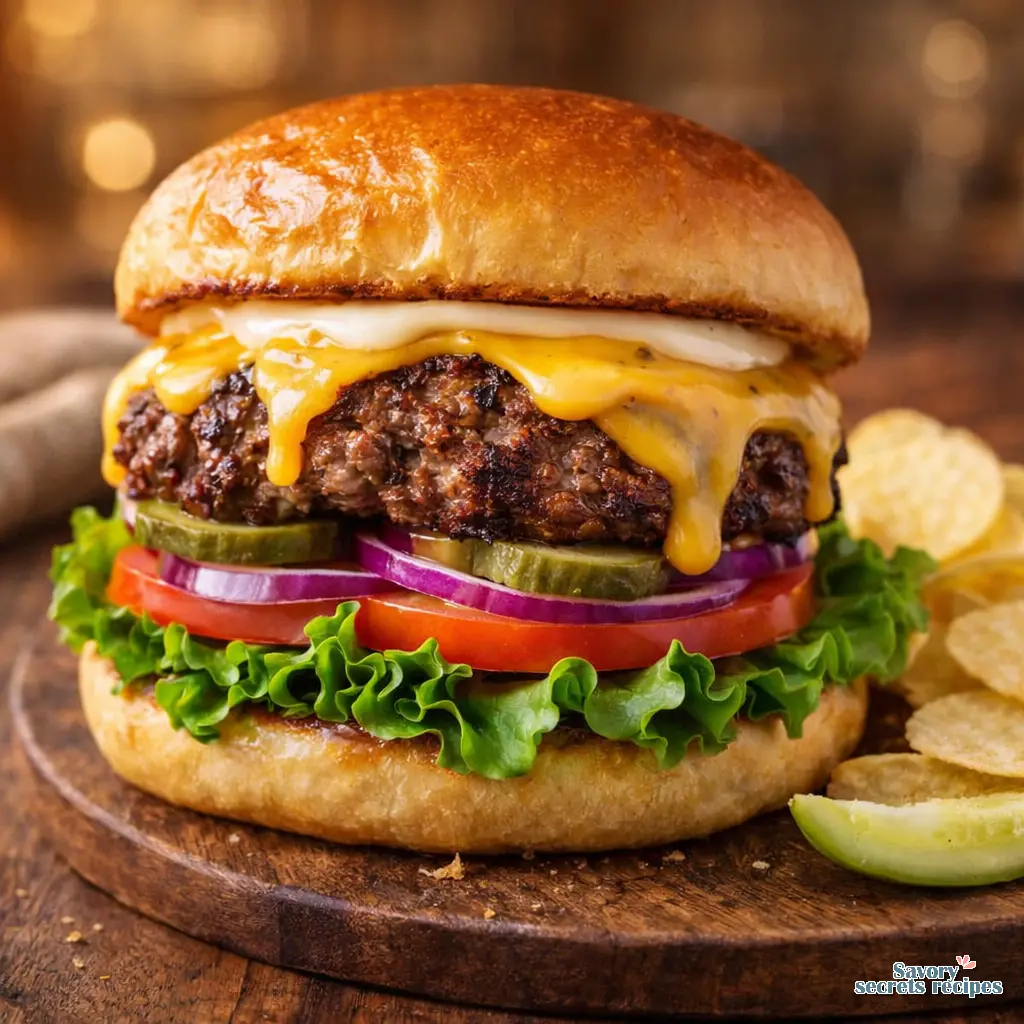
The toasted bun aroma mixed with the warm, creamy melted cheese is worth the wait. That juice running down your arm when you finally take a bite? That’s exactly what you’re after. A good bun is crucial here. A brioche or potato bun holds up perfectly to the moisture without falling apart.
Visual Troubleshooting Guide: Common Mistakes
Mistake: The burger puffed up into a dense meatball.
Solution: You forgot the thumbprint. Always press a shallow dent into the center of the raw patty to account for the meat contracting.
Mistake: The meat is tough and rubbery.
Solution: You likely overworked the meat or salted it too early. Mix gently, shape with cold hands, and salt right before the meat hits the heat.
Mistake: The burger is dry inside.
Solution: You probably pressed it with a spatula or used meat that was too lean. Stick to 80/20 chuck and never press the juices out.
Storage, Freezing, and Reheating
If you have leftover patties from your juicy cheeseburger recipe, let them cool completely. Wrap each cooked patty tightly in plastic wrap, then place them in an airtight container. They’ll stay good in the fridge for up to three or four days. If you want to freeze raw patties, stack them with parchment paper in between so they don’t stick together. They’ll keep in the freezer for up to six months without getting freezer burn.
When it’s time to reheat, skip the microwave. It just turns good beef to rubber. I tend to use an air fryer at 350 degrees Fahrenheit for about four minutes, or just sizzle them on the stovetop with a tiny bit of oil to bring that crust back to life.
Frequently Asked Questions
Fire It Up
There’s nothing better than pulling a perfectly cooked burger off the grates and seeing that clear juice run out. It takes me back to the first time I got a smoke ring right. It just means you’ve done everything correctly. Grab your tongs, trust the process, and remember to respect the resting time. You’re going to be the hero of the cookout this weekend. For more inspiration and variations on this juicy cheeseburger recipe, check out my Pinterest boards where I save all my favorite backyard classics. Happy grilling.
Reference: Original Source
How do I keep my juicy cheeseburger recipe from falling apart?
Keep the meat cold and don’t overwork it. Mix your seasonings gently, form the patties with a light touch, and make sure your grill is hot enough to sear the crust before you try to flip it. Let it ride for at least four minutes first.
Can I use lean (90/10) beef for a juicy cheeseburger recipe?
You can, but I really don’t recommend it. Lean beef lacks the fat needed to baste the meat internally, resulting in a drier, crumbly texture. If you must use 90/10, you might need to grate a little cold butter into the mix to compensate.
What is the best way to season the meat?
Keep it simple. Fine sea salt, freshly ground black pepper, and maybe a little garlic powder if you like. The trick is to mix the pepper in gently, but save the salt for the absolute last minute before the patties hit the heat.
How much salt should I use per pound of meat?
Generally speaking, you want about one teaspoon of kosher salt per pound of ground beef. If you’re using fine table salt, cut that down to three-quarters of a teaspoon. Remember to sprinkle it evenly on the outside just before cooking.
Can I make the patties ahead of time?
Absolutely. Forming your patties a few hours early and keeping them in the fridge is actually a great strategy. It keeps the fat cold and helps the burgers hold their shape on the grill. Just remember not to salt them until cooking time.
Can I freeze cooked patties from this juicy cheeseburger recipe?
Yes, you can freeze cooked patties. Let them cool, wrap them tightly in plastic wrap, and store them in a freezer-safe bag for up to three months. However, freezing raw patties with parchment paper between them usually yields a better texture later.
How do I adapt this to make mini or slider burgers?
For sliders, use about two ounces of meat per patty. You’ll still want the thumbprint in the center, but the cooking time will drop significantly. Keep a close eye on them, maybe two minutes per side over direct heat, and use a meat thermometer.
What if the beef mixture feels too mushy?
If your mixture is mushy, your hands probably melted the fat, or the meat wasn’t cold enough to start. Put the bowl back in the fridge for twenty minutes. Never add flour or breadcrumbs to fix it, just let the temperature drop back down.


