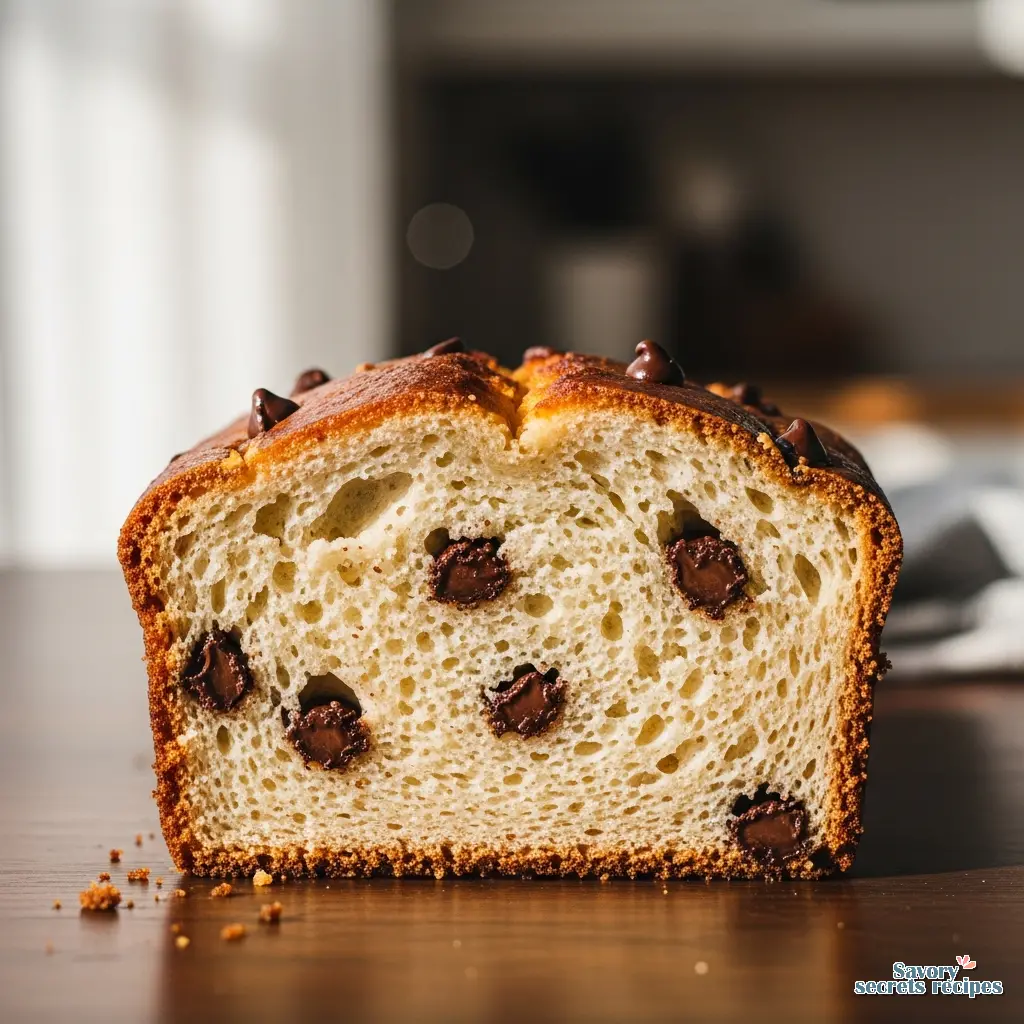
3 Ingredient Cocoa and Banana Brownies
Ingredients
Method
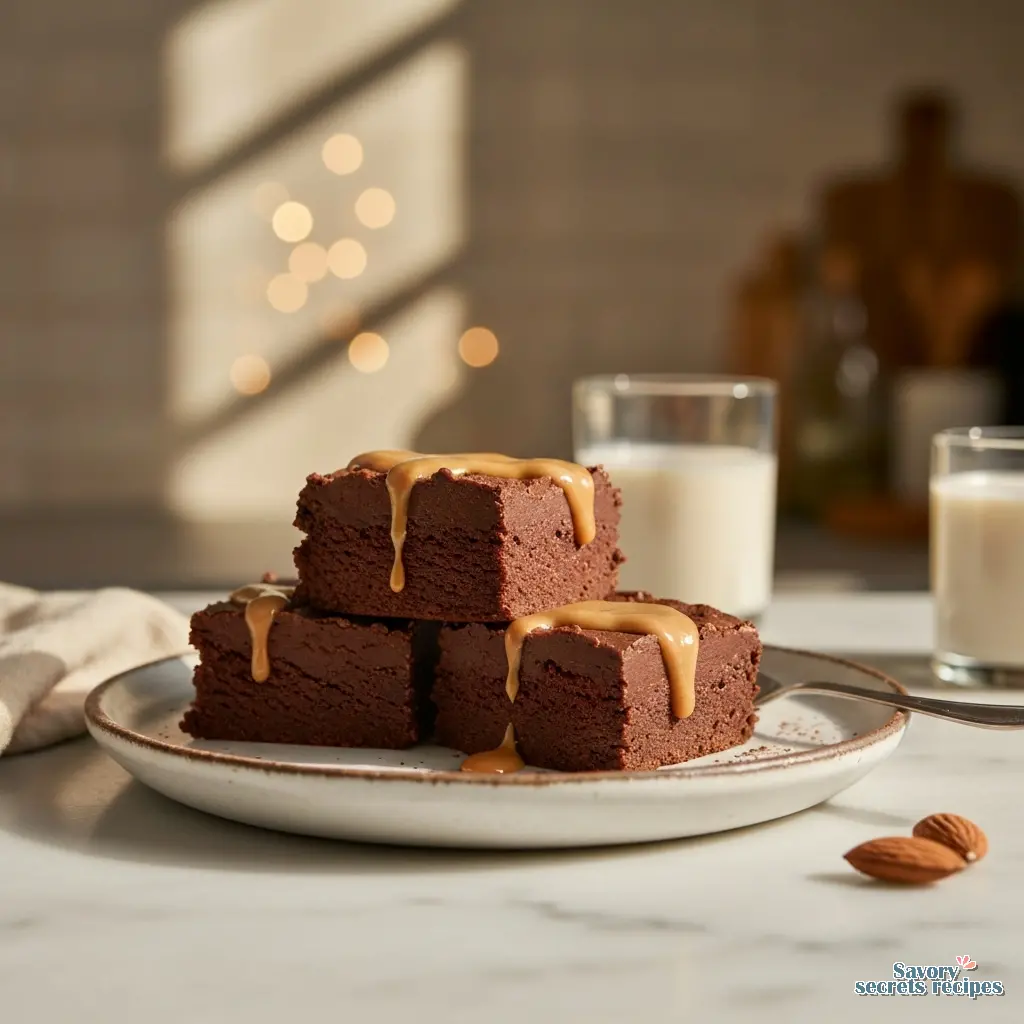
- Preheat the oven to 350°F (180°C) and line a 7-inch square brownie pan with parchment paper.
- Mash three ripe bananas in a large bowl, then stir in the peanut butter until the mixture is smooth.
- Sift in the cocoa powder, mix thoroughly, and transfer the batter to the prepared brownie pan.
- Bake for 22 to 30 minutes, then allow the brownies to cool completely at room temperature before slicing.
Nutrition
Notes
The Magic of Two Ingredients
We have all been there. You walk into the kitchen and see them sitting on the counter. Those three bananas that have gone past yellow, past spotted, and are now fully, aggressively black. I used to feel a pang of guilt every time I saw them, doing the mental math of whether I had the energy to pull out the flour, the sugar, the mixer, and the eggs to make a traditional loaf.
Usually, the answer was no. Into the trash they went.
But what if I told you that those “ruined” bananas are actually the start of the most surprising dessert I have ever tested? I am talking about banana and cocoa powder recipes that transform ugly fruit into something that tastes suspiciously like a fudge brownie. No flour. No added sugar. Just the alchemy of fruit and chocolate.
In my experience, people are skeptical. I was too. How can two healthy ingredients create a texture that feels indulgent? It comes down to the pectin in the fruit and the starch in the cocoa. When you get the ratios right, you end up with a treat that satisfies that 3 PM chocolate craving without the sugar crash. It is a simple kitchen win that makes you feel resourceful, healthy, and a little bit like a magician.
Why This Recipe Works (Dietary Wins)
As a dietitian, I spend a lot of time telling people what they should limit. It is nice, for once, to tell you what you can have. This recipe is one of those rare unicorns in the baking world that fits almost every dietary need without tasting like cardboard.
Let me walk you through this. First, we are looking at a natural sweetener. Overripe bananas are high in simple sugars that are easily digested, but because they come packaged with fiber, they don’t spike your blood sugar quite as aggressively as refined white sugar. Plus, you are getting a decent hit of potassium.
Then there is the cocoa. Unsweetened cocoa powder is surprisingly high in fiber and iron. It is also packed with antioxidants. When you combine these two, you are creating a snack that is:
Gluten-Free: Naturally, since there is no flour.
Vegan: No eggs or dairy required.
Paleo-Friendly: Depending on your strictness with bananas.
Top 8 Allergen Free: If you skip the optional nut butter add-ins.
My daughter Priya helps me test the kid-friendly versions of my recipes. She is five, and she is brutally honest. If something tastes “healthy,” she will tell me. She calls these “chocolate squares” and has no idea they are made of fruit. That is the texture you are looking for.
Ingredient Selection: The Science of Ripeness
This is the part that matters. Since we are only using a few ingredients, there is nowhere to hide. The quality and state of your ingredients will determine if this tastes like a decadent treat or a rubbery mistake.
The Bananas
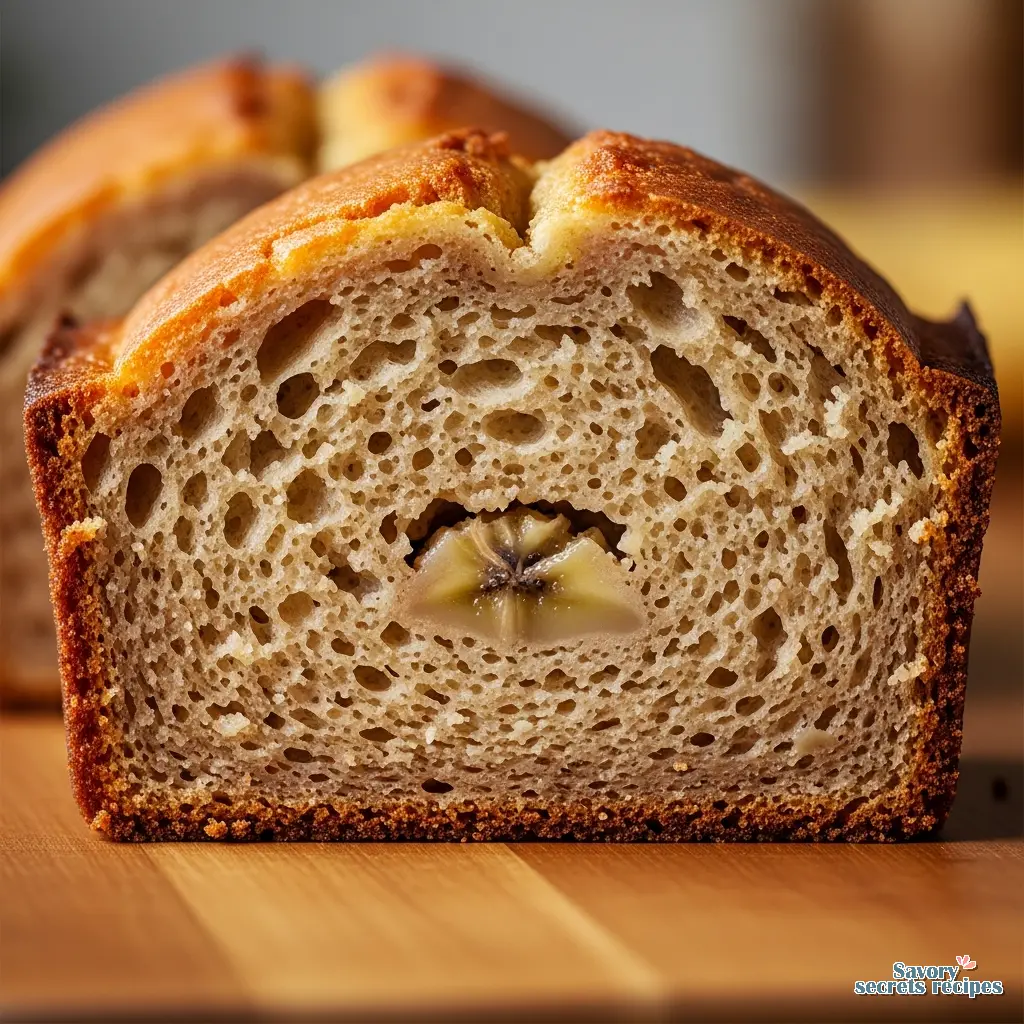
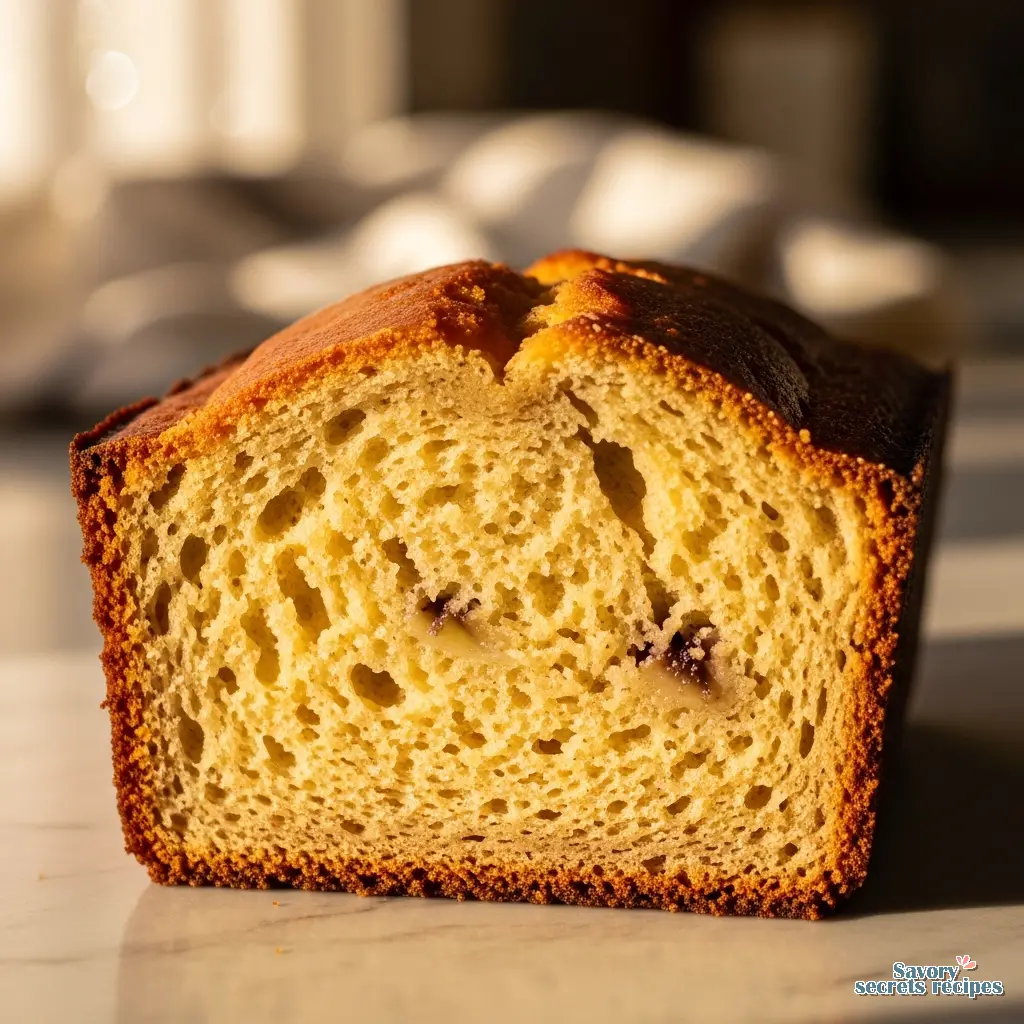
You cannot use yellow bananas here. You cannot even use yellow bananas with a few brown spots. For the best banana and cocoa powder recipes, your bananas need to be mostly black. They should feel soft, almost like a water balloon, inside the peel. Why? As a banana ripens, its starch converts to sugar. A green banana is almost all starch; a black banana is almost all sugar and moisture. We need that moisture to hydrate the cocoa powder, and we need that sugar because we aren’t adding any honey or maple syrup.
The Cocoa Powder
In my testing, I have found that the type of cocoa you use changes the flavor profile significantly.
Dutch-Process Cocoa: This has been treated with an alkali to neutralize its acidity. It is darker in color and has a smoother, more mellow flavor. I prefer this for these brownies because it tastes more like “Oreo” chocolate.
Natural Cocoa Powder: This is lighter and more acidic. It works, but it can give the brownies a slightly fruity, tangy taste that some people find clashes with the banana flavor.
The Science of Banana-Binding
You might be wondering how this holds together without eggs or gluten. I certainly did before I started experimenting with it. It reminds me of how my ajji used to make batters by feel, knowing exactly when the consistency would hold up on the hot tawa. Here, we are relying on two things: soluble fiber and starch.
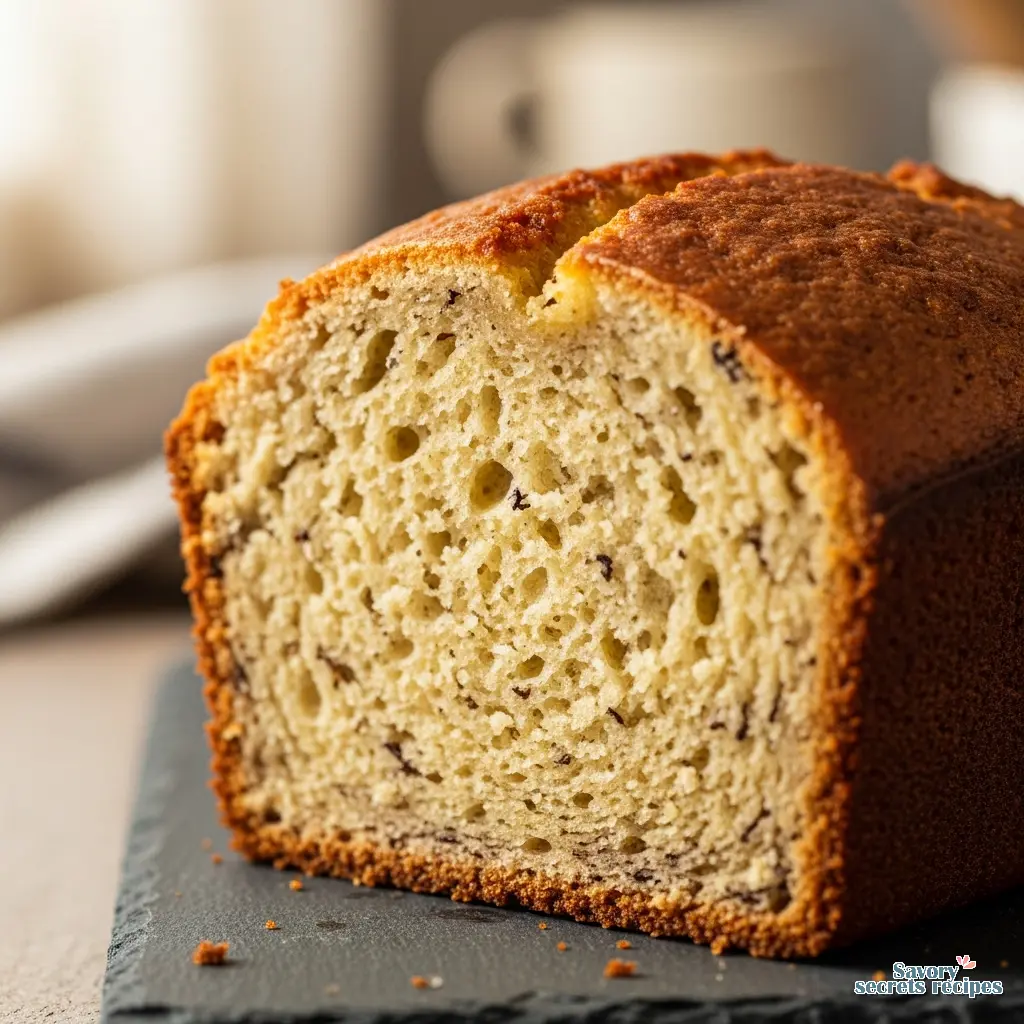
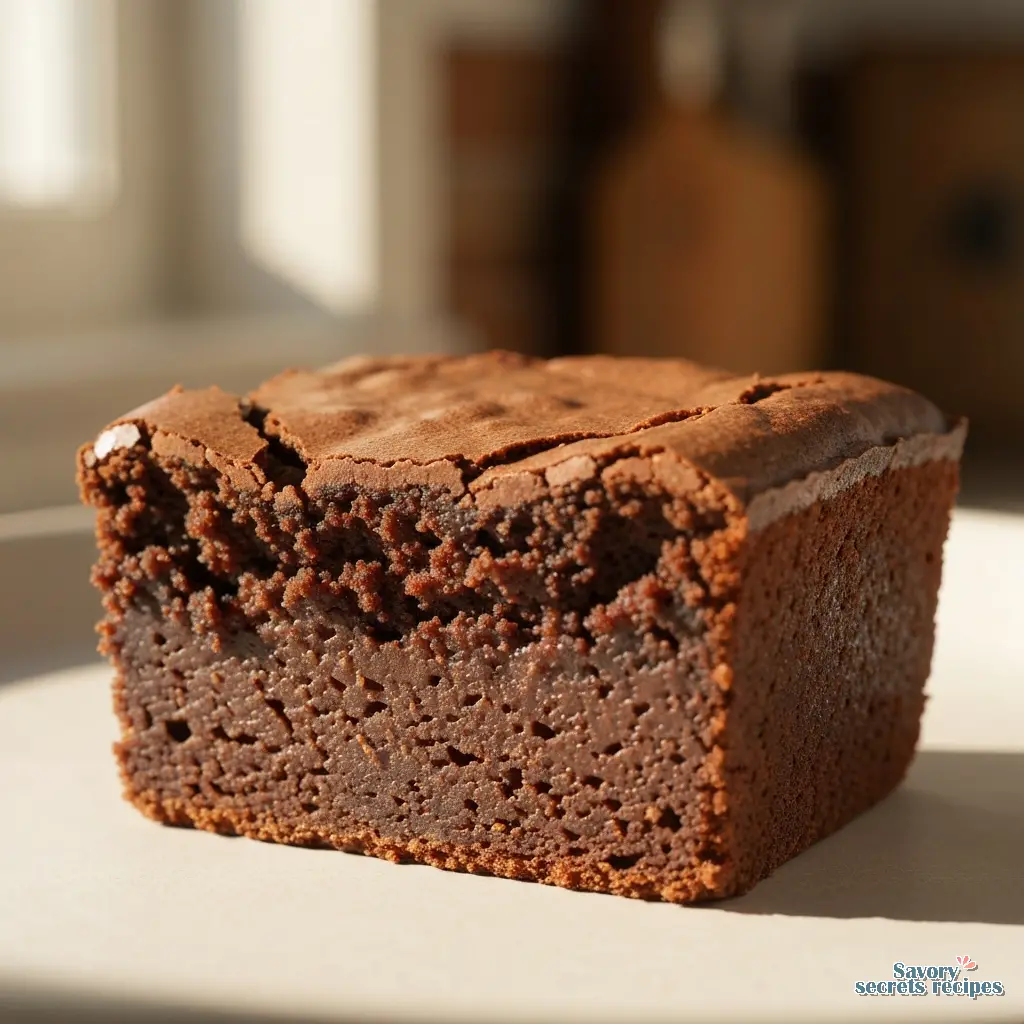
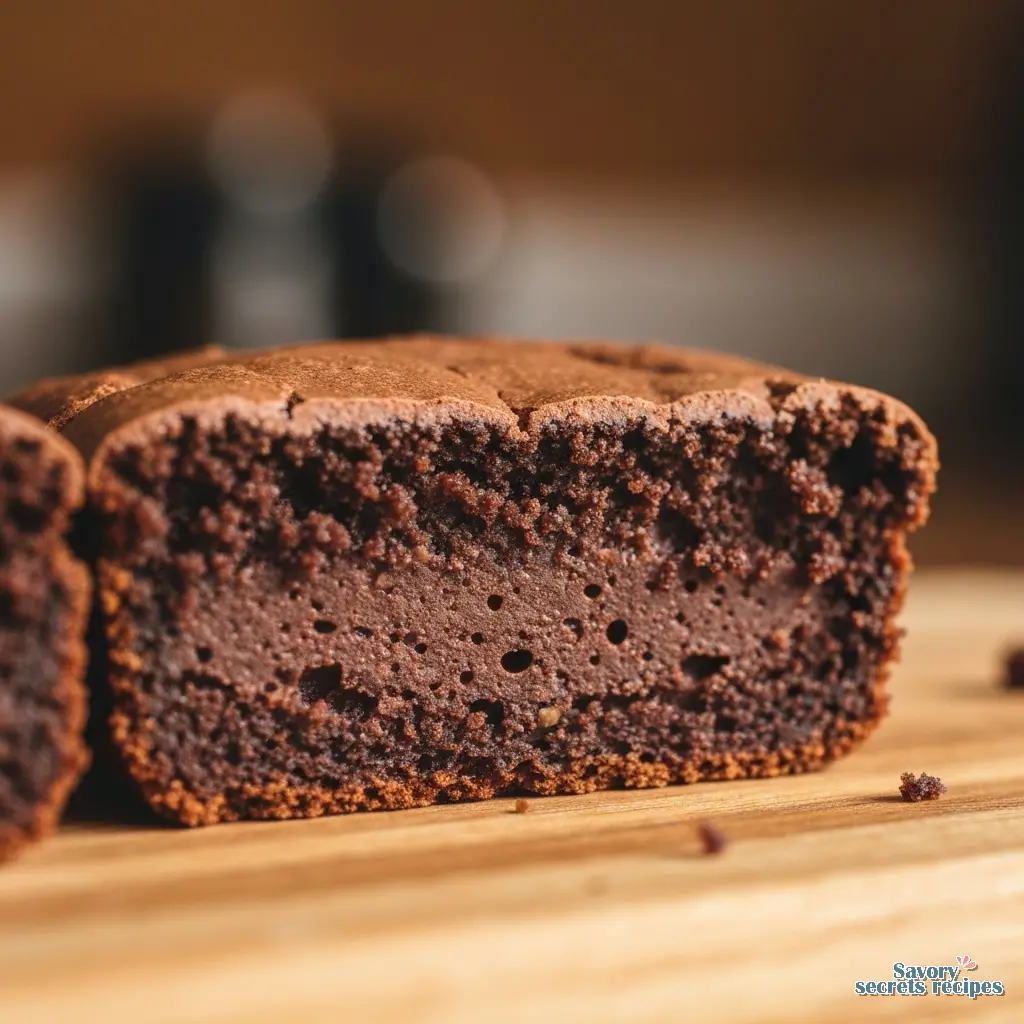
Bananas contain pectin, a soluble fiber that gels when heated. Cocoa powder is actually quite starchy and acts as a flour substitute, absorbing the moisture from the bananas. When you bake them, the pectin sets and the cocoa starches gelatinize, creating a structure that is firm enough to slice but soft enough to melt in your mouth.
However, because we lack the protein structure of eggs or gluten, these brownies are more temperature-sensitive than traditional baked goods. They need to be fully cooled to set. If you try to eat them warm, they will be a pudding-like mess. Trust the cooling process.
Visual Troubleshooting: Getting the Batter Right
One thing to watch for is the consistency of your batter. Since bananas vary wildly in size, “3 bananas” is not a precise measurement. I always recommend weighing your fruit if you can (aim for about 12 ounces or 340 grams of peeled fruit), but if you don’t have a scale, go by texture.
Too Thick: If your batter looks like stiff cookie dough, your bananas were too small or not ripe enough. Add a tablespoon of almond milk or water.
Too Runny: If it looks like crepe batter, your bananas were huge. Add another tablespoon of cocoa powder.
The texture you are looking for is similar to hummus or a thick frosting. It should hold its shape when you spoon it into the pan, but you should be able to smooth it out easily.
Microwave Mug Cake Adaptation
Sometimes you don’t want to heat up the whole oven for a snack. I get it. The good news is that banana and cocoa powder recipes adapt surprisingly well to the microwave. In fact, this is how I make a quick dessert for myself when my husband is working late. For those who prefer a more traditional muffin flavor in small batches, adding bananas to muffin mix is another quick way to satisfy a craving.
Here is what works in my kitchen:
1. Mash 1 medium overripe banana in a mug.
2. Stir in 2 tablespoons of cocoa powder (and a teaspoon of peanut butter if you like).
3. Microwave on high for 60 to 90 seconds.
Watch it carefully. It will puff up significantly and then sink back down. It is ready when the top looks set but slightly glossy. Let it cool for two minutes before eating. It will be very hot, and the texture needs a moment to firm up.
Tips for Success
I have made these dozens of times, and I have had my share of failures. I once made a batch that tasted so bland my husband asked if I forgot an ingredient. I had. I forgot the salt.
Salt is Non-Negotiable: Even though this is a sweet recipe, a pinch of salt is critical. It suppresses the bitterness of the cocoa and makes the banana sweetness pop. Without it, the flavor falls flat.
The Blender is Your Friend: You can mash by hand with a fork, and that is fine for a rustic texture. But if you want that silky, truffle-like consistency, throw everything in a blender or food processor. It eliminates the little banana lumps that can ruin the illusion of eating a brownie.
Don’t Overbake: This is the most common mistake. Because there are no eggs to set, people keep baking until it feels firm. If you do that, you will end up with a dry, rubbery puck. You want to pull it out when it still looks slightly underdone in the center. It will firm up in the fridge.
Storage & Freezing: The Patience Game
I cannot stress this enough: these taste better the next day. The flavors meld, the banana taste mellows out, and the chocolate takes over. It reminds me of how stew always tastes better as leftovers.
Refrigeration: Store these in an airtight container in the fridge. They will stay fresh and fudgy for up to 5 days. I actually prefer eating them straight from the fridge; the cold temperature gives them a dense, chewy texture that is really satisfying.
Freezing: Yes, you can freeze them! This is great for meal prep. Slice them up and place a small square of parchment paper between each piece so they don’t stick together. Place them in a freezer-safe bag. They will keep for 3 months. To eat, just let one sit on the counter for 10 minutes, or microwave it for 15 seconds if you want it warm.
Frequently Asked Questions
Common Mistakes & Fixes
Troubleshooting Your Bake
Mistake: Using yellow bananas.
Solution: The brownies will be bland and dry. Wait until the fruit is heavily spotted or black. If you are desperate, you can roast yellow bananas in the oven at 300°F for 15 minutes to soften and sweeten them.
Mistake: Cutting them while warm.
Solution: I know it is tempting, but they need to set. If you cut them hot, they will fall apart. Let them cool completely, preferably in the fridge, for the best texture.
Mistake: Skipping the parchment paper.
Solution: Since there is no oil or butter to grease the pan, these stick like crazy. Always line your pan with parchment paper for an easy release.
Final Thoughts
There is something really satisfying about taking an ingredient that was destined for the compost bin and turning it into something that feels like a reward. When your kitchen starts smelling like a brownie factory, you will forget that you are essentially baking a fruit salad.
I hope this recipe saves a few bananas in your house this week. It has certainly saved plenty in mine. If you try it, I would love to hear how it went. Did you add nuts? Did you try the microwave version? Let me know.
For more inspiration on healthy, easy baking, check out my Pinterest boards where I collect all my favorite low-waste kitchen hacks.
Grab a fork and enjoy.
Reference: Original Source