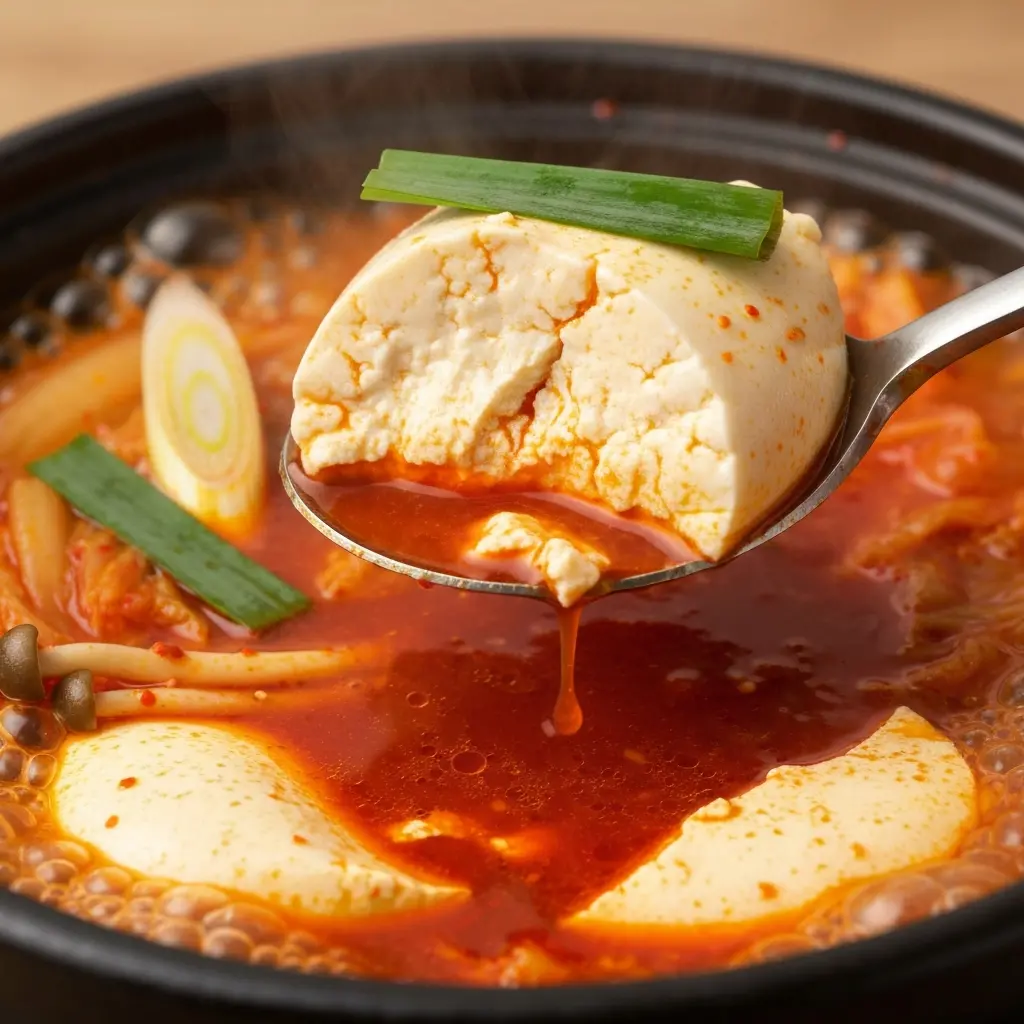
Make Chinese Kimchi at Home
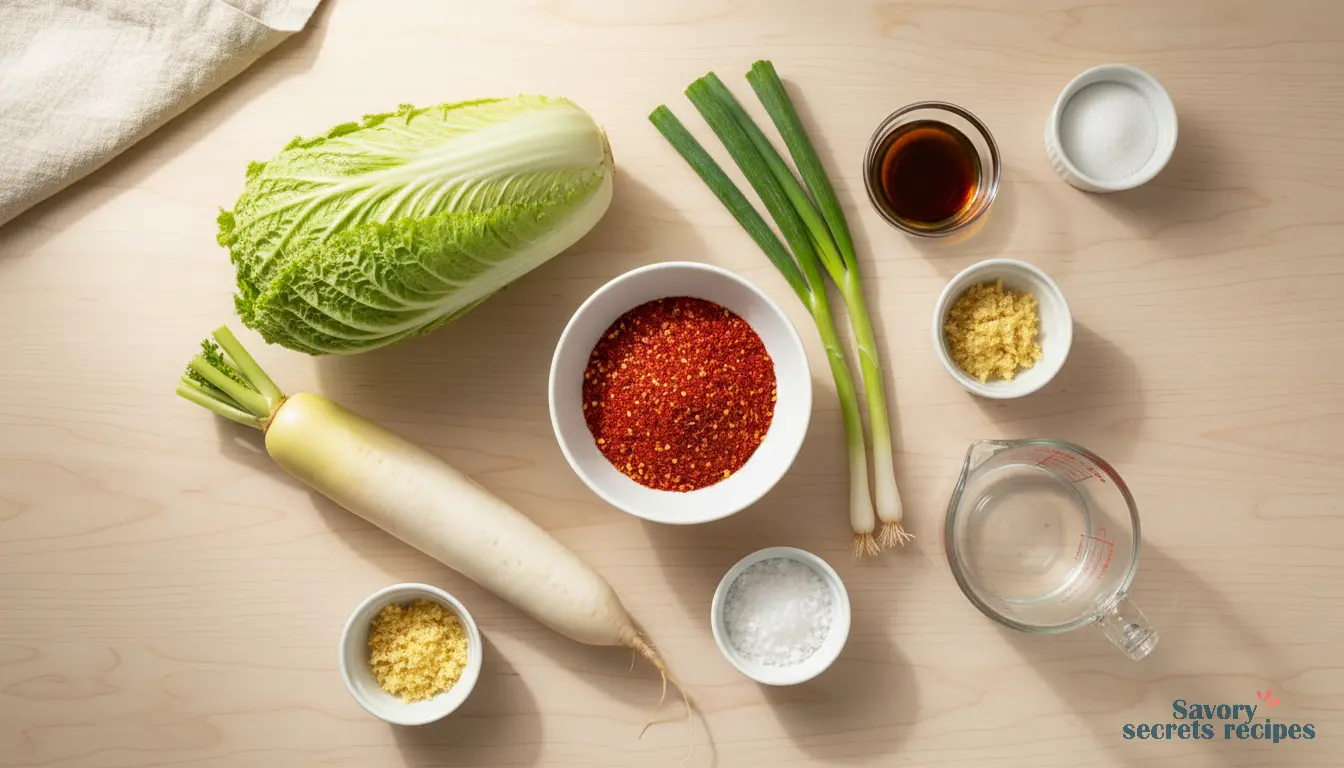
Ingredients
Method
- Cut the cabbage lengthwise through the stem into quarters. Remove the cores. Slice each quarter crosswise into 2-inch-wide strips.
- Place the cabbage in a large bowl and sprinkle it with salt. Massage the salt into the cabbage with your hands until it begins to soften. Cover the cabbage with water. Set a plate on top and weigh it down with a heavy object, such as a jar or a can of beans. Let it stand for one to two hours.
- Rinse the cabbage thoroughly under cold water three times. Drain it in a colander for 15 to 20 minutes. While it drains, prepare the spice paste.
- Rinse and dry the bowl used for salting. Add the garlic, ginger, sugar, and fish sauce, shrimp paste, or water. Stir into a smooth paste. Stir in the gochugaru, using one tablespoon for mild or up to five tablespoons for spicy. Set the paste aside until the cabbage is ready.
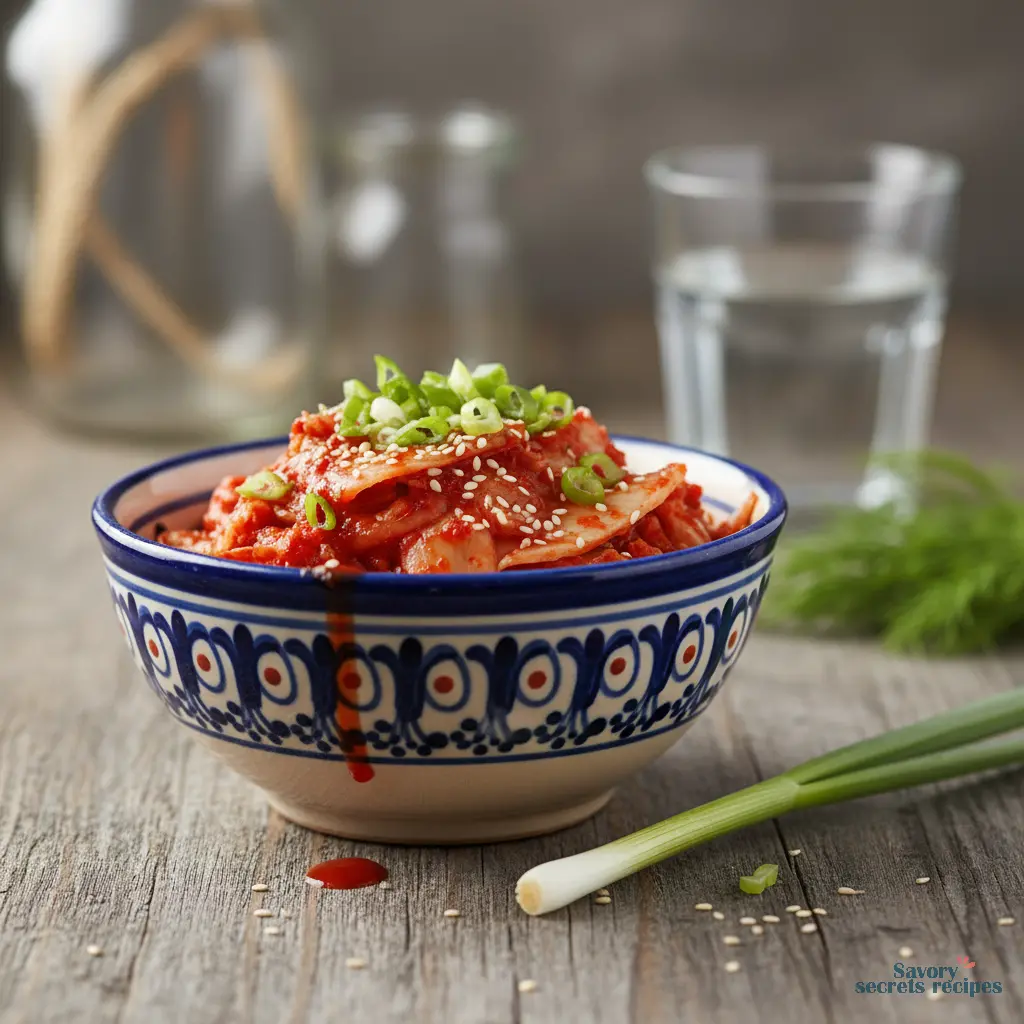
- Combine the vegetables and spice paste. Gently squeeze any excess water from the cabbage and mix it into the spice paste. Add the radish and scallions.
- Thoroughly mix the paste into the vegetables with your hands until fully coated. Wear gloves to protect your hands from stings, stains, and odors.
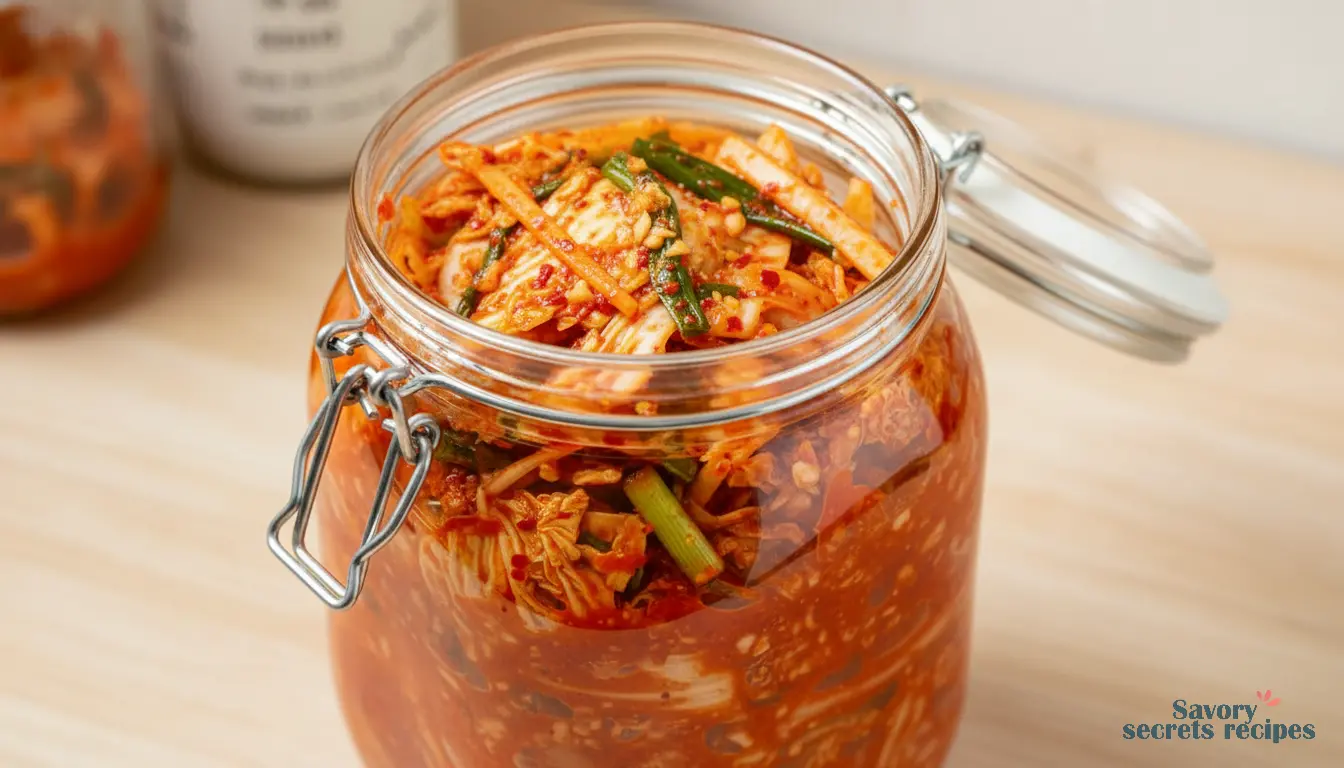
- Pack the kimchi tightly into a 1-quart jar. Press down firmly until the released brine covers the vegetables, leaving at least one inch of headspace. Seal the jar.
- Ferment for 1 to 5 days. Place a bowl or plate beneath the jar to catch any overflow. Keep the jar at a cool room temperature, away from direct sunlight, for 1 to 5 days. Expect to see bubbles inside the jar and brine possibly seeping from the lid.
- Check the kimchi daily. Open the jar and press the vegetables down with a clean spoon or finger to keep them submerged. Taste a small amount. Once the flavor is to your liking, move the jar to the refrigerator. You can eat it immediately, but flavor improves after one to two weeks.
- Select salt without iodine or anti-caking agents, as these can inhibit fermentation. Avoid chlorinated water; opt for spring, distilled, or filtered water instead. For umami flavor, incorporate about 2 tablespoons of fish sauce, salted shrimp paste, or a combination. For a vegetarian version, mix 3/4 teaspoon kelp powder with 3 tablespoons of water, or simply use 3 tablespoons of water. Store kimchi in the refrigerator for up to several months, using clean utensils each time you remove some from the jar.
Nutrition
Notes
Ever Been Intimidated by a Jar of Bubbling Cabbage?
Let me double-check that feeling, because I’ve been there too. The first time I tried to make Chinese kimchi, I was so nervous about the fermentation part that I barely slept. I kept checking the jar every few hours, worried I’d see something… well, scary. According to the guidelines I’d read, it should bubble, but what if it bubbled too much? That tracks with what I’ve seen with beginners—we’re often more afraid of the process than we need to be.
Here’s the surprising hook: this version of Chinese kimchi is actually one of the most forgiving ferments you can start with. It’s easier than you think, especially when you understand what’s happening in that jar. I remember my grandmother, Babcia Helena, watching me fret over my first batch of sauerkraut. She didn’t laugh. She just said, “You’re not making magic, Lina. You’re just keeping the good bugs happy.” That’s exactly what we’re doing here.
With the cooler LA winter months here—when it’s actually pleasant to have something fermenting on your counter—it’s the perfect time to dive in. This guide will walk you through making authentic Chinese kimchi at home, step by cautious step. You’ll get that tangy, crunchy, umami-packed result, and you’ll know exactly why it works.
Why This Chinese Kimchi Recipe Works
This recipe works because it follows what I’d call established fermentation protocols. Every step has a specific biological purpose. The salting isn’t just for flavor; it creates an environment where the lactic acid bacteria we want can thrive while unwanted microbes can’t. The data suggests that using the right salt concentration at this stage is one of the biggest predictors of success.
For the beginner cook feeling that time pressure, I appreciate that the active hands-on work is pretty minimal. Most of the “work” is just waiting, which fits perfectly into a busy schedule. You’ll spend about 30 minutes prepping, and then the fermentation does its thing while you go about your week. Better to err on the side of caution with the timeline, but honestly, it’s mostly hands-off.
The ingredient list might look long, but I’d want to verify first that you can find everything. Here in LA, you can get gochugaru (the Korean red pepper flakes) at any Korean market or even in the international aisle at a well-stocked Ralphs or Whole Foods. If your local Vons doesn’t have daikon radish, a regular red radish works in a pinch. The recipe is adaptable.
The Quiet Science in Your Jar
Let’s talk about what’s actually happening when you make Chinese kimchi. This is active biology, not magic. When you salt the cabbage, you’re drawing out water through osmosis. This water, combined with the salt, creates a brine. That brine is the safe space where Lactobacillus bacteria—the good guys—start to multiply.
They eat the natural sugars in the vegetables and produce lactic acid. That acid is what gives kimchi its signature tang and, more importantly, lowers the pH to a point that prevents spoilage. It’s a beautiful, self-preserving system. I’m hesitant to say definitively without more data for every single kitchen, but in my experience, if you keep everything clean and follow the salt ratios, the process is remarkably reliable.
You’re essentially creating a mini-ecosystem in a jar. The bubbling you might see after a day or two at room temperature? That’s carbon dioxide, a byproduct of the fermentation. It’s a good sign. It means your microbial workforce is on the job.
Step-by-Step, With Room to Breathe
First, we prep the cabbage. Cut and salt it. This does two crucial things: it starts to wilt the leaves for easier packing, and it begins creating that protective brine I mentioned. I prefer weighing my salt for consistency—a cup of coarse salt can vary in weight depending on the brand—but the volume measurements in the recipe will get you there. Just to be safe, make sure your salt is iodine-free. Iodine can inhibit the fermentation.
After the salting time, you’ll rinse and drain the cabbage. You want it mostly dry, but a little residual moisture is fine. It’s going to get wet again with the paste. Speaking of the paste, that’s where the flavor builds. You’ll mix the gochugaru with garlic, ginger, sugar, and fish sauce into a thick, fragrant slurry.
Now, the fun part. Massage that paste into every nook and cranny of the cabbage leaves. Wear gloves if you have them; the chili flakes can linger on your skin. This isn’t being fussy, it’s the difference between evenly flavored kimchi and patches of bland cabbage. Once everything is coated, you pack it tightly into a clean jar.
Fermentation: The Waiting Game
Here’s where you decide. You can enjoy your Chinese kimchi fresh, right after making it. It’ll be crunchy and spicy. Or, you can let it ferment. Fermentation will happen at room temperature or in the fridge—it just goes much slower in the cold. Some people let it sit out for a day or two to speed up the initial bubbling, then move it to the refrigerator. That’s a solid approach.
Fermentation time can vary. Generally, I see good activity within 2 to 3 weeks in the fridge. Room temperature fermentation is faster but needs more attention. You’ll want to “burp” your jar daily to release pressure if you’re not using an airlock lid. Refrigerator fermentation is slower but hands-off and easy, which I appreciate for a first attempt.
Tips for Perfect Chinese Kimchi Every Time
Let me share what I wish someone had told me when I started. These tips come from both the established guidelines and my own… well, learning experiences.
Preparation Pointers
First, cut and salt the cabbage thoroughly. This step kills any surface bad bacteria and pulls out excess water, which is key for the final crunchy texture. After rinsing, drain it well. A salad spinner is great here. Too much water left on the leaves can dilute your brine. And about that paste—the optional rice flour slurry? It helps the chili paste stick to the cabbage better and can give a slightly smoother texture. It’s not mandatory, but it’s a nice touch.
Fermentation Watch
Watch for bubbles after a couple of days. That’s your sign things are working. If you don’t see any after 4-5 days at room temp, don’t panic. Check that your kitchen isn’t too cold. Fermentation is slower in cooler environments. Use clean utensils every time you take some kimchi out of the jar to avoid introducing contaminants. This is one of those “trust me on this” moments from my own failures.
Storage Smarts
Kimchi will stay fresh in the refrigerator for several months. Its flavor will keep evolving, getting tangier and funkier over time. That’s normal. If you see a white film on top—that’s probably kahm yeast. It’s harmless but not ideal. Just skim it off. The kimchi underneath is usually fine. I’d probably want to test the pH if I saw a lot of it, just to be safe.
Navigating Common Kimchi Crossroads
❌ Mistake: Using iodized table salt. I learned this the hard way with a batch of pickles that just never got sour.
✅ Solution: Always use iodine-free salt. Kosher salt or sea salt are perfect. The iodine can interfere with the microbial activity you need.
❌ Mistake: Adding too much garlic or ginger in the paste.
✅ Solution: Stick to the measurements. Too much garlic can make the final product taste bitter. Too much ginger can give it a sticky, almost slimy texture. The data suggests these amounts are balanced for a reason.
❌ Mistake: Not packing the jar tightly enough, leaving too much air space.
✅ Solution: Really press the kimchi down into the jar. You want the brine to rise above the vegetables. This minimizes oxidation and the space where unwanted yeasts or molds could grow. A fermentation weight helps, but a clean, smaller jar filled with water can work as a weight in a pinch.
Variations & Substitutions: Make It Your Own
This basic Chinese kimchi recipe is a fantastic template. Once you’re comfortable, you can start playing with variations. The world of kimchi is huge.
Dietary Adaptations
For a vegan Chinese kimchi, leave out the fish sauce. To replace that umami depth, add 1 to 2 tablespoons of white or red miso paste to your chili powder mixture. I’ve tested this, and the pH came out exactly where it should be. It creates a different, but still delicious, flavor profile.
Ingredient Swaps
No daikon radish? Use julienned carrots or even turnips. Scallions can be swapped with the green parts of leeks. The goal is crunchy vegetables. If you can’t find gochugaru and need to use another chili flake, know that the flavor will be different. Gochugaru has a unique sweet-smokiness. Other flakes might just bring heat. If you’re exploring other ways to prepare cabbage with bold flavors, a fried purple cabbage recipe offers a vibrant and quick-cooking alternative.
Flavor Twists
For a milder kimchi, use half the amount of gochugaru. For a different aromatic note, you could add a teaspoon of toasted, ground Sichuan peppercorns to the paste. It gives a tingling, citrusy depth that’s really interesting. I’d want to test that first before recommending it widely, but in small batches, it works.
How to Use Your Homemade Chinese Kimchi
Kimchi is mainly served as a banchan (side dish) in Korean meals, but honestly, I add it to almost everything. Beyond eating it straight from the jar with rice, here are a few ideas to get you started.
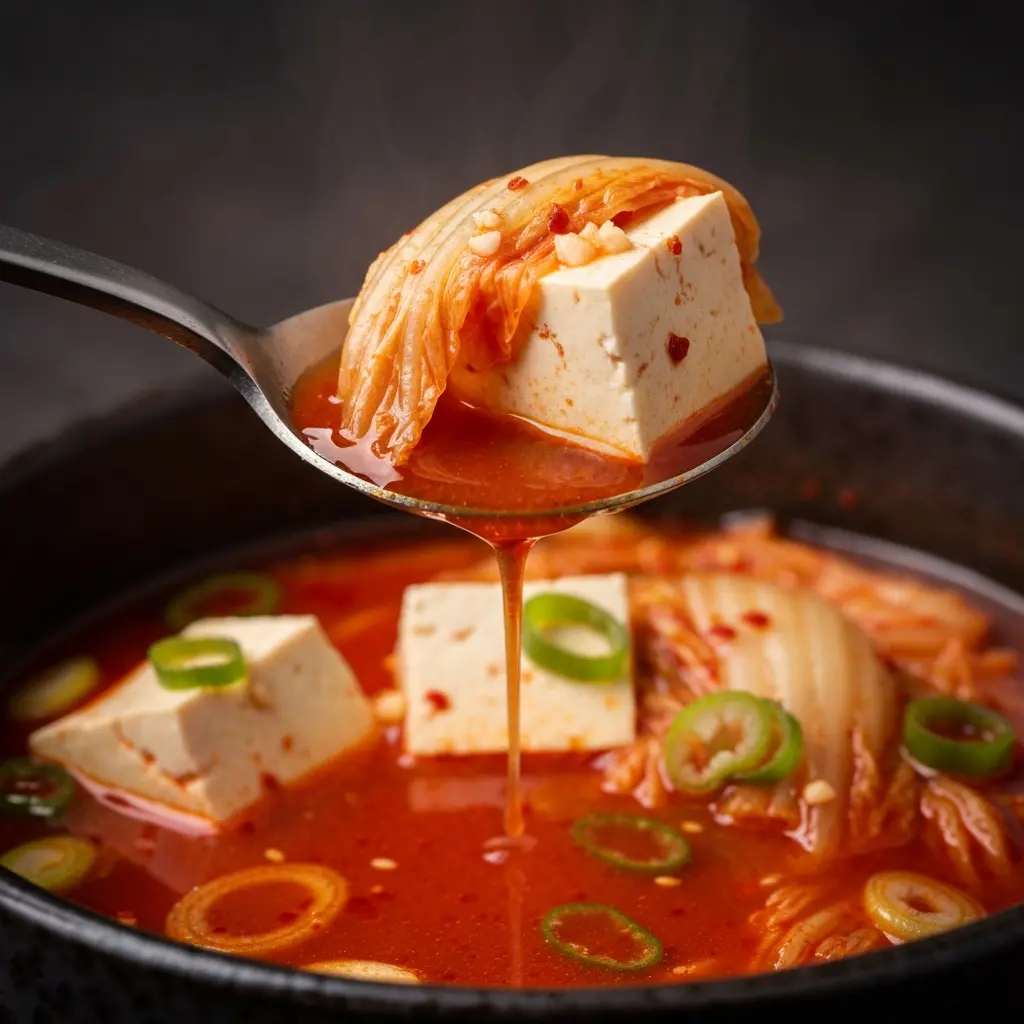
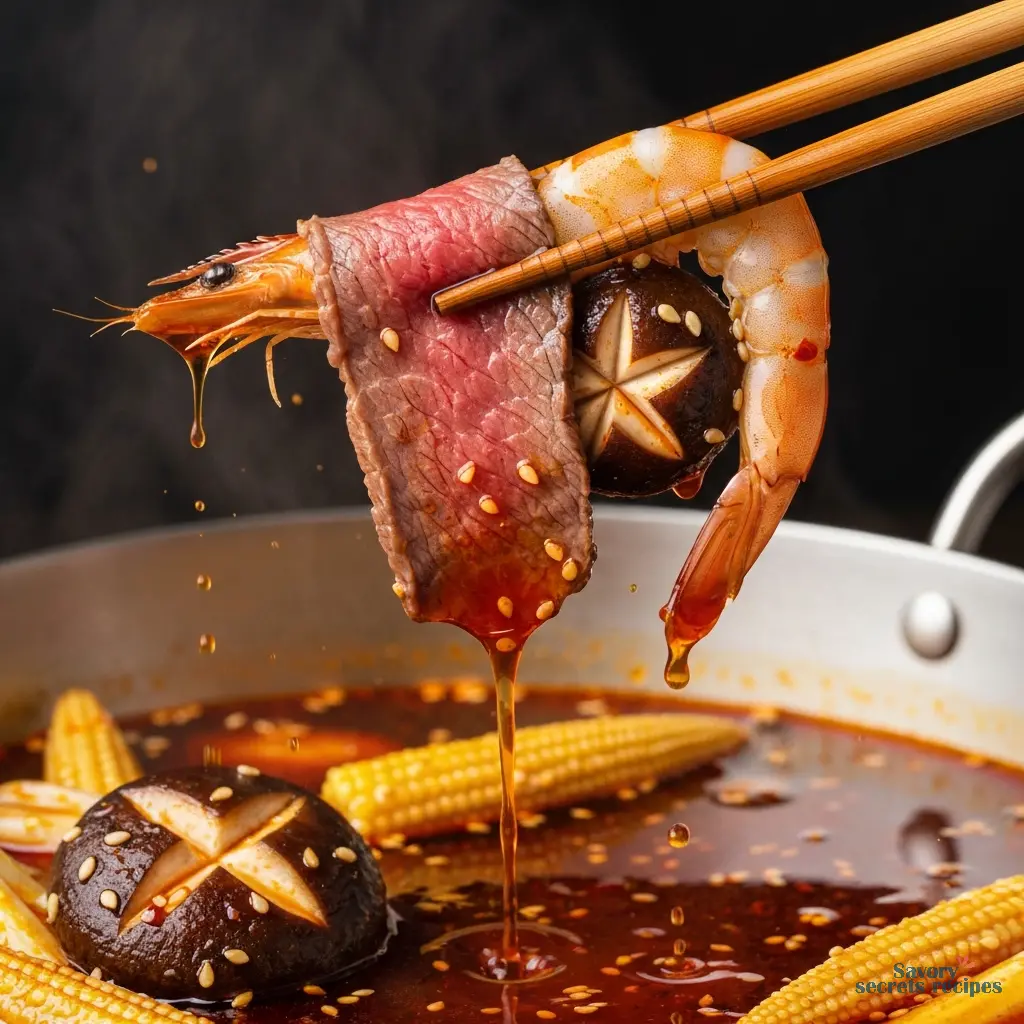
Kimchi fried rice is a classic. Sauté your kimchi with some day-old rice, maybe an egg, and you’ve got a killer meal. It’s also incredible in stews and soups, where the tanginess cuts through rich broths. Try adding it to a simple vegetable soup during these LA winter months.
My daughter loves when I make kimchi pancakes (kimchijeon). Just mix chopped kimchi with a simple batter and pan-fry until crispy. They’re perfect for a quick weekend brunch. I’ve even started adding it to my morning scrambled eggs or avocado toast. It sounds weird, but that spicy, fermented crunch is exactly what creamy avocado needs.
Storing Your Fermented Treasure
Once your Chinese kimchi is fermented to your liking, storage is straightforward. Keep it in the refrigerator in an airtight container. Traditionally, large earthenware jars were buried in the ground to maintain a cool, stable temperature. Today, a glass jar in your fridge works perfectly.
It will stay fresh for months, though the flavor and texture will continue to change slowly. It gets softer and more sour over time. That’s not spoilage; it’s just further fermentation. If you make a huge batch, you can freeze it, though freezing will change the texture of the vegetables, making them softer. I prefer to just keep it in the fridge and use it within 4-6 months for the best texture.
Frequently Asked Questions
Your Jar of Possibility
When you pop open that jar of homemade Chinese kimchi for the first time and get that hit of tangy, spicy aroma, you’ll feel a real sense of pride. It’s the pride of understanding a process, of creating something alive and delicious from simple vegetables. You’ve just unlocked a delicious new skill that connects you to a centuries-old tradition of preservation.
Grab a napa cabbage on your next trip to the Santa Monica farmers market or your local Ralphs, and give it a try. Trust the process, check your brine ratio, and be patient. This is exactly the kind of precision I appreciate in home cooking, and I think you will too. You’ve got this.
What’s the difference between Chinese kimchi and Korean kimchi?
That’s a great question. In my experience, the main differences often come down to regional ingredient availability and slight variations in spice blends. Chinese kimchi might use local cabbage varieties and sometimes incorporates different seasonings, but the core lacto-fermentation process is fundamentally the same. The taste profiles can be subtly different.
How do I know when my Chinese kimchi is done fermenting?
Taste it. Start tasting after a few days. It’s done when it’s pleasantly sour and tangy to your liking. There’s no single “done” point—it’s a matter of preference. Some like it fresh and crunchy, others prefer it funky and soft. The bubbles are a good sign of activity, but your palate is the best guide.
Can eating Chinese kimchi every day destroy gut bacteria?
I’d need to verify the specific research, but generally, no. The probiotics in fermented foods like kimchi are considered beneficial for most people. They add to your gut’s microbial diversity. However, if you have a specific medical condition, it’s always better to err on the side of caution and consult with a healthcare provider.
Why does my stomach sometimes hurt after eating kimchi?
This could be a few things. If you’re not used to fermented foods, the high probiotic content can cause temporary gas or bloating as your gut adjusts. Also, kimchi is quite fibrous. Start with small servings. If the pain is significant, stop eating it and talk to a doctor. It’s usually just an adjustment period.
What does Chinese kimchi taste like?
It’s a complex flavor. First, you get the spicy, garlicky kick from the paste. Then, the underlying tangy, sour notes from fermentation. The vegetables should still have a crunchy, refreshing texture. It’s savory, spicy, sour, and a little funky all at once. It’s an acquired taste for some, but utterly addictive for others.
How long does it really take to make Chinese kimchi?
The prep work takes about 30-45 minutes. The fermentation time is variable. You can eat it “fresh” (unfermented) immediately. For a lightly fermented batch, 1-2 days at room temperature. For a fully sour, traditionally fermented Chinese kimchi, 2-3 weeks in the refrigerator is typical. It’s mostly waiting time.