Ingredients
Method
- Cut the cabbage lengthwise through the stem into quarters. Remove the cores. Slice each quarter crosswise into 2-inch-wide strips.
- Place the cabbage in a large bowl and sprinkle it with salt. Massage the salt into the cabbage with your hands until it begins to soften. Cover the cabbage with water. Set a plate on top and weigh it down with a heavy object, such as a jar or a can of beans. Let it stand for one to two hours.
- Rinse the cabbage thoroughly under cold water three times. Drain it in a colander for 15 to 20 minutes. While it drains, prepare the spice paste.
- Rinse and dry the bowl used for salting. Add the garlic, ginger, sugar, and fish sauce, shrimp paste, or water. Stir into a smooth paste. Stir in the gochugaru, using one tablespoon for mild or up to five tablespoons for spicy. Set the paste aside until the cabbage is ready.
- Combine the vegetables and spice paste. Gently squeeze any excess water from the cabbage and mix it into the spice paste. Add the radish and scallions.
- Thoroughly mix the paste into the vegetables with your hands until fully coated. Wear gloves to protect your hands from stings, stains, and odors.
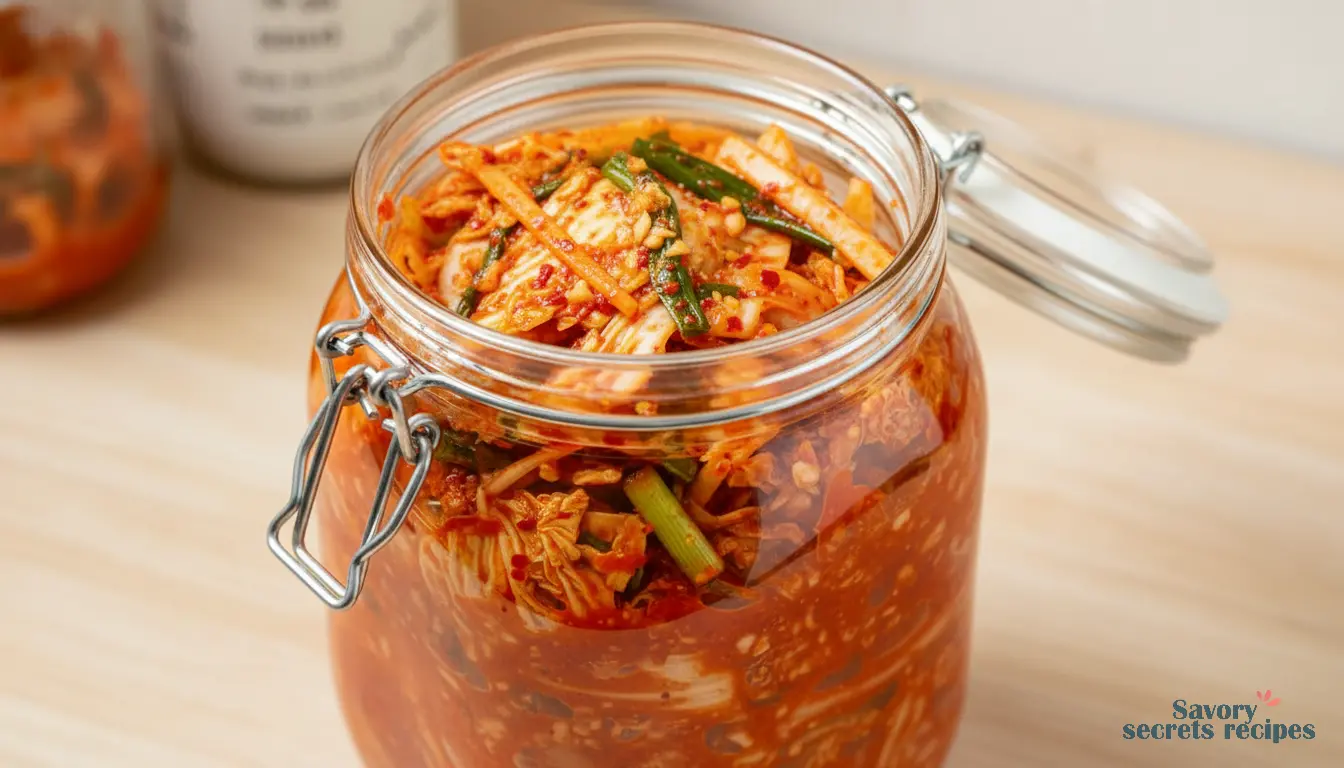
- Pack the kimchi tightly into a 1-quart jar. Press down firmly until the released brine covers the vegetables, leaving at least one inch of headspace. Seal the jar.
- Ferment for 1 to 5 days. Place a bowl or plate beneath the jar to catch any overflow. Keep the jar at a cool room temperature, away from direct sunlight, for 1 to 5 days. Expect to see bubbles inside the jar and brine possibly seeping from the lid.
- Check the kimchi daily. Open the jar and press the vegetables down with a clean spoon or finger to keep them submerged. Taste a small amount. Once the flavor is to your liking, move the jar to the refrigerator. You can eat it immediately, but flavor improves after one to two weeks.
Recipe Notes
- Select salt without iodine or anti-caking agents, as these can inhibit fermentation. Avoid chlorinated water; opt for spring, distilled, or filtered water instead. For umami flavor, incorporate about 2 tablespoons of fish sauce, salted shrimp paste, or a combination. For a vegetarian version, mix 3/4 teaspoon kelp powder with 3 tablespoons of water, or simply use 3 tablespoons of water. Store kimchi in the refrigerator for up to several months, using clean utensils each time you remove some from the jar.
Nutrition
Notes
Ingredient Swap: I often use regular daikon radish when Korean radish is hard to find, it gives a similar crisp texture and peppery bite.
Storage Secret: I always use a clean spoon to take kimchi from the jar, as introducing bacteria can spoil the batch.
It keeps for months in my fridge, getting tastier over time.
Make-
Ahead Tip: You can prepare the spice paste a day in advance and store it covered in the fridge.
It actually helps the flavors meld beautifully.
Common Mistake: Don't rush the salting step.
I once didn't let the cabbage soften enough and the final texture was too tough.
A full two hours is worth it.
Serving Suggestion: My favorite way to enjoy fresh kimchi is straight from the jar with a bowl of hot rice, but it's also fantastic in fried rice after it's fermented.
Equipment Note: If you don't have a fermentation weight, I've successfully used a small, clean zip-top bag filled with water pressed on top of the kimchi to keep it submerged.
Personal Discovery: I learned the hard way to always wear gloves when mixing.
The chili stains on my hands lasted for days, and the garlic scent was impossible to wash off.