


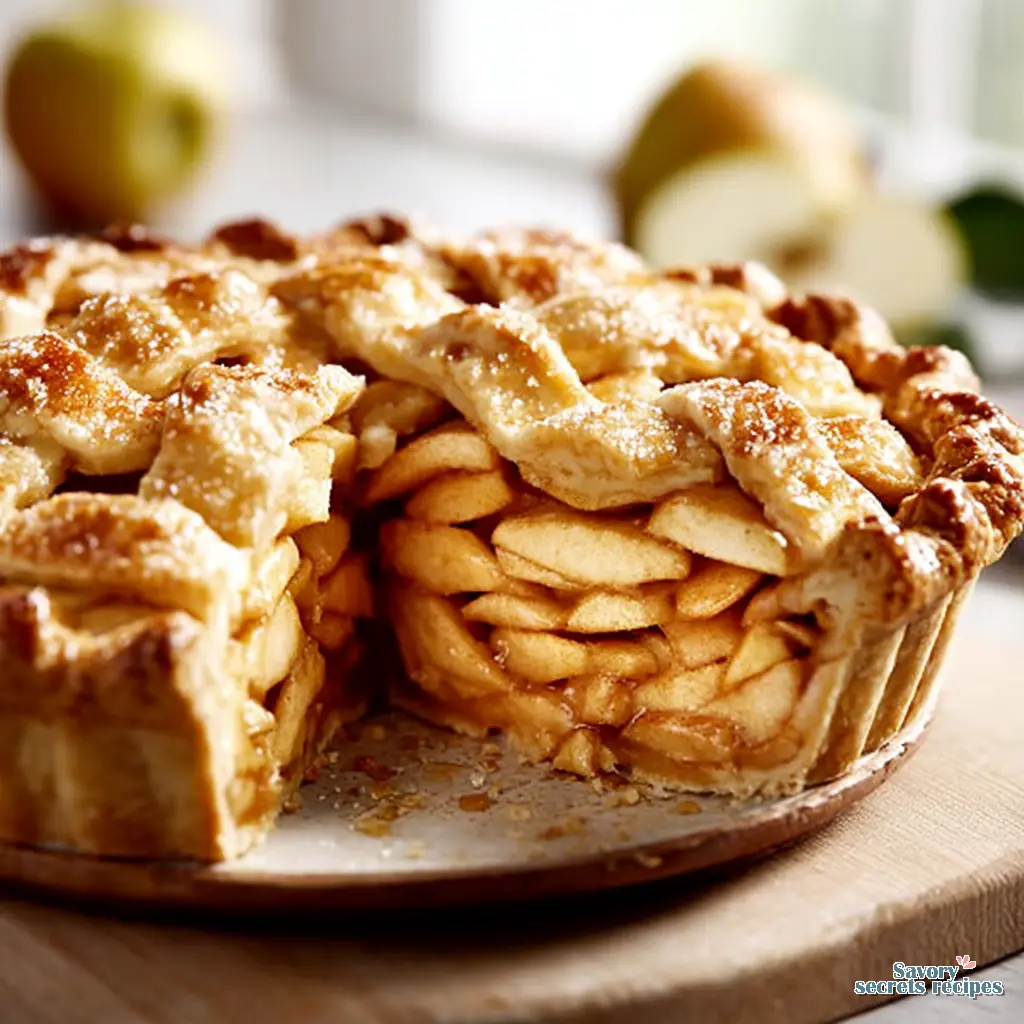
Easy Baked Apple Pie Recipe with Store Bought Crust
Ingredients
Method
- Peel, core, and slice the apples into even 1/4-inch thick slices. Place them in a large bowl and toss immediately with lemon juice to prevent browning.
- Add granulated sugar, brown sugar, flour, cornstarch, cinnamon, nutmeg, salt, and vanilla to the apples. Toss gently until every slice is coated and let the mixture rest for 10 minutes.
- Place the unbaked crust into a 9-inch pie dish, pressing gently into the corners without stretching. Trim the excess dough, crimp the edges, and chill in the refrigerator for 15 minutes.
- Spoon the apple mixture into the crust, layering the slices to prevent air pockets, and pour any remaining juices from the bowl over the apples.
- Combine flour, brown sugar, granulated sugar, cinnamon, and salt in a separate bowl. Add cold butter cubes and work them into the mixture with a pastry cutter or your fingertips until it resembles coarse crumbs with pea-sized pieces remaining.
- Sprinkle the crumb mixture evenly over the apples to cover the entire surface without pressing it down.
- Preheat the oven to 375°F and bake the pie on the middle rack for 55 to 65 minutes until the topping is golden and the filling bubbles. Cover the edges with foil if they brown too quickly.
- Remove the pie from the oven and let it cool on a wire rack for at least 2 hours to ensure the filling sets for clean slicing.
Nutrition
Notes
The Reality of Weeknight Cravings
I’ve been there. It is 6 PM on a Wednesday, you just survived the evening commute after a quick run to Ralphs, and your family is asking for a treat. You are exhausted. The kitchen is already a mess. The last thing you want to do is cut butter into flour and pray your pastry dough does not shrink. Let me walk you through this easy baked apple pie that actually fits into a busy life. I admit it openly. I use a refrigerated pie crust for this. Yes, me, the pastry editor. Because sometimes, making memories is more important than making everything from scratch. However, if you ever have a free afternoon, you might want to try a more involved homemade apple pie recipe to master the art of the perfect crust.
My grandmother Lalla Fatima taught me to make intricate Moroccan pastries in her tiny Casablanca kitchen. She always emphasized patience. But she also knew the value of feeding people you love without losing your mind in the process. This recipe gives you that warm, cinnamon-perfumed house in about 15 minutes of active prep time. You’ll get that traditional apple dessert flavor without the stress. It is a one-bowl filling situation, which means fewer dishes for you later. Trust me. The smell of ground cinnamon and baking apples is the real secret weapon here.
The Science of an Easy Baked Apple Pie
I know this sounds a bit technical, but understanding the science actually makes baking much easier. Temperature is doing the heavy lifting here. We are taking a store-bought crust and treating it like an artisanal pastry. The trick is brushing it with a quick egg wash and sprinkling it with coarse sugar. The crystals will tell you everything about the texture once it comes out of the oven. They create a shatteringly crisp top layer that mimics a bakery pie.
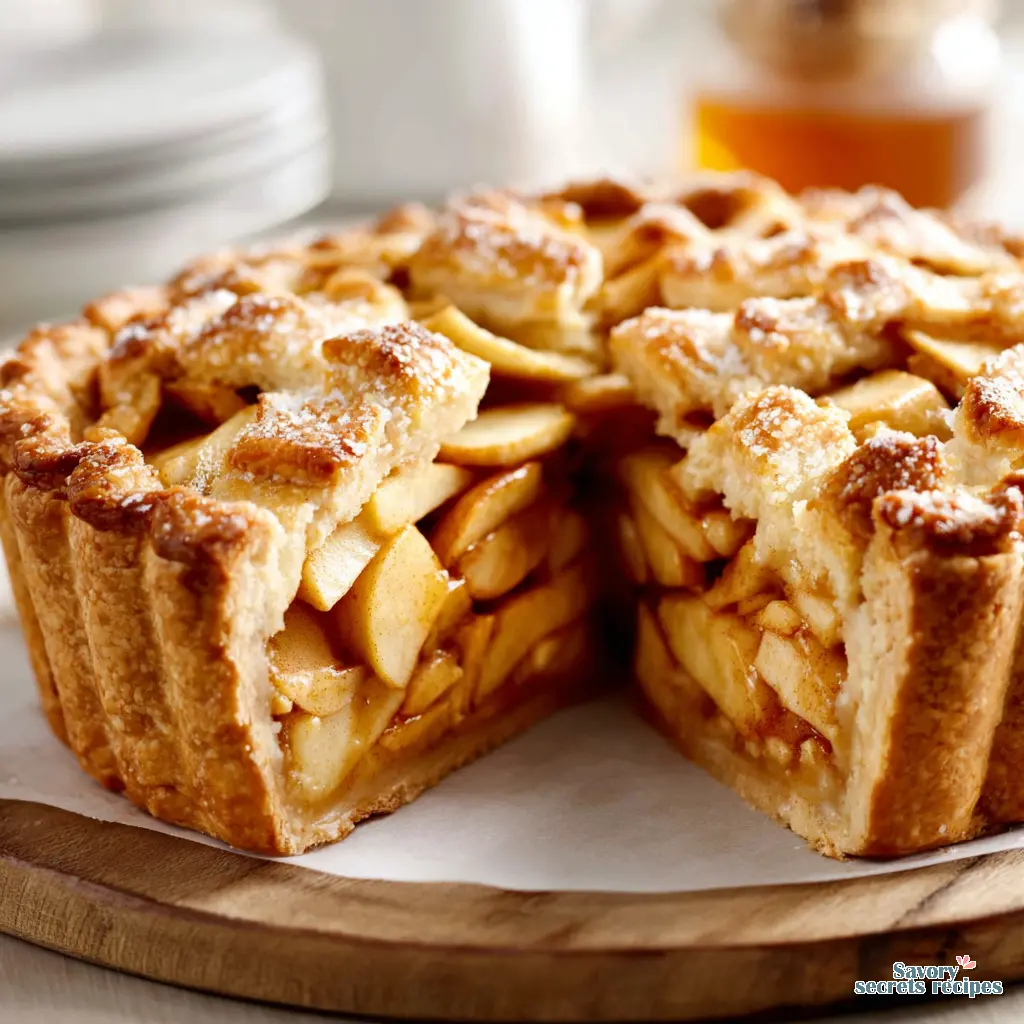
We do not pre-cook the apples for this easy baked apple pie. I tend to find, but test it yourself, that raw apples tossed in granulated sugar and brown sugar release their natural pectin as they bake. The pH of the apples interacts with the heat to soften them perfectly in the time it takes the crust to brown. You’re looking for that exact window where the fruit is tender but not mushy. It’s so satisfying when it comes together.
Comparing Apples for Your Pie
Let’s troubleshoot together before you even start slicing. The type of apple you choose completely changes the final texture. I’ve tested this easy baked apple pie with almost every variety available at the Santa Monica Farmers Market. Here is how they compare.
Granny Smith vs. Honeycrisp: Granny Smith apples are tart and incredibly firm. They hold their shape beautifully under high heat. Honeycrisp apples are sweeter and bring a lot of natural juice. My absolute favorite approach is a 50/50 split. The tartness balances the sweet, and you get a complex flavor profile that tastes like you spent hours developing it.
Gala and Fuji Apples: These are your sweet, everyday snacking apples. They work well, but they break down a bit faster. If you use all-purpose apples like Gala, cut them slightly thicker so they don’t turn into applesauce. Always slice your apples to a uniform 1/8-inch thickness for even cooking. And pile those apples higher than the rim of your pie dish. They shrink significantly during baking, and you do not want a massive air gap under your top crust.
Binder Comparison: Cornstarch, Flour, or Tapioca
This is the part I love. The thickener you use for your apple cinnamon pie determines whether you get a slice that holds its shape or a soupy mess. I learned about stabilizers through a lot of trial and error in my own kitchen.
Cornstarch: This is the standard. It activates at a high temperature and creates a clear, glossy filling. You need about 2 to 3 teaspoons of cornstarch for a standard pie. It sets up firmly once cooled.
All-Purpose Flour: Flour gives a cloudy, slightly matte finish to the filling. It is reliable, but it mutes the bright apple flavor just a tiny bit. If you use flour, you usually need twice as much as cornstarch.
Tapioca Starch: I discovered tapioca starch as a stabilizer by accident when making a frozen dessert, and it is brilliant in fruit pies. It creates a smooth, elastic texture. The texture should read smooth when you drag a spoon through the cooled filling. For this easy apple cinnamon pie recipe for beginners, cornstarch is the most accessible, but tapioca is a fantastic upgrade if you have it.
How to Prevent a Soggy Bottom Crust
My first year testing recipes, I baked a beautiful pie that looked perfect on top but was completely raw underneath. I felt terrible when I cut into it. Now, I have a foolproof method. Let’s talk about heat conduction. You should always use a glass pie dish for this easy baked apple pie. Glass allows you to physically lift the pan and check if the bottom is browning. It takes the guesswork out entirely.
We use a two-temperature baking method. Start the oven high, around 400°F. This initial blast of heat sets the pastry and melts the fat quickly, creating flaky layers before the apple juices can seep in. After 20 minutes, lower the heat to 375°F to allow the inside to cook without burning the outside. Always place a baking sheet on the rack below your pie. Not only does it catch any bubbling juices that might ruin your oven, but it also reflects heat back up to the bottom crust. And please, tent the pie with foil or use a pie shield during the first 25 minutes to protect those delicate edges from scorching. These techniques are vital for achieving the signature texture of a true american apple pie recipe.
Visual Troubleshooting Guide
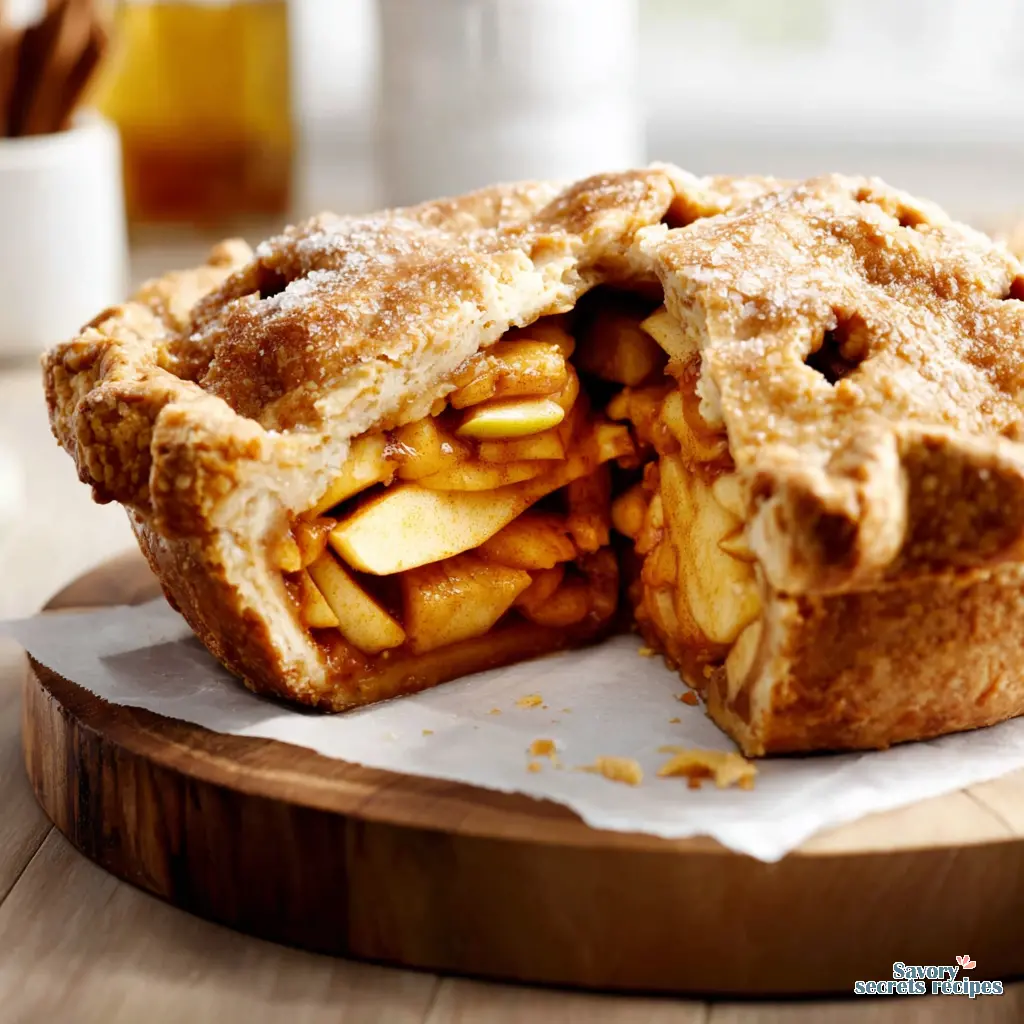
Mistake: The filling is a watery, soupy mess.
Solution: You likely cut the pie while it was still hot. This needs time to hydrate properly. Let the pie cool for at least 3 hours. The cornstarch needs to come down to room temperature to set the juices.
Mistake: The top crust shrank and left a massive gap.
Solution: You didn’t use enough apples. The fruit cooks down significantly. Always mound the raw apples high in the center before adding the top crust.
Mistake: The apples are mushy and have no texture.
Solution: You probably used a mealy apple like McIntosh, or you sliced them paper-thin. Stick to crisp varieties and maintain a uniform 1/8-inch slice.
The 48-Hour Make-Ahead Strategy
If you are hosting a weekend brunch or a holiday dinner, you do not want to be peeling apples while your guests arrive. You can absolutely assemble this traditional baked apple dessert with cinnamon ahead of time. I do this constantly.
Peel and slice your apples, toss them with a splash of fresh Meyer lemon juice to prevent browning, and store them in an airtight container in the fridge. You can mix your dry ingredients, the granulated sugar, brown sugar, cornstarch, and warm spices, in a separate bowl. When you are ready to bake, just toss the apples with the sugar mixture, dump them into your refrigerated pie crust, crimp the edges, and bake. Do not mix the sugar and apples ahead of time, or the sugar will pull all the water out of the fruit, leaving you with a puddle of liquid before you even turn the oven on.
Storing and Freezing Your Easy Baked Apple Pie
My nephew Omar refuses to eat anything cold, so I have mastered the art of reheating leftovers. If you have any of this easy baked apple pie left, it stores beautifully. Keep it at room temperature, loosely covered with foil, for up to two days. The crust stays crisper this way. If you need to keep it longer, wrap it tightly and put it in the refrigerator for up to five days. Just note that the fridge will soften the pastry.
To reheat, I highly recommend using the oven rather than the microwave. A microwave will turn your beautiful golden crust rubbery. Place individual slices on a baking sheet at 350°F for about 10 minutes until the filling is bubbling again. If you want to freeze the whole baked pie, wrap it tightly in plastic wrap and then foil. It will keep in the freezer for up to three months. Thaw it overnight in the fridge before reheating.
Frequently Asked Questions
Final Thoughts
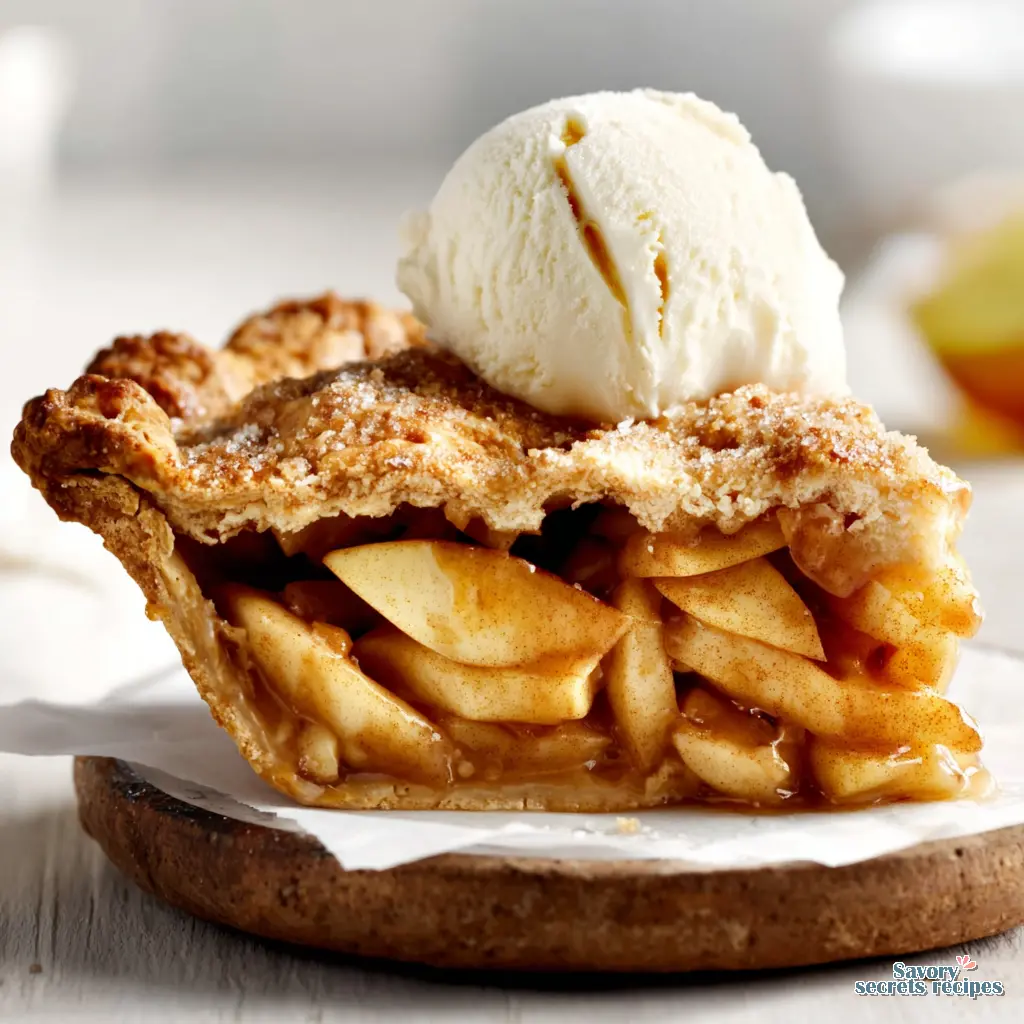
Making a beautiful dessert doesn’t have to consume your entire evening. This easy baked apple pie proves that you can take smart shortcuts, like using a refrigerated pie crust, and still deliver something spectacular. Top it with a scoop of vanilla ice cream or a quick caramel drizzle, and watch it disappear. I love when readers send me photos of their bakes. It means the instructions were clear enough, and that makes everything worthwhile. Give it a minute to settle when it comes out of the oven, gather your family, and enjoy the moment.
If you loved this approach to stress-free baking, I share tons of variations and time-saving tips on my Pinterest boards. Come say hello and let me know how yours turned out!
Reference: Original Source
How can I make an easy baked apple pie with store bought crust taste homemade?
The secret is all in the finishing touches. Brush the top crust with an egg wash made of one egg beaten with a splash of milk, then generously sprinkle coarse turbinado sugar over it. This gives it that professional bakery crunch and color.
What are the best types of apples to use for an apple cinnamon pie?
I always recommend a mix. Use half tart apples, like Granny Smith, for structure and acidity. Combine them with half sweet apples, like Honeycrisp or Fuji, for natural sweetness and juice. This combination creates the most balanced, complex flavor profile.
How do you prevent a soggy bottom when using this easy apple cinnamon pie recipe for beginners?
Always use a glass pie dish so you can monitor the browning. Bake it on the lower third rack of your oven, and place a preheated baking sheet underneath the pie dish to conduct heat directly to the bottom crust quickly.
Can I assemble this traditional baked apple dessert with cinnamon ahead of time?
Yes, but keep the components separate. Slice the apples and toss with lemon juice in one container. Mix your sugars and spices in another. Combine them and fill your crust right before baking, otherwise the sugar will extract too much liquid.
What is the best way to store and reheat a traditional apple dessert?
Store it loosely covered at room temperature for up to two days to maintain a crisp crust. For longer storage, refrigerate for up to five days. Reheat slices in a 350°F oven for 10 minutes to restore the pastry’s flaky texture.
Do I need to peel my apples for this easy baked apple pie?
Yes, I strongly recommend peeling them. Apple skins do not break down during baking. Leaving them on results in a tough, chewy texture in the filling that distracts from the smooth, tender apple slices we are trying to achieve.
Should I cook the apples before putting them in the pie?
Not for this specific recipe. Slicing the apples thinly and uniformly at 1/8-inch allows them to cook perfectly in the time it takes the crust to bake. Pre-cooking is an extra step that isn’t necessary for this quick, family-friendly method.
Why is my pie filling so runny?
The most common reason is cutting into the pie too soon. The filling must cool for at least 3 hours for the cornstarch to set. Alternatively, you may not have used enough thickener, or your apples released an unusual amount of juice.


