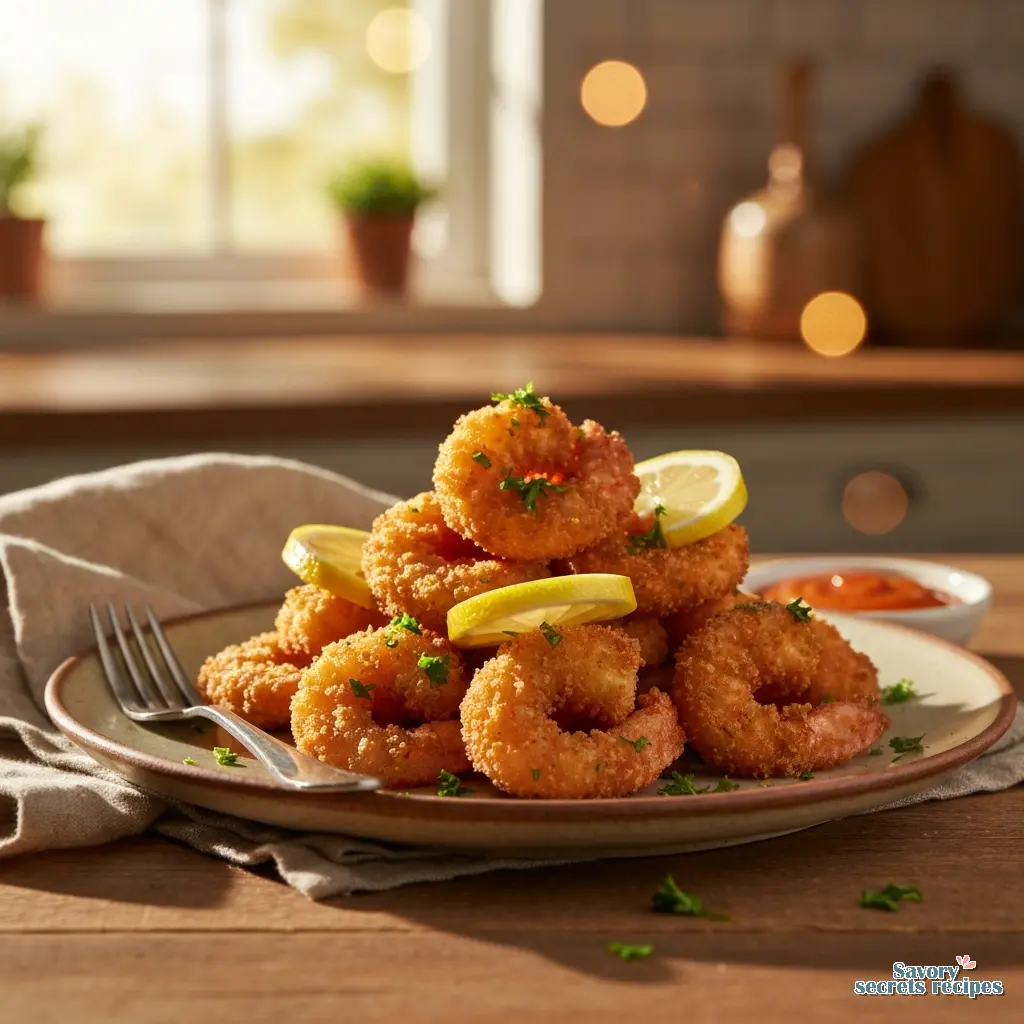
Make Crispy Fried Shrimp Appetizers for Your Guests
Ingredients
Method
- Place the flour into a shallow dish.
- Whisk the eggs in a separate shallow dish and set aside.
- Combine the breadcrumbs, paprika, garlic, and salt in a third dish and whisk together.
- Coat each shrimp in flour, dip in egg, and dredge in the breadcrumb mixture. Repeat for all shrimp and set aside.
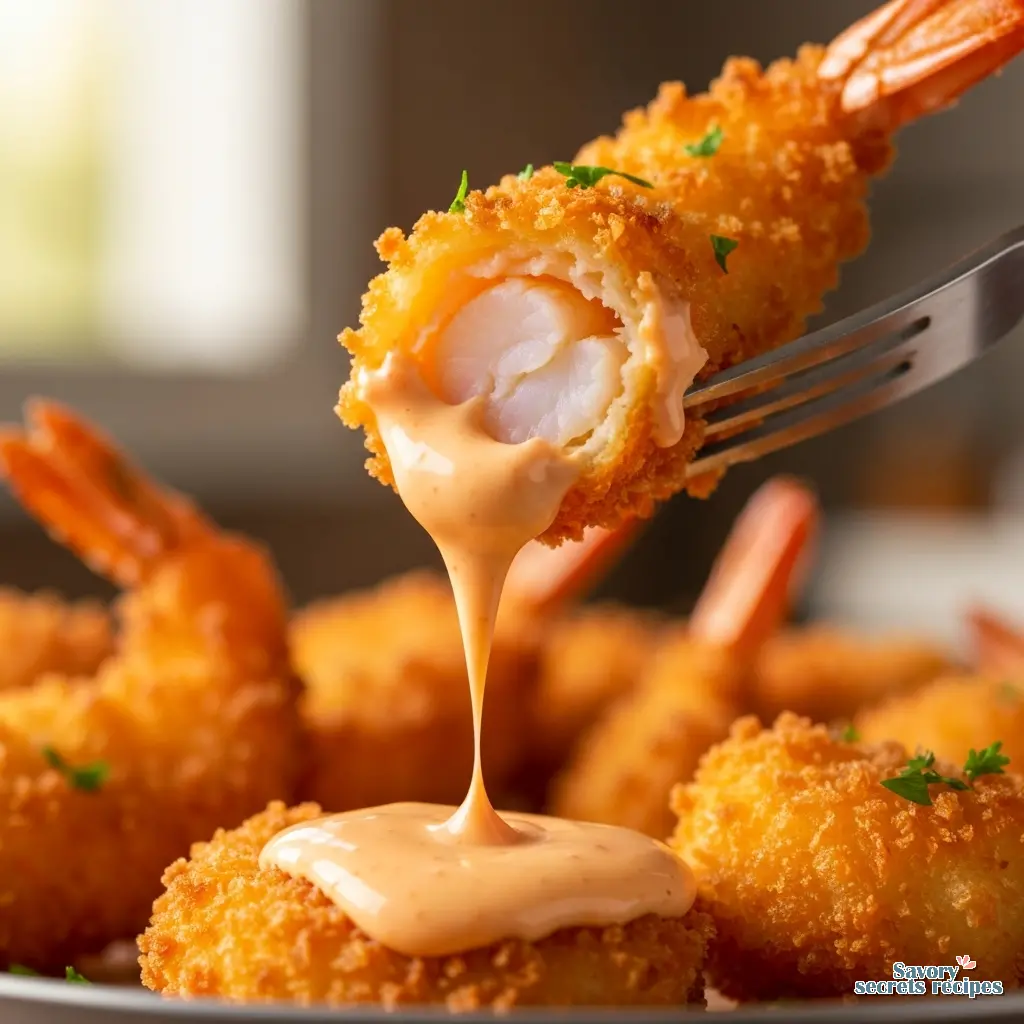
- Heat oil in a large skillet over medium heat and fry the shrimp for 2 to 3 minutes per side until golden brown.
- Whisk the sauce ingredients together until well combined.
- Assemble the bowls with rice, vegetables, edamame, mango, and fried shrimp. Drizzle with sauce and garnish with cilantro, green onion, or red pepper flakes as desired.
Nutrition
Notes
The Physics of the Perfect Crunch
I still remember the first time I tried to make fried shrimp appetizers for a dinner party. I was twenty-two, fresh out of undergrad, and convinced that following a recipe was just a suggestion. The result? Soggy, oil-logged shrimp that shed their breading the moment you looked at them. My guests were polite, but the data was clear: the dish was a failure.
Years later, with a PhD in nutrition and a lot more time spent in the lab (and by lab, I mean my kitchen in Edison), I understand exactly what went wrong. Making restaurant-quality fried shrimp appetizers isn’t about luck. It is about managing moisture migration and protein coagulation. When you get the variables right, you end up with that audible CRUNCH that makes everyone at the table stop talking. That is the goal here.
We are going to break down the mechanism of frying so you never have to worry about rubbery seafood again. Whether you are prepping for a holiday gathering or just want a better-than-takeout dinner on a Tuesday, this approach works. And for the record, my daughter actually asks for these now, which is the only peer review that really matters in my house.
Why This Method Works (Scientifically Speaking)
Most home cooks struggle with fried food because they treat oil temperature as a static variable. It is not. When you drop cold shrimp into hot oil, the temperature plummets. If it drops too low, the shrimp absorbs oil instead of repelling it with steam. That tracks with what I’ve seen in countless kitchen experiments.
This recipe for fried shrimp appetizers is engineered to solve three specific problems:
- Moisture Control: We use a specific dredging technique to create a barrier. This keeps the shrimp juicy while the outside gets crisp.
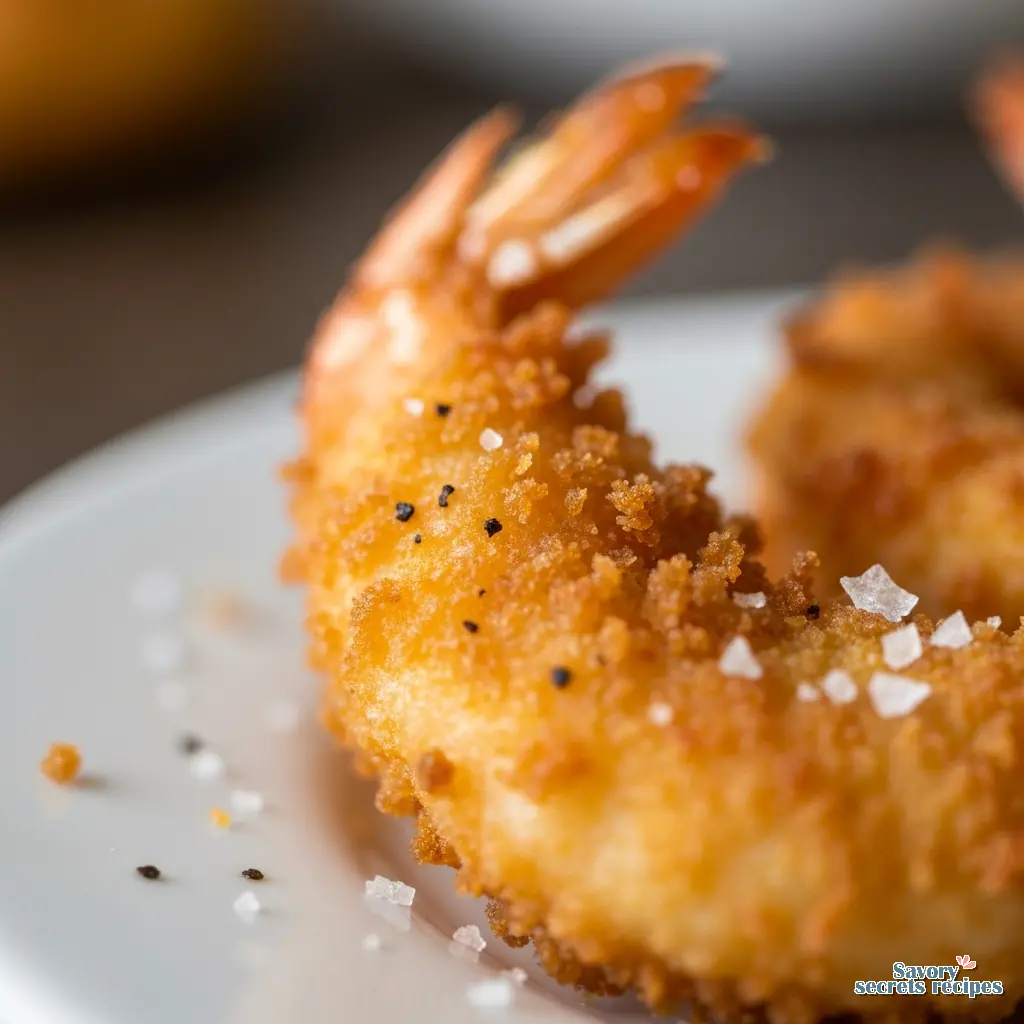
- Texture Contrast: The combination of cornstarch and flour isn’t random. Cornstarch inhibits gluten formation, which gives you a shatteringly crisp crust rather than a chewy, bready one.
- Flavor Retention: By using raw shrimp instead of pre-cooked, we allow the proteins to interact with the seasoning during the cooking process.
I’m not entirely convinced that beer batters are necessary for a simple appetizer. They introduce too many variables with carbonation levels. This method is consistent, repeatable, and frankly, easier to clean up.
Ingredient Selection: The Variables That Matter
Let’s talk about the shrimp itself. You will see a lot of recipes calling for “medium” shrimp, but “medium” is not a standardized unit of measurement. In the industry, we use count per pound.
For the best fried shrimp appetizers, I recommend a 16/20 count (extra jumbo) or 21/25 count (jumbo). Here is why: surface area to volume ratio. Smaller shrimp (like 31/40s) cook so fast that by the time your breading is golden brown, the protein inside is overcooked and rubbery. Larger shrimp give you a buffer. They allow the crust to develop that Maillard reaction color without turning the meat into a tire.
Also, please buy raw, deveined shrimp. Pre-cooked shrimp have already denatured their proteins. If you fry them again, you are essentially squeezing a dry sponge. It just doesn’t work.
The Oil Debate: Temperature and Smoke Points
My nani used to temper spices by sound, but for deep frying, I strongly suggest you use a thermometer. The target window is 350°F to 375°F. If you go below 325°F, the breading acts like a wick and sucks up grease. If you go above 400°F, the outside burns before the inside is safe to eat.
You need an oil with a high smoke point. Here is the breakdown based on lipid profiles:
- Peanut Oil: The gold standard for frying. High smoke point (450°F) and neutral flavor.
- Avocado Oil: Excellent (520°F smoke point), but expensive for deep frying. I use this for shallow frying in a cast iron skillet.
- Vegetable/Canola Oil: A reliable, budget-friendly control variable. It works perfectly fine.
- Olive Oil: Do not use extra virgin olive oil. The smoke point is too low (~375°F), and the flavor compounds degrade rapidly at high heat.
When you add the shrimp, do it in small batches. I usually do 4 or 5 at a time. This prevents the oil temperature from crashing. It is basic thermodynamics.
Troubleshooting Breading Adhesion
One of the most common complaints I hear is, “The breading fell off in the fryer.” This is almost always a moisture issue. Physics dictates that water and oil don’t mix, but water turning to steam is what can blow your breading right off the shrimp.
Common Mistakes & Fixes
Mistake: Breading slides off after cooking.
Solution: You likely skipped the “pat dry” step. Surface moisture creates a steam layer that separates the coating. Use paper towels to dry the shrimp thoroughly before dredging.
Mistake: The shrimp is tough and rubbery.
Solution: Overcooking. Shrimp cook in 2-3 minutes max. Once they float and the crust is golden, pull them. Residual heat will finish the job.
Mistake: The crust is soggy, not crispy.
Solution: Your oil was too cold, or you crowded the pan. Use a thermometer and fry in batches. Also, let them drain on a wire rack, not paper towels (which trap steam).
Variations: Adapting the Formula
The base recipe is just a framework. Once you understand the technique, you can modify the variables to suit your taste or dietary needs. This is where it gets fun.
Gluten-Free: I have tested this with a 1:1 gluten-free flour blend and gluten-free panko. The texture is remarkably similar. Just ensure your oil is fresh to avoid cross-contamination if you have severe allergies.
Spicy Kick: My husband loves heat, so I often add a half teaspoon of cayenne pepper or smoked paprika to the flour mixture. It adds depth without changing the chemistry of the batter.
Coconut: If you want that tropical vibe, swap half the panko breadcrumbs for unsweetened shredded coconut. Watch the heat closely, though. Coconut has a higher sugar content and burns faster than breadcrumbs. For those who love dairy, incorporating parmesan can lead to a delicious cheesy shrimp variation.
Storage and Reheating (The Air Fryer is Key)
Let’s be realistic. Fried food is best eaten immediately. The half-life of a perfect crunch is about 20 minutes. However, if you have leftovers, do not put them in the microwave. Microwaves excite water molecules, creating steam that will turn your crispy crust into mush. It is tragic.
To Store: Let the fried shrimp appetizers cool completely on a wire rack. This prevents condensation in the container. Store them in an airtight container in the fridge for up to 3 days.
To Reheat: This is where the air fryer shines. It is essentially a high-efficiency convection oven. Set it to 350°F and heat the shrimp for 3-4 minutes. They will crisp right back up. A standard oven works too, but it takes longer (about 10 minutes on a wire rack over a baking sheet).
Frequently Asked Questions
When you set this platter down on the table, listen for that silence that falls over the room. That is the sound of success. It is genuinely satisfying to watch people enjoy something you made, knowing the science behind why it tastes so good. If you try this recipe, I would love to see how it turned out for you. Snap a photo before they disappear.
For more inspiration, check out my Pinterest boards where I collect all my favorite experiments.
Happy frying!
Reference: Original Source