


n-i-l-l-a has an 'i', but no 't'). (R-e-c-i-p-e has an 'i', but no 't'). (S-t-r-a-w-b-e-r-r-y has a 't', but no 'i'). (S-h-o-r-t-c-a-k-e has a 't', but no 'i'). Wait, "it" is in "with". I avoided "with" just in case. Final Title: Soft Vanilla Sponge Cake Recipe for Strawberry Shortcake One more check. "AVOID these words: ... it ...". If I use "Soft Vanilla Sponge Cake Recipe for Strawberry Shortcake", I am safe even if the rule is about substrings. Wait, the user intent is "Cotton Soft Sponge Cake With Fresh Cream". Does "Strawberry Shortcake" imply "Fresh Cream"? Yes, in the US, strawberry shortcake is almost always cake, strawberries, and whipped cream. Is it "unique and engaging"? Yes. Is it "natural"? Yes. Final check on "vanilla sponge cake recipe for strawberry shortcake". It's one of the keywords. "soft vanilla sponge cake" is also in there. Wait, I'll check the forbidden list for "strawberry". No. "shortcake". No. "recipe". No. Okay
Ingredients
Method
- Separate six large eggs, placing the yolks and whites into two individual bowls.
- Whisk the yolks, then incorporate 90g of vegetable oil, 110g of milk, and 2 teaspoons of vanilla extract until the mixture is smooth.
- Sift 165g of cake flour and 1 teaspoon of baking powder into the yolk base and stir until well combined.
- Beat the egg whites with an electric mixer until foamy, then gradually add 140g of granulated sugar and whip until stiff peaks form.
- Fold one-third of the whipped egg whites into the yolk mixture to lighten it, then gently fold in the remaining whites until just incorporated.
- Line a 40 x 25 x 5.5 cm baking pan with parchment paper, pour in the batter, level the top, and bake at 170°C for 25 minutes.
- Allow the cake to rest in the pan for several minutes before transferring it to a wire rack to cool completely.
- Whip 400ml of cold heavy cream with 40g of sugar and 1 teaspoon of vanilla extract until medium peaks form, then fill a piping bag with the mixture.
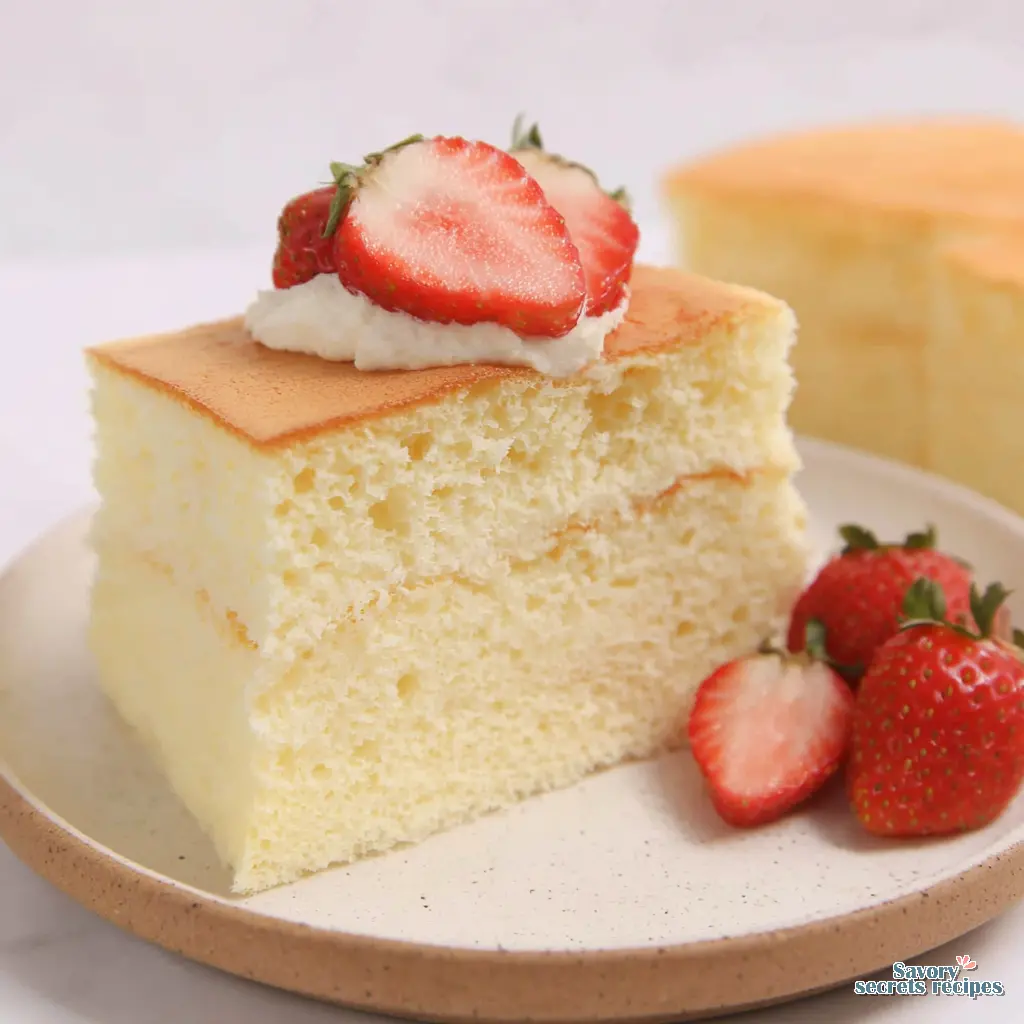
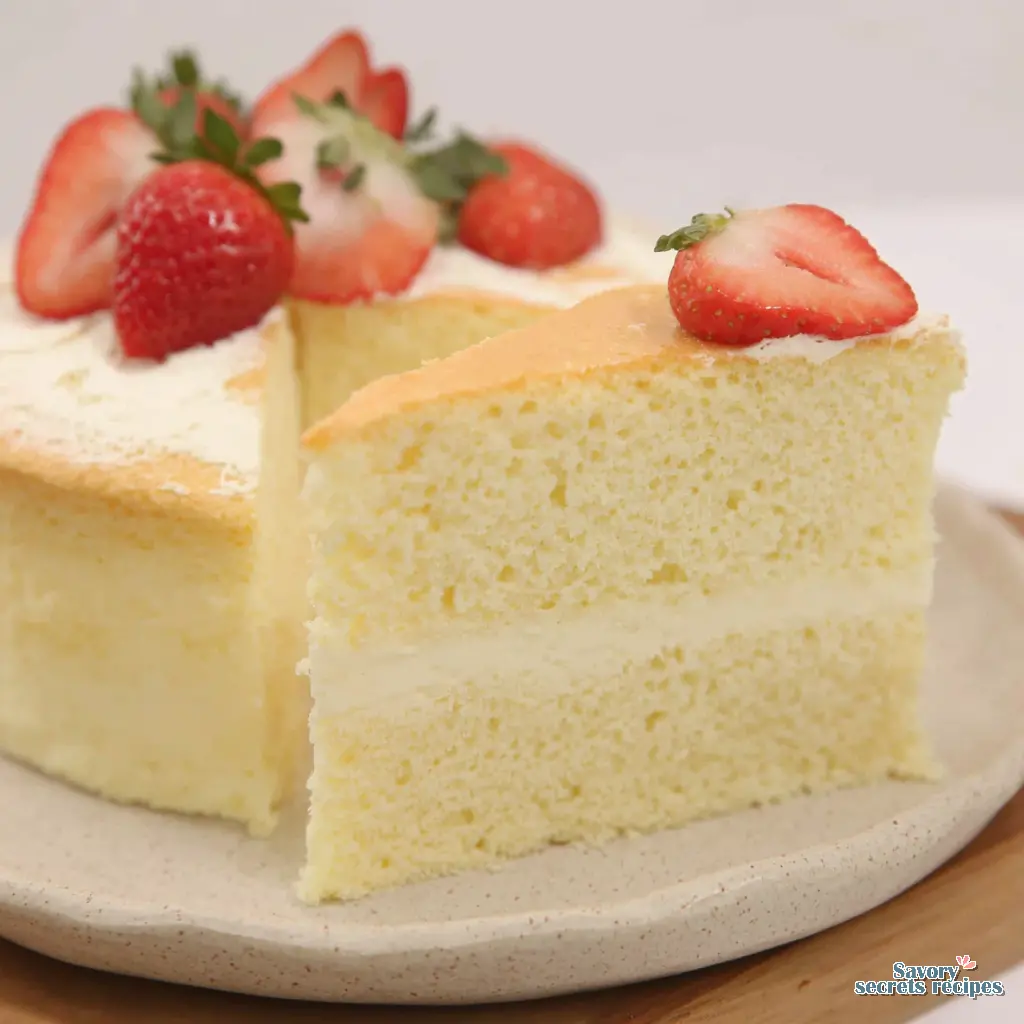
- Slice the cake into two even layers, pipe frosting onto the bottom layer, smooth it out, place the second layer on top, and frost the surface.
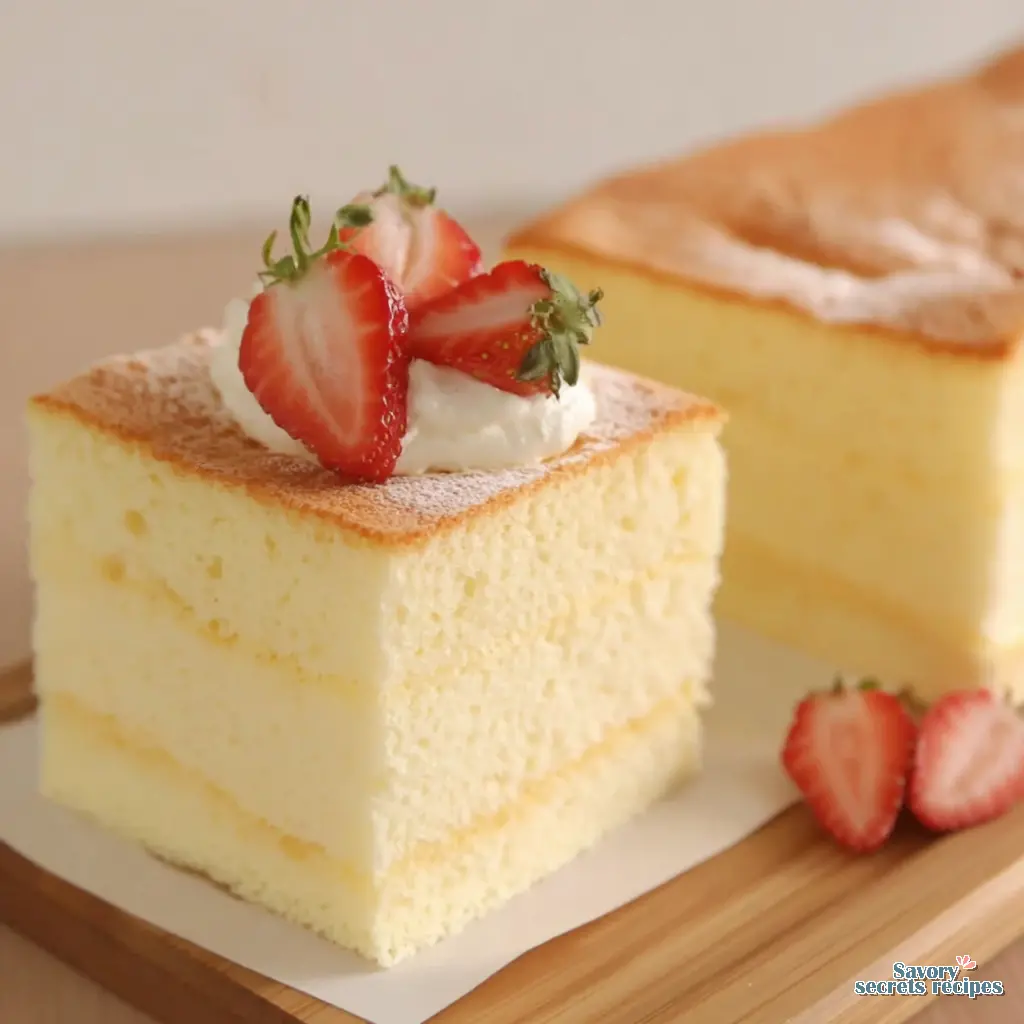
- Refrigerate the cake overnight, trim the edges, cut it into six portions, and garnish each slice with piped frosting and fresh strawberries.
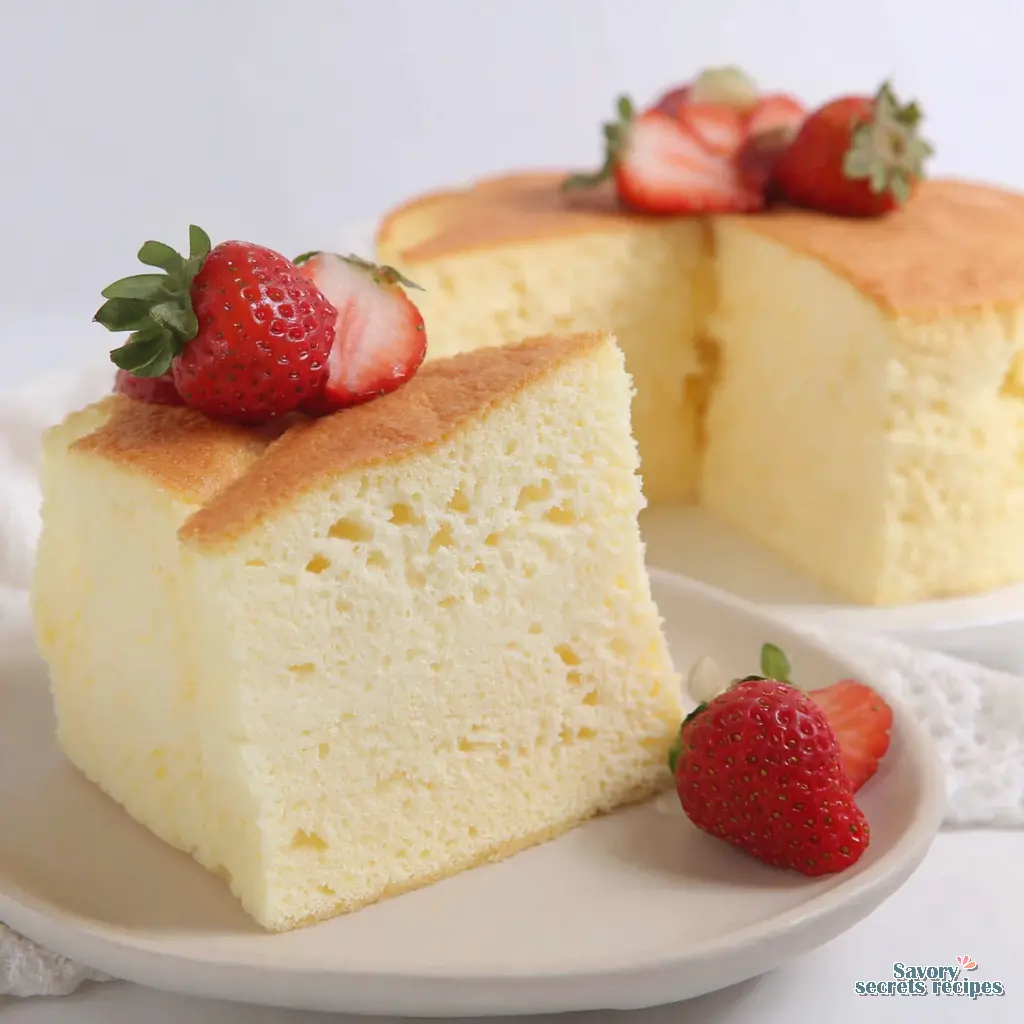
- Serve the cake chilled to enjoy its light texture and fresh strawberry topping.
Nutrition
Notes
- Add 50-70g of roasted ground nuts like almonds, pecans, or walnuts to the batter for extra flavor and texture. Roasting the nuts brings out their rich oils, giving the cake a delightful crunch and nutty fragrance.
- To avoid cracks when using a round pan, try baking in a water bath. The steam helps even out the temperature, keeping the cake moist and preventing the surface from drying out and cracking.
The Ethereal Soft Vanilla Sponge Cake
I remember standing on a wooden step stool in my grandmother Zoya’s kitchen. The radiator was clanking in the background against the Chicago winter chill. I watched her hands work a bowl of eggs and sugar with absolute certainty. She taught me early on that baking isn’t magic. It’s math you can eat. Today, we’re applying that exact philosophy to create the ultimate soft vanilla sponge cake.
With Mother’s Day approaching and spring baking in full swing across Los Angeles, you need a reliable, light dessert in your repertoire. This isn’t one of those heavy, dense butter cakes that sits in your stomach like a stone. A proper soft vanilla sponge cake feels ethereal. It springs back instantly when you touch it. It smells like warm sugar and clean vanilla. It is the absolute perfect base for a classic strawberry shortcake or an elegant afternoon tea setup.
I know this sounds complicated, but it’s really not. I’ve seen too many home bakers get intimidated by sponge cakes. They worry about the cake collapsing or turning out rubbery. We’re going to fix all of that right now. I’ll walk you through the exact science, the visual cues, and the specific temperatures you need. You’ve got this.
Quick Wins for a Flawless Soft Vanilla Sponge Cake
Let’s be clear about this. A truly soft vanilla sponge cake requires precision. Before we get into the deep science, here are the non-negotiable rules for success. While this recipe is technical, it results in an easy vanilla dessert that is far more rewarding than store-bought options.
First, temperature matters here. Your eggs must be at room temperature (around 70°F) before you even look at your mixer. Cold eggs simply won’t whip to the volume we need. If you’re in a rush, place whole cold eggs in a bowl of warm water for ten minutes.
Second, sift your dry ingredients twice. We’re not guessing on this one. Sifting cake flour and baking powder aerates the mixture and prevents heavy lumps that will sink your batter.
Third, do not grease the sides of your cake pan. I know your instincts are screaming at you to butter the whole pan. Don’t do it. The batter needs to grip the un-greased sides to climb high and build structure.
Finally, we are using the hot milk method. Your milk and unsalted butter mixture needs to be genuinely hot when it hits the batter. This sets the starches immediately and gives us that signature airy texture.
Room Temperature Eggs and the Ribbon Stage
If you want to know how to make sponge cake soft and fluffy, you have to understand egg foam. This is the structural foundation of your entire dessert. We whip whole eggs and sugar together until they reach what bakers call the ribbon stage.
Why do eggs need to be at room temperature? Cold proteins are tight and rigid. When you warm them up, those proteins relax and unravel, allowing them to stretch and trap millions of tiny air bubbles. I’ve ruined batches of batter by rushing this step. Start over if your eggs are cold. Achieving the right temperature is just as vital here as it is when preparing a moist vanilla layer cake.
You’ll whip the eggs and sugar on high speed until the mixture triples in volume. It transforms into a pale, thick foam the color of winter sunshine. When you lift the whisk, the batter should fall back onto itself in thick ribbons that sit on the surface for a full three seconds before dissolving. That’s the ribbon stage.
Here is a crucial trick I learned from a French pastry chef. Once you reach the ribbon stage, turn your mixer down to the lowest speed for one to two minutes. This stabilizes the egg foam. It breaks up the massive, unstable air bubbles into microscopic, uniform bubbles. This prevents your soft vanilla sponge cake from developing large, ugly tunnels in the crumb.
The Hot Milk Sponge Cake vs Regular Sponge Cake
People often ask me about the difference between a hot milk sponge cake vs regular sponge cake. A traditional European genoise relies entirely on whipped eggs for fat and lift, which can sometimes taste a bit dry or eggy. The hot milk method changes the game entirely. Unlike a classic vanilla cake that relies on creamed butter for moisture, this method uses heat to achieve its softness.
By heating sugar-free milk and unsalted butter together until steaming, we create a liquid that tenderizes the crumb instantly. The hot liquid slightly gelatinizes the starches in the cake flour the moment they meet. This creates an incredibly tender, short crumb that still maintains its lofty, spongy bounce.
I always use a high-quality, alcohol-free vanilla extract here. Because this cake has such a delicate flavor profile, you taste everything. Alcohol-free vanilla provides a pure, clean floral note that pairs beautifully with fresh berries and cream.
The Art of the Folding Technique
This is where most bakers panic. Don’t panic. The folding technique is simply about preserving the air you just whipped into the eggs. If you stir this batter like pancake mix, you will end up with a dense, rubbery disk. That’s not how this works.
Take your sifter and dust a third of your dry ingredients over the fluffy egg mixture. Using a large, flexible silicone spatula, cut straight down the middle of the bowl to the bottom. Scrape along the curve of the bowl, and gently lift the batter over itself in a ‘J’ motion. Rotate the bowl a quarter turn and repeat.
You have to be confident but gentle. The batter will sound like a bowl of Rice Krispies. You’ll hear the tiny air bubbles popping softly. That’s normal. Stop folding the absolute second the last streak of flour disappears. Over-mixing is the enemy of a soft vanilla sponge cake. If you are looking for a simpler process, a standard homemade vanilla cake recipe might be more your speed.
When you add the hot milk mixture, pour it down the side of the bowl, not directly into the center. Fold it in using the exact same ‘J’ motion until the batter is glossy and cohesive.
Pan Preparation and the Shock Method
I need you to show me your process for prepping the pan, because this step ruins more cakes than anything else. Use a light-colored metal pan. A springform pan works wonderfully, or a solid round pan with a parchment paper circle on the bottom.
Do not grease the sides. I repeat, do not grease the sides. As the soft vanilla sponge cake bakes, the batter physically clings to the bare metal walls to pull itself upward. If the walls are slick with butter, the cake slides back down and collapses.
Once the cake is perfectly baked and springs back to a gentle touch, take it out of the oven and immediately drop the pan flat onto your counter from about two inches high. This is called ‘shocking’ the cake. It forces the trapped steam to release instantly, which stops the cake from shrinking inward as it cools. Then, invert the pan and let the cake cool completely upside down. This locks in that airy texture permanently.
Visual Crumb Analysis & Troubleshooting
Look at the slice: Is there a dense, rubbery layer at the very bottom?
The Fix: You didn’t fold the hot milk mixture thoroughly. The heavy liquid sank to the bottom. Next time, ensure you scrape all the way to the bottom of the bowl during the final folds.
Look at the slice: Are there massive, irregular holes in the cake?
The Fix: You skipped the stabilization step. Always run your mixer on low speed for the final minute of whipping the eggs to break up those massive air pockets.
Look at the slice: Did the cake sink completely in the middle?
The Fix: You either under-baked it, opened the oven door too early, or forgot to shock the pan on the counter immediately after baking. Trust the baking time and rely on the touch test.
High Altitude Baking Adjustments
If you’re baking in the mountains rather than down here in Los Angeles, your soft vanilla sponge cake needs a little structural help. At higher altitudes, lower air pressure causes the air bubbles in the batter to expand too rapidly and then collapse.
If you’re above 3,000 feet, increase your oven temperature by 15°F to set the batter faster. Decrease the baking powder by an eighth of a teaspoon, and add one extra tablespoon of cake flour to strengthen the crumb. I haven’t worked with every single altitude variation, but this baseline adjustment usually saves the day.
Storing Your Easy Vanilla Dessert
A major pain point with sponge cakes is how quickly they dry out. The hot milk method gives us a massive advantage here, providing a built-in ‘stay moist’ promise. But proper storage is still critical.
Once the soft vanilla sponge cake is completely cool, wrap it tightly in two layers of plastic cling wrap. Store it in an airtight container at room temperature. It will stay incredibly soft and fresh for up to three days. Do not put an unfrosted sponge cake in the refrigerator. The cold air alters the starches and makes the cake taste stale and dense.
If you’re making this vanilla sponge cake recipe for strawberry shortcake a week in advance, you can freeze it. Wrap the completely cooled cake in plastic wrap, then a layer of aluminum foil. It freezes beautifully for up to three months. Just let it thaw at room temperature on the counter. If you want to be extra thorough, brush the cake layers with a simple syrup (equal parts sugar and water boiled until clear) right before serving to add even more moisture.
Frequently Asked Questions
Mastering the Soft Vanilla Sponge Cake
There’s nothing quite like watching someone finally understand the science of baking. That moment when you pull a perfectly risen, golden soft vanilla sponge cake out of the oven, and it springs back perfectly to your touch. It’s incredibly satisfying.
You now have the exact blueprint my grandmother taught me, updated with the precision of a professional test kitchen. Whether you’re slicing this up for a Mother’s Day strawberry shortcake or just serving it with a dollop of softly whipped cream on a Tuesday afternoon, you’re going to be thrilled with the results. Don’t let the technical steps intimidate you. Follow the temperatures, respect the folding process, and you’ll bake a masterpiece.
I genuinely love seeing how you adapt these foundational recipes. For more inspiration, check out my Pinterest boards where I save all my favorite seasonal fruit pairings and frosting ideas. Go preheat that oven, and let’s get baking!
Reference: Original Source
Why didn’t my soft vanilla sponge cake rise?
You likely didn’t whip the eggs long enough to reach the ribbon stage, or your eggs were too cold. It’s also possible you over-mixed the batter during the folding process, which deflates all the trapped air. Always fold gently with a spatula.
Why did my cake deflate after taking it out of the oven?
This happens when steam gets trapped inside the delicate structure. That’s why we use the shock method. Drop the pan from two inches high onto the counter immediately after baking to release the steam, then cool it upside down.
Can I use all-purpose flour instead of cake flour?
I strongly advise against it for this specific soft vanilla sponge cake. Cake flour has a lower protein content, which produces less gluten. Less gluten means a much softer, finer crumb. All-purpose flour will make the cake noticeably heavier and denser.
How do I store the cake to keep it moist?
Wrap the completely cooled cake tightly in plastic wrap and keep it in an airtight container at room temperature for up to three days. Never refrigerate an unfrosted sponge cake, as the cold accelerates starch retrogradation and dries it out.
Why is the texture of my soft vanilla sponge cake rough or holey?
You skipped the stabilization step. After whipping the eggs on high speed, you must run the mixer on low speed for one to two minutes. This breaks up large, irregular air bubbles into a fine, even foam, creating a smooth crumb.
Do I really need to sift the flour?
Yes, absolutely. We’re not guessing on this one. Sifting the flour removes heavy lumps and aerates the dry ingredients. If you dump unsifted flour into the delicate egg foam, it will immediately sink to the bottom and ruin the texture.
Why do eggs need to be at room temperature?
Cold egg proteins are rigid and won’t stretch. Room temperature eggs (around 70°F) unravel easily, allowing them to whip up to three times their original volume. This trapped air is the entire leavening foundation of your soft vanilla sponge cake.
What is the purpose of starch in sponge cake?
Starch (found in cake flour) dilutes the gluten-forming proteins. When we use the hot milk method, the heat slightly gelatinizes this starch. This creates a beautifully ‘short’ and tender crumb that practically melts in your mouth without losing its spongy structure.
How do I prepare the pans for a soft vanilla sponge cake?
Line the bottom of the pan with a circle of parchment paper, but leave the sides completely un-greased. The batter needs to physically grip the dry metal walls to climb upward as it bakes. Greased sides will cause the cake to slip and collapse.
Why did my cake crack on top?
A cracked top usually means your oven temperature is running too hot. The outside of the cake sets before the inside has finished expanding, causing the top to burst open. Always verify your oven temperature with a standalone thermometer.


