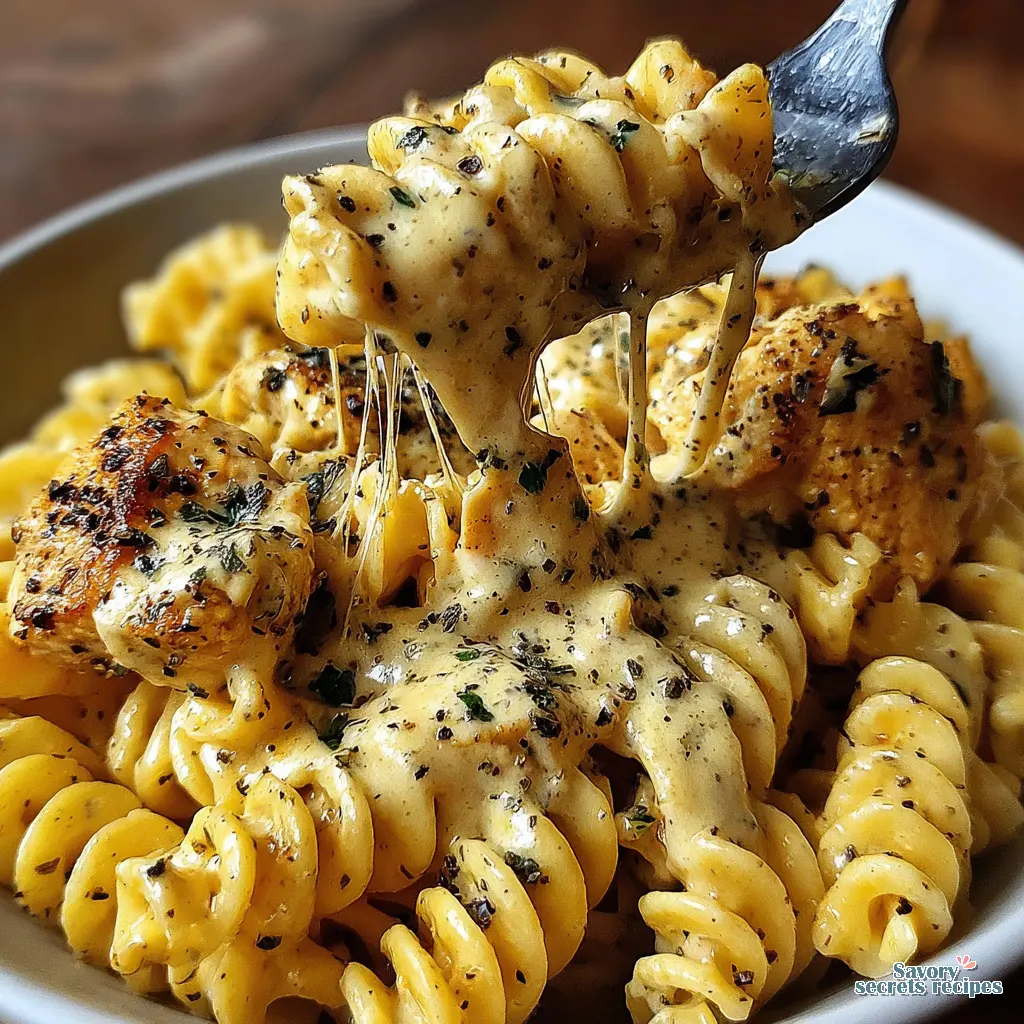
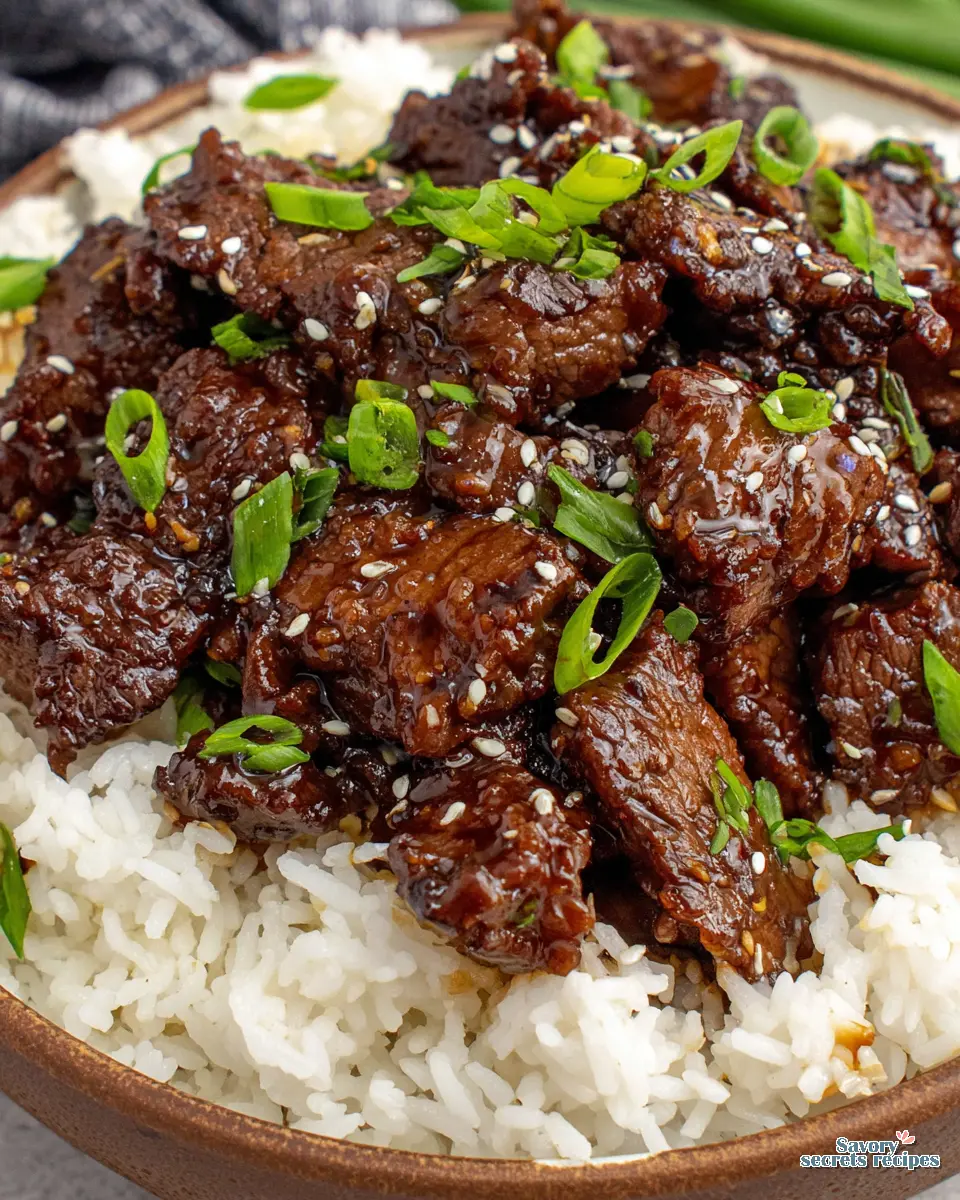
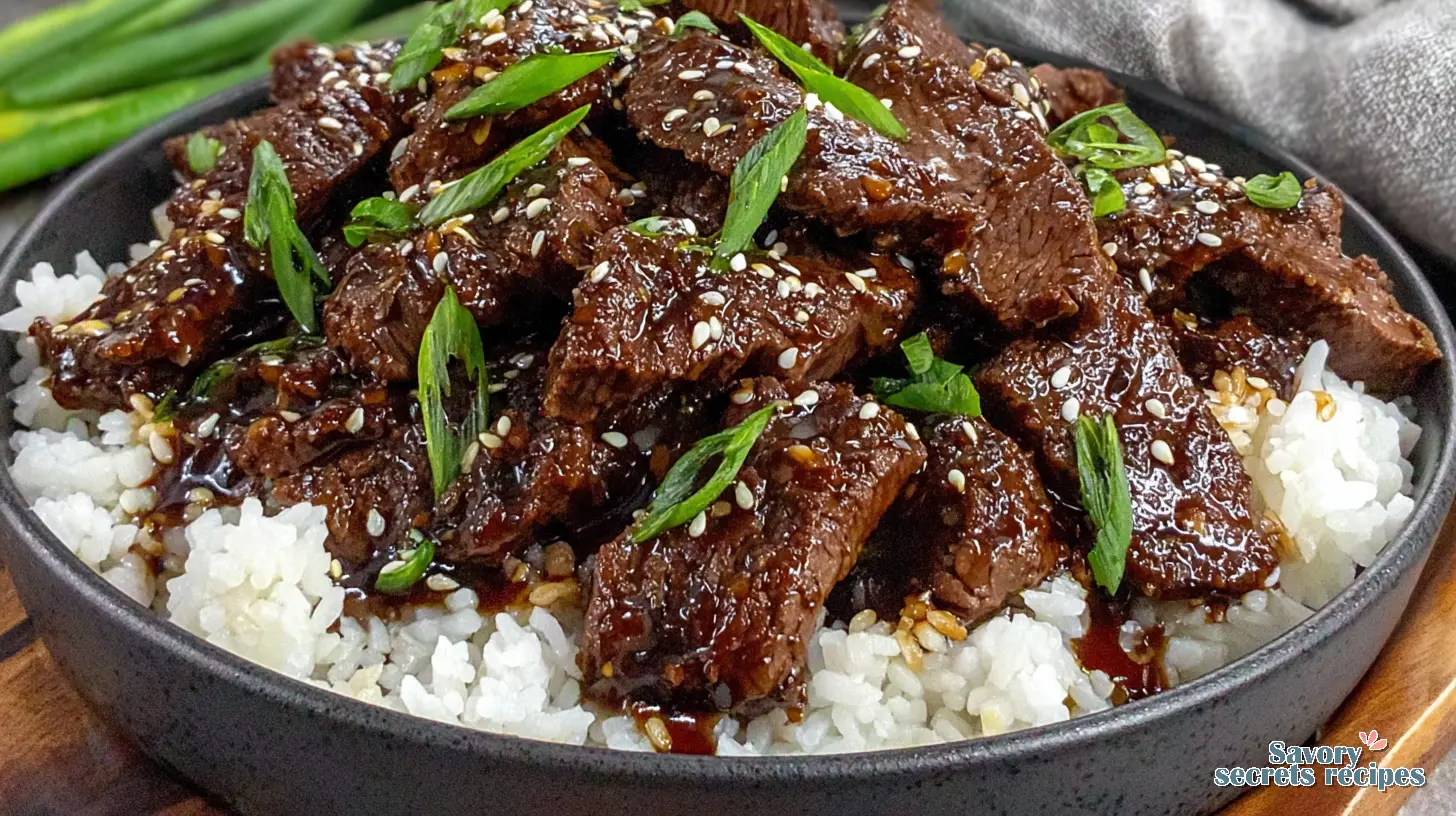
Easy Sticky Teriyaki Beef Rice Bowl
Ingredients
Method
- Thinly slice the flank steak. Place it in a gallon-sized Ziploc bag. Add cornstarch to the bag and shake until the beef pieces are coated on all sides.
- Add the beef to a large skillet over medium-high heat. Cook until browned, about 3-4 minutes per side. Transfer to a plate and set aside.
- While the beef cooks, combine soy sauce, water, brown sugar, rice vinegar, sesame oil, ginger, honey, and cornstarch in a medium bowl. Whisk until smooth.
- Reduce the heat to medium. Add the teriyaki sauce and bring to a simmer. Cook for 2-3 minutes, or until thickened.
- Return the cooked beef to the teriyaki sauce and toss to coat thoroughly.
- Garnish with sesame seeds and green onions before serving.
Nutrition
Notes
- Slicing the Beef. Be sure to slice the flank steak into thin slices going against the grain. This ensures the beef is tender and that it will cook evenly.
- Hot Skillet. Make sure the skillet and oil are hot before adding the beef. This will sear the outside of the beef and lock in the flavor and moisture.
- Use the Right Size Skillet. Use a skillet that will allow the pieces of beef to cook in a single layer. If it's too small, consider cooking in batches so that each piece browns nicely.
- Cooking the Sauce. Simmer the teriyaki sauce until it thickens to a syrup-like consistency. A thick sauce will coat the beef much better.
- Get the Flavor Just Right. Adjust the sweetness or saltiness of the sauce to your preference. You can add more honey if you want it sweeter and more soy sauce if you prefer a saltier flavor.
Why This Teriyaki Beef Rice Bowl Recipe Actually Works
Let’s be honest. It’s Wednesday evening, you’re staring into the fridge, and the thought of another uninspired dinner is just… exhausting. That tracks with what I’ve seen in my own kitchen and in the research on meal fatigue. You want something that feels like a treat, something savory and sweet and deeply satisfying, but you don’t have the bandwidth for a culinary project.
This teriyaki beef rice bowl is that solution. It’s the meal I make when my daughter has swim practice and we need to eat in 35 minutes flat. It delivers that sticky, glossy, umami-rich experience you crave from a restaurant, but it’s built on a foundation of simple, repeatable kitchen science. To be clear, it’s not about fancy techniques. It’s about understanding a few key principles that guarantee tender beef and a perfectly clingy sauce every single time. I’m impressed by how well this holds up, even on the most chaotic weeknights.
The Teriyaki Sauce Deep Dive: Homemade vs. Store-Bought
This is where most recipes just give you a list and say “mix.” But the why matters. Your homemade teriyaki sauce is a simple emulsion and reduction. The soy sauce provides salt and umami, the brown sugar and honey add sweetness and viscosity, and the rice vinegar gives a necessary bright note to cut through it all. The fresh ginger and garlic? They’re not just for flavor. Their volatile compounds, which give them that sharp, aromatic punch, mellow and sweeten when simmered, creating a more complex base.
Now, about that stickiness. The cornstarch is non-negotiable. It’s a starch slurry that, when heated, gelatinizes and thickens the liquid into a glossy glaze that coats the beef instead of pooling at the bottom of your bowl. That said, I get the temptation of a bottled shortcut. Fair enough. If you go that route, I’d want to see more research on the brand’s sodium and sugar content first. Many are overwhelmingly sweet. My compromise? Use a good-quality bottled sauce as a base, but simmer it with a extra grated ginger and a splash of rice vinegar to balance it out. You’ll get 80% of the way there with 50% of the effort.
Choosing Your Beef: A Complete Guide
Flank steak is my go-to here, and the data on this is actually quite clear. It’s a lean, flavorful cut with long muscle fibers. When you slice it thinly across the grain and I mean *truly* across the grain you’re shortening those fibers, which is what gives you that tender bite. It’s the difference between chewing a shoelace and enjoying a melt-in-your-mouth strip. You’ll see the grain running in one direction on the raw steak; your knife should cut perpendicular to those lines.
I sometimes get asked about using ground beef for a teriyaki bowl. You can, but it’s a different experience entirely. Ground beef releases more fat and juices, which can water down your sauce. You’d need to drain it well and potentially adjust the cornstarch. It’s faster, sure, but you lose that satisfying texture of sliced steak. For a quick weeknight dinner, flank steak, sliced thin and cooked hot and fast, is the sweet spot of effort and reward.
The Technique: Why High Heat and Not Crowding Matters
Here’s what I wish someone had told me when I first started stir-frying. Your pan needs to be *hot*. Not warm. Hot. You should see a faint wisp of smoke rising from the oil. This makes good sense when you think about it. The Maillard reaction that beautiful browning that creates deep, savory flavor happens quickly at high temperatures. If your pan is too cool, the beef will stew in its own juices and turn gray and tough.
And please, don’t overcrowd the pan. I learned this the hard way, trying to cook a whole pound of beef at once. The temperature plummets, and you end up steaming the meat. Cook in two batches. It feels like an extra step, but it takes the same total time and gives you exponentially better results. You want that sizzle the moment the beef hits the oil, and you want to see it develop some fond, those little browned bits on the pan, which will later dissolve into your sauce adding another layer of flavor.
Common Mistakes & Fixes
Mistake: The sauce is watery and thin.
Solution: Your cornstarch slurry wasn’t fully activated. Make sure you’re bringing the sauce to a simmer and stirring constantly for that full minute until it turns translucent and thick.
Mistake: The beef is chewy.
Solution: You likely didn’t slice against the grain, or the pan wasn’t hot enough. Always slice flank steak perpendicular to the visible lines, and let your pan preheat properly.
Mistake: The dish is too salty.
Solution: You probably used regular soy sauce. The recipe specifies low-sodium for a reason. It allows you to control the salt level. If you only have regular, dilute it with a bit more water.
Building Your Bowl: Beyond the Basics
The beauty of a teriyaki beef rice bowl is its framework. The savory sweet glaze and tender beef are the stars, but the supporting cast is flexible. I almost always use jasmine rice its floral scent is a perfect counterpoint to the rich sauce. But brown rice or even cauliflower rice for a lower-carb option work beautifully. Worth noting here, if you use cauliflower rice, sauté it briefly to drive off moisture, or you’ll have a soggy bowl.
For vegetables, I keep it simple for a weeknight. Sometimes I’ll quickly sauté some broccoli florets or snap peas in the same pan after the beef. Other times, I’ll just do a quick-pickle of some sliced cucumber or shred some carrots for fresh crunch. The evidence here is mixed on what’s “traditional,” so in practical terms, use what you have. My daughter currently loves edamame beans from the freezer aisle tossed in. I recommend buying them already shelled to save you time.
Storage, Reheating, and Meal Prep Success
This teriyaki beef rice bowl is a fantastic candidate for meal prep. But there’s a right way to do it. Store the components separately. Keep the teriyaki beef, the rice, and any fresh veggie toppings in their own airtight containers in the fridge. They’ll keep for 3 to 4 days this way. If you store it all mixed together, the rice will absorb all the sauce and become mushy.
To reheat, I like to just add the rice and beef to a pan with a tiny splash of water and heat until warm. The microwave works in a pinch use 30-second bursts and stir in between. The fresh toppings, like green onions and sesame seeds, should always be added after reheating. That way, you preserve their texture and color.
Frequently Asked Questions
A Final Thought Before You Start Cooking
When you make this teriyaki beef rice bowl, you’ll be amazed at how the simple act of toasting sesame seeds in a dry pan or watching the sauce transform from thin liquid to glossy glaze can feel like a small victory. It’s a recipe that teaches you a few solid techniques slicing meat, building a sauce, high-heat stir-frying that you’ll use again and again.
It tastes like the kind of meal that should be complicated, but honestly, it’s just a series of simple, smart steps. I hope it brings a bit of that “I nailed it” feeling to your weeknight table. For more inspiration on balancing flavors and weeknight strategies, check out my Pinterest boards where I share tons of variations.
Now, go preheat that pan. Get it nice and hot. I think you’re going to love this one.
Source: Nutritional Information
Can I make a gluten-free teriyaki beef rice bowl?
Absolutely. The only potential source of gluten is the soy sauce. Simply swap it for an equal amount of tamari (check the label to ensure it’s gluten-free) or coconut aminos. The rest of the ingredients are naturally gluten-free, so you’ll get the same sticky, savory result.
What’s the best way to get my teriyaki sauce really sticky?
The stickiness comes from the cornstarch and the reduction of sugars. Don’t skip the cornstarch slurry. Also, let the sauce simmer for the full minute after adding it. It should coat the back of a spoon. If you like a lot of sauce, you can double the recipe and use the leftovers for a drizzle on top!
How can I prepare parts of this dish ahead of time?
You can chop your vegetables in the morning to save time. The teriyaki sauce can be mixed (minus the cornstarch slurry) and stored in the fridge for up to 3 days. Cook your rice ahead of time and reheat it with a sprinkle of water. The beef is best cooked fresh for optimal tenderness.