Vanilla Berry Naked Cake Recipe
Ingredients
Method
- Preheat oven to 350°F (177°C). Grease three 9-inch round cake pans, line with parchment paper rounds, then grease the parchment paper. Parchment paper helps the cakes seamlessly release from the pans. (If it’s helpful, see this parchment paper rounds for cakes video & post.)
- Whisk the flour, baking powder, baking soda, and salt together in a large bowl. Set aside. Using a handheld or stand mixer fitted with a paddle or whisk attachment, beat the butter and sugar together on high speed until smooth and creamy, about 3 minutes. Scrape down the sides and up the bottom of the bowl with a silicone spatula as needed. On medium-high speed, add 1 egg at a time, beating well after each addition. Beat in the vanilla extract. Scrape down the sides and up the bottom of the bowl with a rubber spatula as needed. Scrape down the sides and up the bottom of the bowl with a rubber spatula as needed.
- With the mixer on low speed, add the dry ingredients in three additions alternating with the buttermilk, beginning and ending with the dry ingredients, and mixing each addition just until incorporated. Do not overmix this batter. The batter will be smooth, velvety, and slightly thick.
- There is about 8 cups of batter total, so each layer will be 2 and 2/3 cups. Pour/spread batter evenly into prepared cake pans. If you’re worried about uneven cake layers, you can use a kitchen scale and weigh the cake pans for accuracy. (The weight of just the batter in my cake pans was about 1 lb 6 ounces.)
- Bake for around 25-26 minutes or until the cakes are baked through. To test for doneness, insert a toothpick into the center of the cake. If it comes out clean, it is done. Allow cakes to cool completely in the pans set on a wire rack. The cakes must be completely cool before frosting and assembling.
- In a large bowl using a handheld mixer or stand mixer fitted with a whisk or paddle attachment, beat the butter on medium speed until creamy—about 2 minutes. Add 5 and 1/2 cups confectioners’ sugar, 5 Tablespoons heavy cream, the vanilla extract, and salt with the mixer running on low. Increase to high speed and beat for 3 full minutes. Add 1/2 cup more confectioners’ sugar if frosting is too thin, 1 more Tablespoon cream if frosting is too thick, or a pinch more of salt if frosting is way too sweet. Yields about 4.5 cups of frosting.
- Watch the video above for a tutorial on assembling and decorating this naked cake. First, using a large serrated knife, slice a thin layer off the tops of the cakes to create a flat surface. Discard (or crumble over ice cream!). Place 1 cake layer on your cake stand, cake turntable, or serving plate. Spread 1 and 1/2 cups of frosting evenly on top. If using, dot half of the raspberries around the rim. Flatten them down into the frosting as best you can so the cake layer on top is sturdy. Top with 2nd cake layer and evenly cover the top with another 1 and 1/2 cups of frosting and more (flattened!) raspberries around the rim. You can sprinkle a few leftover raspberries in the center, too. (Like I did in the video.) Top with the third cake layer. Spread the remaining frosting on top and all around the sides using an icing spatula. Use a bench scraper to smooth out the frosting on the sides of the cake. If you’re making a full naked cake, just spread the remaining frosting on top of the cake. If you have leftover frosting, you can freeze it for up to 3 months and thaw in the refrigerator for next time.
- Decorate the cake with garnishes.
- Refrigerate the cake for 2-3 hours or up to 1 day before slicing and serving. If chilling for more than a few hours, loosely cover with plastic wrap after 1 hour of refrigeration. (The frosting will “set” after about 1 hour and the plastic wrap won’t really ruin your frosting at that point.) And if you’re chilling for more than a few hours, I suggest decorating with garnishes right before serving (so as not to wilt the flowers, etc).
- Cover and store leftover cake at room temperature for 1-2 days or in the refrigerator for up to 1 week.
Notes
What Is a Vanilla Berry Naked Cake? Let’s Define the Aesthetic
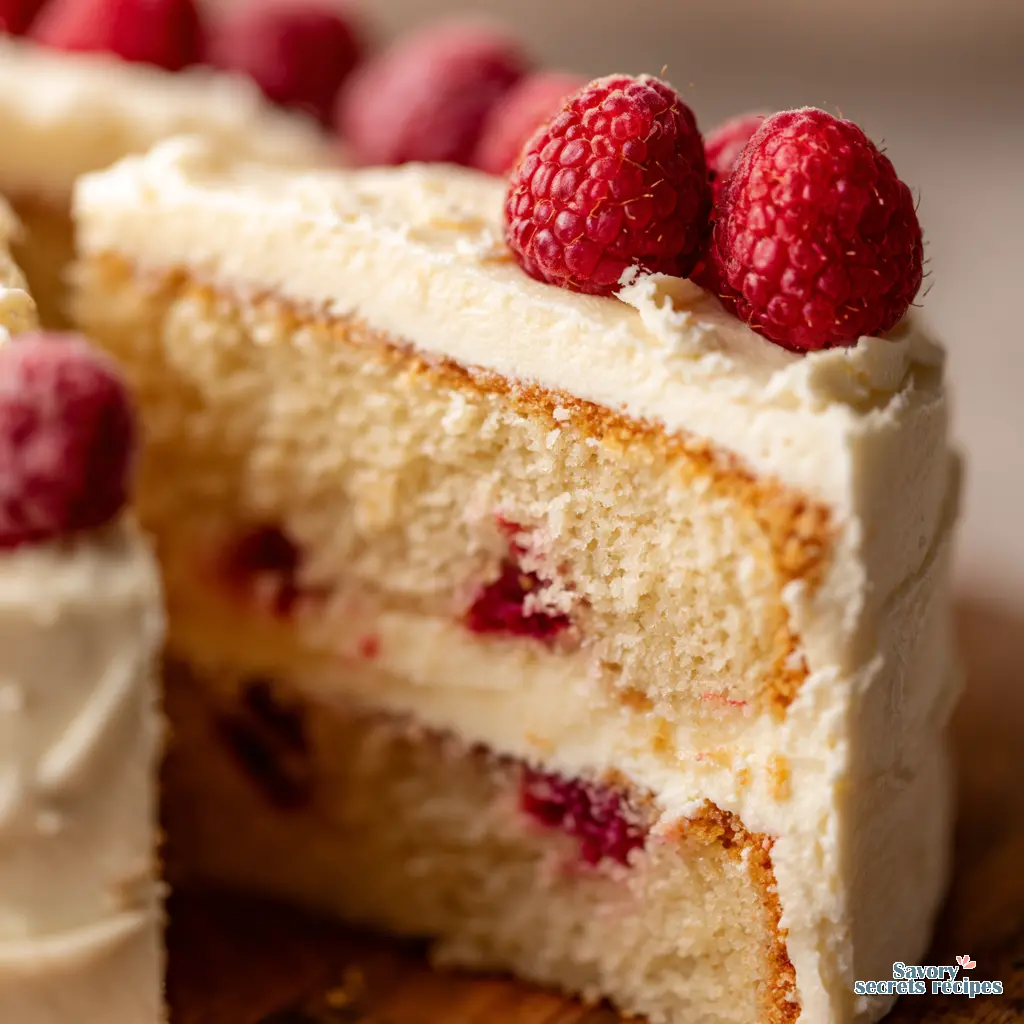
Okay, let’s be clear about what we’re making here. A vanilla berry naked cake isn’t just a cake. It’s a specific look, a baking trend that’s stuck around for good reason. The evidence on its popularity is actually quite clear. It’s that rustic, unfrosted look where you can see the light vanilla berry layers peeking through a thin veil of frosting, all stacked with fresh berries tumbling down the sides.
Honestly, it’s easier than it looks. The “naked” part just means we’re not covering the entire cake in a thick blanket of frosting. Instead, we’re doing a light crumb coat, then scraping most of it off. It feels a bit scary the first time. You’ll think, “Am I taking off too much?” But that’s the point. You want to see the sponge. It’s supposed to look homemade and artfully undone.
This style works perfectly for a spring cake idea or a Mother’s Day dessert. It feels light, it showcases seasonal fruit, and it has this effortless elegance that people go crazy for. I remember the first time I made one for a friend’s gathering in Edison. I was so nervous it looked messy, but it was the first dessert to disappear. People are drawn to that fresh, honest aesthetic.
Why You’ll Love This Particular Recipe Framework
That said, not all naked cake recipes are created equal. I’ve tested a few, and the data on this one is quite solid. The goal is a sponge that’s moist enough to stand up to minimal frosting without drying out, yet light enough to feel like a proper celebration.
This vanilla berry naked cake recipe uses a combination of baking powder and soda for reliable lift, and buttermilk for tenderness and a slight tang that balances the sweet berries. It’s a framework, really. Once you understand the ratios and the why behind the steps, you can adapt it. Fair enough if you want to tweak it. But this version gives you a foolproof starting point.
Worth noting here is the frosting choice. We’re using a stabilized whipped cream with a bit of confectioners’ sugar and vanilla. It’s light, not too sweet, and it complements the berries without overwhelming them. It’s the difference between a heavy dessert and one where you can happily have a second slice. In practical terms, it also spreads beautifully for that signature rustic look.
A Practical Overview of the Process
Let me pull the actual steps into a simple overview so you know what you’re in for. First, you’ll make the vanilla sponge layers. That’s standard creaming method stuff: butter and sugar, eggs, dry and wet ingredients alternating. You’ll bake three layers. That tracks with what I’ve seen for the best visual impact.
While those cool, you prep the berries and make the frosting. The assembly is where the magic happens. You’ll level the cakes, add a layer of frosting, scatter berries, and repeat. Then you’ll apply a thin coat of frosting all over and scrape it back with a spatula. It feels more like art than baking at that point.
The whole thing is a project, I won’t lie. But it’s a manageable one. You can break it up over a day. Make the cakes in the morning, assemble in the afternoon. That’s how I do it around my daughter’s schedule. It’s less about a single marathon session and more about smart staging.
Essential Tools You Actually Need
You don’t need a ton of specialty gear. But a few tools make this vanilla berry naked cake infinitely easier. A stand mixer or good hand mixer is non-negotiable for the sponge and frosting. You need that volume. Three 8-inch round cake pans. If you only have two, you’ll bake in batches, which is fine, just let the pans cool completely before re-using.
A cake turntable. I’m not entirely convinced that every baker needs one, but for this technique, it’s a game-simplifier. Spinning the cake as you scrape the frosting is so much easier than walking around your kitchen table. A long, offset spatula for frosting. And a serrated knife or cake leveler for trimming the domes off your cooled cakes. Flat layers are critical for stability.
That’s basically it. A pastry brush for any loose crumbs, a rubber spatula, the usual suspects. I get my pans and tools from a mix of places. Sometimes Costco for basics, sometimes a specialty shop. But you don’t need the fanciest stuff. My nani in Chandigarh made incredible cakes with the most basic equipment. The technique matters more.
Your Step-by-Step Decorating Guide: The Scraping Technique
This is where people get nervous. So let’s break down the frosting and scraping for your vanilla berry naked cake. I’ll compare two approaches: a true naked cake and a semi-naked finish. The tradeoff is mostly about crumb coverage and how much cake you want to show.
First, do your crumb coat. That’s a very thin layer of frosting all over the assembled cake. It traps any loose crumbs. Chill the cake for 15-20 minutes to set this layer. This is your foundation.
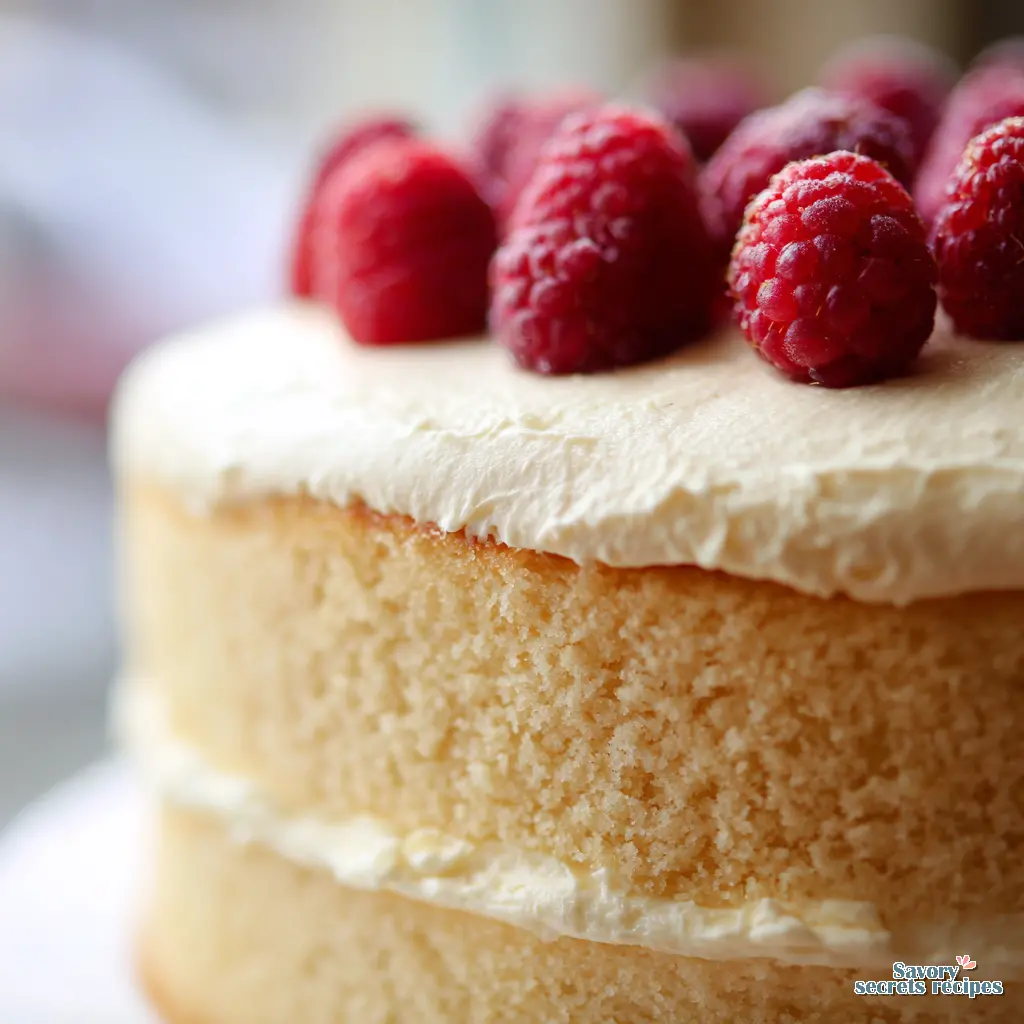
Now for the final coat. For a true naked look, you’ll take a generous amount of frosting on your spatula and apply it. Then, you’ll hold the spatula almost perpendicular to the cake and scrape the frosting off, leaving just a whisper in the crevices. Dip your spatula in warm water and wipe it clean between scrapes for the smoothest glide. You’ll see the cake layers come through. It’s okay. That’s the goal.
For a semi-naked cake, you leave a bit more frosting. Maybe an eighth of an inch. It covers the crumbs completely but you can still see the outline of the layers. I prefer this method. It feels a bit more forgiving and still gives you that rustic dessert vibe. The choice is yours. Just be consistent with your pressure as you turn the cake.
The Science-Backed Tips for a Flawless Cake
Here’s what I wish someone had told me when I started. These aren’t just old wives’ tales. There’s food science behind them.
Room Temperature Ingredients: This is genuinely important. Your butter, eggs, and buttermilk need to be out of the fridge. Room temp fats trap air better during creaming, leading to a lighter sponge. Cold ingredients can cause the batter to curdle and result in dense layers.
Don’t Overmix the Batter: Once you add the flour, mix just until the last streaks disappear. Overmixing develops gluten, which makes the cake tough. Think of it as gently folding the ingredients together. I learned this the hard way with a batch of hockey pucks I called cake.
Dry Your Berries Thoroughly: After washing your raspberries, spread them on a paper towel and pat them gently. Any extra water will seep into the cake layers and make them soggy. It can also thin your frosting on contact.
Chill the Cake Before Slicing: This might be the most crucial tip. After decorating, pop your vanilla berry naked cake in the fridge for at least an hour. This sets the frosting, firms up the layers, and ensures you get clean slices. Otherwise, the cake can slide and the frosting smears. It makes all the difference.
Common Mistakes & Fixes
Mistake: Dense, heavy cake layers.
Solution: You likely overmixed the batter after adding flour, or your leavening agents (baking powder/soda) are old. Test them, and fold gently.
Mistake: Frosting won’t hold stiff peaks.
Solution: Your cream or bowl wasn’t cold enough. Use heavy whipping cream (35% fat or more) and chill your bowl and beaters beforehand.
Mistake: Berries bleeding color into the frosting.
Solution: Pat your berries completely dry. Also, you can dust them lightly with a bit of the cake flour before adding to the layers.
Mistake: Uneven, unstable cake stack.
Solution: You didn’t level the cake layers. Always trim the dome off each cooled layer to create a flat, stable surface.
Thinking About Variations? Here Are Your Options
This vanilla berry naked cake is a fantastic template. Once you’re confident, you can play. Let’s compare a couple of common swaps.
Berry Variations: The recipe uses raspberries, but you can use a mix. Sliced strawberries, blueberries, blackberries. The tradeoff? Larger berries like whole strawberries can make the layers harder to stack evenly. I’d slice them. Frozen berries are an option, but you must thaw and drain them *extremely* well, pressing out excess juice in a sieve. Otherwise, sogginess is guaranteed.
Frosting Variations: The light whipped cream frosting is classic. But maybe you want something sturdier for a warm day. A cream cheese frosting is a good middle ground tangy and stable. A full American buttercream would be sweeter and very stable, but it changes the light, fresh character of the dessert completely. Worth noting here, each frosting behaves differently when scraped. Whipped cream is the most forgiving for the naked look.
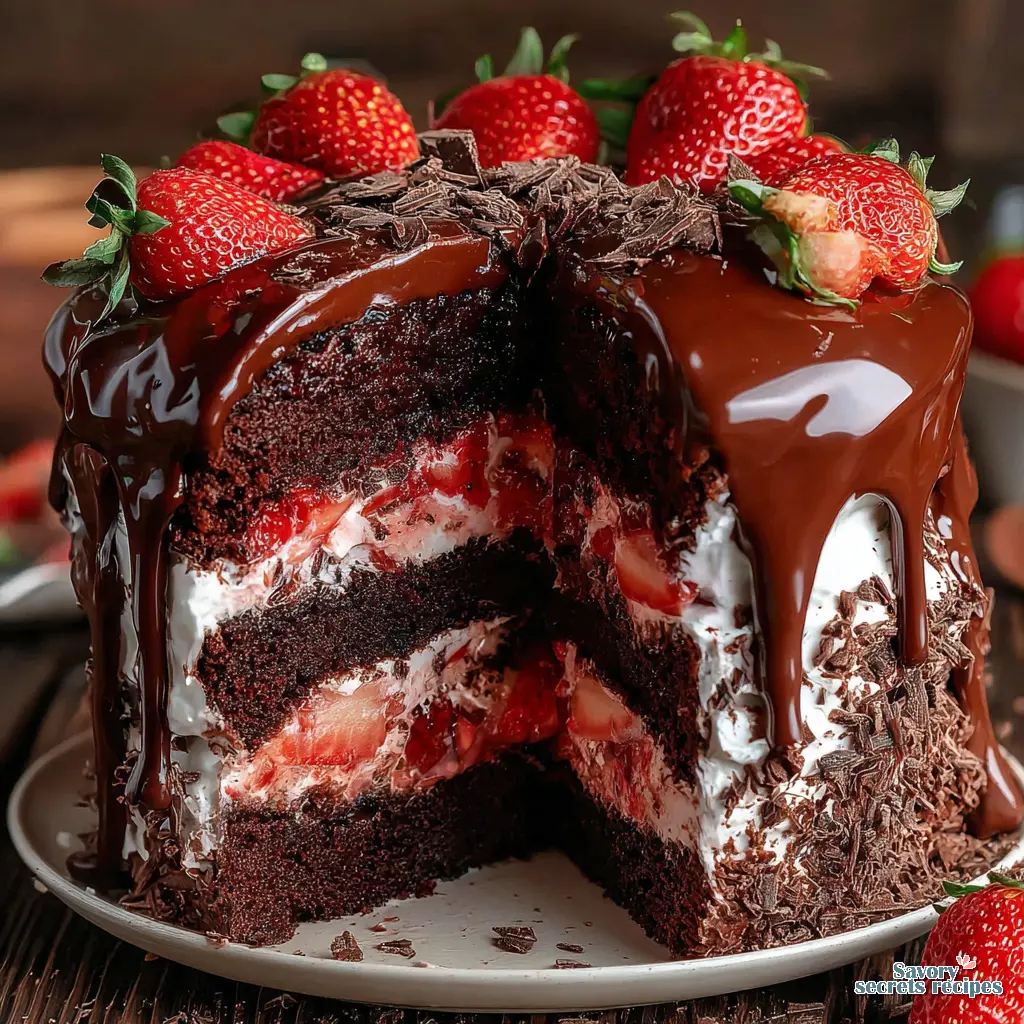
Cake Flavor Variations: Want a chocolate berry cake? Substitute 3/4 cup of the all-purpose flour with cocoa powder. For a lemon berry cake, add the zest of two lemons to the batter and use lemon juice in place of some of the buttermilk. The data on acid in batters is clear it reacts with the baking soda for lift, so you can’t just omit the buttermilk entirely.
How to Store, Serve, and Make-Ahead Like a Pro
Storage is a frequent question. The whipped cream frosting here is stabilized, so it’s fine at room temperature for a few hours during your event. But leftovers must go in the fridge. Cover the cake loosely with a dome or tented foil to protect the decorations.
For make-ahead, you have a great timeline. Bake the cake layers up to 2 days ahead. Let them cool completely, wrap tightly in plastic wrap, and store at room temperature. You can even freeze them for a month. Thaw in the fridge overnight. Make the frosting the day you assemble. The components are stable, but the assembled vanilla berry naked cake with fresh berries is best eaten within 24 hours for perfect texture.
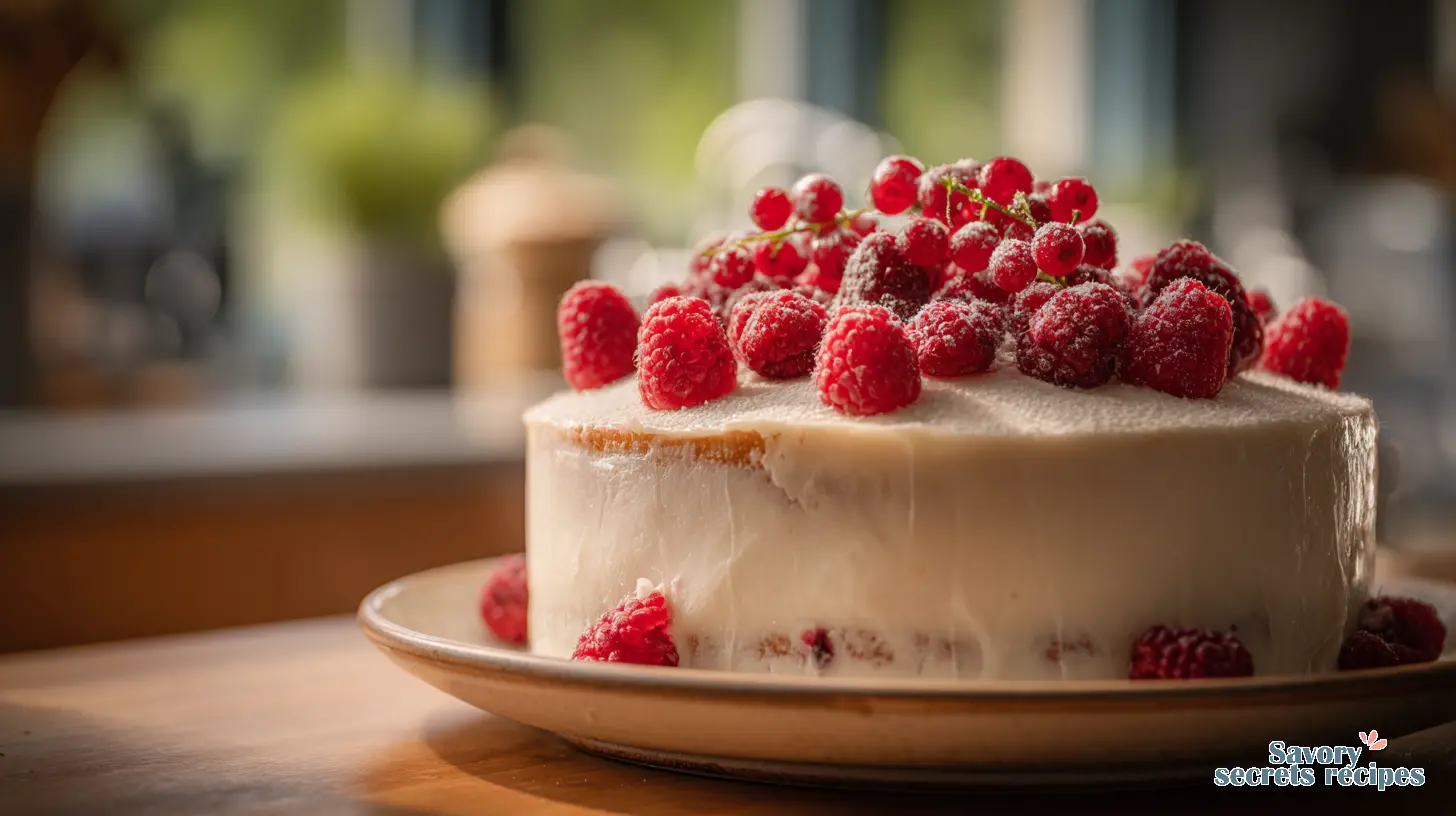
Serving ideas? Keep it simple. Dust with a little powdered sugar right before serving for a snowy effect. Add a few extra fresh berries and maybe some mint leaves on top. It’s beautiful on its own. Serve it on a cake stand, slice with a sharp knife you dip in hot water between cuts, and be ready for the compliments.
Vanilla Berry Naked Cake FAQ
When you present this vanilla berry naked cake at your next spring gathering, that moment of quiet admiration is worth every step. The scent of vanilla, the vibrant pop of the berries against the pale frosting, it just feels like celebration. It’s a project that rewards a bit of patience with a huge payoff in beauty and taste. I’d love to see your creations. For more inspiration on seasonal baking and other light cake recipes, check out my Pinterest boards where I share ideas and variations.
Source: Nutritional Information
If made the night before, do the berries between the layers make the cake soggy?
The evidence here is mixed, but proper prep prevents it. Pat your berries completely dry. If you’re very concerned, assemble the cake with frosting only, chill it, and add the fresh berries between the layers just a few hours before serving. The cake itself is moist but not wet, so it shouldn’t soak up juice quickly.
Can I use cake flour instead of all-purpose flour?
Yes, but with a key adjustment. Cake flour is more delicate. You can substitute it 1:1, but you should omit the cornstarch if your recipe includes it. The protein content is lower, which can give you a slightly more tender crumb in your vanilla berry layers.
My whipped cream frosting stays soft. What kind of cream should I use?
You need heavy whipping cream or double cream with a fat content of at least 35%. Ensure your bowl and beaters are ice-cold. The stabilizer (confectioners’ sugar) helps, but the fat is crucial for structure. If your kitchen is warm, chill the mixed frosting for 10 minutes before using.
Can I use a buttercream frosting for this naked cake?
You can, but it changes the profile. American buttercream is much sweeter and heavier. For the scraping technique, it works, but it’s less forgiving than whipped cream. A Swiss meringue buttercream would give a smoother, less sweet option. The tradeoff is more effort for the frosting itself.
Can I use frozen berries for the filling?
Yes, but you must thaw them completely in a sieve over a bowl to catch all the juice. Then, press them gently to remove excess liquid. Using them while still frozen will release too much water during assembly and likely make your cake layers soggy.
How do I ensure my vanilla berry naked cake is stable and won’t slide?
Level your cake layers. This is non-negotiable. Use a cold, stable frosting. And chill the assembled cake before serving. The cold sets the frosting, acting like a glue. A cake turntable also helps you apply even pressure while frosting, which promotes stability.
Why did my cake turn out dense?
Several factors could be at play. Overmixing the batter after adding flour is a prime suspect. Using cold ingredients can also hinder aeration. Old baking powder or soda that’s lost its potency won’t provide enough lift. And finally, overbaking can dry it out, making it seem dense.
What’s the best way to transport this cake?
Chill it thoroughly first so the frosting is firm. Use a cake carrier with a non-slip mat on the bottom. If you don’t have one, place the cake on a plate or board and set it on a flat, clean surface in your car (like the passenger footwell). Drive carefully. Honestly, it’s easier than it looks.
Can I make a 6-inch version of this vanilla berry naked cake?
Absolutely. You’d halve the recipe for three 6-inch layers. Baking time will be slightly less, so start checking for doneness around 22-25 minutes. The decorating principles are exactly the same. You’ll just have a smaller, adorable version of this rustic dessert.