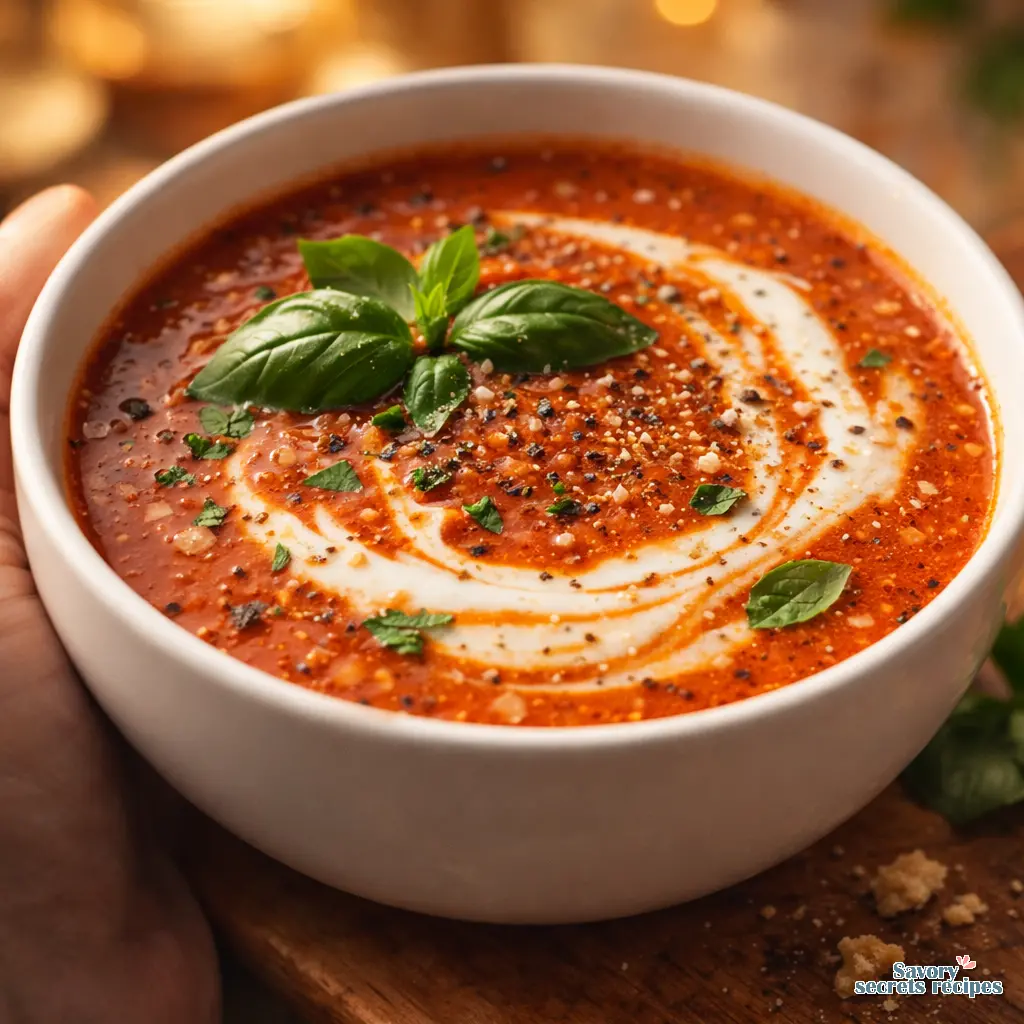
Southern Grits Recipe for Creamy Perfection
Ingredients
Method
- Combine 4 cups water, 1 1/2 cups grits, 2 dried bay leaves, and 1/2 teaspoon kosher salt in a large pot or Dutch oven. Bring to a boil over high heat, then immediately remove from heat, cover, and let soak for 15 minutes while preparing the butter and cheese.
- Cut 8 tablespoons unsalted butter into 8 pieces and grate 1/2 cup Parmesan cheese.
- Uncover the pot and return the grits to a boil over medium-high heat. Cook for 20 to 25 minutes, whisking regularly and scraping the bottom to prevent clumping or burning.
- Cook until most water is absorbed and grits are al dente. Remove from heat, discard bay leaves, and stir in the butter, cheese, and 1 cup heavy cream just before serving.
- Store leftovers in an airtight container in the refrigerator for up to 4 days.
Nutrition
Notes
Why Most People Get Grits Wrong (And How to Fix It)
I’m not gonna lie. For the longest time, I thought grits were just wet, sad cornmeal that people ate because they ran out of oatmeal. My first experience with them was at a diner in college, and let’s just say the texture was somewhere between wallpaper paste and sand. It wasn’t great. But then I visited a friend in Charleston, and her grandmother put a bowl in front of me that changed my entire life. It was creamy, savory, and rich enough to make you close your eyes when you took a bite.
Here’s the thing about making the best grits. It isn’t about expensive ingredients or having a Southern address. It comes down to patience and hydration. Most people rush the process. They treat it like instant oatmeal, boiling it for five minutes and wondering why it’s crunchy. Real talk: corn needs time to bloom. It needs to absorb that liquid slowly so the starch releases and creates that velvety texture we’re all chasing. If you’ve been struggling with lumps or blandness, don’t worry. We are going to fix that today. And honestly, once you get this method down, you’ll wonder why you ever settled for the instant stuff.
Especially right now, with these chilly winter mornings we’ve been having here in Columbus (and I hear even LA is dipping into sweater weather), there is nothing quite like a hot bowl of savory porridge to start the day. It’s comfort food that feels like a hug.
The Great Debate: Stone-Ground vs. Instant
If you take one thing away from this article, let it be this: ingredients matter. I am usually the first person to say “use what you’ve got” because, let’s be real, nobody’s grading your Tuesday breakfast. But when it comes to making the best grits, you have to step away from the instant packets.
Instant grits have been processed, precooked, and dehydrated. They are designed for speed, not flavor. They lack the germ and the hull, which is where all that corn flavor lives. Stone-ground grits, on the other hand, are the whole kernel ground down between two stones. They have texture. They have a nuttiness that is just incredible. Yes, they take longer to cook. But is it worth it? Absolutely. While stone-ground is superior, following specific quick grits cooking directions can still yield a decent result when you are in a time crunch.
Think of it like the difference between a microwave frozen dinner and a home-cooked meal. One gets the job done, but the other feeds your soul. I usually buy brands like Palmetto Farms or Anson Mills, but check your local grocery store’s specialty aisle. If you see “stone-ground” or “speckled” on the bag, grab it.
The Golden Ratio: 5:1 Is Your New Best Friend
I used to eyeball my water, which explains why my results were so inconsistent. Sometimes it was soup, sometimes it was a brick. Through a lot of trial and error (and a few scorched pots), I’ve found that the absolute sweet spot for the best grits is a 5:1 ratio by volume. That means for every one cup of grits, you need five cups of liquid.
I know the package often says 4:1. Ignore the package. The package is lying to you. Stone-ground corn is thirsty. It drinks up liquid like you wouldn’t believe. If you use less water, the grits won’t fully hydrate, and you’ll end up with that gritty, sandy texture we are trying to avoid. By using more liquid, you allow the corn to swell slowly and completely.
Here is a quick cheat sheet for different serving sizes:
- For 1 person: 1/4 cup grits to 1 1/4 cups liquid
- For 2 people: 1/2 cup grits to 2 1/2 cups liquid
- For 4 people: 1 cup grits to 5 cups liquid
I start with water. I know some people swear by milk or stock right from the jump, but I’ve found that water hydrates the corn best without scorching. We add the rich stuff the cream and butter at the end. Trust me on this.
The Soaking Secret
If you are planning ahead (which, let’s be honest, I rarely do, but sometimes I get ambitious), soaking your grits overnight can cut your cooking time in half. It kickstarts that hydration process while you sleep. Just measure your grits and water into the pot, cover it, and leave it on the stove overnight. In the morning, turn on the heat and you’re halfway there.
But if you’re like me and you decide you want grits at 8:00 AM on a Saturday, don’t panic. You can still make the best grits without soaking. It just takes a little more time on the stove. Just grab your coffee, put on a podcast, and enjoy the process. Good things take time, right?

Technique: The Whisk and The Simmer
Okay, here is where the magic happens. You bring your water to a boil. You add your salt now. This is crucial. If you try to salt the grits at the end, they will taste like salty corn. If you salt the water, the flavor gets inside the kernel. It makes a huge difference.
Once the water is boiling, slowly stream in the grits while whisking constantly. I mean constantly. Do not stop. This prevents clumps from forming. If you dump them all in at once, you’ll get a big lumpy mess, and nobody wants that. Whisk like you mean it for the first minute or two.
Then, turn the heat down to low. Like, the lowest setting your stove has. Cover the pot. This traps the steam and helps the corn cook evenly. Every 5 to 10 minutes, uncover and give it a good whisk. You want to make sure nothing is sticking to the bottom. I usually use a silicone spatula for these stirs to really scrape the corners of the pot.
You’ll know they are done when the texture is creamy and the corn doesn’t have a hard, gritty bite anymore. It should be tender. This usually takes about 45 minutes to an hour for stone-ground. I know, it’s a while. But the smell filling your kitchen? Totally worth it.
Beyond Butter: Flavor & Toppings (Pork-Free Edition)
I know the classic Southern image of grits often involves bacon, but honestly, you don’t need pork to make this dish sing. The corn is a blank canvas, and it loves savory flavors. In our house, we try to mix it up. There are countless other recipes using grits that transform this simple porridge into sophisticated main courses.
One of my favorite toppings is sautéed mushrooms. I get those baby bellas or creminis, slice them thick, and brown them in butter with a little thyme and garlic. The earthiness of the mushrooms against the sweet corn is just perfection. Roasted tomatoes are another winner. They add this pop of acidity that cuts through the richness.
And if you eat seafood, shrimp and grits is a classic for a reason. A simple pan-sear on some shrimp with Cajun seasoning creates a meal that feels fancy enough for dinner but is easy enough for Tuesday. My kids will even eat it, which is the ultimate seal of approval.
Dairy-Free Creaminess Hacks
If you are avoiding dairy, you can still have creamy grits. I promise. The creaminess actually comes primarily from the starch in the corn, not just the added milk. The “low and slow” cooking method releases that starch.
For the finishing touch, instead of heavy cream, I’ve had great success stirring in a scoop of unflavored almond milk yogurt or just using a really good quality plant-based butter. Olive oil is also surprisingly good. A generous drizzle of good olive oil and cracked pepper makes for a very sophisticated, savory bowl. It’s different, but delicious.
Stovetop vs. Slow Cooker
I am a huge fan of “set it and forget it” cooking. I mean, I have three kids. Anything that doesn’t require me to stand over a hot stove is a win in my book. You can absolutely make grits in a slow cooker.
The ratio stays the same (5:1). Grease the insert with butter, toss everything in, whisk it well, and cook on high for about 3 hours or low for 6-7 hours. You might need to give it a vigorous whisk at the end to smooth it out, but it works. Is the texture *quite* as perfect as the stovetop method where you’re babying it? Maybe not 100%. But is it 95% as good with 10% of the effort? You bet. Good enough is good enough.
Common Mistakes & Fixes
Mistake: The grits are too thick and stiff.
Solution: This happens. Just whisk in a splash of hot water or milk until they loosen up. They tighten as they sit.
Mistake: There are lumps in my bowl.
Solution: Don’t panic. You can whisk vigorously to break them up. If they are really stubborn, I’ve been known to press them through a mesh sieve. Nobody has to know.
Mistake: The bottom of the pot is scorched.
Solution: Your heat was too high or you didn’t stir enough. Don’t scrape the black bits! Pour the good grits into a clean pot and finish cooking. Leave the burnt stuff behind.
Frequently Asked Questions
Storage & Reheating
If you have leftovers (which is rare in my house, but it happens), store them in an airtight container in the fridge for up to 4 days. As I mentioned, they will turn into a solid block. This is normal physics.
To reheat, put the block in a saucepan with a splash of milk or water. Break it up with a spoon as it warms. Once it gets hot, whisk it vigorously to smooth it out again. You might need to add a little more butter to bring back the shine. I mean, more butter is never a bad idea, right?

Final Thoughts
Making the best grits isn’t rocket science, but it does require a little bit of love. It reminds me of those Sunday pot roasts at Grandma Jean’s simple ingredients treated with care. When you take that first creamy bite, savory and rich with butter, you’ll understand why this dish has such a loyal following.
I hope you give this method a try this weekend. Put on some music, pour a coffee, and let the pot simmer. If you make it, I’d love to hear how it turned out! And hey, for more inspiration, check out my Pinterest boards where I save all my favorite comfort food ideas.
Reference: Original Source
Can I make best grits ahead of time?
Technically yes, but they will solidify into a block as they cool. This isn’t a bad thing! You can slice that block and fry it later (polenta style), or you can reheat it gently with extra liquid to bring the creamy texture back. It just takes a little elbow grease.
Do true Southern grits have cheese?
This is a hot topic! Purists might say no, focusing purely on the corn flavor and butter. But in modern Southern kitchens? Absolutely. Sharp cheddar, Parmesan, or even Gouda are very common additions. I say do what tastes good to you. Cheese makes everything better in my book.
What is the difference between grits and polenta?
They are cousins, not twins. Grits are usually made from dent corn (softer starch), while polenta is made from flint corn (harder starch). Grits tend to be creamier and smoother when cooked, while polenta holds its shape better and has a slightly grainier mouthfeel. You can swap them in a pinch, though.
Why are my grits gritty or hard?
They are undercooked or under-hydrated. This is the most common issue with stone-ground varieties. They need more water and more time than you think. Keep the heat low, add more hot liquid, and keep simmering until the grain is tender and yields when you bite it.
How long do stone-ground grits last in the pantry?
Because they contain the corn germ, they have natural oils that can go rancid. At room temperature, they last about a few months. I highly recommend storing your open bag in the freezer. They will stay fresh for up to a year in there, and you can cook them straight from frozen.