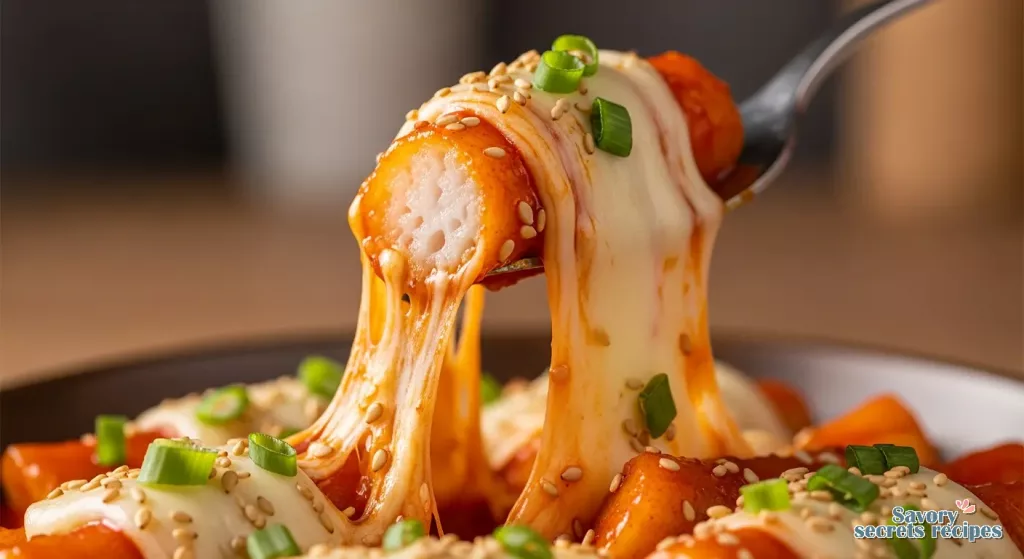
Make the Best Korean Chicken at Home
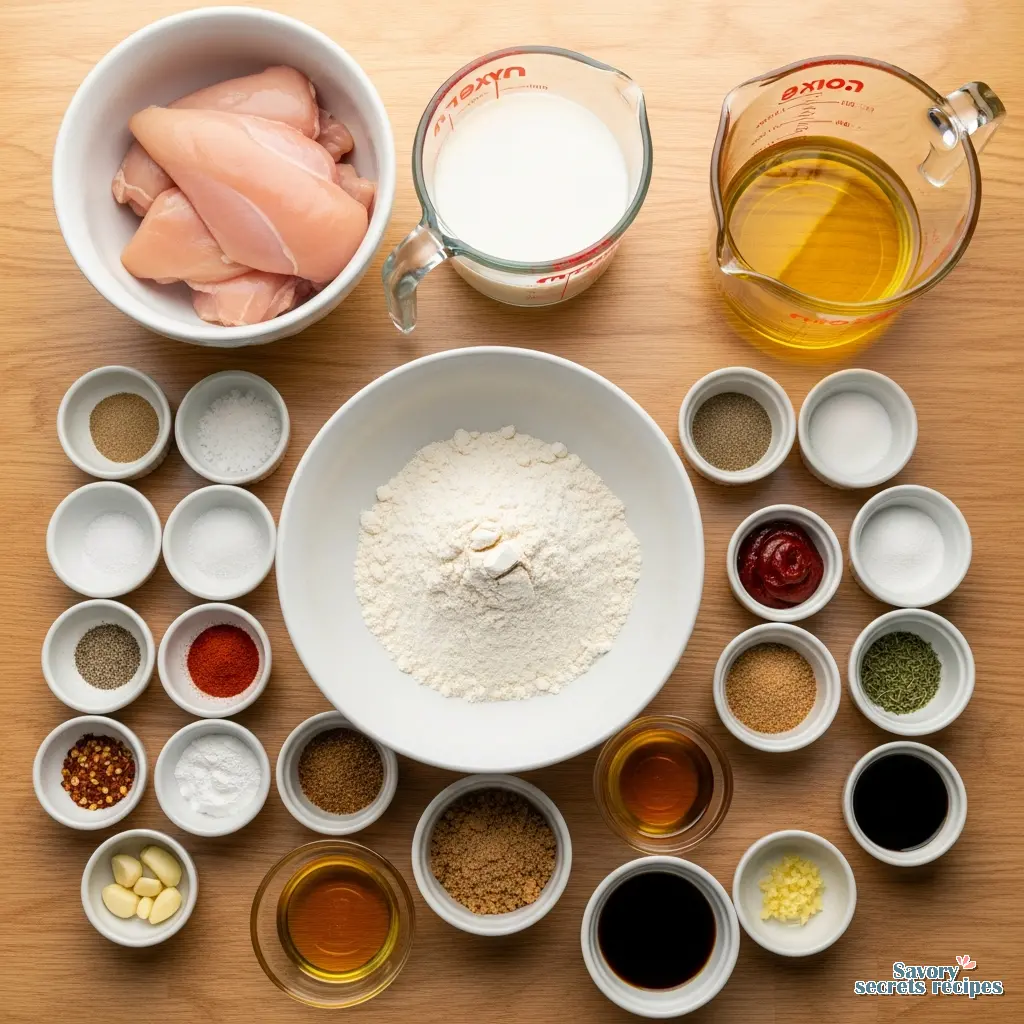
Ingredients
Method
- Place the chicken in a bowl and add the buttermilk, salt, pepper, and garlic salt. Mix well, cover, and refrigerate to marinate for at least 1 hour or up to overnight.
- Preheat the oven to a low setting to keep the chicken warm. Heat at least 1 liter (4 cups) of vegetable oil in a large pan or deep fryer until hot; test by ensuring a bread cube rises and bubbles immediately upon contact.
- Combine the crispy coating ingredients in a small bowl.
- Remove the chicken from the refrigerator. Lift each piece from the buttermilk, let the excess drip off, and dredge in the coating mixture until fully covered. Place on a tray and repeat for all pieces.
- Add 5 or 6 chicken tenders to the hot oil, adjusting the quantity based on pan size to avoid overcrowding.
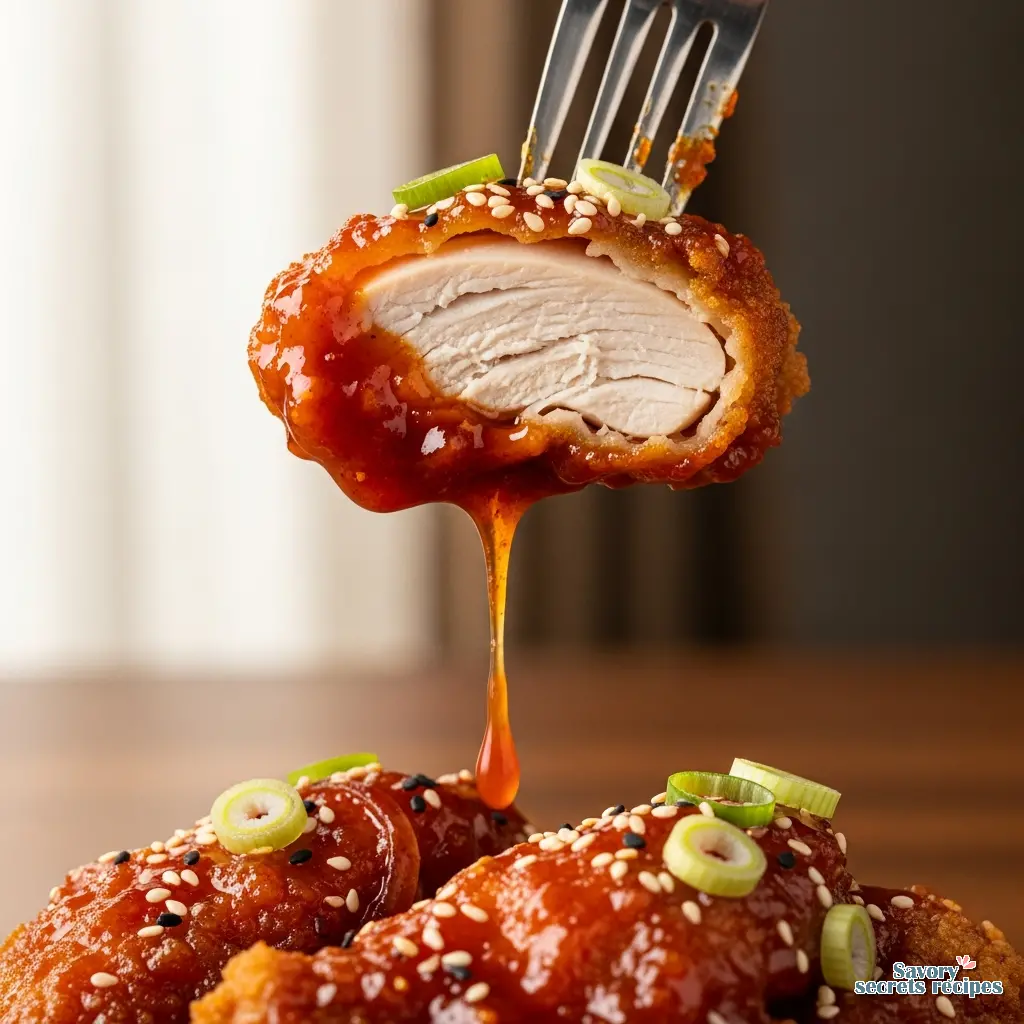
- Fry for 3 to 5 minutes until golden brown and cooked through. Verify doneness by checking that the center is no longer pink.
- Transfer the cooked chicken to a tray in the oven to keep warm while frying the remaining batches.
- Prepare the sauce by stirring together the gochujang, honey, sugar, soy sauce, garlic, ginger, vegetable oil, and sesame oil in a saucepan.
- Bring the sauce to a boil, then simmer for 5 minutes until thickened.
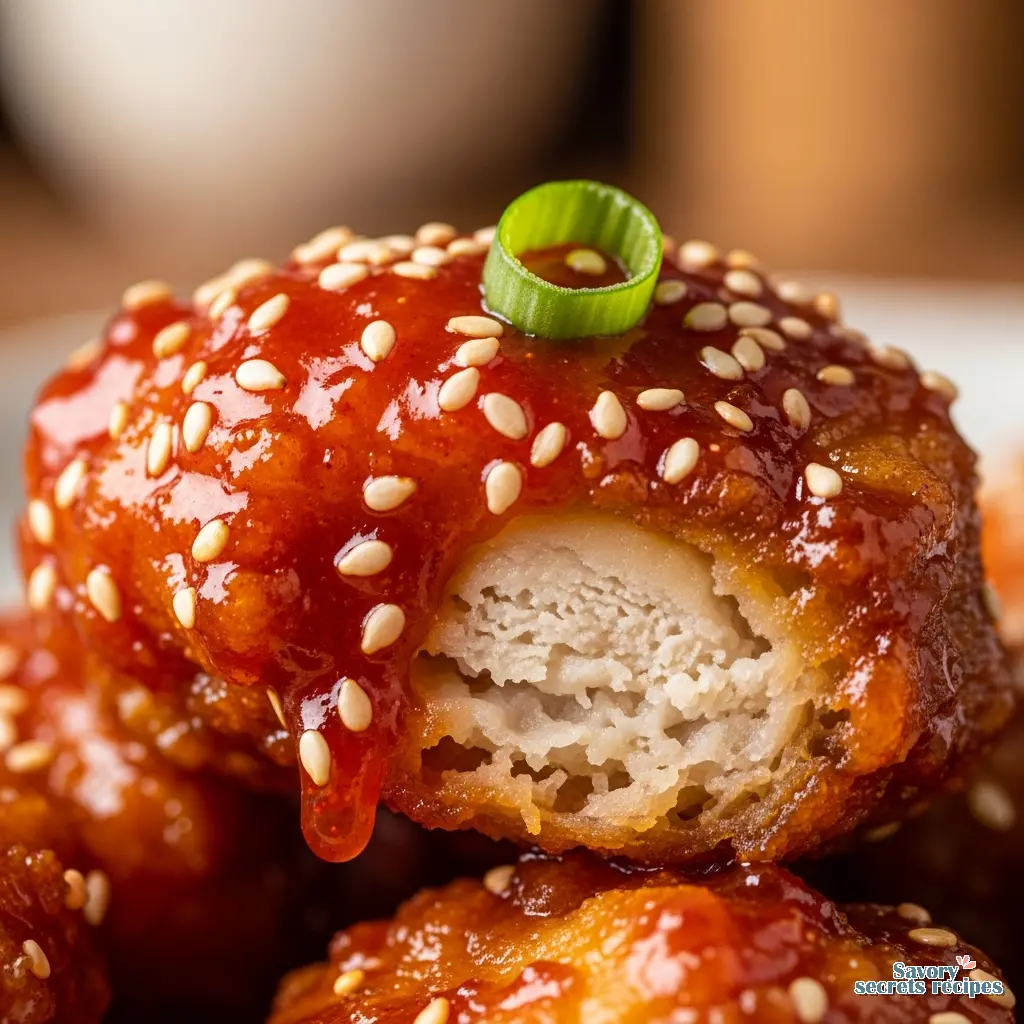
- Pour the sauce over the crispy chicken and toss gently to coat. Garnish with spring onions, chili flakes, and sesame seeds before serving.
Nutrition
Notes
Can I scale up or scale down the recipe?
Yes you can halve or double the recipe using the same ingredient ratios. If doubling the recipe, please note it will take longer to fry the chicken as you’ll have more batches to fry.How do you reheat Korean fried chicken?
I prefer this Korean fried chicken served right away, as that’s when the chicken will be at it’s crispiest. However, you can cool, cover and refrigerate the Korean fried chicken (for up to a day), then reheat in the oven (covered) for 10-15 minutes at 190C/380F, until piping hot throughout. If you want to keep the chicken crispy, then fully cook both the crispy chicken and sauce, then cool and cover (keep the sauce separate from the chicken) and refrigerate for up to a day. Then reheat the chicken in the oven, uncovered, for 10-15 minutes at 190C/380F, until piping hot throughout. Reheat the sauce in a pan until piping hot. Nutritional Information is per serving. This info is approximate, as all of the flour may not be used up in coating the chicken (I’ve counted all of the flour as part of the nutritional info though). Also, I’ve included 1 1/2 tbsp of oil per serving to account for the oil that is absorbed during deep frying (this is an *approximate* amount, the chicken may absorb more or less).Bringing the Best Chicken Korea Offers to Your Kitchen
I still remember the first time I tried authentic Korean fried chicken. It wasn’t in Seoul, but at a small, unassuming spot in Los Angeles Koreatown that a culinary school friend dragged me to. I took one bite, and the crunch was so loud it actually stopped our conversation. It was distinct from the fried chicken my Teta Samira used to make in Dearborn. Her chicken was tender and spiced with cinnamon and nutmeg, but this? This was an architectural marvel of crispiness.
If you have been searching for the best chicken Korea style recipe to make at home, I hear you. It can feel intimidating. Between the double-frying technique and the specific ingredients like gochujang, it’s easy to assume this is restaurant-only territory. But let me walk you through it. In my years of testing recipes, I’ve found that Korean fried chicken is actually quite forgiving once you understand the logic behind the batter.
With the winter chill settling in here in California (and let’s be real, 55°F feels freezing to us now), there is nothing more comforting than standing over a warm pot of oil and producing something spectacular. This recipe replicates that addictive, shatteringly crisp texture and coats it in a sticky, sweet-spicy sauce that hits every single pleasure point. You’ve got this.
The Science of the Crunch: Why Double Frying Matters
You might be wondering if you really need to fry the chicken twice. Is it just a myth? In my tests, this usually works best, and here is why. The first fry cooks the chicken through and removes moisture from the skin. The second fry, done at a higher temperature, turns that dehydrated crust into a crispy shell that stays crunchy even after being tossed in sauce.
Think of it like painting a wall. You need that primer coat before the finish coat to get the perfect result. The “best chicken Korea” experience relies entirely on this texture. If you fry only once, the moisture from the chicken steams the batter from the inside out, making it soggy within minutes. The double fry ensures that the crust is structurally sound enough to hold up against the heavy glaze.
Sourcing Your Ingredients
Living in the US, we are lucky that ingredients like Gochujang (Korean chili paste) have moved from specialty Asian markets to the shelves of Ralphs, Vons, and definitely Whole Foods. It comes in a red tub and is the heart of the sauce. It provides that savory, fermented heat that defines the dish.
For the chicken, I prefer boneless skinless thighs because they stay juicy, but breasts work too if you are careful not to overcook them. My daughter Layla always insists on the “crunchy bits,” so I cut the chicken into smaller, bite-sized pieces. This maximizes the surface area for the batter, giving you more crunch per bite. That tracks with my experience that smaller pieces cook more evenly, too.
The Marinade and Coating Process
First, we marinate. The buttermilk acts as a tenderizer. The acidity breaks down the protein structures just enough to keep the meat soft. I like to add garlic salt and white pepper here. It infuses flavor deep into the meat so the inside isn’t bland compared to the sauce.
Now, the coating. This is your checkpoint. You want a mixture of flour and seasonings. Some recipes use cornstarch for a lighter crisp, but all-purpose flour gives that classic, substantial crunch that holds up well to sauce. When you dredge the chicken, press the flour into the meat firmly. You’re looking for a shaggy appearance. Those little uneven bits of flour will turn into extra crispy nooks and crannies in the fryer.
Mastering the Fry
I know deep frying can be messy. I usually cover my stove with foil before I start to save on cleanup later. Use a heavy-bottomed pot (a Dutch oven is perfect) and fill it no more than halfway with oil. You need a neutral oil with a high smoke point. Canola, vegetable, or grapeseed oil are all solid choices.
Heat your oil to 350°F. If you don’t have a thermometer, stick a wooden chopstick into the oil. If bubbles form around it steadily, you are ready. Fry the chicken in batches. Don’t crowd the pot, or the temperature will drop too fast, and your chicken will be greasy instead of crispy.
Fry for about 5-7 minutes until pale golden. Remove them and let them rest on a wire rack. This rest period is crucial. It lets the residual heat cook the inside and brings moisture to the surface. Then, crank the heat up to 375°F and fry again for 2-3 minutes until they are a deep, rich golden brown. The sound should change it will sound higher-pitched and sharper. That is exactly what you want to hear.
The Secret Sauce: Yangnyeom vs. Soy Garlic
The sauce is where the magic happens. The classic “Yangnyeom” sauce is a blend of gochujang, ketchup (yes, really), sugar, and garlic. It’s sweet, tangy, and spicy. I like to simmer it in a separate pan until it bubbles and thickens slightly. You want it to be the consistency of warm honey.
If you prefer something less spicy, the Soy Garlic variation is incredible. It uses soy sauce, brown sugar, and lots of minced garlic. It’s savory and sweet, a real crowd-pleaser. Whichever you choose, toss the chicken in the sauce while both are hot. Use a large bowl and toss vigorously to coat every piece. The heat helps the sauce adhere to the crust without making it soggy immediately.
Troubleshooting Common Issues
Even with the best instructions, things can go sideways. Here is what I’ve learned from my own kitchen failures (and I’ve had plenty).
Common Mistakes & Fixes
Mistake: The coating falls off.
Solution: This usually happens if the oil isn’t hot enough or you flipped the chicken too soon. Let the crust set before touching it.
Mistake: The chicken is soggy.
Solution: You likely overcrowded the pan or skipped the double fry. Trust the process here; fry in small batches and always fry twice.
Mistake: The sauce is too thin.
Solution: Simmer it a bit longer. The sugars need time to caramelize and thicken. It should coat the back of a spoon.
Variations and Dietary Swaps
I know not everyone can eat everything, and that’s fair enough. If you are gluten-free, swap the all-purpose flour for a 1:1 gluten-free flour blend or use cornstarch entirely for the coating. The texture will be slightly different lighter and crispier but still delicious.
For a vegetarian option, cauliflower works surprisingly well. Cut a head of cauliflower into florets and follow the same batter and frying process. The nooks in the cauliflower hold the sauce beautifully. I’ve served this to skepticism and watched it disappear in minutes.
And if you have an air fryer, you can adapt this. It won’t be quite the same as the best chicken Korea offers from a deep fryer, but it’s a solid weeknight alternative. Spray the coated chicken generously with oil and air fry at 380°F for 15-20 minutes, flipping halfway, then toss in the simmered sauce.
Storage and Reheating
Let’s be honest, leftovers are rare with this dish. But if you made a huge batch for a party, storage matters. Store the chicken in an airtight container in the fridge for up to 2 days. The crust will lose its crunch, unfortunately. That is just the nature of fried food.
To reheat, do not use the microwave. It will turn your crispy chicken into a chewy, sad mess. Instead, use your oven or air fryer. Preheat to 375°F and heat the chicken for about 10-15 minutes. It helps crisp up the coating again, though it won’t be quite 100% of its former glory. It’s still a tasty lunch the next day, though.

Serving Suggestions
In Korea, fried chicken is often served with pickled radish cubes (chicken-mu). The acidity cuts through the richness of the fried food perfectly. You can buy these at Korean markets or make a quick version with vinegar, sugar, and water. I also love serving this with a simple crunchy salad or some steamed rice to soak up the extra sauce.
For a fun dinner party, put out a platter of this chicken, some steamed bao buns, pickled cucumbers, and maybe some kimchi. Let everyone build their own bites. It’s interactive and takes the pressure off you to plate everything perfectly.
Frequently Asked Questions
Making the best chicken Korea style dish at home is a project, yes, but it is a rewarding one. There is something incredibly satisfying about mastering that double-fry technique and hearing that crunch. My Teta might not have used gochujang, but I think she would appreciate the attention to texture. I hope you give this a try this weekend. Let me know how it goes!
For more inspiration, check out my Pinterest boards where I save all my favorite comfort food ideas.
Reference: Original Source
Can I make best chicken korea ahead of time?
You can prep the chicken and do the first fry a few hours in advance. Let it sit at room temperature. When guests arrive, do the second fry to crisp it up and toss in the hot sauce. This is a great party trick I use often.
How do I store leftover best chicken korea?
Store leftovers in an airtight container in the fridge for up to 2 days. Reheat in an oven or air fryer at 375°F for 10 minutes to revive the crunch. Avoid the microwave, or it will get soggy.
Can I bake the chicken rather than fry it?
You can, but the texture won’t be the same. Bake at 400°F on a wire rack for 20-25 minutes until crispy, flipping halfway. It’s healthier, sure, but for the authentic experience, frying is the way to go.
Where can you buy Gochujang?
Most major supermarkets like Ralphs, Kroger, and Whole Foods carry it now in the Asian foods aisle. Look for a red rectangular tub. It’s a staple pantry item that keeps forever in the fridge, so it’s worth buying.