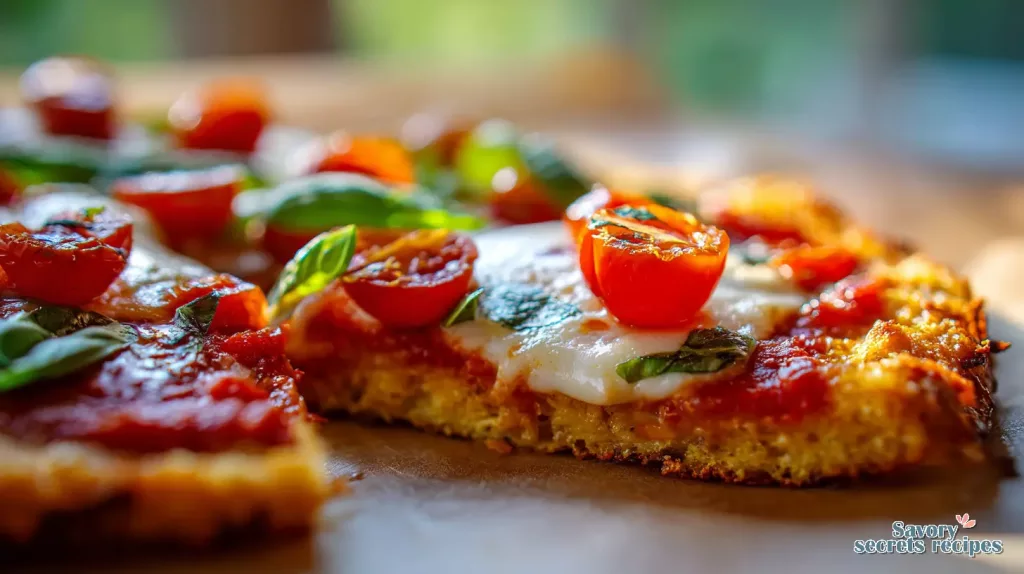
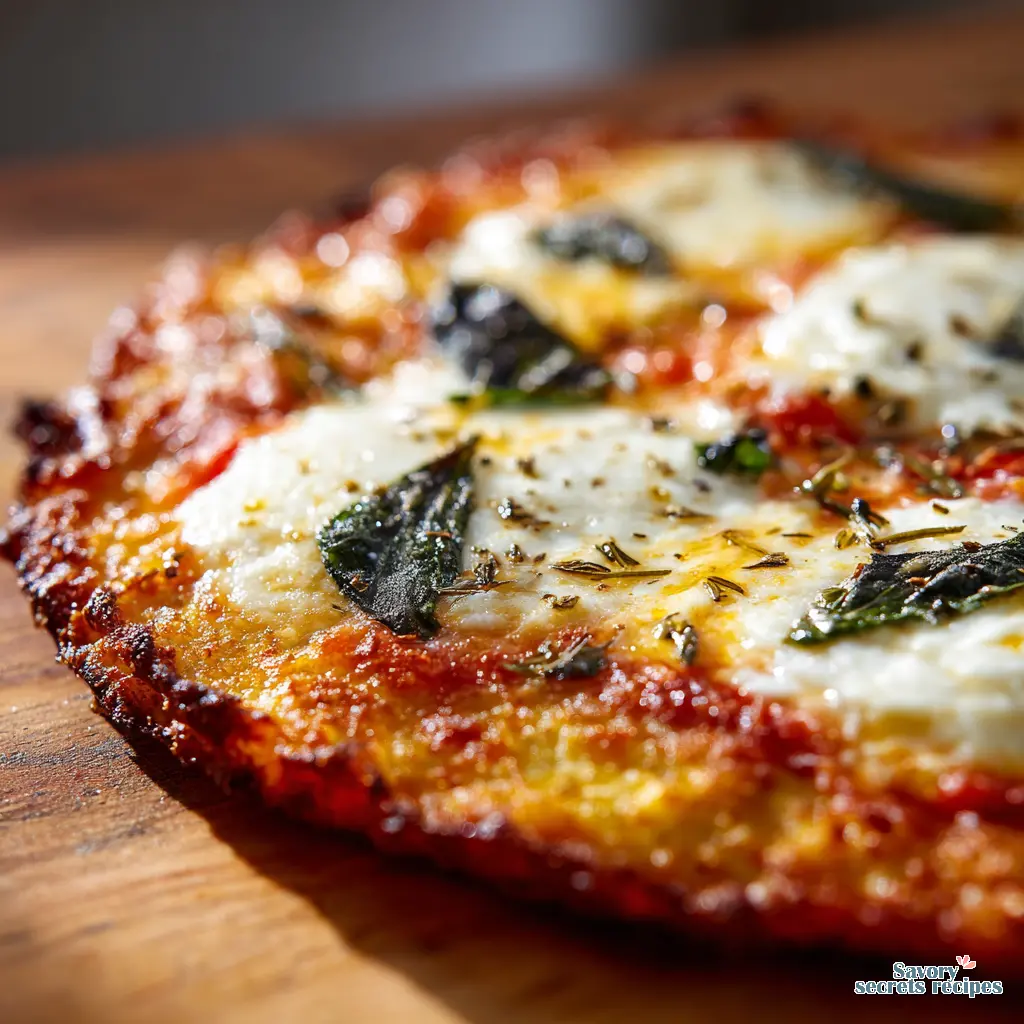
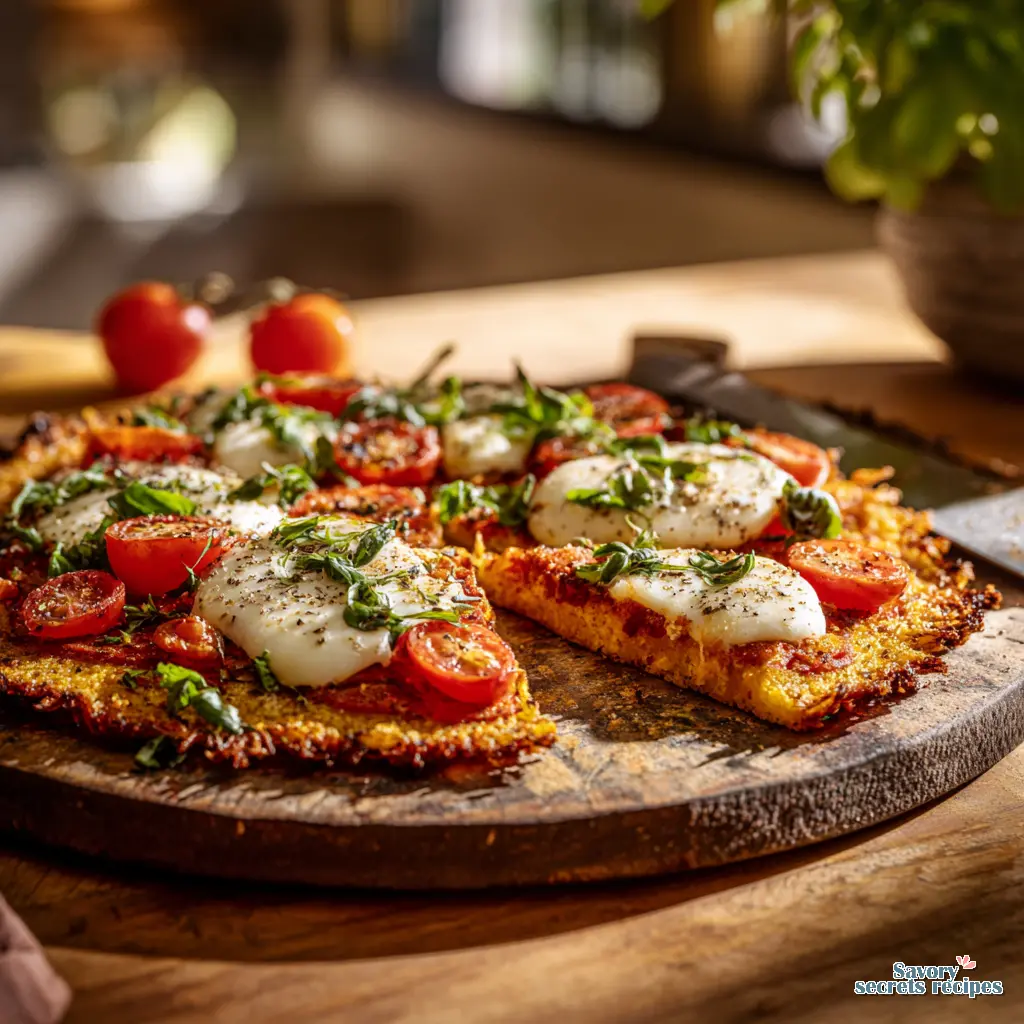
Crispy Cauliflower Crust Margherita Pizza
Ingredients
Method
- Preheat the oven to 375F (190C) and line a baking sheet with parchment paper.
- Wash and cut cauliflower into florets. Place the florets in a food processor and process until finely chopped, resembling rice. Transfer to the prepared baking sheet and bake for 15 minutes. Remove and let cool slightly.
- Place the cooked cauliflower into a tea towel and squeeze out as much liquid as possible. Transfer the cauliflower to a clean bowl.
- Increase the oven temperature to 470F (240C).
- Add almonds, eggs, dried herbs, salt, and pepper. Stir until well combined.
- Line a baking tray with parchment paper and grease it with oil. Place the cauliflower mixture in the center and, using a spoon and your hands, spread it into a 12-inch (30 cm) round.
- Bake for 15 minutes, or until golden brown. Remove and set aside to cool slightly.
- Spread tomato sauce over the crust. Add Mozzarella cheese slices, tomato slices, chopped fresh basil or parsley, and freshly ground black pepper.
- Bake for another 8-10 minutes, or until the cheese is melted. Let cool slightly before serving, then add more fresh basil or parsley leaves on top.
Nutrition
Notes
Why This Cauliflower Crust Margherita Pizza Works
I remember standing in my teta’s kitchen in Dearborn, watching her shape dough with a confidence that seemed almost magical. She never measured, just felt. Years later, in my own test kitchen, I spent weeks trying to capture that same intuitive success with a cauliflower crust. My first attempts? Let’s just say they were more like savory puddles than pizza. I’d get frustrated, craving that classic pizza night feeling but wanting something lighter. That’s exactly why this cauliflower crust Margherita pizza recipe exists. I hear you if you’ve been there too. This version, the one I’m walking you through, finally cracked the code. It gives you that crispy, satisfying base you’re dreaming of, topped with the simple, bright flavors of a true Margherita. It’s the healthy pizza alternative that doesn’t feel like a compromise.
Here’s what I’ve found works, after all that testing. The magic isn’t in one secret ingredient, but in understanding a few key steps. Removing moisture from the cauliflower is your non-negotiable foundation. The ground almonds aren’t just filler; they provide structure and a nutty depth that makes this crust something special. And pre-baking? That’s your checkpoint for crispiness. Trust the process here. When you pull this cauliflower crust Margherita pizza from the oven, with the mozzarella bubbling and the fresh basil just wilting, you’ll get it. This is the good stuff.
The Foundation: Building a Crispy Crust
Let’s start with the star of the show. The crust. This is where most recipes live or die, and I used to struggle with it too. A soggy base just isn’t pizza. The single most important thing you’ll do is deal with the cauliflower’s natural water content. You’re looking for the cauliflower rice to feel dry, almost like coarse sand, before you mix in anything else.
I’ve tried every method. Grating by hand (tedious), using a food processor (fast), even buying pre-riced bags from the freezer aisle at Trader Joe’s. The fresh stuff, processed at home, gives you the most control. Once it’s riced, you’ll cook it just briefly. This isn’t to make it soft, but to help release that moisture. Then comes the crucial part: squeezing. You’ll want to squeeze out as much water as possible. I use a clean, thin kitchen towel. The dough should feel damp but not wet, and it’ll hold together when you press it. If it’s dripping, you need another squeeze. That tracks with my experience. This step makes all the difference between a crisp crust and a limp one.
Ingredient Roles & Why They Matter
Each component in the crust has a job. The eggs are your binder, the glue that holds everything together as it bakes. The ground almonds add necessary bulk and texture, and they help soak up any residual moisture. I prefer grinding my own almonds in the food processor for a bit more texture control, but store-bought almond flour works perfectly too. The dried oregano and basil? They’re not just for flavor. They add a subtle fragrance that bakes right into the foundation of your low carb Margherita pizza.
A quick note on shaping. No need to press the cauliflower crust too hard when you’re spreading it on the parchment paper. Just pat it into an even round, about a quarter-inch thick. It’ll firm up significantly during baking and again as it cools. I’d probably lean toward a slightly thinner edge rather than a thick one, for maximum crispness.
Assembly & The Art of Simple Toppings
Now for the fun part. Once your crust is pre-baked and has that beautiful golden color, it’s time to build. A classic Margherita is about purity and quality. You don’t need a lot, but what you use should be good.
Start with your tomato sauce. A thin, even layer is all you need. Too much and you risk reintroducing the sogginess we worked so hard to avoid. Then, the mozzarella. I always recommend fresh mozzarella if you can find it. It melts beautifully and has a creamy mildness that’s just perfect. Tear it into little pieces and scatter it evenly. Next, the cherry tomatoes. Here’s a pro tip: fresh sliced tomatoes are really moist. I like to halve the cherry tomatoes and give them a gentle press between a couple of paper towels. It’s a small step that pays off in a crispier final bake.
Finally, the fresh basil. Some goes on before the final bake, and I always save a few bright leaves to scatter on top right after it comes out of the oven. The heat wilts them just slightly, releasing that incredible peppery, sweet aroma. This is your visual cue that you’ve made something special.
Baking to Perfection & Pro Tips
Your oven needs to be hot. Really hot. We’re talking 425°F (about 220°C). This high heat is what gives you that final burst of crispiness on the bottom and gets the cheese gloriously bubbly. Slide your assembled pizza onto a hot baking sheet or, if you have one, a preheated pizza stone. That immediate heat shock helps set the crust.
Watch for the visual cues. The cheese should be melted and spotted with brown, and the edges of the crust will be a deep, golden brown. It usually takes about 10-15 minutes, but your mileage may vary depending on your oven. Let it cool on the pan for just a minute, then transfer it to a cooling rack for a few more. This stops the bottom from steaming and keeps it crisp. Now we’re getting somewhere.
Common Mistakes & Fixes
Mistake: The crust is soggy in the middle.
Solution: You likely didn’t squeeze enough water from the cauliflower. Really wring that towel out. Also, ensure your tomato sauce layer is thin, not thick.
Mistake: The crust falls apart when I slice it.
Solution: Let it cool completely on a rack before you cut. It needs time to set. Also, double-check your egg measurement as it’s the key binder.
Mistake: The crust sticks to the parchment.
Solution: Make sure you’re using parchment paper, not wax paper. And don’t skip the pre-bake step; it helps the crust release cleanly.
Make-Ahead, Storage, and Serving
This cauliflower crust Margherita pizza is best fresh, but I get it, life is busy. You can absolutely prep components ahead. The riced, squeezed cauliflower can hang out in a sealed container in the fridge for a day. You can even pre-bake the crusts, let them cool, and freeze them between layers of parchment for a quick future meal.
For leftovers, store them in the fridge for up to 2 days. Reheating is key. Don’t use the microwave it’ll turn the crust soft. Instead, pop slices in a toaster oven or a regular oven at 375°F until the cheese melts again and the crust re-crisps. It won’t be *quite* as perfect as day one, but it’s still a delicious, healthy pizza alternative.
Serve it just like you would any pizza. Cut it into wedges. The crust is sturdy enough to pick up, which always feels like a win. It’s a fantastic light meal on its own, or pair it with a simple green salad for something more substantial.
Frequently Asked Questions
Your New Go-To Pizza Night
When you make this cauliflower crust Margherita pizza, you’ll be amazed at how satisfying a healthy pizza alternative can be. That moment you pull a crispy, golden round from your own oven, smelling of basil and melted cheese, is a real win. It tastes like the satisfaction of finally getting a technique right, of making something delicious that also makes you feel good.
I’d love to see your creations. Tag me in your crispy pizza photos if you share them online. And for more inspiration on light, flavorful meals, you can always browse my Pinterest boards. There’s a whole world of healthy, delicious ideas waiting.
Now, go preheat that oven. You’ve got this.
Source: Health & Nutrition Research
How easy is it to make a crispy cauliflower crust margherita pizza at home?
Honestly, it’s easier than you think once you know the steps. The key is patience with moisture removal. If you squeeze the cauliflower well and pre-bake the crust, you’re 90% of the way to a perfectly crispy homemade pizza. I walk you through it all.
What are the best tips for preventing a soggy cauliflower crust?
To make the crust crispier, squeeze as much water as possible from the cooked cauliflower. Also, use a thin layer of sauce and pat your cherry tomatoes dry. Pre-baking the crust alone before adding toppings is a non-negotiable step for structure.
Can I meal prep or store leftover cauliflower crust margherita pizza?
Yes. You can freeze the pre-baked crusts. For leftovers, store slices in the fridge and reheat in a toaster oven or regular oven to restore crispiness. The microwave will make it soft, so I’d avoid that.
Is a cauliflower crust margherita pizza a healthier alternative?
It can be. It’s naturally gluten-free and lower in carbs than traditional pizza. It’s also a great way to add more vegetables to your meal. The focus is on fresh, simple toppings, which keeps things light and flavorful.
Can I substitute coconut flour for the almond flour?
I haven’t tested it extensively in this specific recipe. Coconut flour absorbs *much* more liquid. If you try it, you’d need to use significantly less and likely add another egg. It would also taste different. For best results, stick with ground almonds or almond flour.