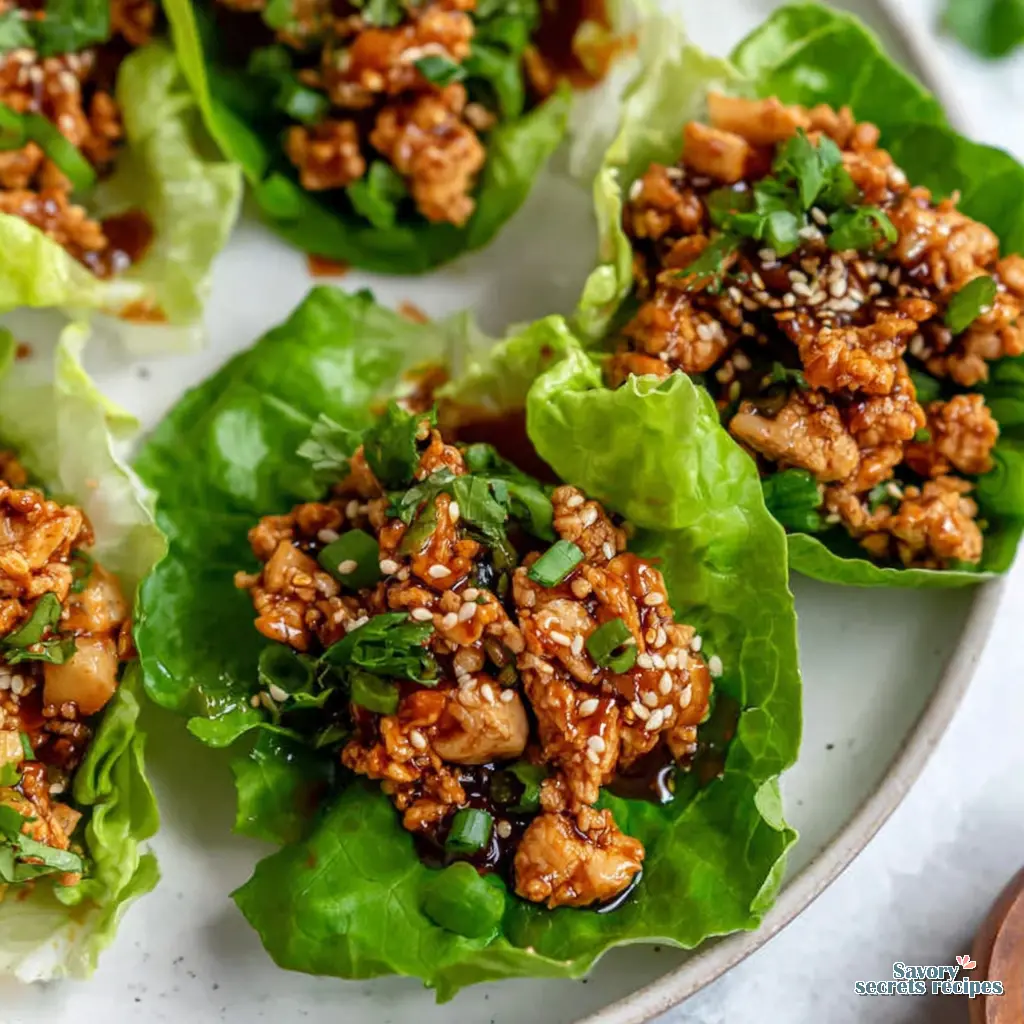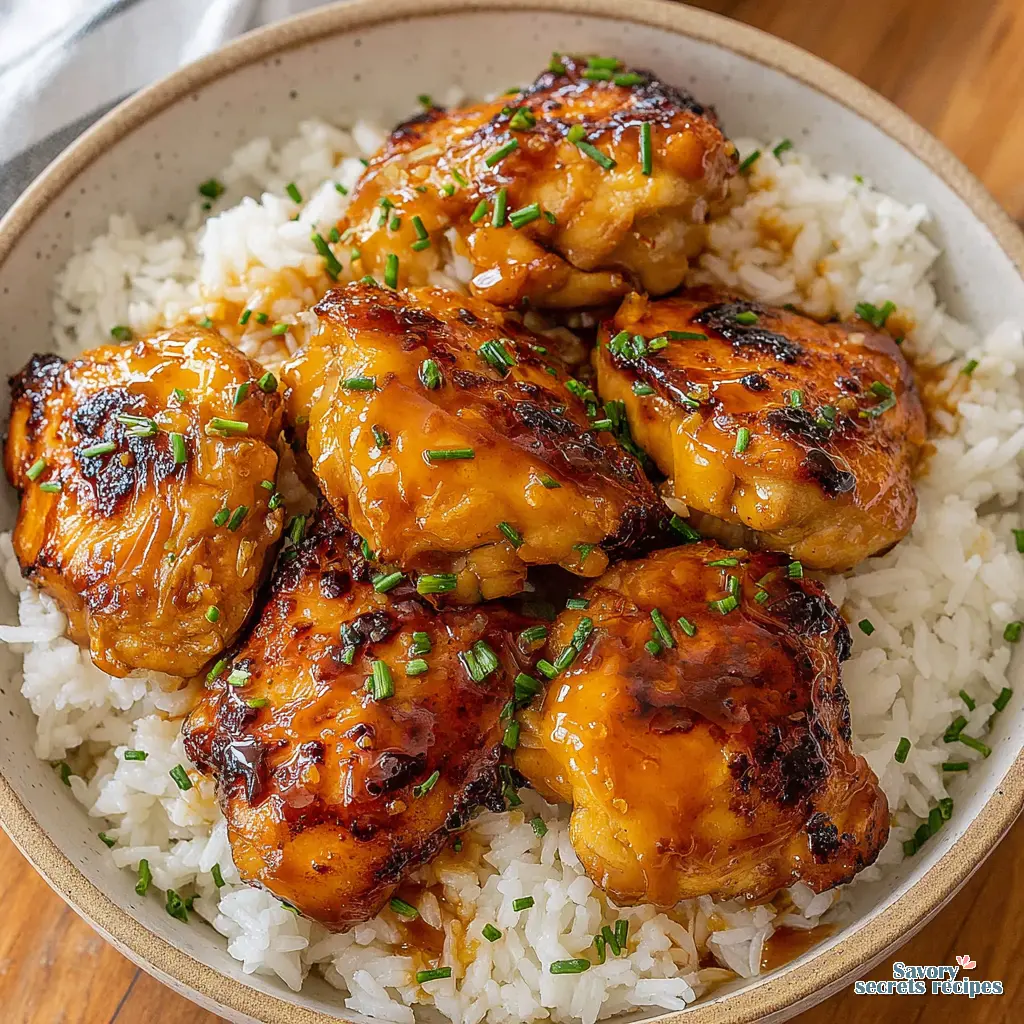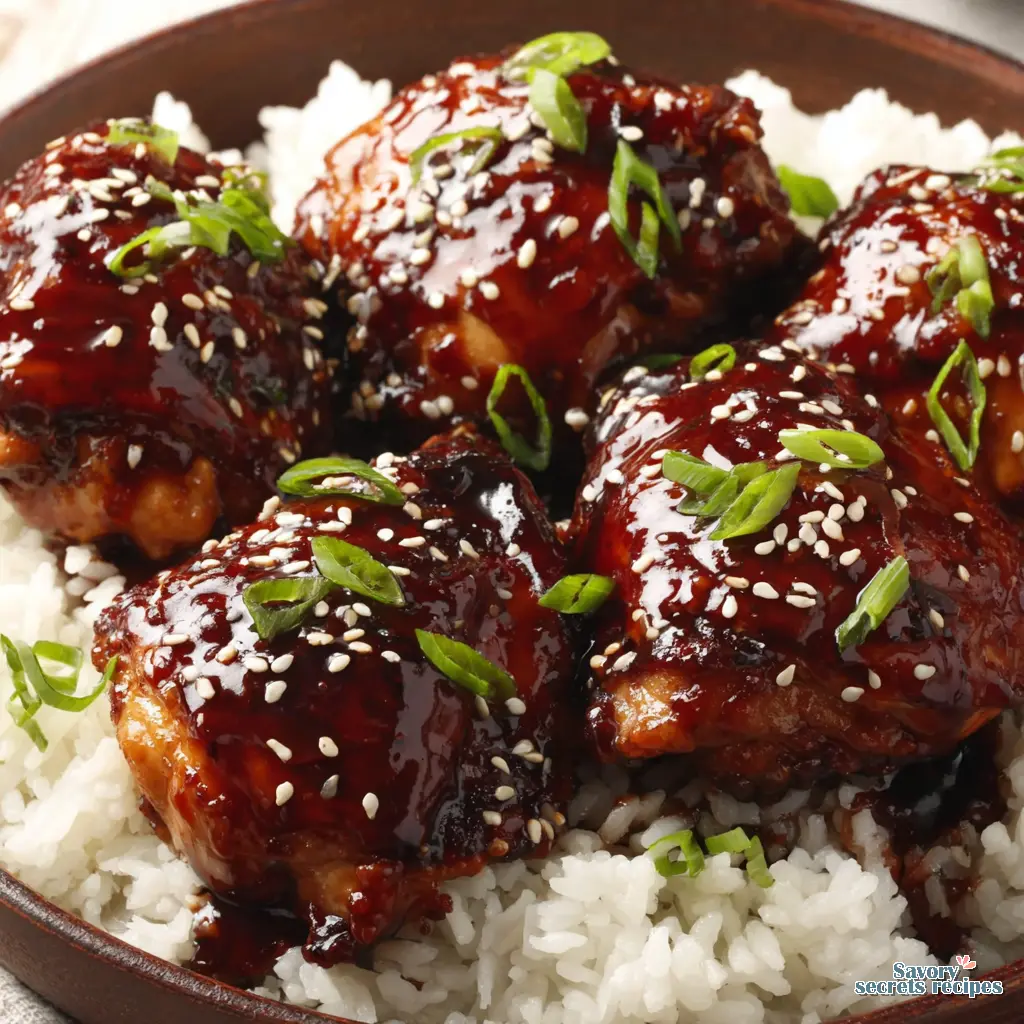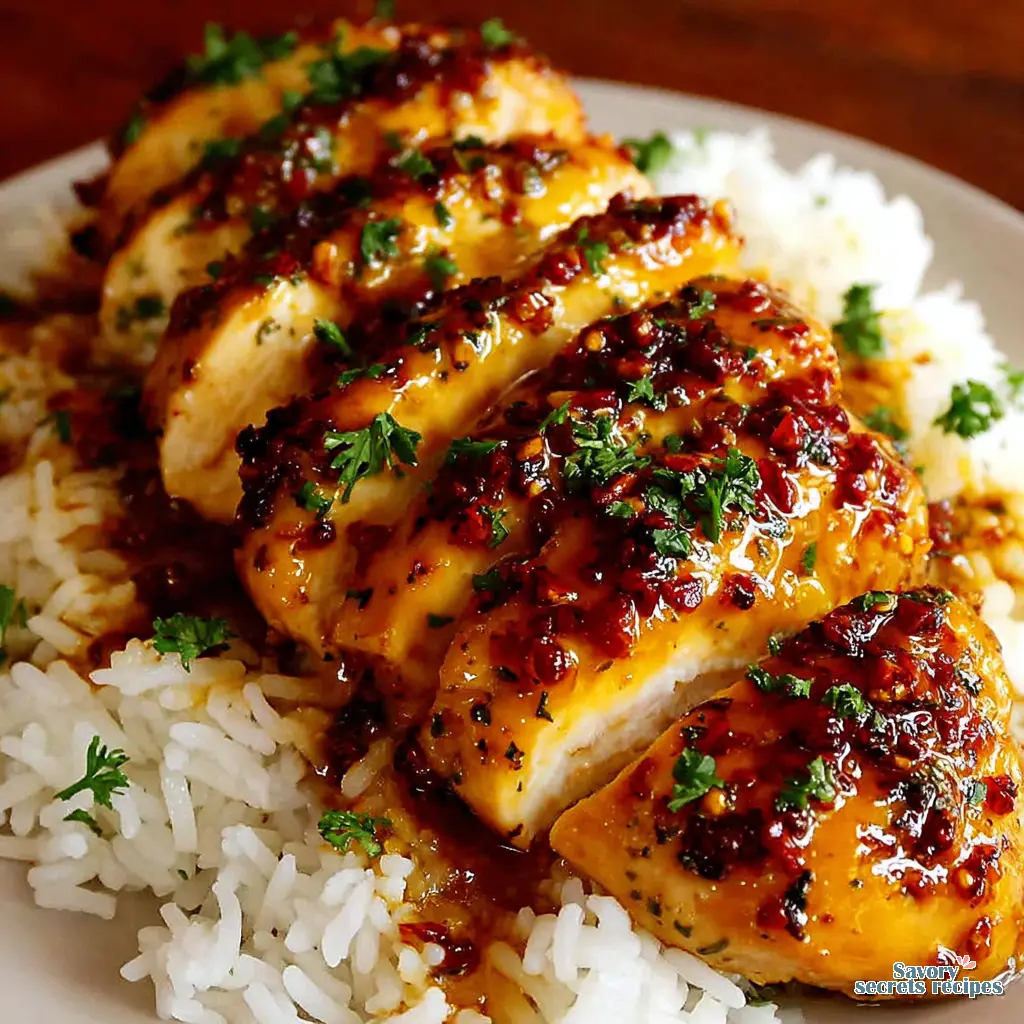
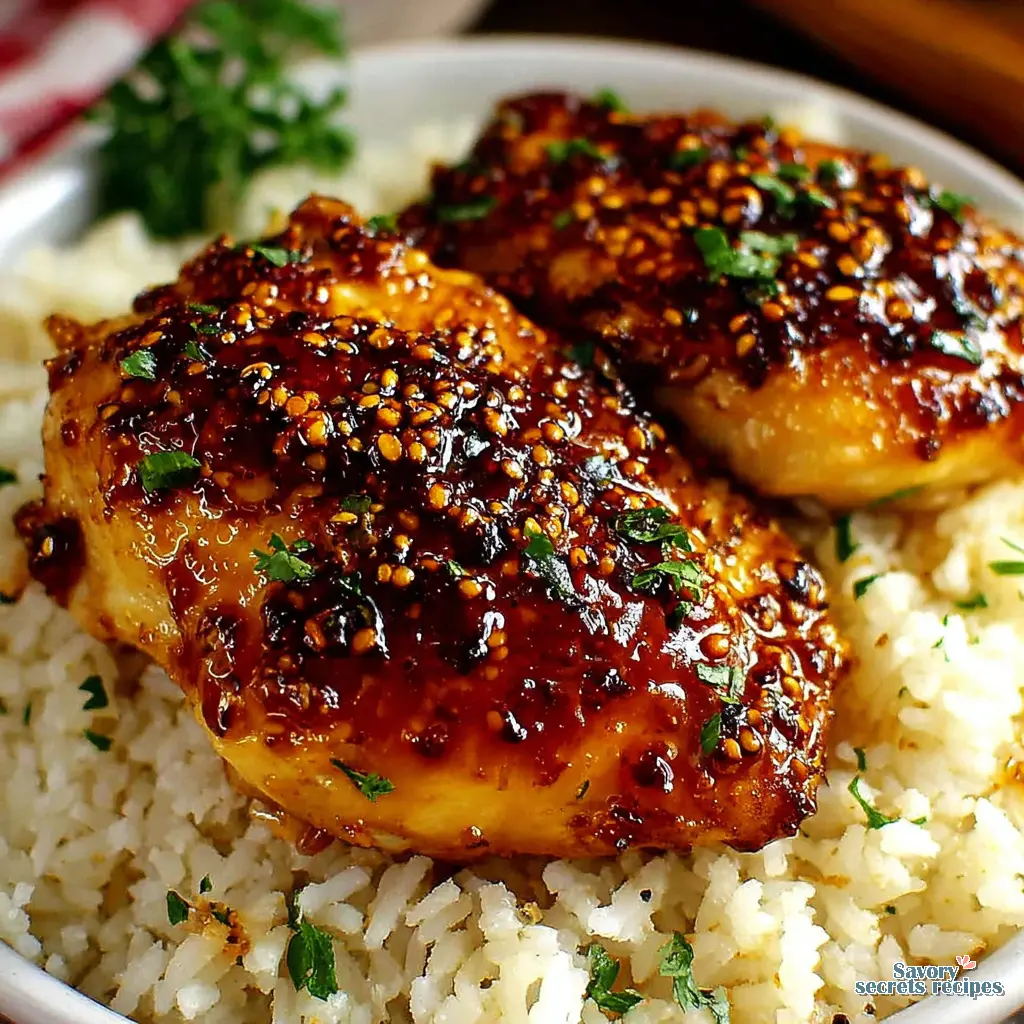
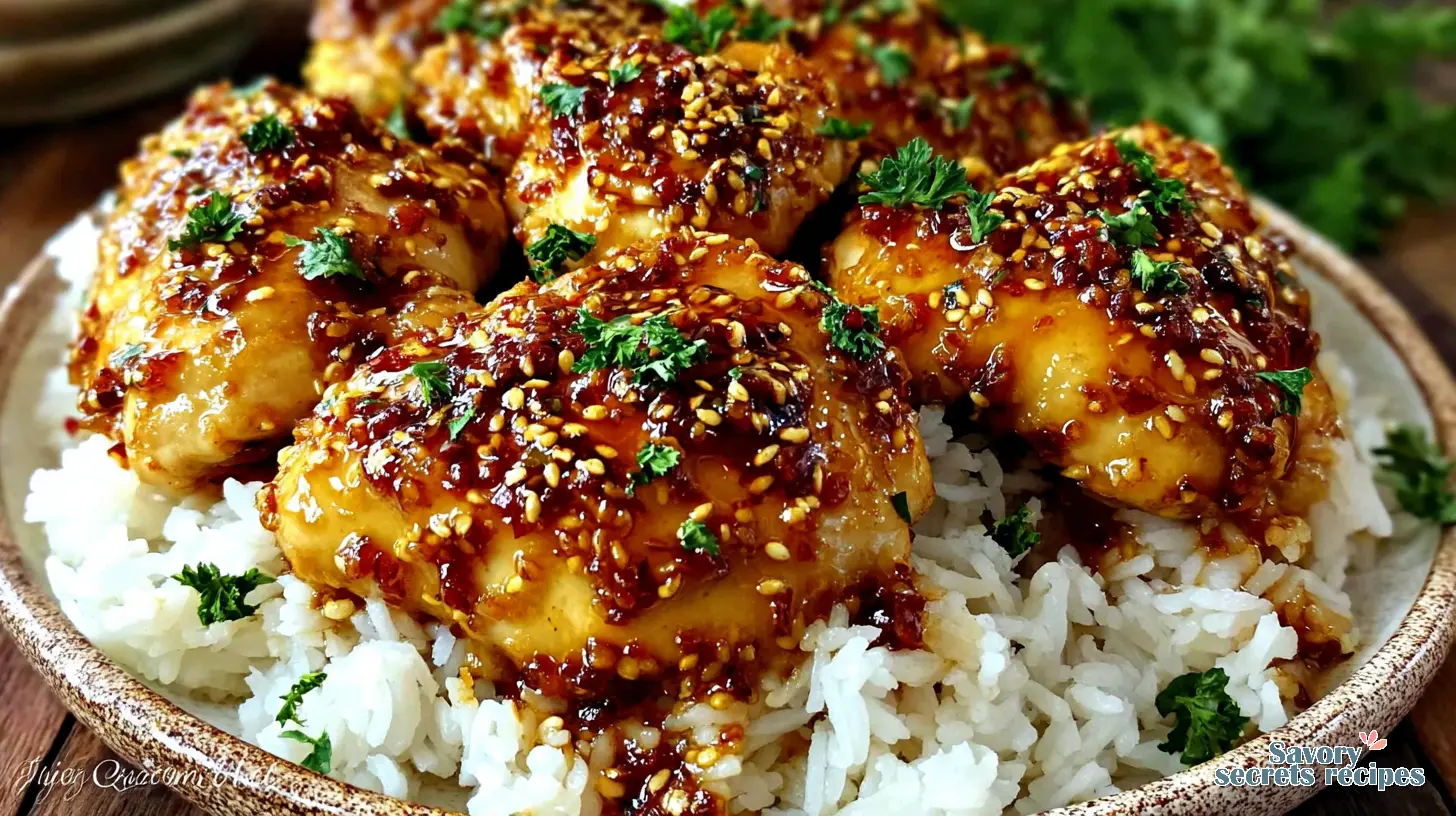
Healthy Gluten-Free Honey Garlic Chicken Rice
Ingredients
Method
- Pat chicken breasts dry and season with salt and pepper.
- Heat olive oil in a skillet on medium-high, sear chicken for 5–6 minutes per side until golden brown. Remove and set aside.
- p id=”instruction-step-3″>3. Lower heat to medium, melt butter in the same skillet, and add minced garlic. Sauté for 30 seconds to 1 minute. <
- id=”instruction-step-4″>4. Add honey, soy sauce, vinegar, and red pepper flakes. Simmer for 2–3 minutes.
- d=”instruction-step-5″>5. Return chicken to pan and cook for 5–7 minutes more, spooning sauce over and ensuring internal temp reaches 165°F.
- instruction-step-6″>6. Mix cornstarch with water and add to skillet if a thicker sauce is desired. Stir until thickened.
- instruction-step-7″>7. Let chicken rest for a few minutes before slicing. Garnish and serve.
Nutrition
Notes
Why This Healthy Honey Garlic Chicken and Rice Is Exactly What You Need
Let me think through this. You’re standing in front of the fridge after a long day, right? You want something that tastes like a treat, something that feels like a hug, but you don’t want the sluggishness that comes with it. I’ve been there more Wednesdays than I can count. That’s the exact spot where this healthy honey garlic chicken and rice recipe was born for me.
It’s the answer to that midweek tug-of-war between craving and conscience. This isn’t about deprivation. To be honest, it’s about that deep satisfaction of a home-cooked, nourishing meal that actually makes you feel good. The kind where you take the last bite and think, “Yeah, I could eat this every week.” And you know what? You probably will.
This version gives you all the sticky-sweet, garlicky goodness you’re dreaming of, but built on a foundation of lean protein, whole grains, and smart swaps. It’s quick, it’s genuinely flavorful, and it fits into a balanced life without any fuss. Now we’re talking.
The Simple, Smart Ingredients Behind the Magic
Here’s what I’m seeing. The beauty of this healthy honey garlic chicken and rice is in its simplicity. You likely have most of this in your pantry already. We’re just going to use them a little more thoughtfully.
For the chicken, I’m a big fan of boneless, skinless chicken breasts for this. They’re lean, they cook quickly, and they’re a perfect canvas for that sauce. But listen, if you prefer thighs for their juiciness, that’s fair enough. Just know you’re adjusting the calorie count a bit. The real secret weapon? A light dusting of cornstarch. Don’t skip it. This isn’t being fussy, it’s the difference between chicken that’s just okay and chicken with a delicate, crisp exterior that the sauce clings to perfectly.
The sauce is where we get clever. Real honey for that natural sweetness, a generous amount of fresh garlic (trust me, it mellows as it cooks), and a hit of acidity from rice vinegar. For the salty-umami base, we have options. If you’re avoiding soy, coconut aminos are a fantastic, slightly sweeter alternative you can find at most Ralphs or Trader Joe’s these days. I like to use a regular, not low-sodium, chicken broth. If it’s what you have on hand, mix 3/4 tsp of kosher salt with the cornstarch before tossing the chicken. It makes all the difference.
How to Build Your Bowl, Step by Easy Step
Okay, let’s cook together. First, get your rice going. I love a short-grain brown rice here for its nutty flavor and chewy texture. It takes a bit longer, so I’ll often pop it in the rice cooker before I even start prepping the chicken. That’s just what works for me.
While that’s cooking, cut your chicken into even, bite-sized pieces. This is key for even cooking so you don’t end up with some dry pieces and others underdone. Toss them in that cornstarch until they have a faint, powdery coating. It feels weird, but it works.
Now, heat a good glug of avocado or olive oil in a large skillet over medium-high heat. This is important: don’t overcrowd the pan. If your pan is too full, the chicken will steam instead of sear. I usually cook in two batches. It feels like an extra step, but it guarantees each piece gets that beautiful golden-brown crust. Let the chicken do its thing without moving it for a few minutes. You’ll hear that sizzle change when it’s ready to flip.
Once the chicken is browned and cooked through, set it aside on a plate. In the same pan, you’ll have all those delicious browned bits. That’s flavor gold. Add a touch more oil and your minced garlic. The smell that fills your kitchen right now? This is the good stuff. Let it become fragrant for just 30 seconds, then pour in your sauce mixture.
Let the sauce simmer and bubble away. You’ll see it start to thicken and become glossy, coating the back of a spoon. This is when you add the chicken back in, tossing everything until each piece is beautifully glazed. Taste as you go. Want more garlic? Add it. A pinch of red pepper flakes for heat? Perfect.
The Science of a Better, Healthier Sauce
I want to quickly explain why this works so well, because understanding the “why” makes you a better cook. The cornstarch on the chicken does two things. First, it creates a thin barrier that seals in the chicken’s juices, keeping it tender. Second, when it hits the hot oil, it forms a delicate crust. This crust gives the sticky sauce something to grip onto, so you won’t have soggy chicken just swimming in a bowl of sauce.
Then there’s the sauce reduction. Simmering it isn’t just about thickening. The heat concentrates the flavors, caramelizes the natural sugars in the honey just a touch, and blends all the elements into a cohesive, glossy glaze. If your sauce seems too thin, just let it simmer a minute longer. If it gets too thick, a splash of broth or water will loosen it right up.
Your Guide to Flawless Results Every Time
I’ve made this healthy honey garlic chicken and rice more times than I can count, and I’ve learned a few things along the way. Here’s what I wish someone had told me.
First, that cornstarch slurry for the sauce. To avoid any dreaded lumps, start with just a couple tablespoons of the chicken broth in a separate bowl. Gradually whisk in the cornstarch until you get a smooth, thick paste. Then slowly whisk in the rest of the broth. It seems like a small thing, but it guarantees a silky sauce.
Second, if you’re a texture fanatic and have a few extra minutes, you can take the chicken all the way out after browning. Finish the sauce on its own, letting it reduce and thicken, before adding the chicken back just to coat. This preserves the chicken’s crispy crust perfectly. It dirties another plate, so choose your own adventure. Both ways are delicious.
Finally, season in layers. A little salt on the chicken, a balanced sauce, and maybe a final sprinkle of green onions or sesame seeds at the end. It builds a more complex flavor profile.
Common Hiccups & How to Fix Them
Issue: The sauce is too thin and runny.
Fix: Let it simmer longer! The sugars need time to caramelize and thicken. You can also make a quick slurry with 1 tsp more cornstarch and a tbsp of water, whisk it in, and simmer for another minute.
Issue: The chicken didn’t brown, it steamed.
Fix: You likely overcrowded the pan. Next time, cook in batches. Also, make sure your oil is hot before adding the chicken. You should hear a confident sizzle.
Issue: The dish tastes a bit bland.
Fix: You probably used low-sodium broth or soy sauce alternative. Remember to use the regular versions, or compensate with that extra salt mixed with the cornstarch. Also, don’t be shy with the garlic!
Make It Your Own: Variations & Dietary Swaps
This recipe is a fantastic framework. Here’s how to adapt it for almost any need, making it the ultimate gluten free honey garlic chicken and rice option or whatever you require.
For a Gluten-Free, Dairy-Free, Soy-Free Bowl: This is easier than you think. Use certified gluten-free tamari or coconut aminos instead of soy sauce. Double-check your chicken broth and rice vinegar labels to ensure they’re gluten-free. That’s it! You’ve got a clean, allergy-friendly dinner.
Protein Swaps: Chicken breasts are my go-to for a low calorie honey garlic chicken and rice recipe, but you can use thighs, or even cubed firm tofu patted very dry. For a honey garlic chicken rice lentils variation, try adding a cup of cooked brown or green lentils to the sauce at the end for a plant-powered protein boost.
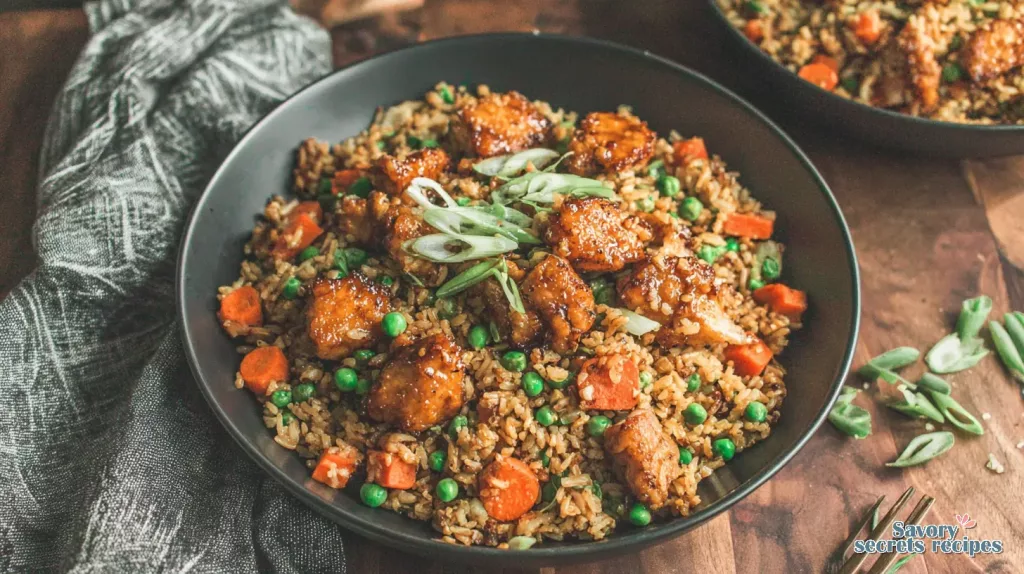
Grain & Veggie Bases: Brown rice is my nutritional favorite, but quinoa, cauliflower rice, or even zucchini noodles work beautifully. Pile on the veggies! I love adding steamed broccoli, snap peas, or shredded carrots right into the skillet for the last minute of cooking.
Meal Prep & Make-Ahead Strategy
This is a meal prep superstar. You can prep the components separately for the freshest texture. Cook a big batch of brown rice. Cut and coat your chicken in cornstarch, storing it in one container. Whisk the sauce ingredients together in a jar. They’ll keep in the fridge for up to 4 days.
When you’re ready, cooking takes less than 15 minutes. You can also fully cook the dish and store it in airtight containers. The sauce might thicken in the fridge, but a splash of water when reheating brings it right back. For even faster preparation, explore our easy sticky honey garlic chicken and rice bake for a hands-off oven method.
Serving It Up & Making It a Meal
I love building a bowl. Start with a base of fluffy rice, then pile on that glistening chicken. The sauce is so good, you’ll want plenty of rice to soak it up. For a balanced plate, add a huge handful of something green. Steamed broccoli, sautéed bok choy, or a simple cucumber salad with a rice vinegar dressing.
A sprinkle of sliced green onions, a few sesame seeds, or a pinch of red pepper flakes for those who like heat makes it feel finished. It’s a nutritious family dinner that pleases everyone, and it looks way more impressive than the effort required.
Storing and Reheating Your Leftovers
Got leftovers? Fantastic. Let the healthy honey garlic chicken and rice cool completely, then store it in an airtight container in the fridge for 3-4 days. You can also freeze it for up to 2 months, though the chicken’s texture may be a bit softer upon thawing.
To reheat, the microwave is fine for a quick lunch. For the best texture, I prefer the stove. Warm it in a skillet over low heat with a tiny splash of water or broth to loosen the sauce. You can also use the oven: spread it in an oven-safe dish, cover with foil, and heat at 350°F for 12-15 minutes until piping hot.
Frequently Asked Questions
You’ve Got This
When you make this healthy honey garlic chicken and rice, you’re giving yourself more than just a meal. You’re proving that eating well can be simple, satisfying, and deeply flavorful. You’ll love how something this good can make you feel even better.
I’d love to hear how it goes for you. What variations did you try? Share your creations, and for more ideas on balanced, delicious eating, you can always browse my Pinterest boards for inspiration.
Here’s to many more guilt-free, delicious dinners ahead.
Source: Nutritional Information
How can I make honey garlic chicken and rice healthier?
Focus on lean protein (chicken breast), use a whole grain like brown rice or quinoa, load up on non-starchy vegetables, and control the sauce’s sugar by ensuring you’re using a natural honey and measuring it. The cornstarch trick also means you use less sauce overall for great flavor.
What are some gluten-free options for this healthy honey garlic chicken and rice?
Simply swap the soy sauce for tamari (ensure it’s gluten-free) or coconut aminos. Also, check that your chicken broth and rice vinegar are certified gluten-free. That’s all it takes to make a safe and delicious gluten free honey garlic chicken and rice bowl.
How many calories are in a honey garlic chicken rice bowl?
It varies based on ingredients, but a typical serving with 4oz of chicken breast, 3/4 cup of brown rice, and the sauce clocks in around 400-500 calories. It’s a macro friendly dinner packed with protein and fiber to keep you full and energized.
Can I add lentils to my honey garlic chicken and rice?
Absolutely! For a honey garlic chicken rice lentils version, stir in a cup of cooked brown or green lentils when you add the chicken back to the sauce. They’ll soak up the flavor and add a wonderful, hearty texture and extra plant-based protein.